Tall Self Watering Planter
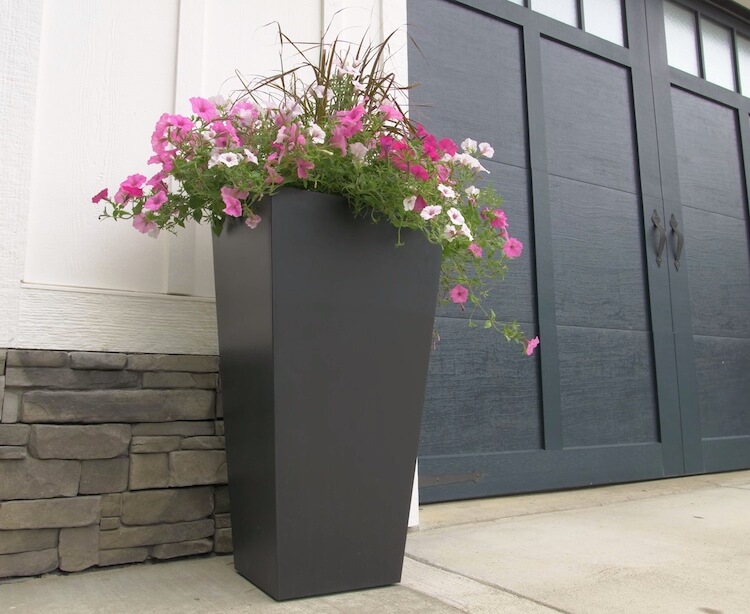
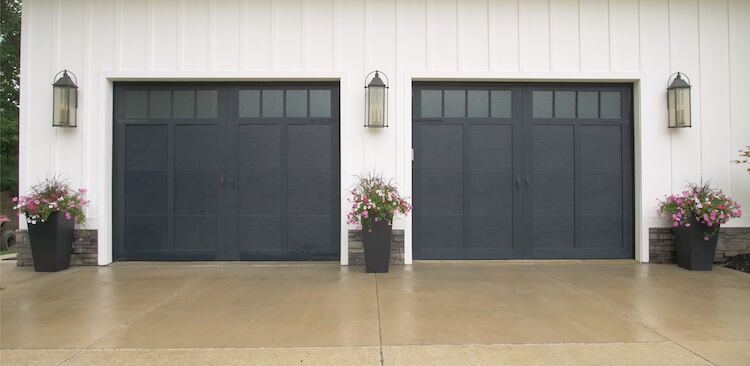
My wife wanted to add tall planters in front of our garage. I have been trying to come up with a way to convert the planters she liked, to self watering planters. After some planning, I was able to come up with a design that seemed like it would work.
Project Video
How to Convert a Planter to Self-Watering
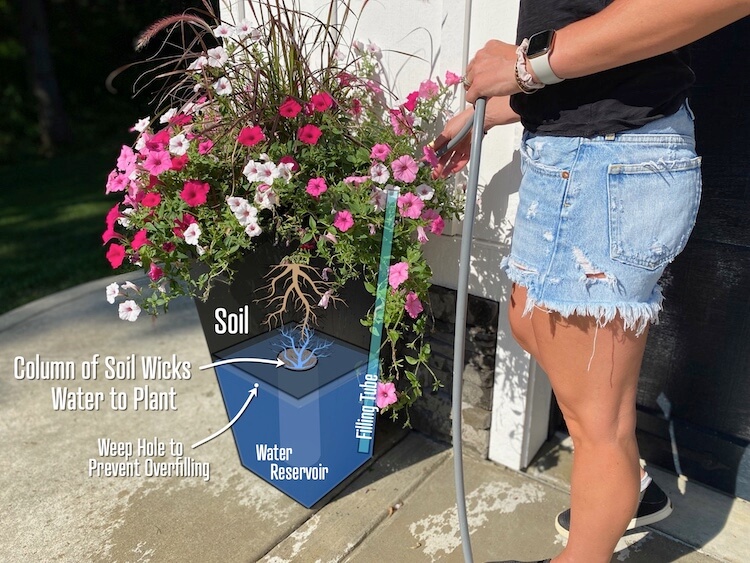
After doing some research, the design that most self watering planters use is one that has a reservoir on the bottom and soil at the top. To get the water to the plant they often use some sort of wicking media, whether it is a column of soil or a rope of some sort. I opted for the column of soil and decided to use perforated drain pipe wrapped with a mesh sock to accomplish this. PVC will be used as the filling tube and a weep hole is placed at the top of the reservoir to prevent overfilling.
Tools Required
- Jigsaw
- Drill
- Utility Knife
- Scissors
- Tape Measure
- Marker
Materials
- Planters
- 1″ PVC (height of planter)
- Black Spray Paint
- Rubber Stoppers
- 4″ Perforated Drain Pipe
- Drain Pipe Sock
- Silicone
- Soil
- Plants
Total Time: 1 day
Seal the Bottom
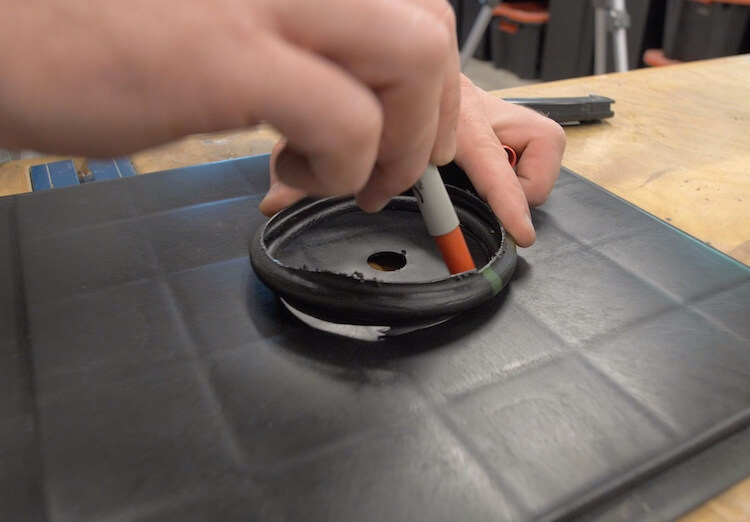
We need to create a water reservoir at the bottom of the planter so the first thing to do is seal any drain holes. I used a rubber stopper and then added some water to check it.
Cut a Hole in the Shelf
The shelf that came with my planters fit nicely so it would work well for this project. If you don’t have a shelf or it doesn’t fit well, consider making a shelf out exterior grade plywood and sealing it well.
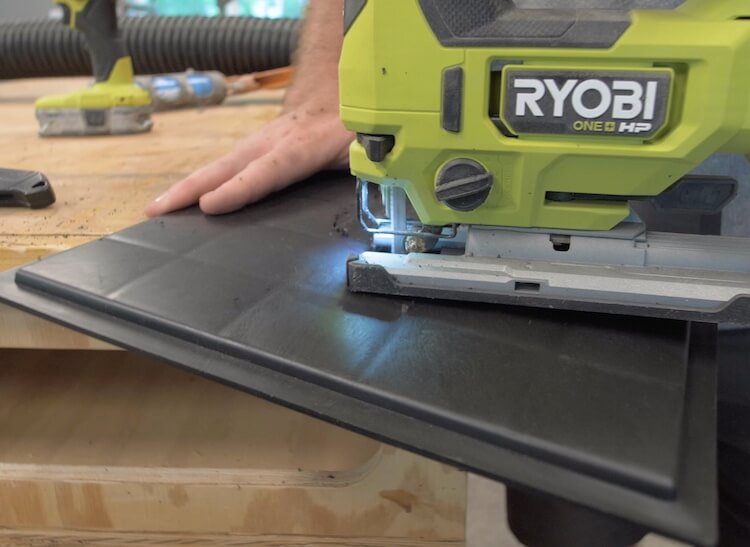
I used a small cutoff of the 4″ perforated drain pipe and traced the inside of the pipe. The idea is that the shelf will actually rest on top of the pipe to help support the soil.
Then I used a jigsaw to cut the hole in the shelf.
Making the Wicking Column
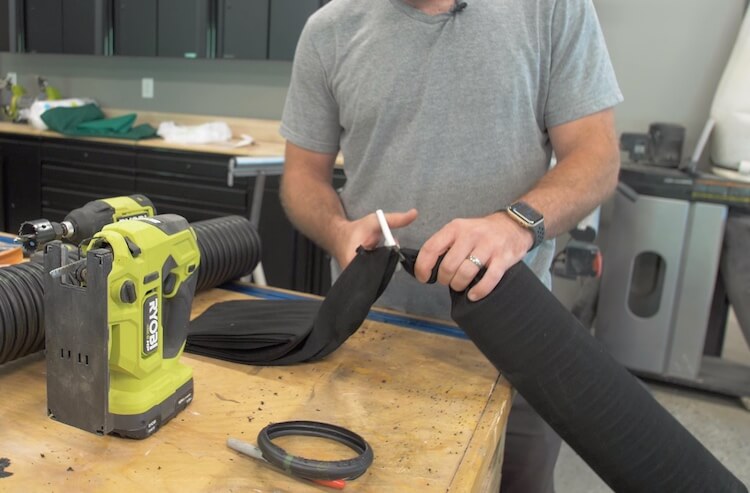
We need a way to get water to the plant so I decided to use a perforated drain line so the soil in the column can wick up to the plant’s roots as it is needed.
To do this I started by measuring from the bottom of the planter to the shelf.
I then cut the drain pipe to that measurement with a utility knife.
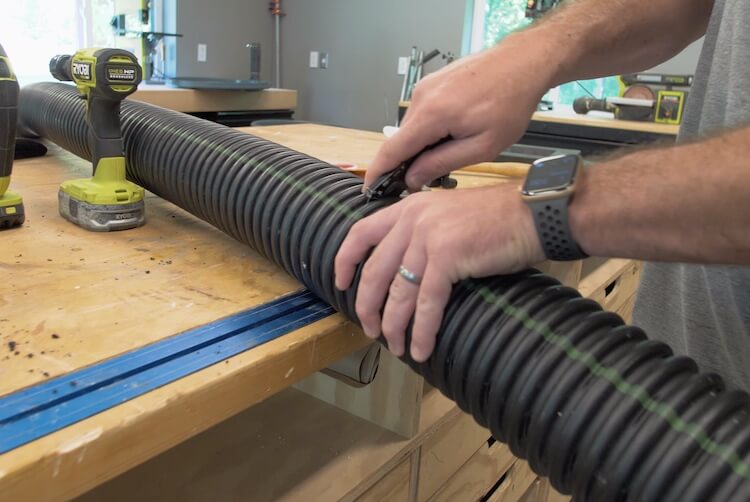
As another layer of protection, to keep the soil from eroding into the water reservoir, I wrapped the pipe with a mesh pipe sock and tied it off at the bottom.
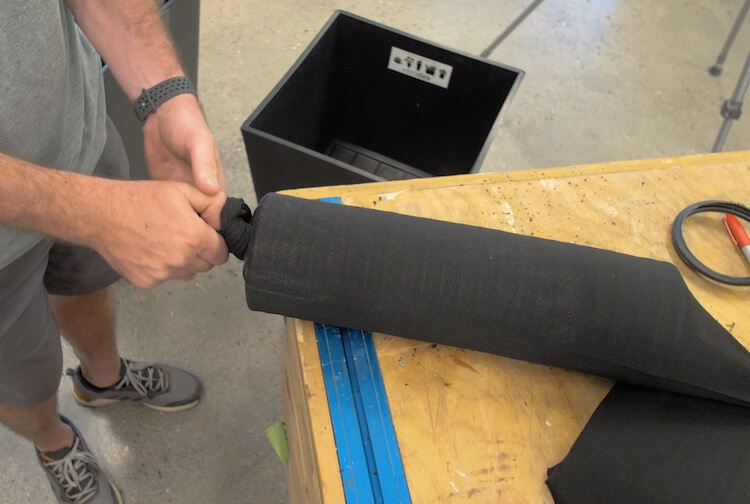
At the top, I cut the tube sock a few inches longer than the tube itself.
Installing the Shelf & Wicking Column
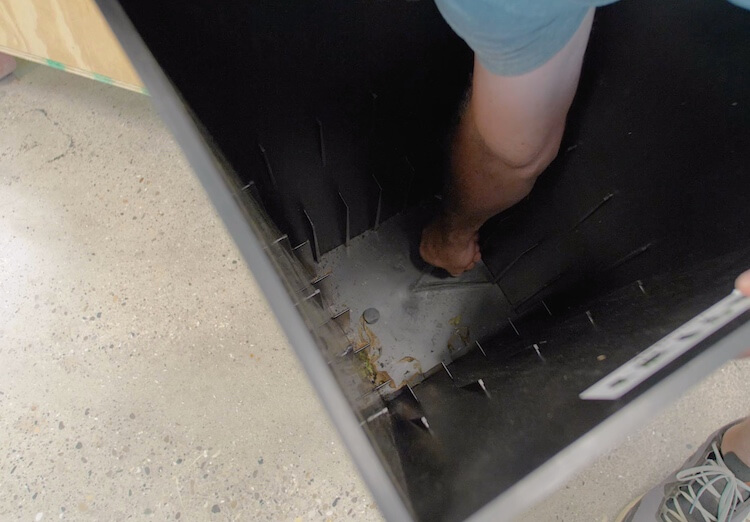
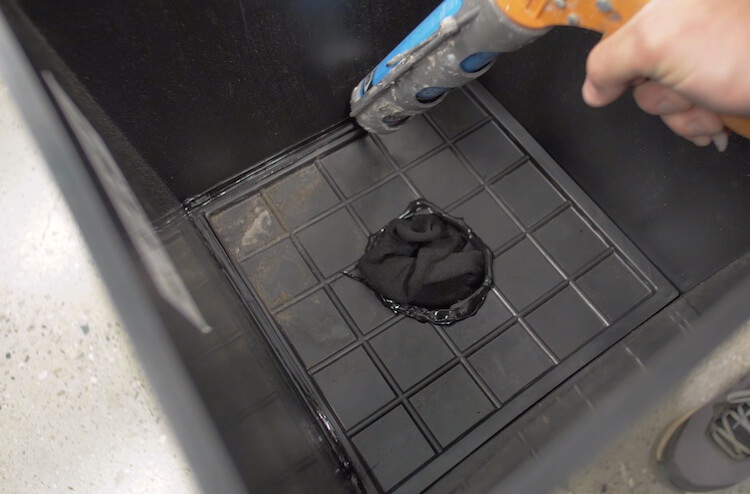
Simply feed the excess tube sock through the hole in the shelf and set the shelf in place.
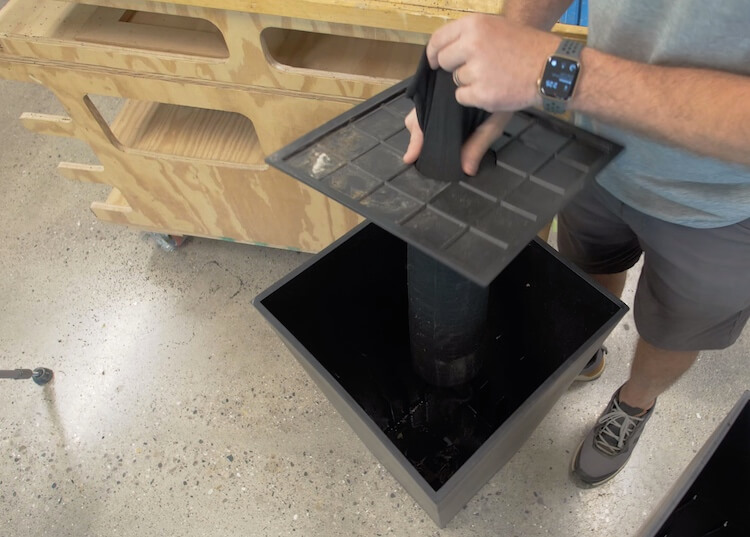
Making sure the column is straight up, seal around the sides of the shelf and around the hole with silicone. Spread the excess sock out and press into the silicone (not shown).
Installing the Supply Line
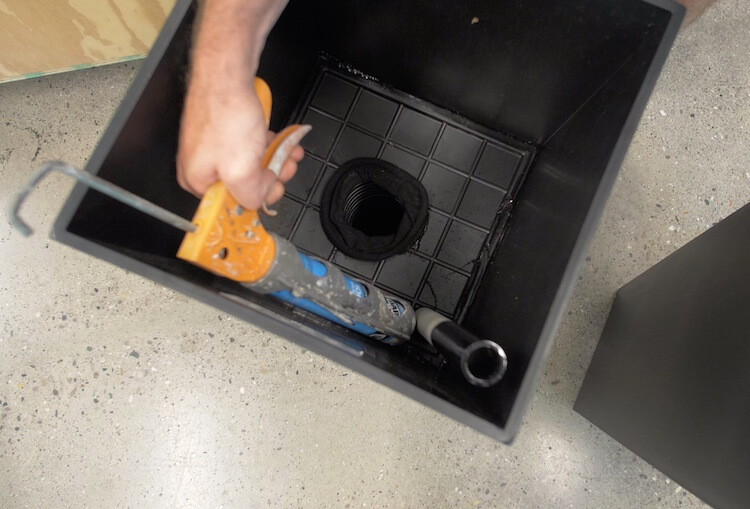
With the reservoir built in below the plant, we need a way to fill it. To do so we used a 1″ PVC pipe that runs from top to bottom of the planter. Start by using a hole saw to drill a hole the same size as the outer diameter of the PVC line. Cut the PVC line to the same height as the planter and paint the top black to conceal it.
Insert the drain pipe and seal around it with silicone.
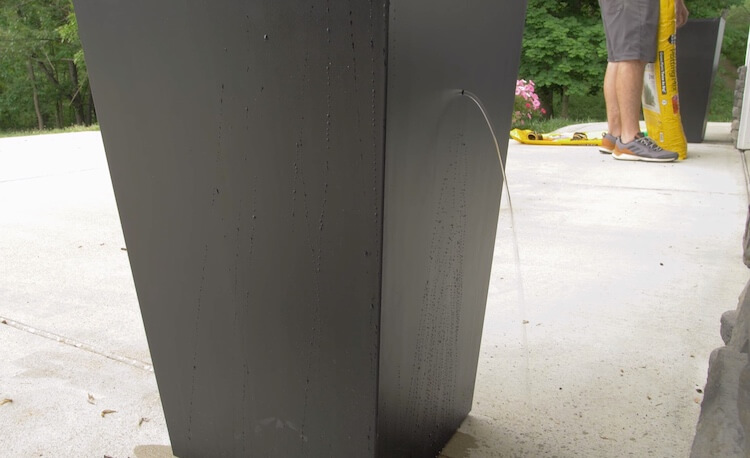
Weep Hole
One simple but important hole is the weep hole. This allows water to escape at the top of the reservoir, preventing over filling. It also tells you when the reservoir is full.
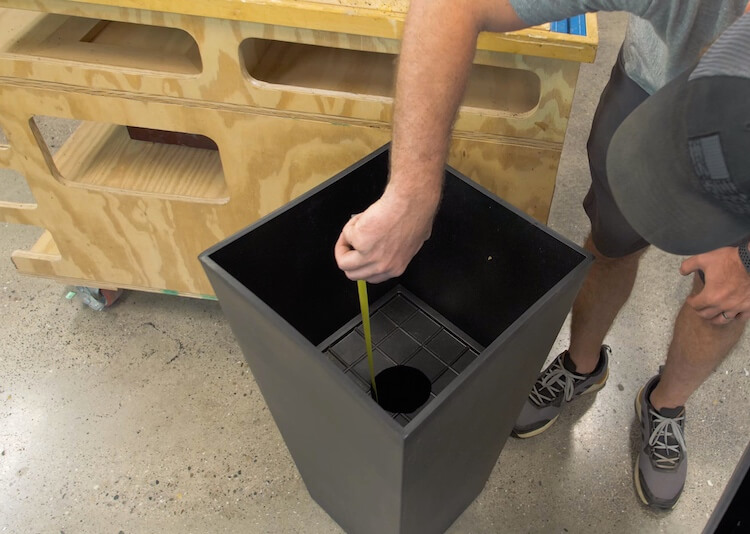
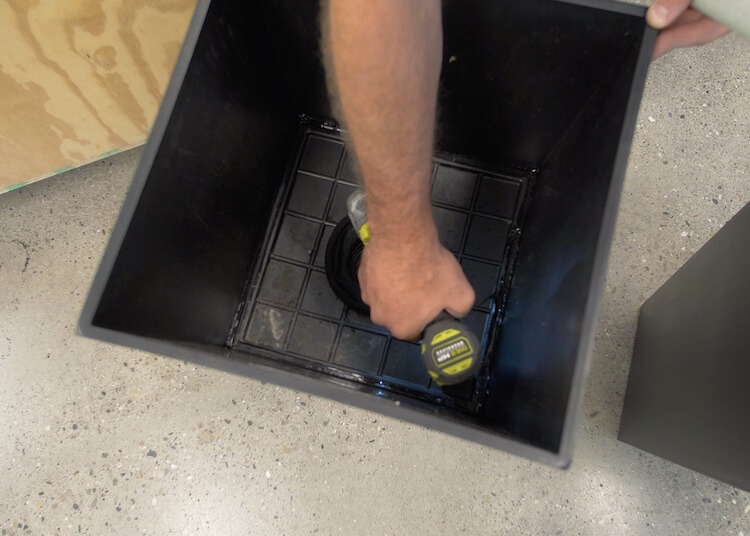
Measure from the top of the planter to the shelf and drill a small hole about an inch lower on the outside.

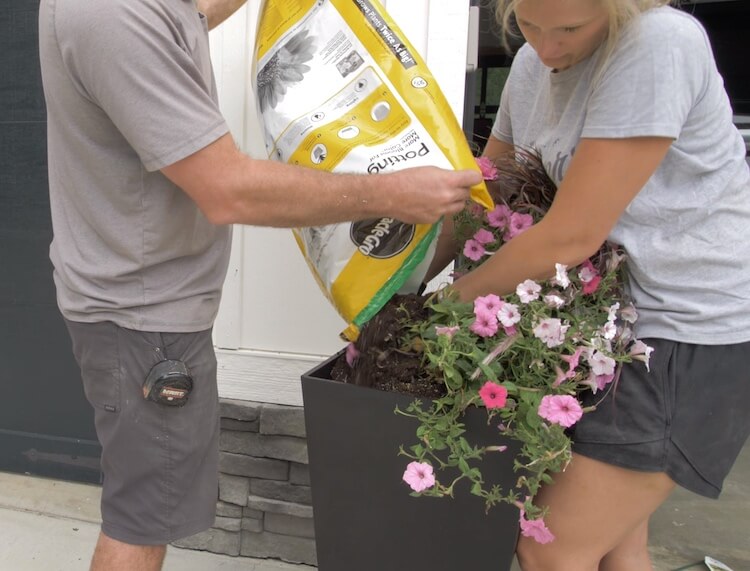
Planting
When planting, make sure to fill and compact the soil in the column first. We didn’t, but it would probably be a good idea to add water to make sure the column is completely compacted before planting.
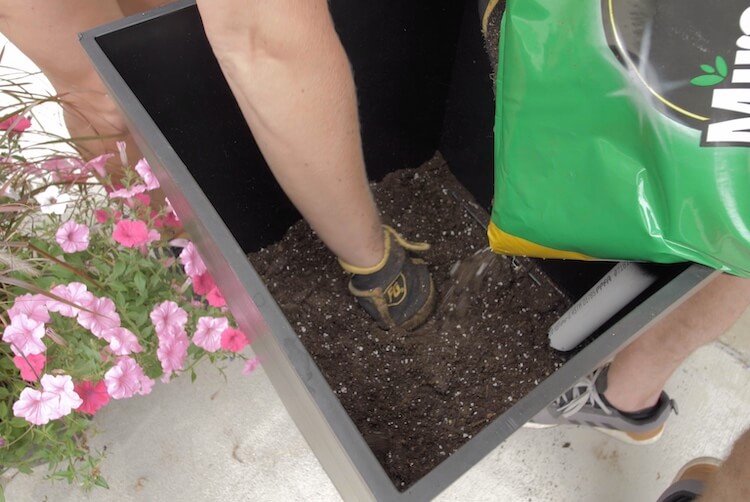
Insert plants and finish filling and compacting soil around the plant.
Filling the Planter
Add water to your planter through the filling tube at the top. I was surprised how much water this thing held. I would have to think it is around 5 gallons which should feed the plant for like a month or more.
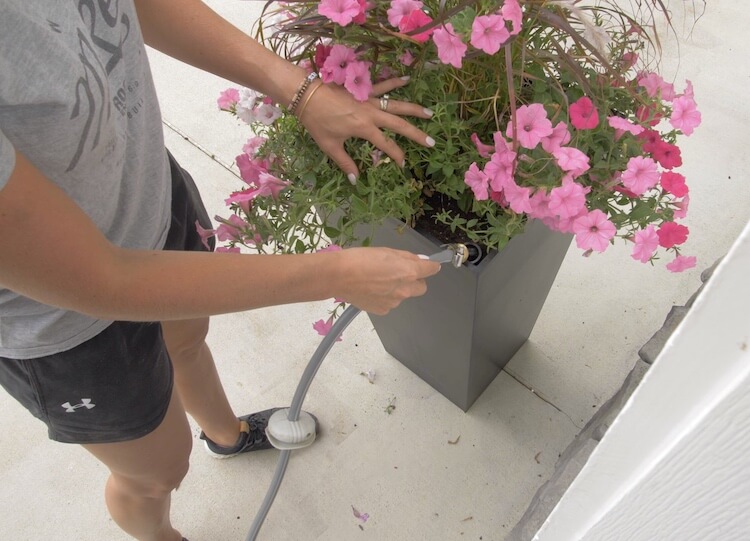
Once the water begins to flow out of the weep hole you will know that it is full.