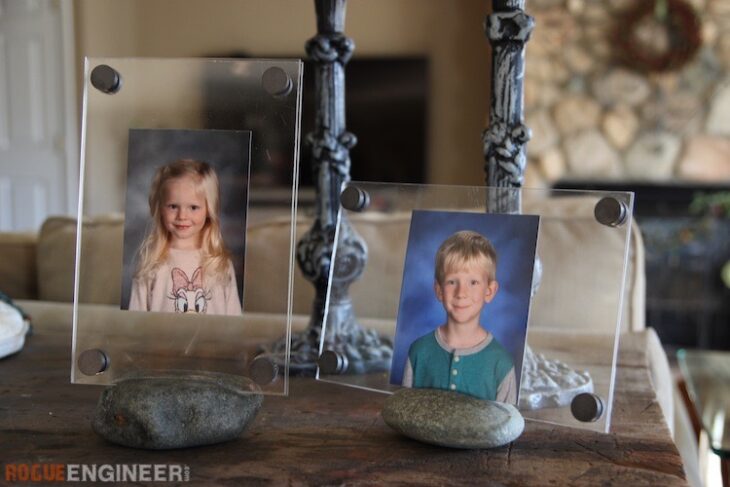
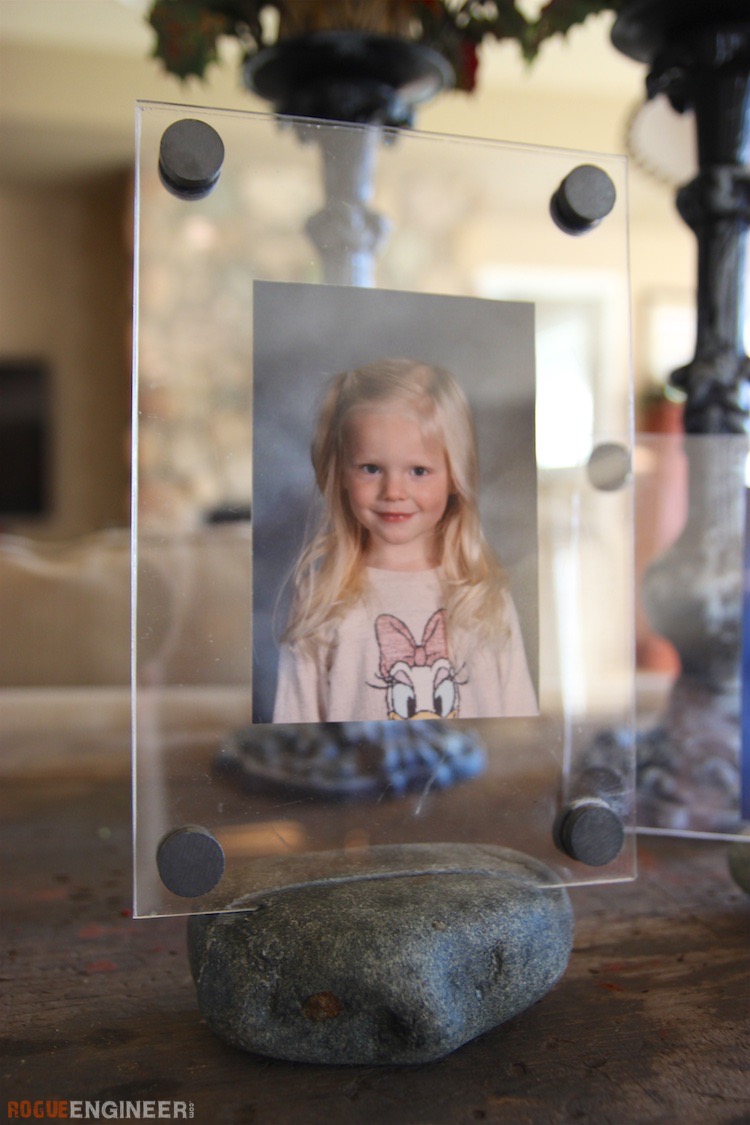
So we’ve been playing around with our Dremel Saw-Max lately, and came up with the idea to cut some rocks! We created some really awesome picture frames with rocks from our yard, acrylic, and some magnets. The best part about this frame is that the pictures are easy to change out, and you can simply turn the acrylic to change from a vertical picture to a horizontal picture.
These frames were simple and easy to make and would be the perfect DIY Christmas gift! Something anyone would enjoy!
Don’t forget to subscribe on YouTube and for sneak peeks of our upcoming projects be sure to check out Our DIY Life on YouTube, follow us on Facebook and Instagram. Also, follow me on Pinterest to get tons of projects plans from all around the web!
Required Tools
Materials
- Rock
- Acrylic Sheet
- Magnets
- Glue
Disclosure: The links provided in the “materials” and “required tools” sections are affiliate links. If you would like to support our site and help keep our content free come find out more about how we can make money with no extra cost to you.
How to Make a Clear, Magnetic, Picture Frame with Natural Rock Base
Step 1: Cut the Acrylic
Using a plastic cutter, cut the acrylic down to size.
Step 2: Glue on the Magnets
Apply glue to magnets and glue to each corner of the acrylic. Be sure to apply glue to the correct side of the magnet when gluing onto the second piece of acrylic.
Step 3: Sand down any uneven sides
Sand down any uneven or rough surface of the acrylic.
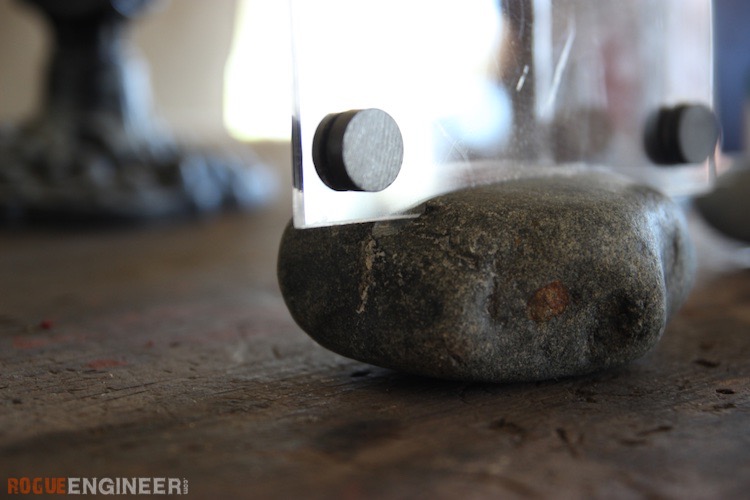
Step 4: Cut a groove in a rock
Clamp rock down, we used the Dremel Multi Vice, before cutting using the Dremel Sawmax. Cut the groove wide enough to accept both pieces of the acrylic.
Step 5: Polish the rock
We choose to polish the rocks using Bee’s Wax, however you could use any other type of wax or oil.
Step 6: Place picture
Place the picture in the center of one piece of the acrylic, the gently set the second piece on top.
Step 7: Insert frame into rock base
Now place the acrylic into the back base and enjoy your beautifully framed potato graphs.
Questions? Comments?
As always, if you have any questions don’t hesitate to comment below and especially don’t forget to post pictures of your finished products in the comments! ENJOY!

