

Walabot DIY 2 Review: The Ultimate Stud Finder?
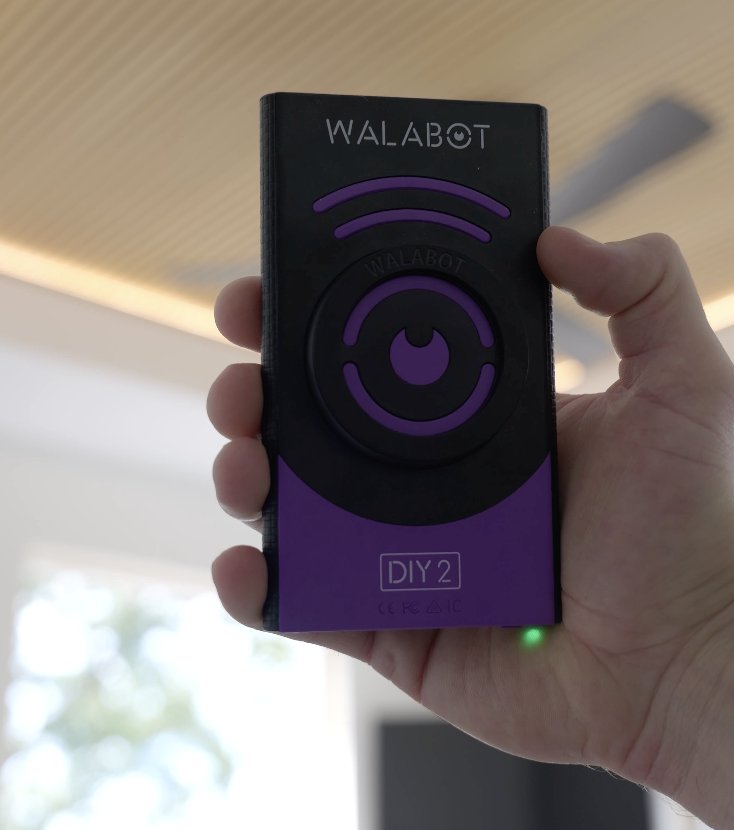
Quick answer: The Walabot DIY 2 is a smartphone-connected wall scanner that goes well beyond a standard stud finder: it images up to 4 inches deep and detects wood and metal studs, pipes, wires (even non-live ones), and pests. I used it to locate the ceiling joists for our tray-ceiling slat panels and it delivered pinpoint accuracy. It costs more than a basic stud finder and needs your phone to run, but for serious DIYers and pros the detection capabilities justify the investment. Full hands-on review below.
The Walabot DIY 2 is more than just a stud finder—it’s an advanced wall scanner packed with imaging technology originally developed for medical devices. If you’re taking on home renovation projects like hanging panels or working with electrical wiring, this tool can be a game-changer. I recently used it to find joists behind the drywall for securing slat panels during our tray ceiling installation at the lake house, and it provided pinpoint accuracy. In this review, I’ll break down its features, specifications, and performance.
Walabot DIY 2: Product Overview
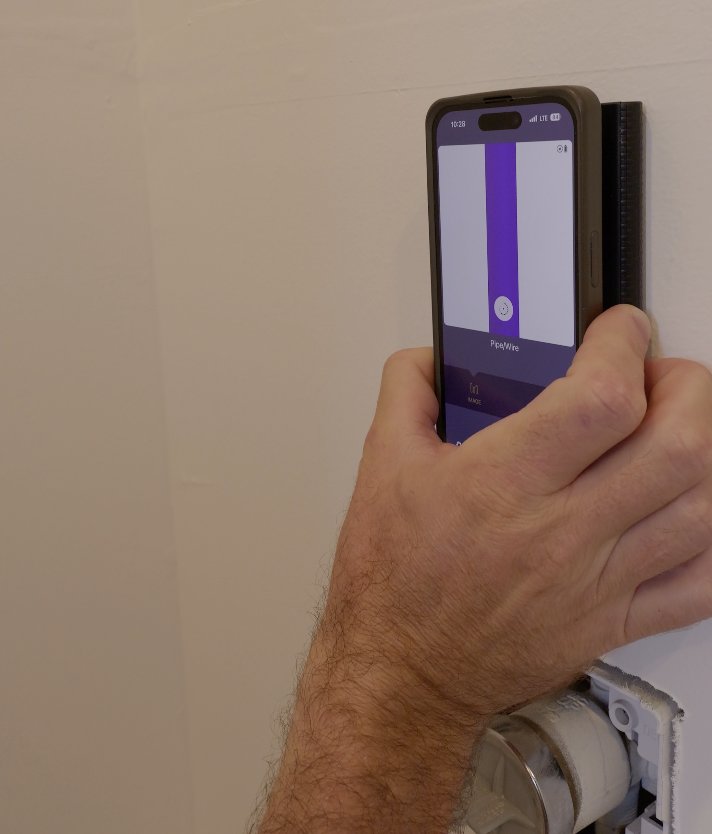
Unlike traditional stud finders that can only detect basic stud locations, the Walabot DIY 2 offers much more. It can identify pipes, wires (even those that are not live), metal and wooden studs, and even pests moving within your walls. This makes it a versatile tool for both DIY enthusiasts and professionals who need to work safely and efficiently.
Key Features:
- Detects wood and metal studs, pipes, wires (live or not), and pests.
- Imaging technology based on medical device technology for precise and accurate wall scanning.
- Compatible with iOS and Android devices through the Walabot app.
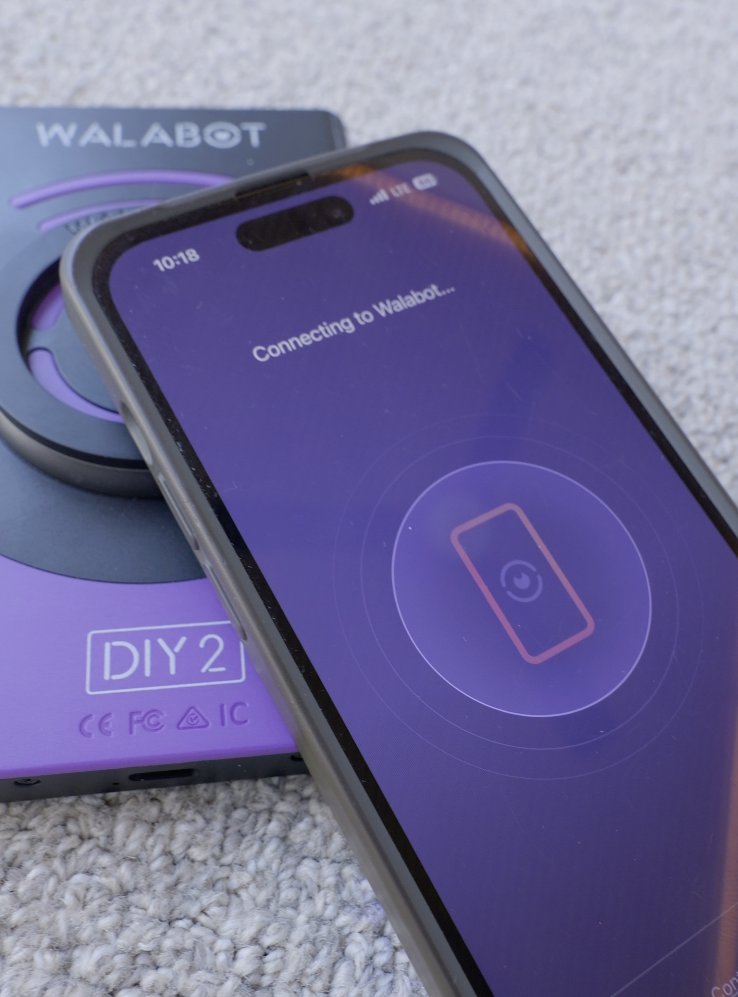
- Built-in Wi-Fi signal for quick setup and wireless connection (no actual Wi-Fi network required).
- Quick and easy app setup with calibration in under 15 seconds.
Technical Specifications
- Dimensions: 3.15” x 1.57” x 4.72” (W x D x H)
- Weight: 0.35 lbs (lightweight and portable)
- Detection Capabilities: Up to 4 inches deep, detecting wood, metal, pipes, wiring, and pests
- Display Options: Image mode (standard detection) and Expert mode (detailed heat map view)
- Power Source: Battery Powered (Rechargeable)
- Connectivity: Wi-Fi for smartphone integration (iOS and Android compatible)
My Experience Using the Walabot DIY 2 for Panel Installation
When it came time to install the slat panels for our tray ceiling, the Walabot DIY 2 was indispensable for accurately locating the joists behind the drywall:
- Setup and Calibration: Setting up the Walabot DIY 2 was quick. The app guided me through calibration, which took under 15 seconds. I simply placed the device on the ceiling, moved it in circular motions, and it was ready to start scanning.
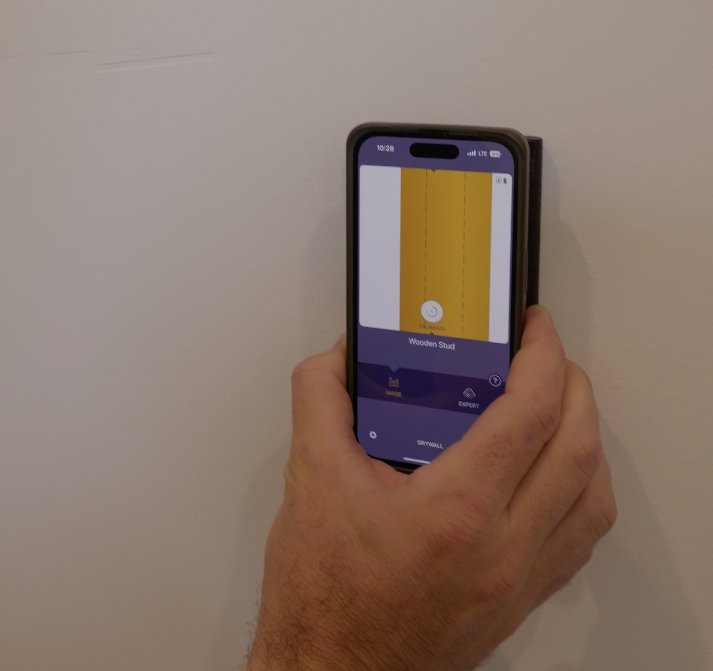
- Imaging and Detection: The Walabot DIY 2 features two modes: Image Mode and Expert Mode.
- In Image Mode, I could easily locate the center of each stud and spot any pipes or wires. One standout feature is its ability to detect non-live wires, unlike most other stud finders that require the circuit to be active.
- Expert Mode provided even more detail, using radar signals to display a heat map. This mode is particularly helpful when determining if pipes or wires were in close proximity to the studs.
- Ease of Use and Accuracy: The app’s interface is intuitive, making the tool accessible for users at any skill level. Its precise imaging gave me confidence that the I would be securely attached to the joists and that I wouldn’t accidentally hit any pipes or wires.
- Versatility: The Walabot DIY 2’s expert mode gives you the ability to detect motion which also means it can pick up on pests behind your walls. While I didn’t need that feature for this project, testing this showed its potential for pest detection, adding another layer of functionality beyond a standard stud finder.
Pros and Cons
Pros:
- Comprehensive Detection Capabilities: Detects studs, pipes, wires (live or non-live), and pests up to 4 inches deep.
- User-Friendly Interface: The app is simple to navigate, making it easy to switch between detection modes.
- Versatile Modes: Image Mode for basic detection and Expert Mode for detailed, heat-map imaging.
- Compact and Portable: Lightweight and easy to carry for on-the-go use in various projects.
Cons:
- Smartphone Required: The Walabot DIY2 depends on a smartphone for operation, which might not suit everyone but helps keep cost down as opposed to including a screen in the device.
- High Price Point: While the Walabot DIY 2 comes at a higher price compared to traditional stud finders, the value is in the detection capabilities and the advanced features it provides justify the investment, especially for professionals and serious DIYers looking for reliable and detailed imaging.
Verdict: Is the Walabot DIY 2 Worth It?
The Walabot DIY 2 offers impressive features that surpass standard stud finders, providing detailed imaging and the ability to detect non-live wires—a crucial benefit for safe and efficient installations. Its versatility makes identifying whats behind your drywall easy and reliable.
Whether you’re installing decor, tracing wires and pipes, or even checking for pests, the Walabot DIY 2 is a valuable addition to your toolbox and would be a great Christmas gift for any DIYer.
Where to Buy: Walabot DIY 2
Conclusion
If you’re serious about your home improvement projects or work professionally in construction, the Walabot DIY 2 is a must-have tool. It provides the level of precision needed to get accurate results without the guesswork. From locating wall studs to safely avoiding pipes and wires, it’s a versatile tool that stands out in the market. For a complete guide on our tray ceiling project and how the Walabot DIY 2 played a role, check out our video tutorial on YouTube.
Walabot DIY 2 questions, answered
Is the Walabot DIY 2 worth it?
For serious DIYers and professionals, yes. It costs more than a traditional stud finder, but the value is in the detection: detailed imaging of studs, pipes, and wires — including non-live wires that most stud finders can’t see — up to 4 inches deep. If you only ever need to find a stud for a picture frame, a basic finder will do; if you cut into walls and ceilings regularly, this pays for itself in avoided mistakes.
Does the Walabot DIY 2 need Wi-Fi to work?
No network required. The device broadcasts its own built-in Wi-Fi signal that your phone connects to directly, so it works in a house with no internet at all. Setup happens in the Walabot app (iOS and Android), and calibration takes under 15 seconds — place it on the wall, move it in circular motions, and scan.
What is the difference between Image Mode and Expert Mode?
Image Mode is the everyday view: it shows the center of each stud and flags pipes or wires. Expert Mode uses the radar signals to display a detailed heat map — helpful for judging whether a pipe or wire runs close to the stud you’re about to drill into, and it can even pick up motion, which is how the pest detection works.
Does the Walabot work on ceilings?
Yes — that’s exactly how I used it. I calibrated it on the drywall ceiling and located every joist for securing the slat panels of our tray ceiling, plus confirmed nothing else was hiding where the screws would go. The same scanning process applies to walls and ceilings alike.
Put it to work on the next project
Questions? Comments?
If you have any questions, drop them in the comments below — and when your build is done, post a picture. That’s the good part.
Build with a real plan
Stop second-guessing. Get a plan that’s already been built.
190+ Rogue Engineer plans — all designed in 3D before they ship, with exact cut lists, shopping lists, and step-by-step diagrams. Built in our shop, tested in our home, finished in your driveway.
Browse all plans →