Installing a Window in a Blank Wall
Who in their right mind would cut a giant hole in the side of a brand new house?
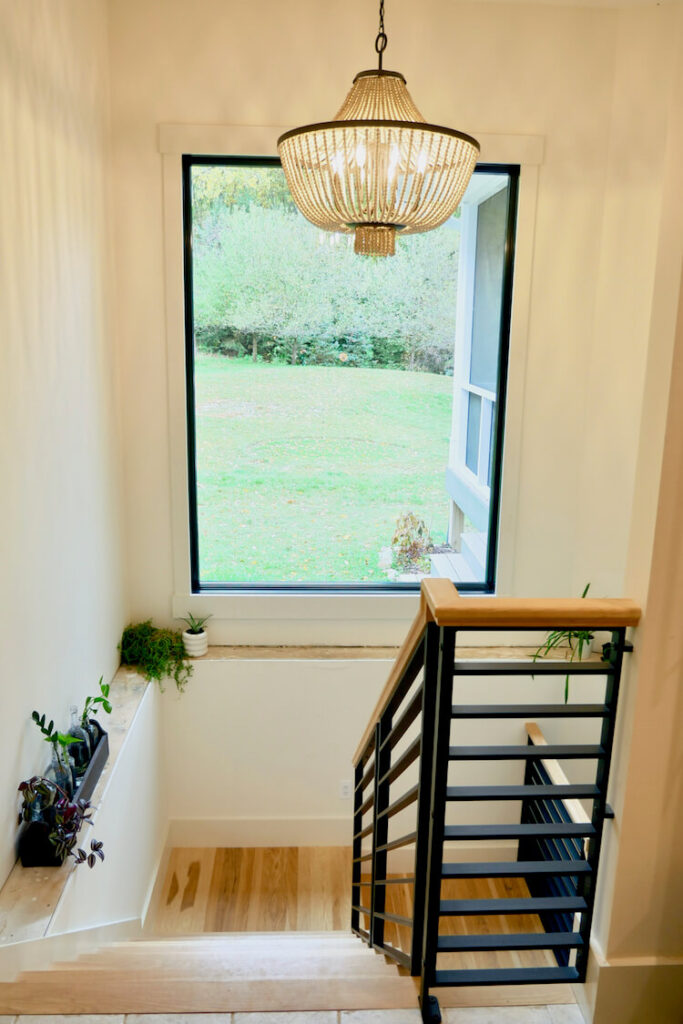
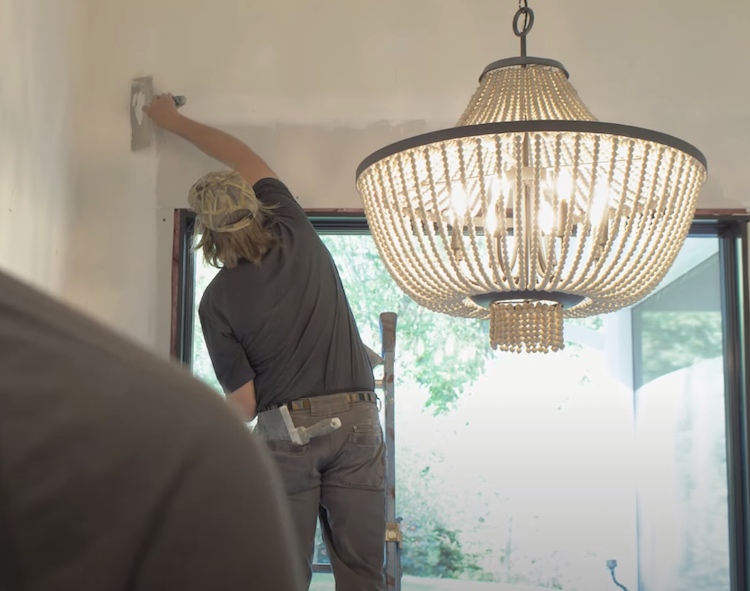
This was possibly one of the more gut wrenching projects I have taken on (and I’m the one that built the house). The stairwell that leads to our basement never had a window in it and that entire side of the house was always dark as a result. The basement, mudroom and stairwell always needed to have the lights on when in use. After walking by it one day, I said to Jamie, “Why didn’t we put a window in that wall?” And the rest was history.
That being said, now I had to figure out how to put a window in that wall. Check out the full project video below and read on to see the step by step process of us actually doing it.
Disclosure: This project is sponsored by DAP Products and The Home Depot. Both brands are amazing and support our community of Doers.
The steps below outline how we cut a hole in a blank exterior wall and installed a massive picture window. As always, contact your local building officials how to proceed with any structural changes to your home.
Total Time: 3 days
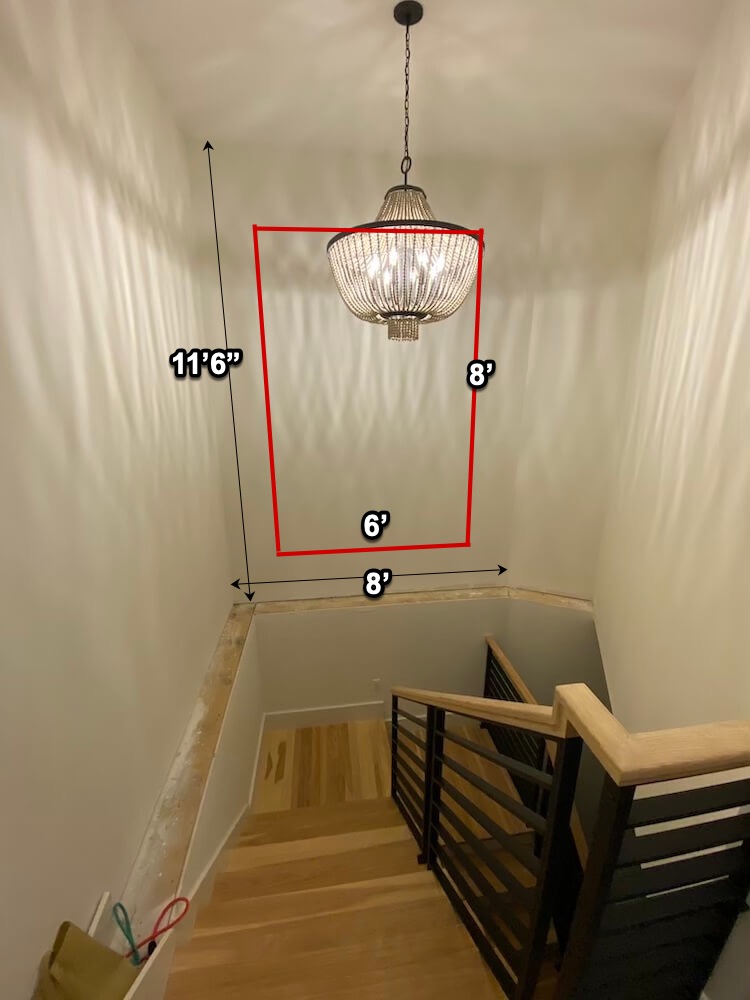
Laying out the Window Size
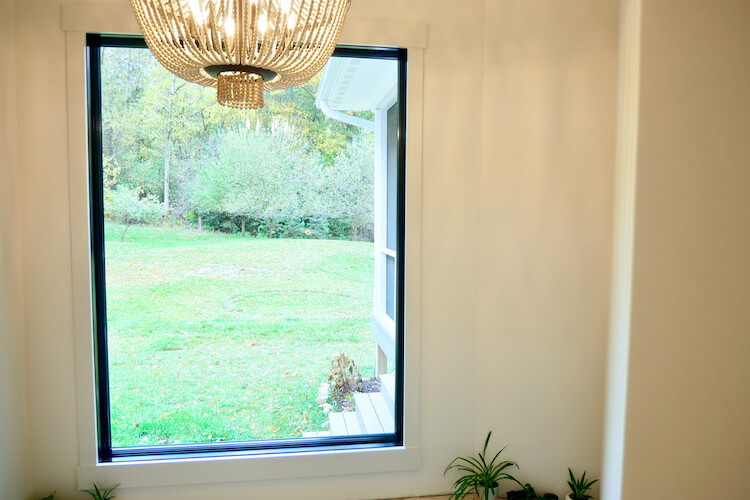
When I was deciding on the window size, we wanted to go big while still leaving enough room for the header and surrounding framing. Ultimately we decided on a 6′ wide by 8′ tall picture window to let a massive amount of light in.
Shopping for the Window
Rather than shopping online, we new we needed to head into the millworks department at our local Home Depot to chat with an expert. After talking through all our options we settled on an Andersen 400 series picture window.

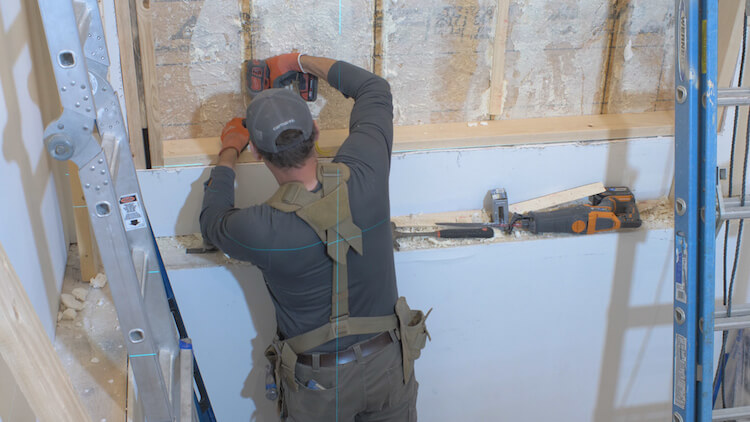
Cutting Away the Drywall
After receiving our window we could get started on the actual installation. This begins by laying out the overall hole with a pencil. This includes the rough opening, framing and access to structure we needed to tie into. Then we set up plastic sheeting to contain the dust and I carefully cut the drywall and removed it from the area.
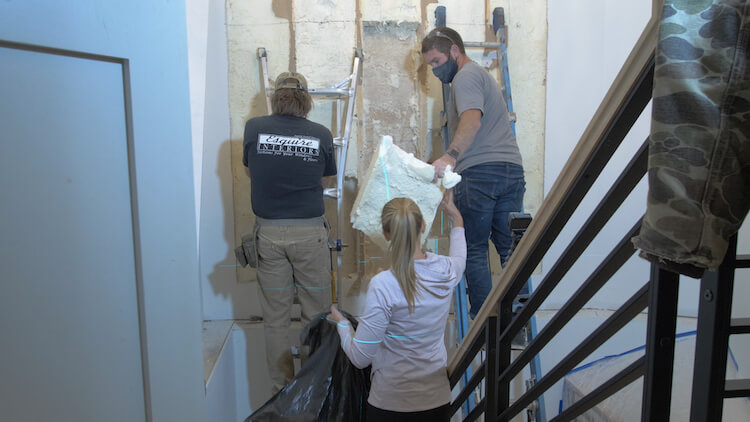
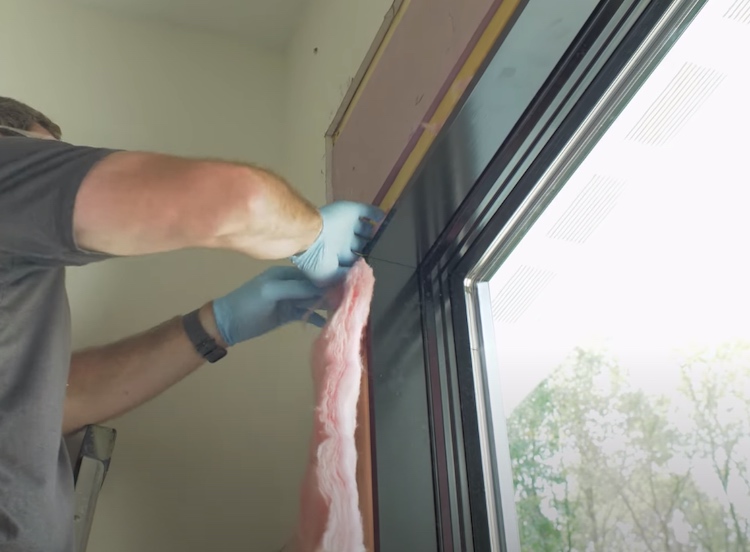
Removing the Insulation
With the opening cut we removed the insulation from the area we would be working in. Luckily there was no electrical in the wall, otherwise we would have had to relocate that.
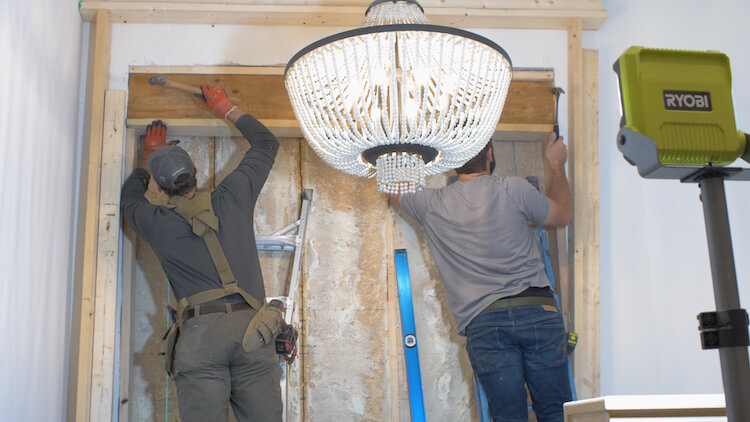
Supporting the Area
When cutting out the studs from an exterior wall, the weight of the roof can cause the top plate to deflect and creating a problem during header installation. To prevent this I assembled an I-beam with 2x6s and wedged 2x4s under it to temporarily support the weight.
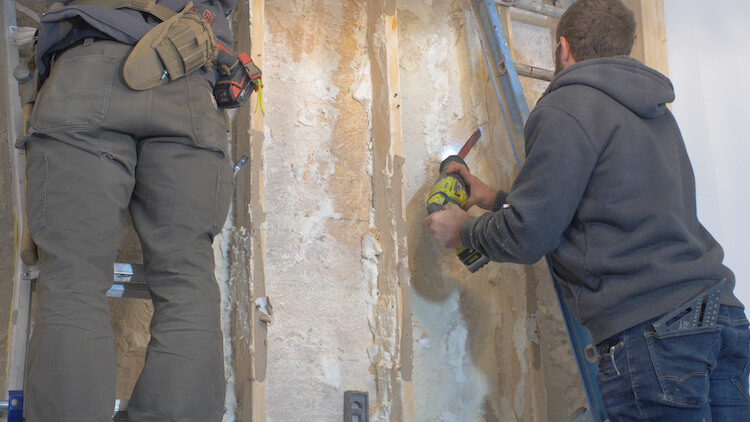
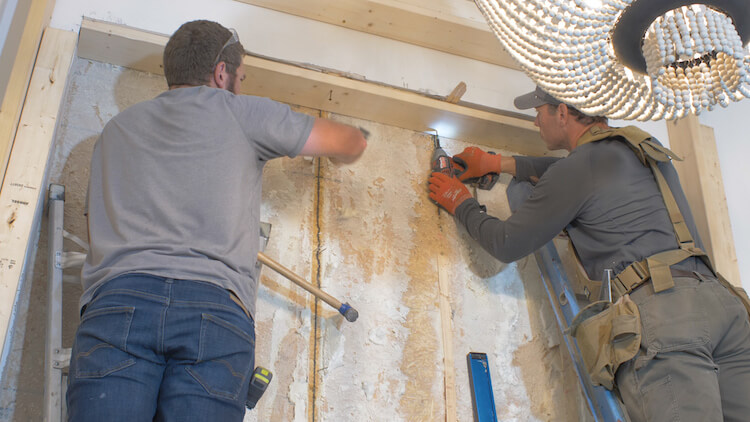
Cutting the Studs Out
After marking the area of the studs that would need to be removed, I made cuts at the top and bottom of that area as close to 90 degrees as possible. To free the studs from the sheathing I then cut the nails between the studs and sheathing with a reciprocating saw.
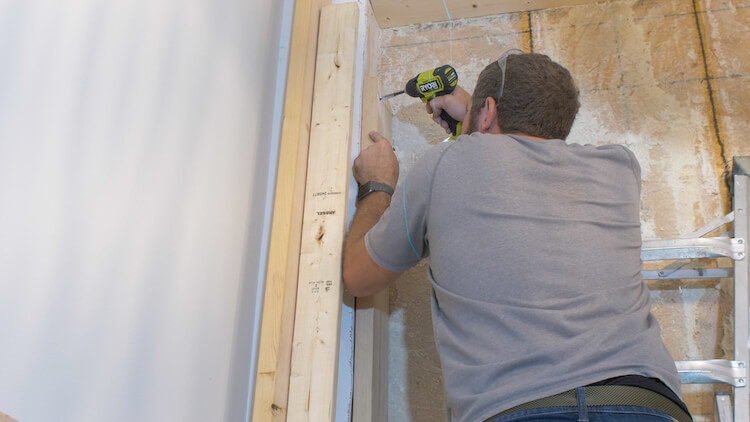
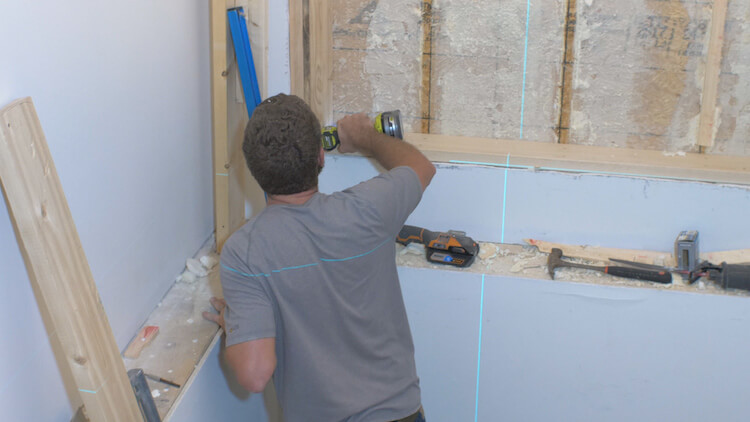
Framing the Rough Opening
Below I put together a diagram of the framing that needed to be added to support the weight of the roof. This design is for a 2×6 exterior wall. If you have a 2×4 wall, the header may not need the 2×6 nailers above and below.
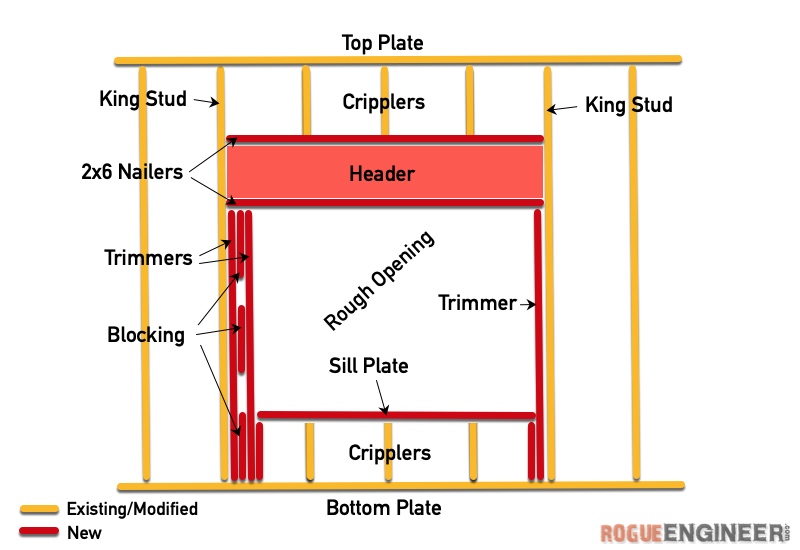
We started by screwing the top 2×6 nailer to the cripplers. We then used a straight edge to make sure it was completely flat and shim the joints that were not.
Then I installed the trimmers and blocking to get us to the final rough opening width. The trimmers are cut to allow for the header to sit snugly on top.
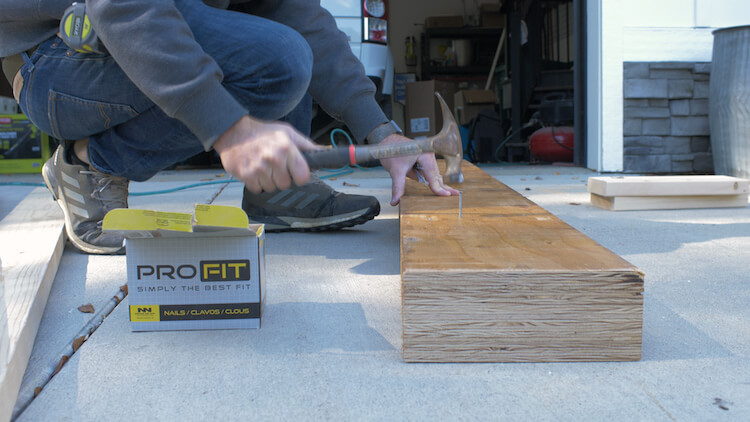
For our span we determined that two 9-1/4″ laminated beams that get nailed together with 4 nails every 16″ would be more than sufficient. Always refer to your local codes and guidelines when attempting a project like this.
The lower nailer gets nailed to the bottom of the header and slid into place. Luckily we got it right the first time and it fit perfectly.
Next we measured down from the header to locate the exact height of our sill plate. We installed the additional cripplers on each side, insulated as much as possible, and then installed the sill plate.
Cutting the Hole
This is a big moment…
It’s much easier to cut the hole from the outside, so to locate the rough opening I drilled a hole in each corner.
Then I used a chalk line to mark the rough opening on the exterior and cut it out with a reciprocating saw.
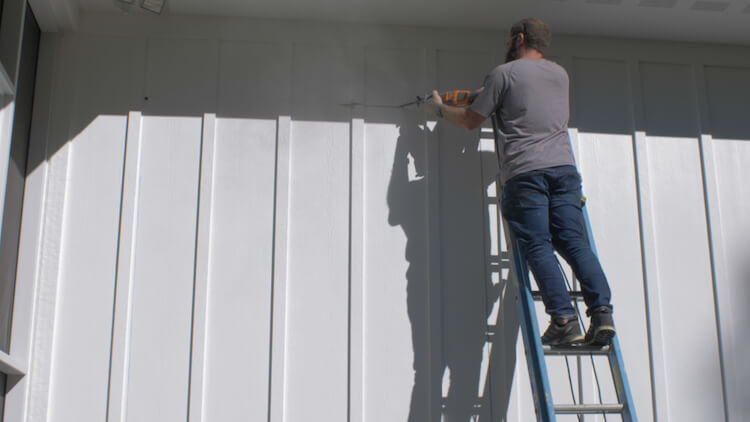
We ended cutting it in two pieces because of the weight and handling.
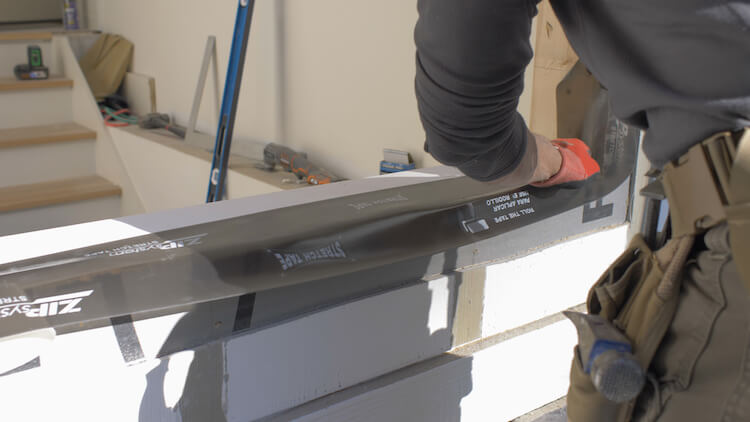
Flashing the Sill
To make sure any water that gets behind the window flange does not penetrate the sill, we needed to flash that prior to the window being set. I started by installing a beveled siding board on the sill. This will give a slight pitch that will direct the water to the outside.
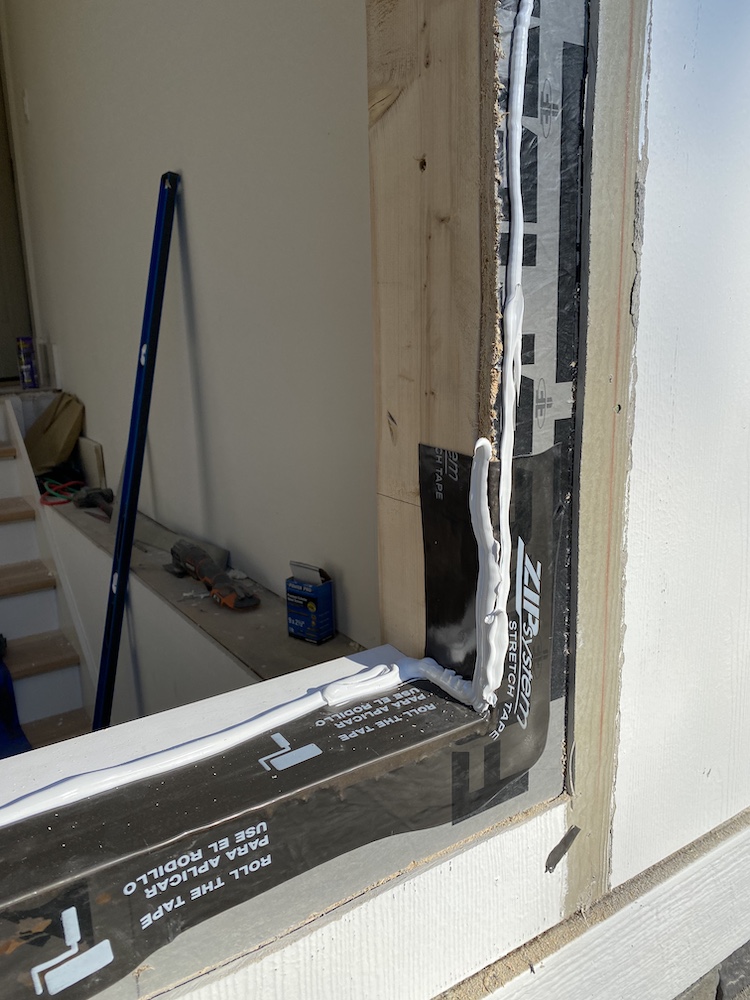
Then I applied flashing tape to the sill and about a foot or so up the sides. I used ZIP’s stretch tape because the corners can be formed into place with just one piece of tape.
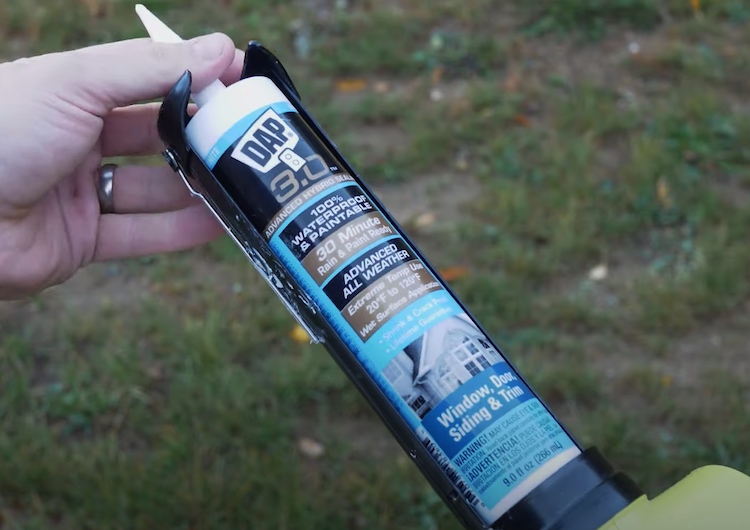
Then we applied a bedding of DAP 3.0 (non-waterbased sealant). This is a large bead of sealant that is applied around the sides and top and into the back of the flashed sill. This will act as an adhered gasket and prevent water from getting past it.
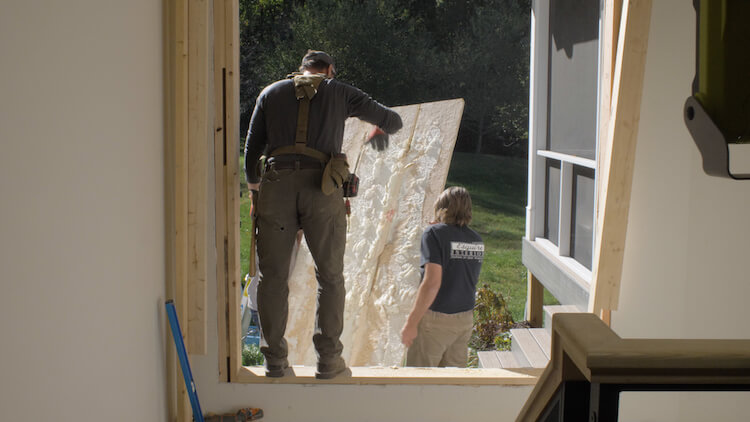
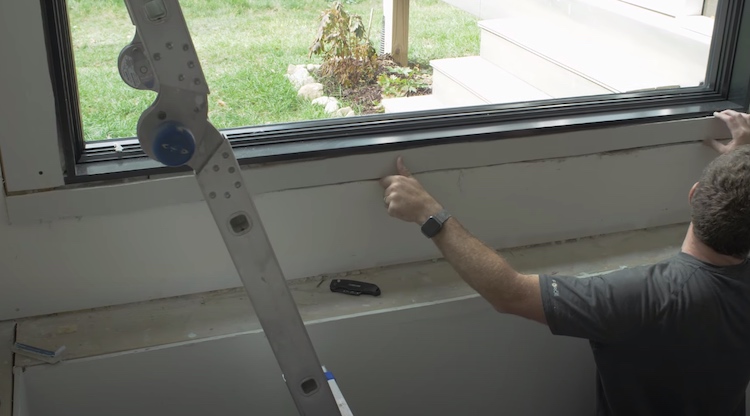
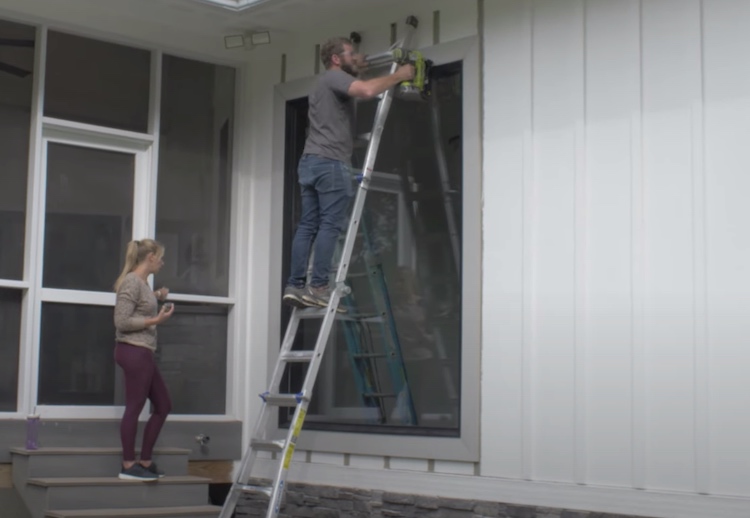
Setting the Window
This window is big… and heavy. 406 pounds to be exact. So we used moving straps and as many abled bodies as we could to hoist it on a bench that would serve as a staging area and then the final move to the rough opening.
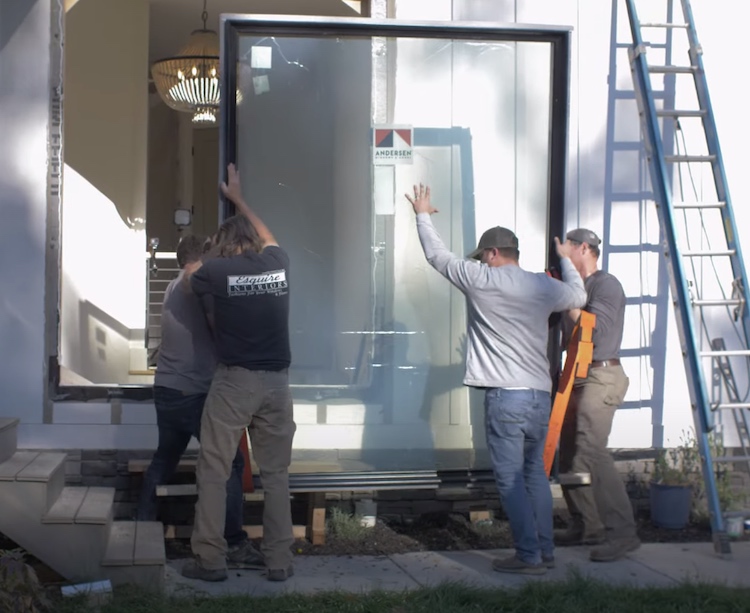
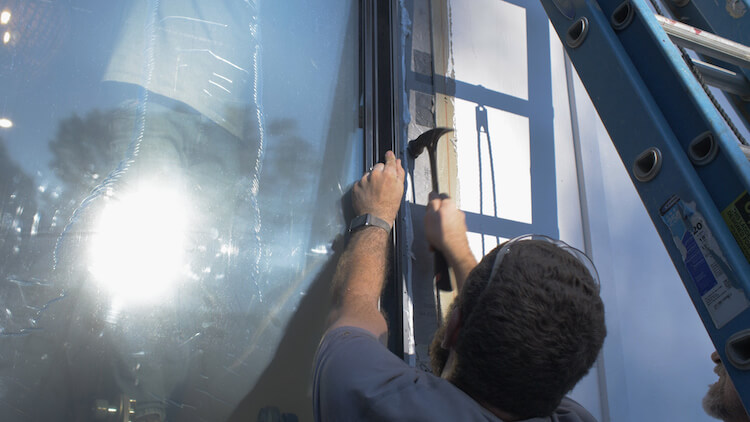
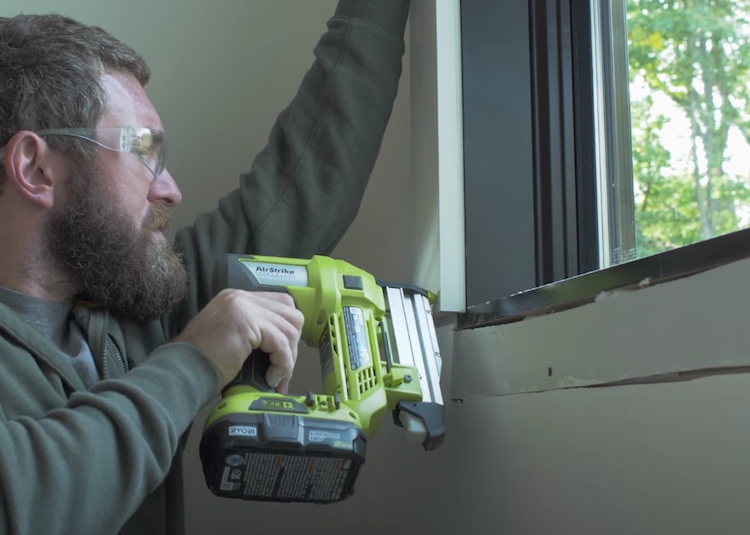
Once we were able to confirm that it was plumb, level and square, we then nailed it into place with 2″ roofing nails. These nails have a very flat and large head that will be easy to install exterior trim over.
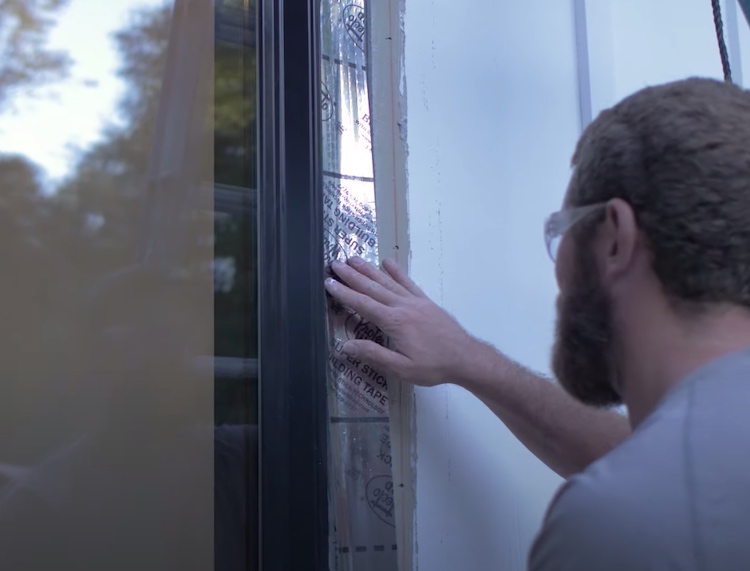
Flashing the Sides and Top
Flashing tape then gets installed over the sides of the nail flange and then the top to create a shingled layering of flashing.
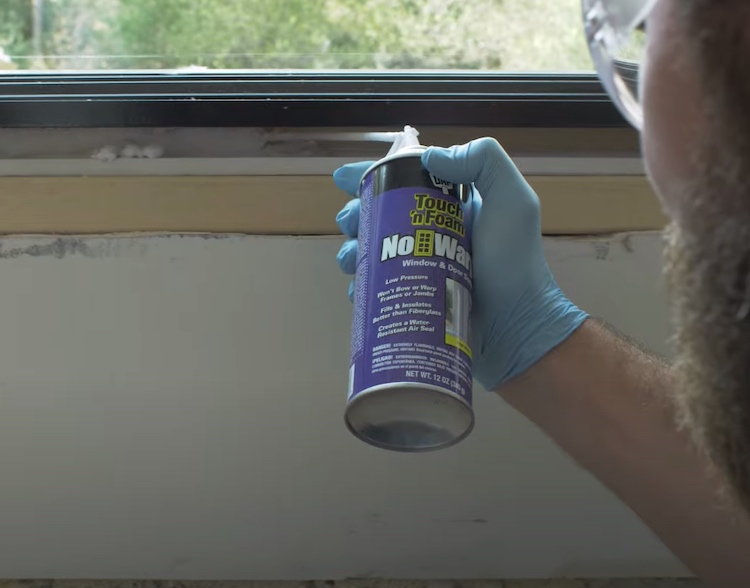
Insulating
To seal around the window we used Touch ‘n Foam’s No Warp Foam which will ensure the foam does not expand too much and cause the window frame to bow.
I then cut a piece of 2″ thick rigid foam board insulation to fill the header cavity. While the remaining space around the rough opening gets batts insulation.
Drywall
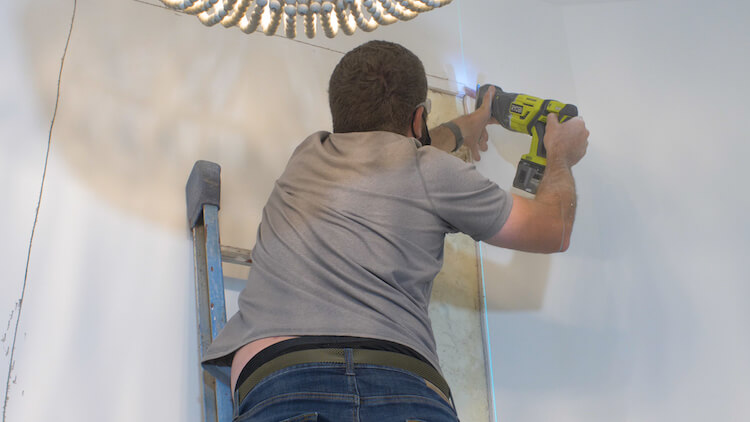
My least favorite part. I cut the drywall to fill all the voids around the window and screwed them in place with drywall screws.
When drywalling, to blend the seam of two pieces of drywall you need to use joint compound.
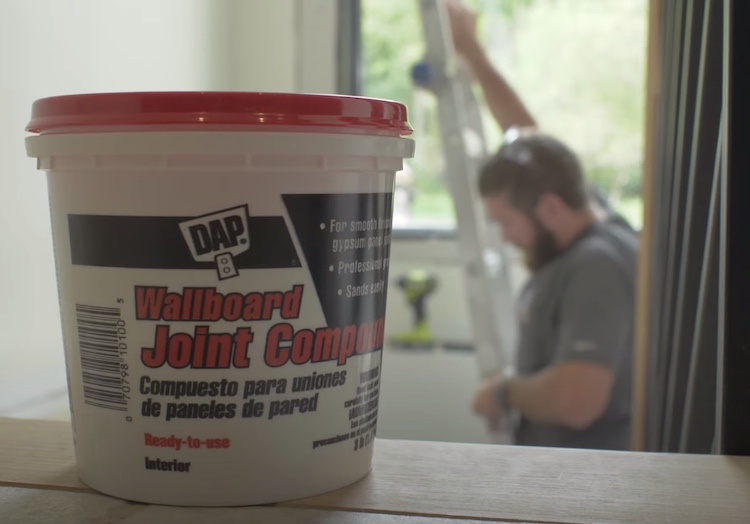
Luckily my father-in-law strolled in at just the right time and I was able to con him into taking over. First he applied the drywall tape over the seams, using the joint compound to fill the joints. The tape is important. That’s where you get the strength.
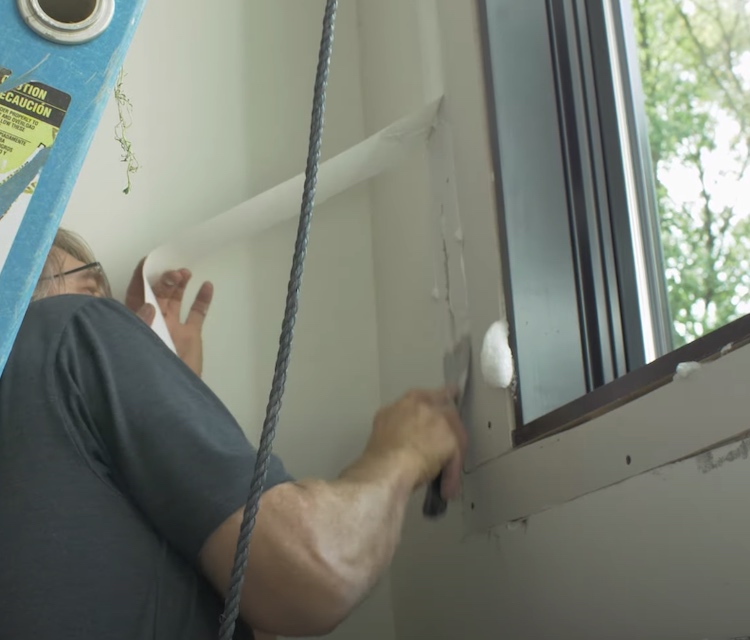
After that drys, the finish coat can be applied with a larger, 8″ drywall knife.
Once that dries, the joints can get sanded and painted to match.
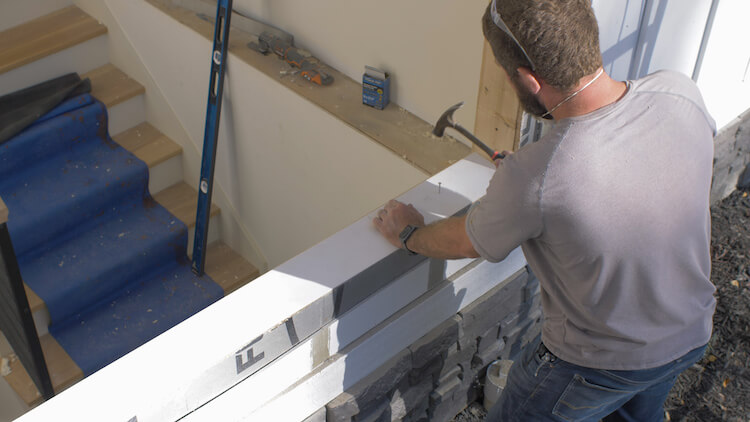
Installing Trim
We matched the rest of the house with 1×4 vertical trim and 5/4×6 horizontal trim that overhangs the sides by 1/2″. To save some effort the trim was painted prior to install.
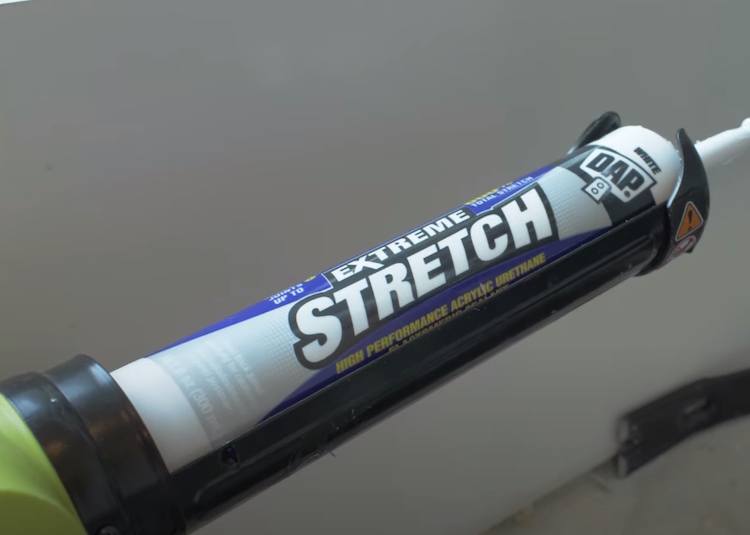
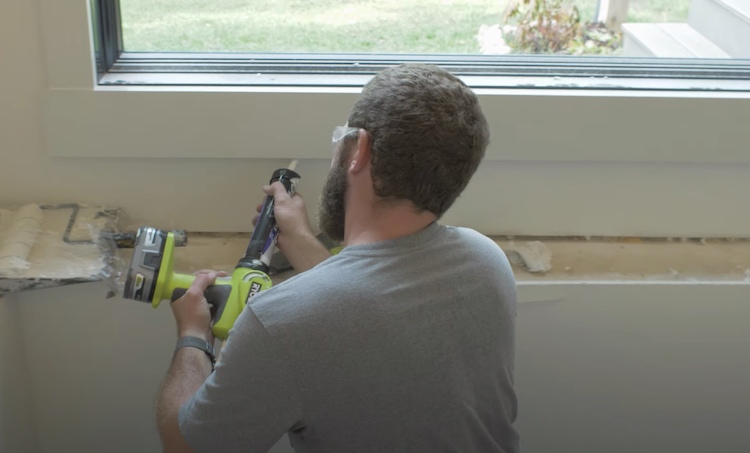
After the trim was installed we followed up with DAP’s Extreme Stretch crackproof caulk and filled the nail holes with DAP Premium Wood Filler.
With the window caulked into the wall and the nail holes filled we could then apply a final coat of paint to the trim.
Exterior Siding and Sealing
To trim the window, I matched the rest of the exterior with a 5/4×6 picture frame and filled in the batten strips.
After the trim was installed Jamie filled the nail holes with DAP Platinum Patch which an exterior grade filler, suitable for all types of surfaces.

She then applied a bead of DAP DynaFlex Ultra all the way around the exterior trim and a bead of clear between the window and the trim. This is a great option for exterior caulk because of its lifetime resistance to mold and mildew, crackproof bond and easy water clean up.
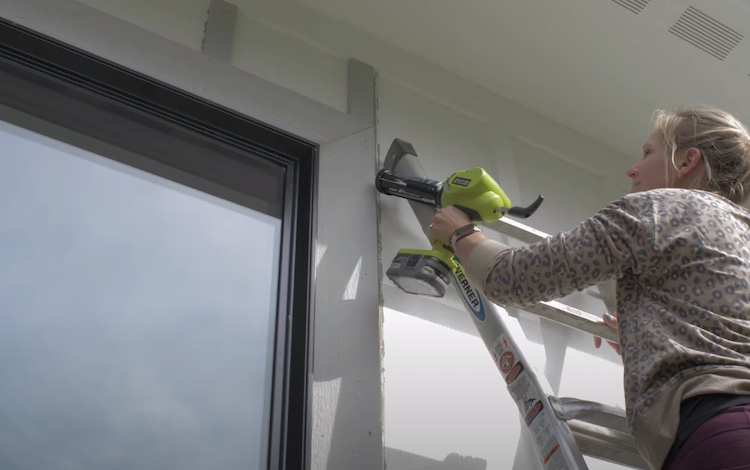
With all the caulk and filler dried she then moved onto painting the exterior trim and blending it all into the existing siding.

So there ya have it, a new, massive window, installed in a day. Drywalled, trimmed and painted the following 2 days.
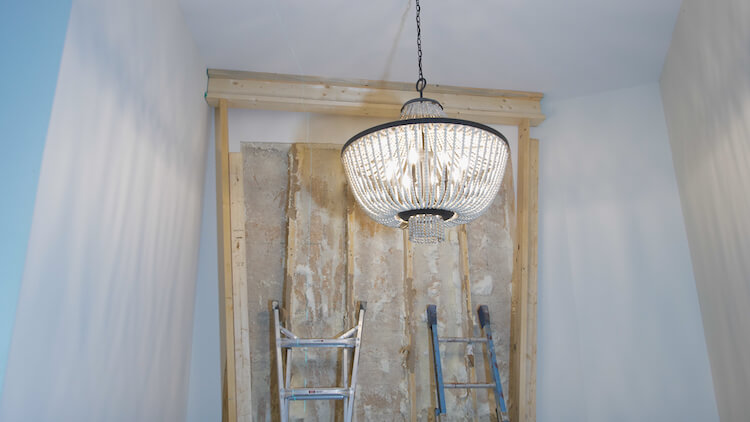
It was an oversight, not putting a window in thus wall when building the house, but totally worth the effort to do so after the fact. It lets so much natural light into a space that had none before. The mudroom use to be dark but now gets tons of light all day.
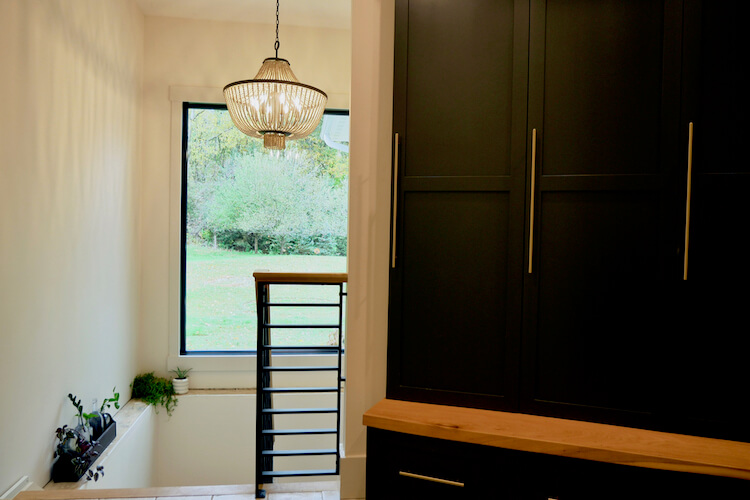
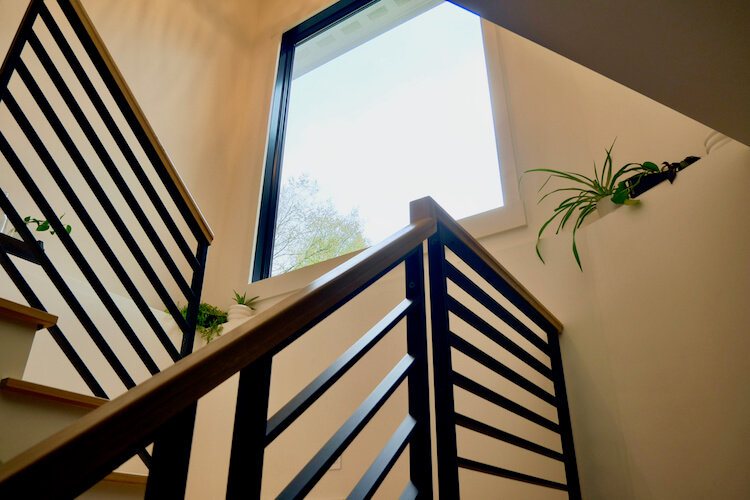
This side of the basement was always dark but now is filled with light in the afternoons. If you want to learn more about how the stairs and railing from L.J. Smith Stair Systems went in, check out our Dream House episode 10.
If you consider taking on a project like this, I would love to see how it turns out in the comments! Otherwise, thanks for reading and as always, be safe and happy building.