

2×6 Outdoor Bench w/ Back
Quick answer: This 2×6 outdoor bench with back is a Leopold-inspired build made from just four 2×6 boards (about $30 in lumber), three tools, and roughly 30 minutes of work. Two angled cuts per leg give it a proper reclined back — far more comfortable than the original Leopold design. Free plans below; the printable PDF puts the cut list and diagrams in one document. Designed, built, and documented by Jamison Rantz.
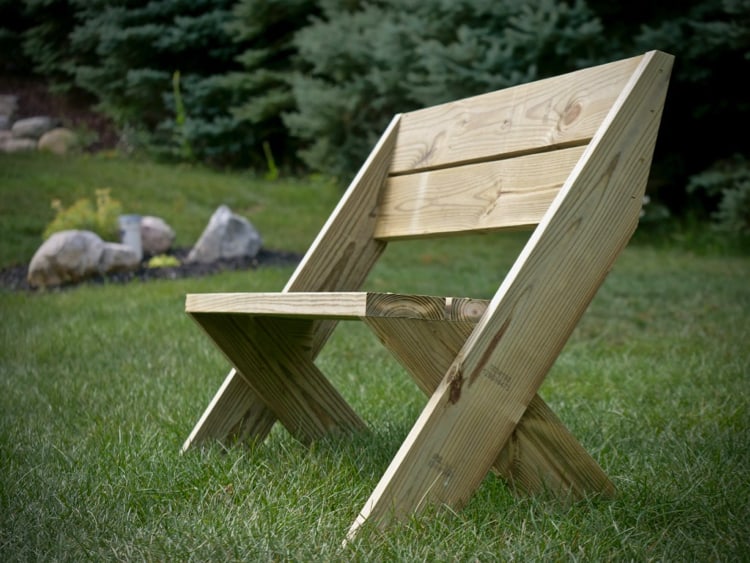
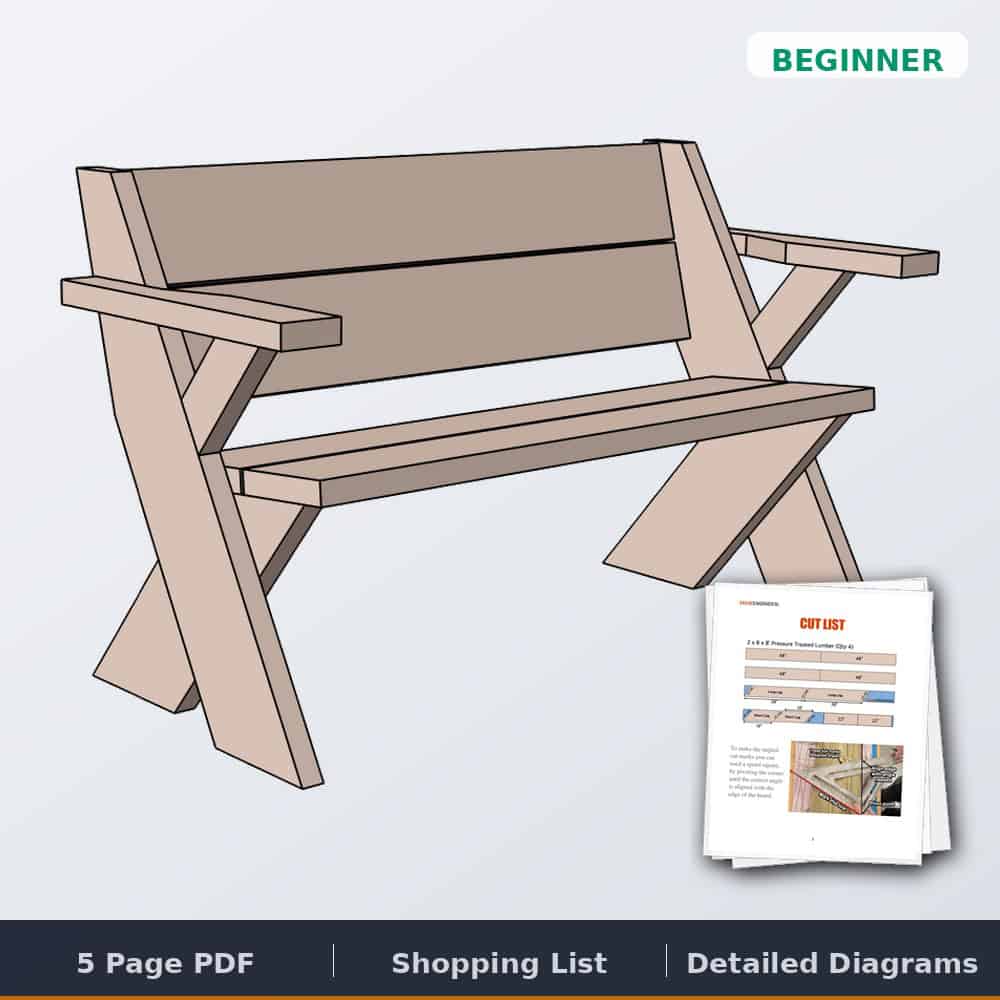
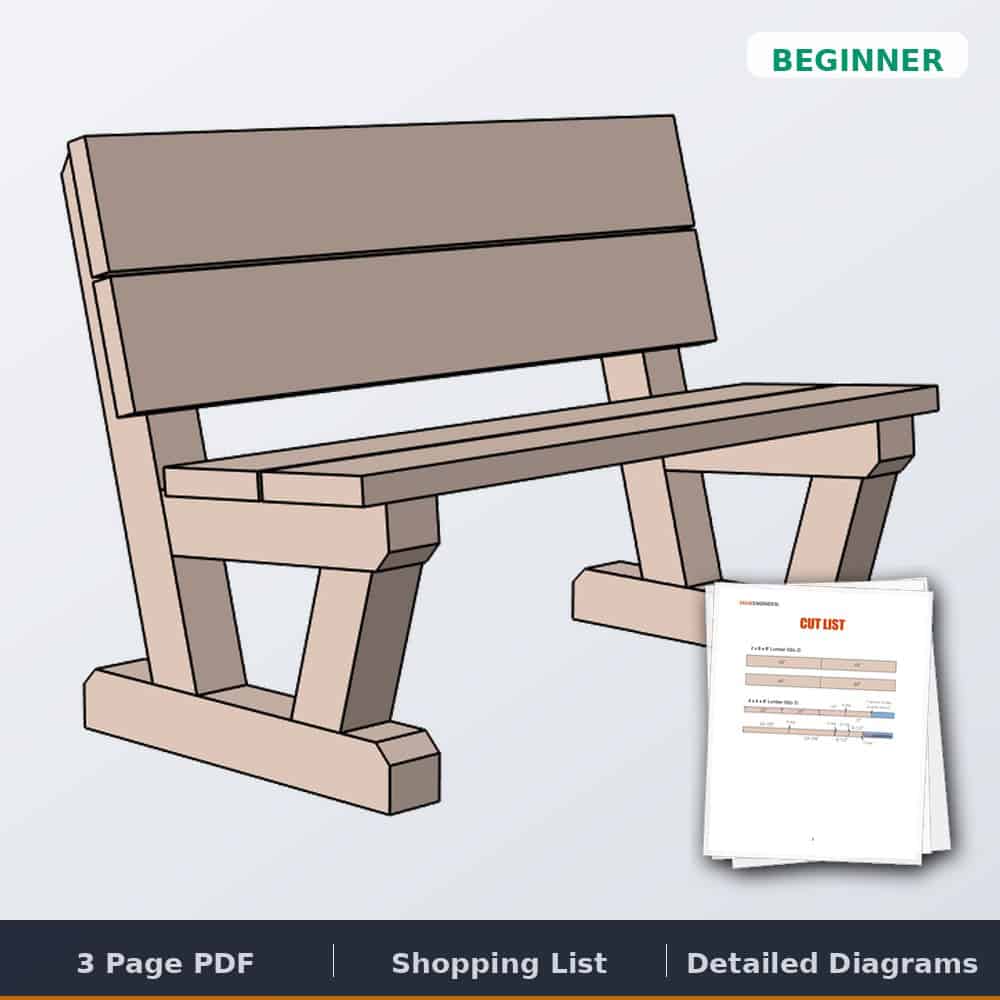
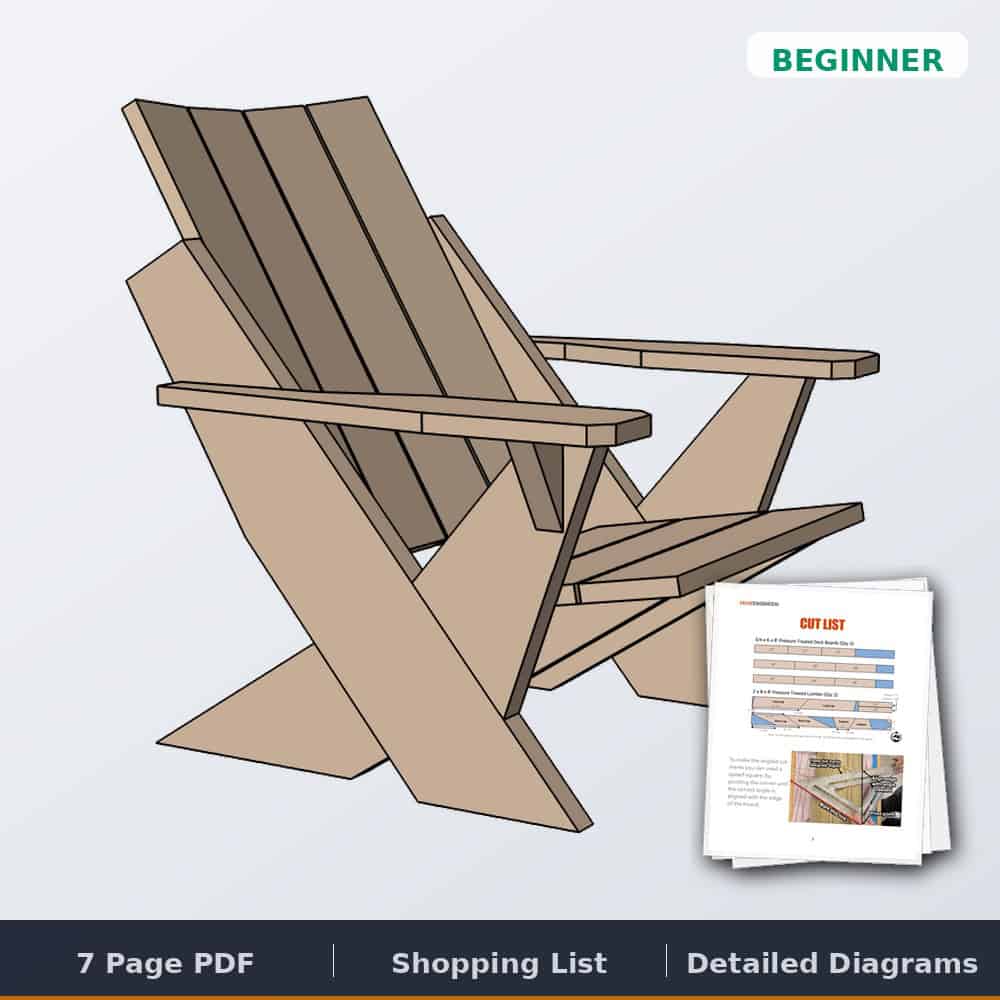
This bench is a spin-off of the well-known Leopold bench, named after conservationist Aldo Leopold, who built them for birdwatching and nature photography. I liked its simplicity but varied the angles for a more comfortable seat and a proper back. If you want the beefier version, check out the 2×8 bench with back — and the modern Adirondack chair pairs with either one.
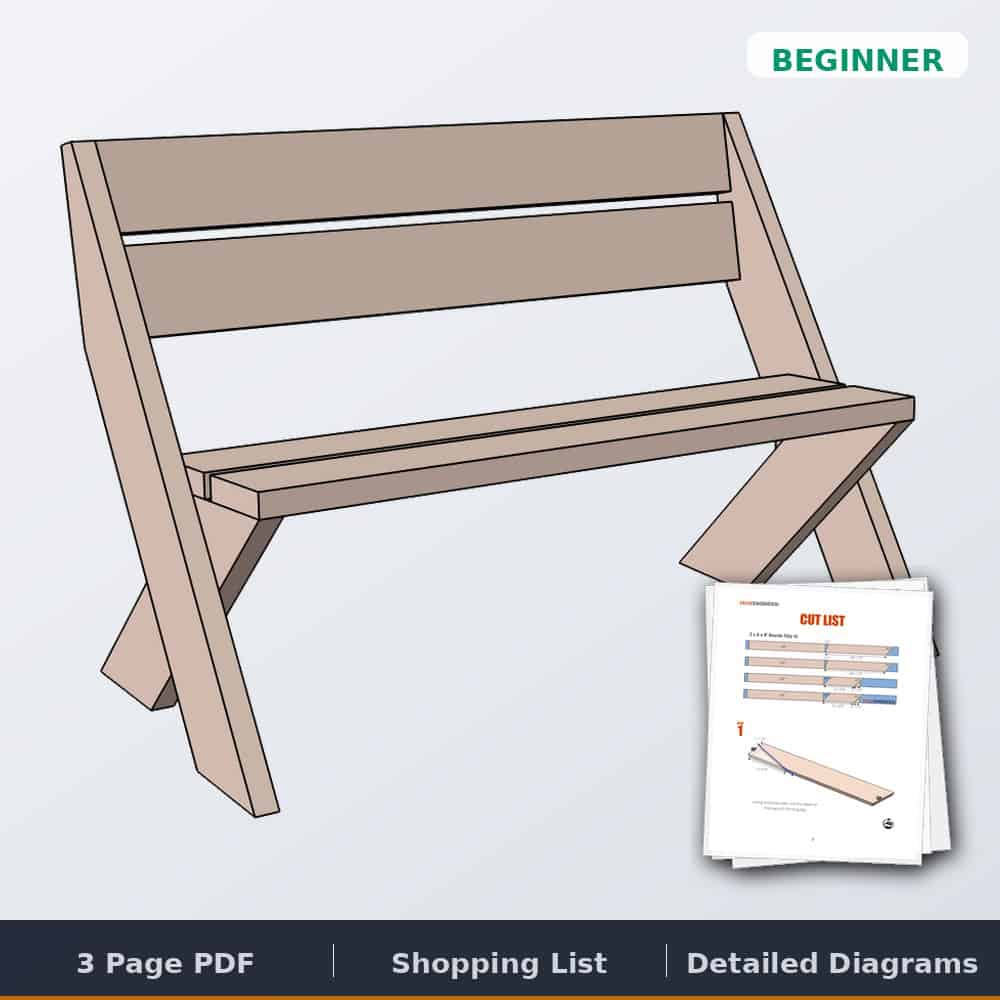
2×6 Outdoor Bench Plans
About $30 in lumber and three tools — the full cut list, diagrams, and assembly steps in one printable PDF.
Tools & materials
Dimensions

How to build an outdoor bench with back
These plans will guide you through how to build and outdoor bench with back using only four 2x6s and limited power tools in about 30 minutes for only about $30 in lumber.
Total Time: 30 minutes
Cut List
The 2x6s should be cut down per the following diagram. The angled cuts can be cut with either a miter saw or marked with a speed square and cut with a circular saw.
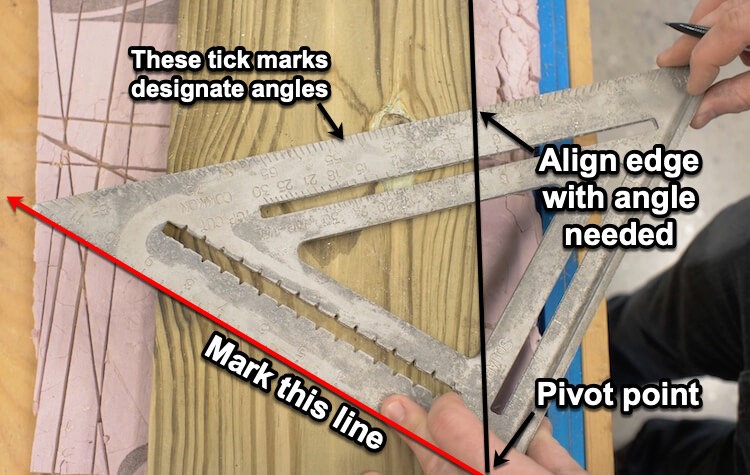
To make the angled cut marks you can used a speed square, by pivoting the corner until the correct angle is aligned with the edge of the board, as shown below.
Cutting the Tapered Back
Rather than leaving the longer leg a full 2×6, we need to cut a taper at the top of the back. Not only does it look nicer but it will be the correct angle of the back. Using the diagram below, mark the line with a straight edge and cut the taper with a circular saw.
Assembling the Legs
Pre-drill and assemble the two legs — mirrored, one left and one right — with 2½″ exterior wood screws. Use a straight edge to align the feet, and align the back of the short leg with the front of the long leg (about a 15½″ span across the seat supports).

Installing Back and Seat
The seat and back are the four 48″ 2×6s with ¾″ spacing between boards. Keep the back boards flush with the top and back of the legs, the seat boards flush with the front, pre-drill, and fasten with 2½″ (or longer) exterior wood screws.

Hopefully these plans gave you the confidence to tackle a project like this. If you have any questions or input please comment below — and show off your builds in the comments for others to enjoy!
2×6 Outdoor Bench Plans
About $30 in lumber and three tools — the full cut list, diagrams, and assembly steps in one printable PDF.
Not sure this is the right bench for your spot? We compared all six of our outdoor benches — cost, tools, time, and skill — on the outdoor bench plans page.
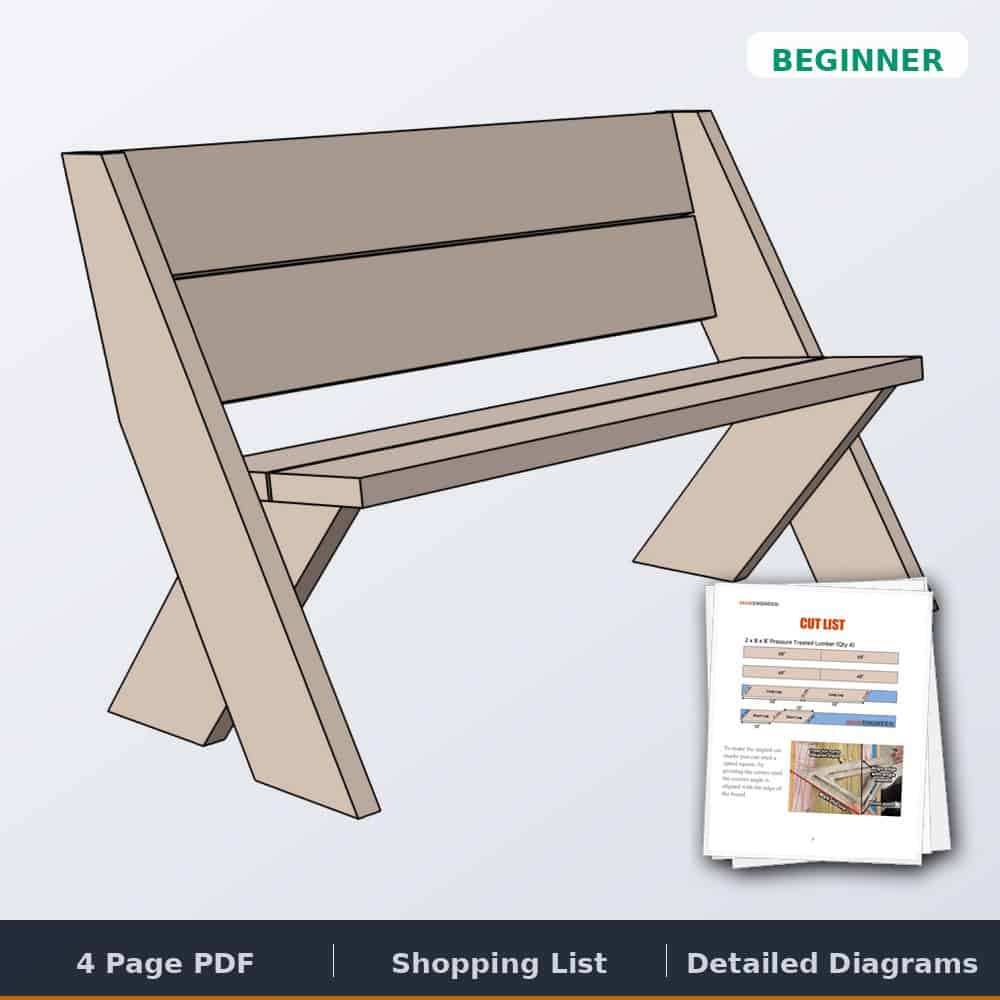
The cuts look wrong (reversed) on the long legs
I can see how this angle could be confusing. I will update the plans to make it more clear.