

DIY Outdoor Bench with Back
A 51″-long Leopold-style outdoor bench with back made from 4 pressure-treated 2x8s. Total time: 30 minutes (Beginner skill). Total cost: $30–50. Uses 3 tools — drill/driver, circular saw, and speed square. Tapered back leg for comfort. Built and tested by Jamison Rantz.
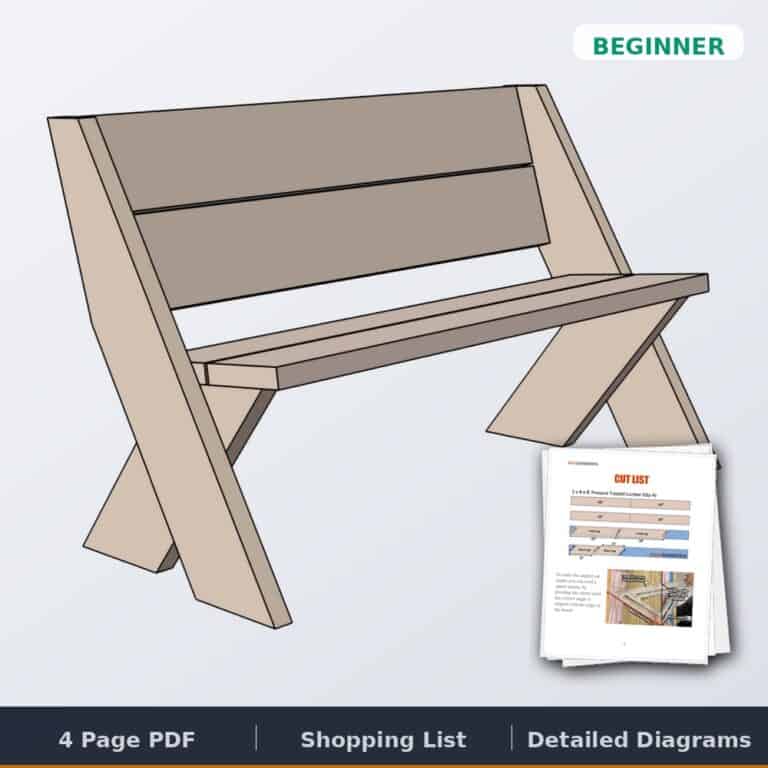
Want the ad-free, printable version?
Everything below in one organized, print-ready PDF — cut list, dimensions, step-by-step diagrams, shopping list. Perfect for the shop wall or your phone.
With our backyard ice rink, amazing fire pit area, and now a pergola for shade, an outdoor bench to take a break on was a priority project. I wanted to use this opportunity to come up with a design that would be easy and cheap to build, look good, and be comfortable. After doing some research I stumbled across a design called the Leopold bench (plans here) which was named after the conservationist Aldo Leopold who built them for birdwatching and nature photography.
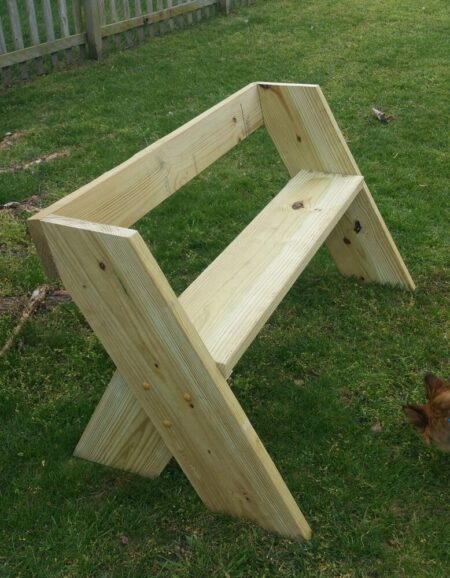
I liked the simplicity of the Leopold Bench but wanted to modify the design a little — adding a tapered back leg for a cleaner look, and sizing it for standard 2×8 lumber so it builds in 30 minutes with just 3 tools.
What you’ll need
Untreated boards are okay if you’ll be painting or sealing — these work.
Bench Dimensions
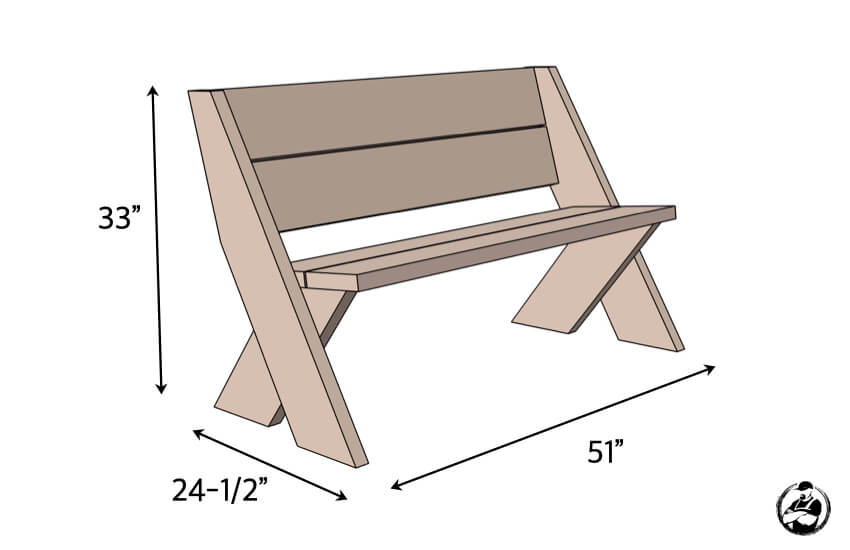
Final dimensions: 51″ wide × 24½” deep × 33″ tall.
How to Build the Outdoor Bench
Total time: 30 minutes · Difficulty: Beginner
Cut the wood
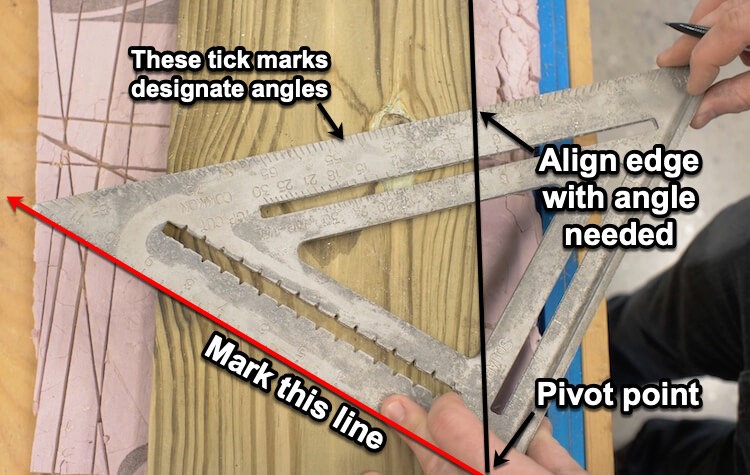
The 2x8s should be cut down per the following diagram. The angled cuts can be made with either a miter saw or marked with a speed square and cut with a circular saw.

To make the angled cut marks, use a speed square — pivot the corner until the correct angle is aligned with the edge of the board, as shown below.
Cut the taper on the back leg
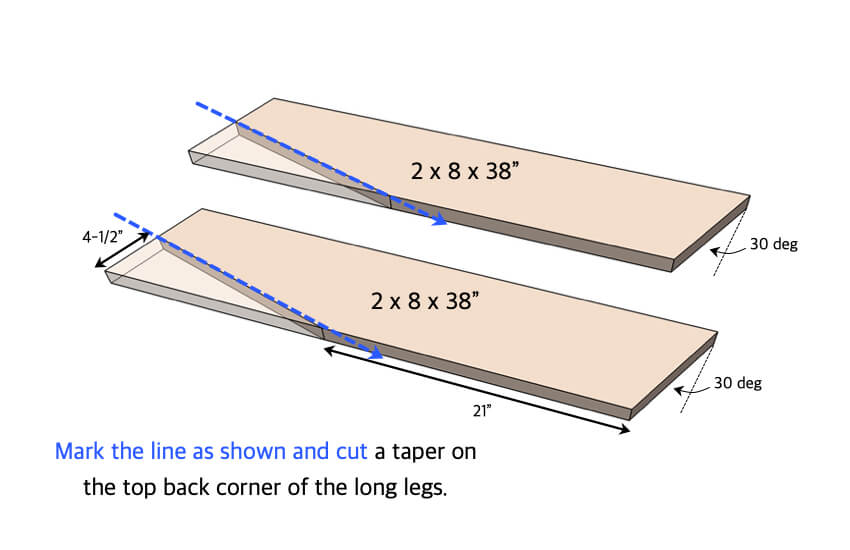
Rather than leaving the longer leg a full 2×8, cut a taper at the top of the back. Not only does it look nicer but it sets the correct angle of the back. Using the diagram above, mark the line with a straight edge and cut the taper with a circular saw.
Assemble the legs
The legs are assembled with four 2½” exterior wood screws each, as shown below.
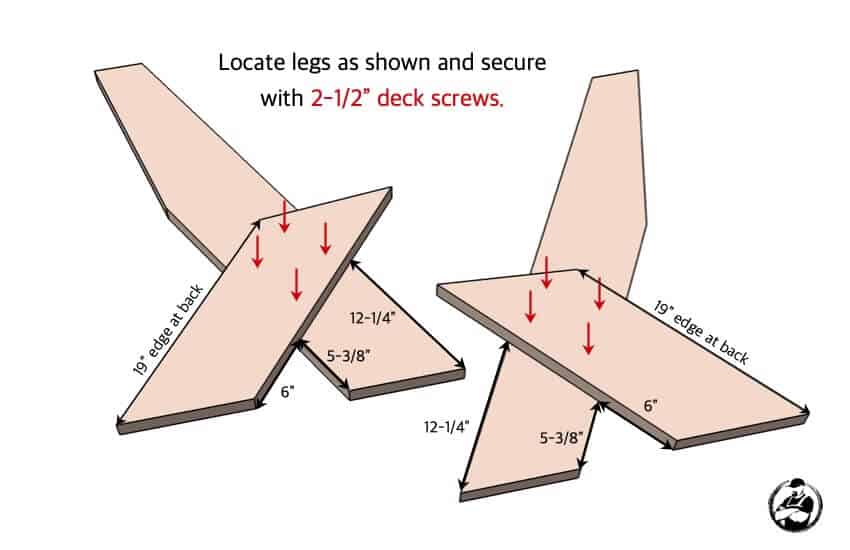
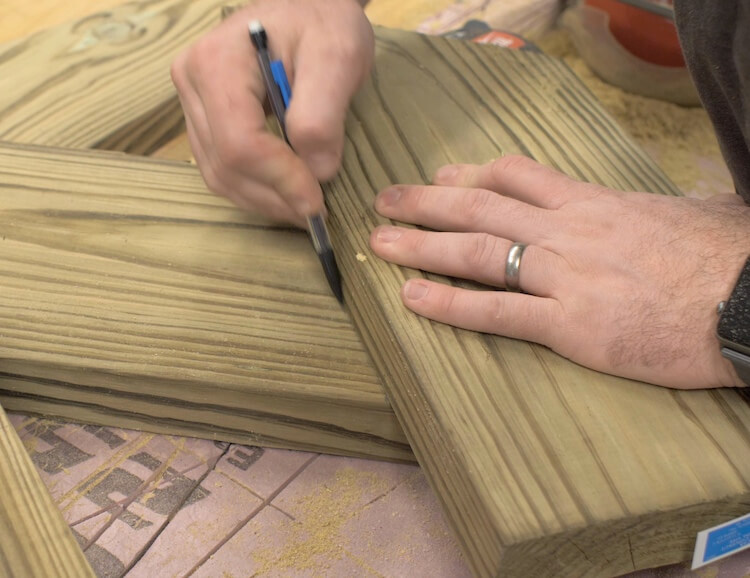
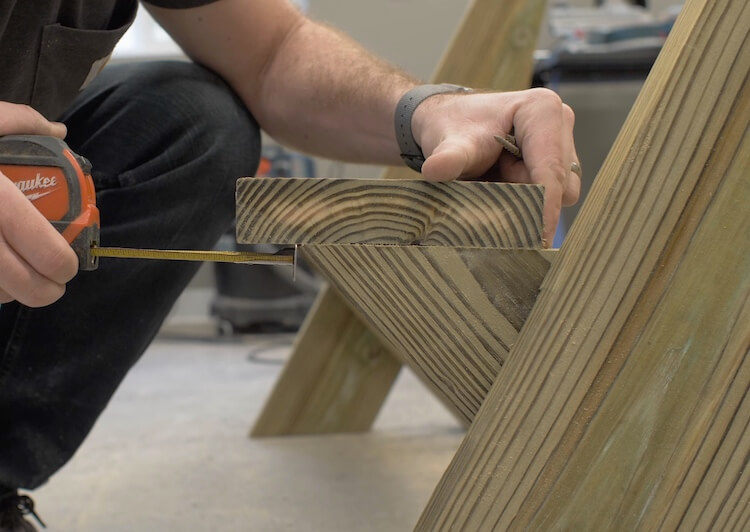
Use the dimensions in the diagram above to mark the line that the shorter leg will fall on (as shown below). Note that the 19″ side of the short leg should face the back of the bench.
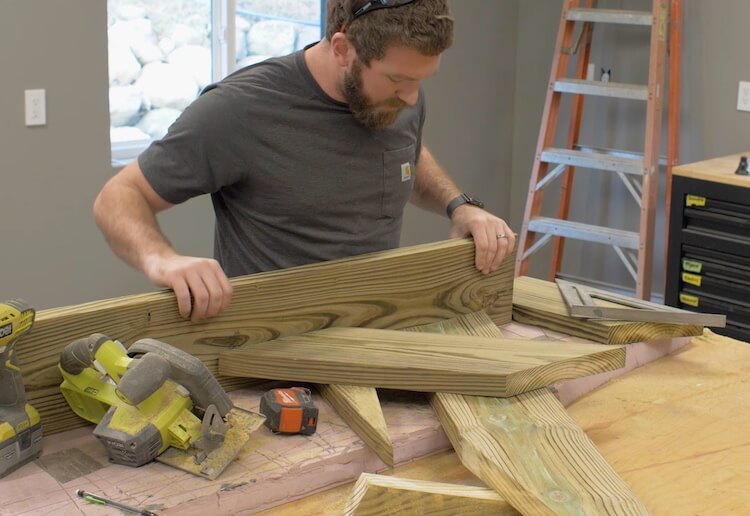
The 6″ measurement on the shorter leg should get the legs pretty close to correct alignment. Before securing, use a straight edge to check that the bottom of the legs are in the same plane (will sit flat on the ground when upright). Then secure with the four 2½” exterior wood screws each.
Attach the seat and back
The seat and back can now be installed with 2½” exterior wood screws as shown in the diagram below.
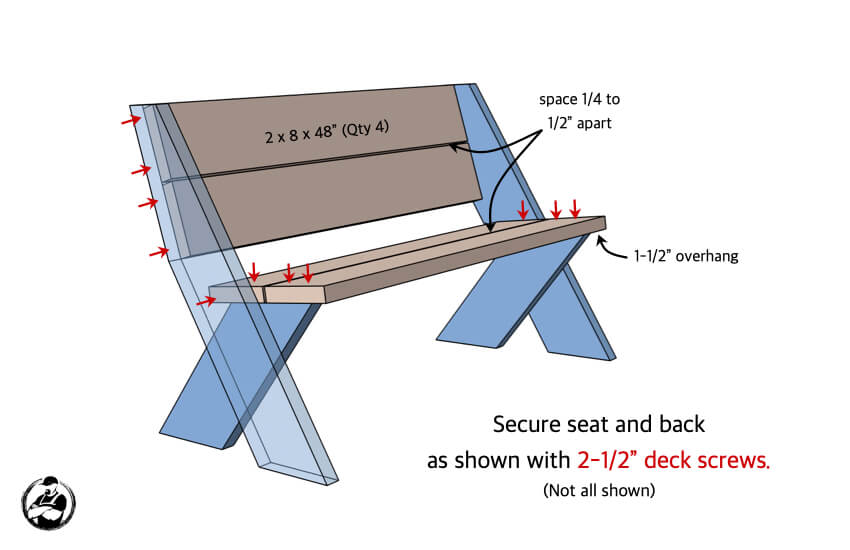
Overhang the front of the seat by 1½” and space the boards about ¼” – ½” apart so water can drain through.
The finished bench
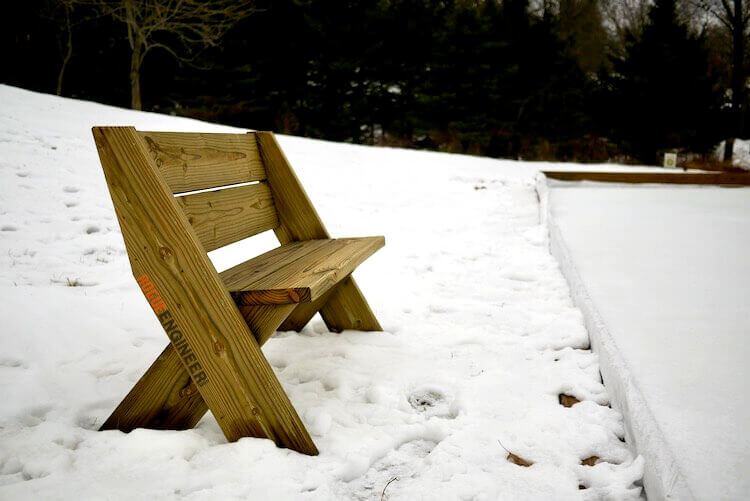
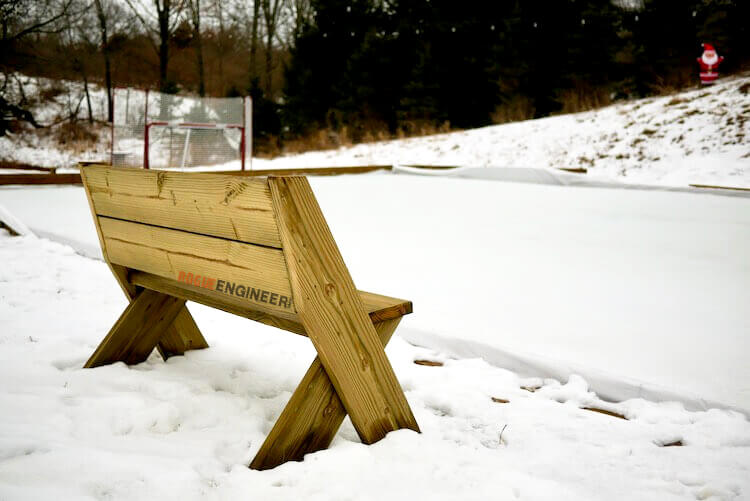
Three power tools, $30 in lumber, 30 minutes — and you’ve got a Leopold-inspired bench that looks at home next to a firepit, on a porch, or anywhere outdoors. Throw a coat of stain on if you want it to keep its color, or let it weather naturally to silver-gray.
Common questions
How long will pressure-treated lumber last outside?
Pressure-treated pine lasts 15–25 years above ground in most climates. The chemicals in PT lumber resist rot and insect damage but don’t make the wood waterproof — applying a sealer or stain every couple of years extends both the life and the look.
Can I use cedar or redwood instead of PT?
Yes — both are popular swaps. Cedar is naturally rot-resistant, lighter weight, and finishes beautifully. Trade-offs: cedar runs about 2–3× the cost of PT pine and is softer (dents more easily). Redwood is similar but harder to find. The cuts and assembly are identical to the PT version in this plan.
Do I need to seal or stain the bench?
Not for rot resistance — PT lumber handles that on its own. But applying an exterior sealer or stain in the first year and refreshing every 2–3 years keeps the bench from graying out and dramatically extends its visual life. Skip it and the wood will weather to silver-gray within a season.
What’s the weight capacity?
This 4-board frame comfortably holds 500+ pounds — well beyond two adults seated. The strength comes from the leg-to-seat joinery; if you’re worried about long-term flex on longer benches, add a center support post for spans over 60″.
Like it? Get the plans to have in your shop.
The printable PDF lives on your phone or shop wall — cut list, dimensions, all steps in one ad-free document, ready to reference forever.

Related Plans
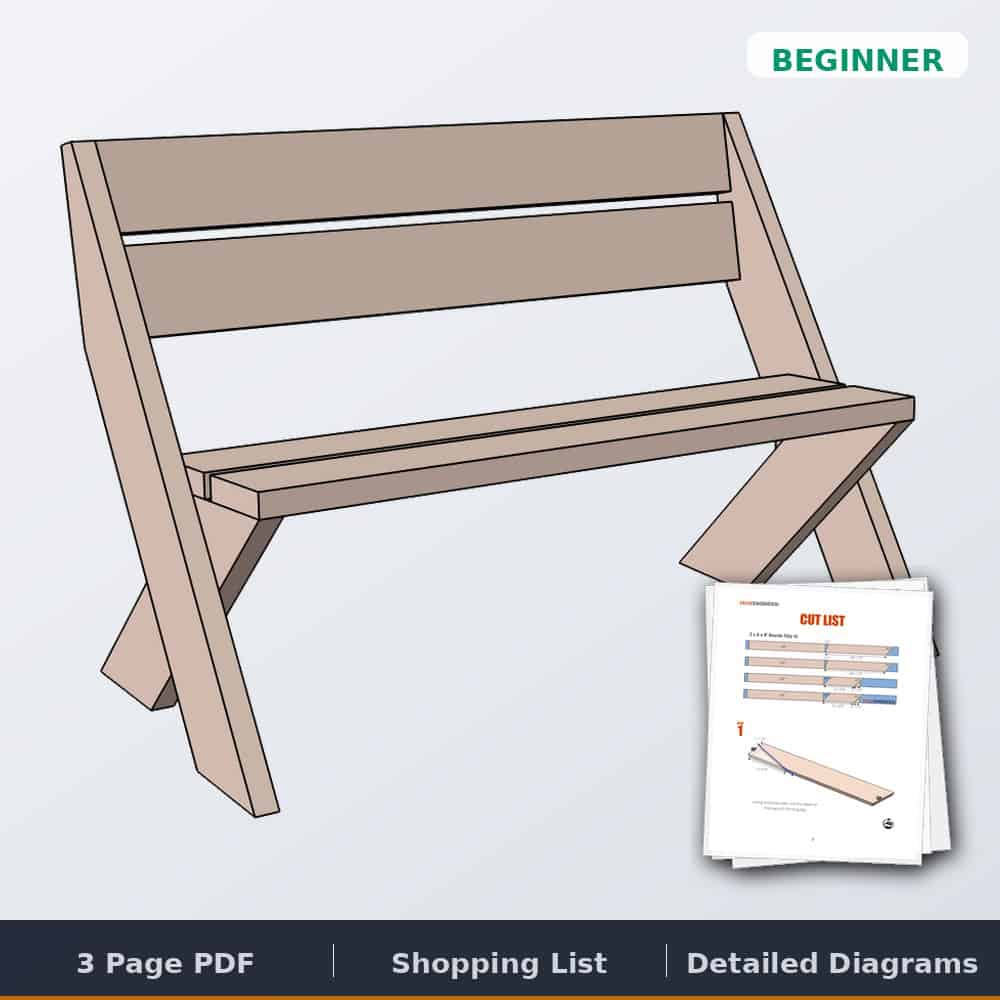
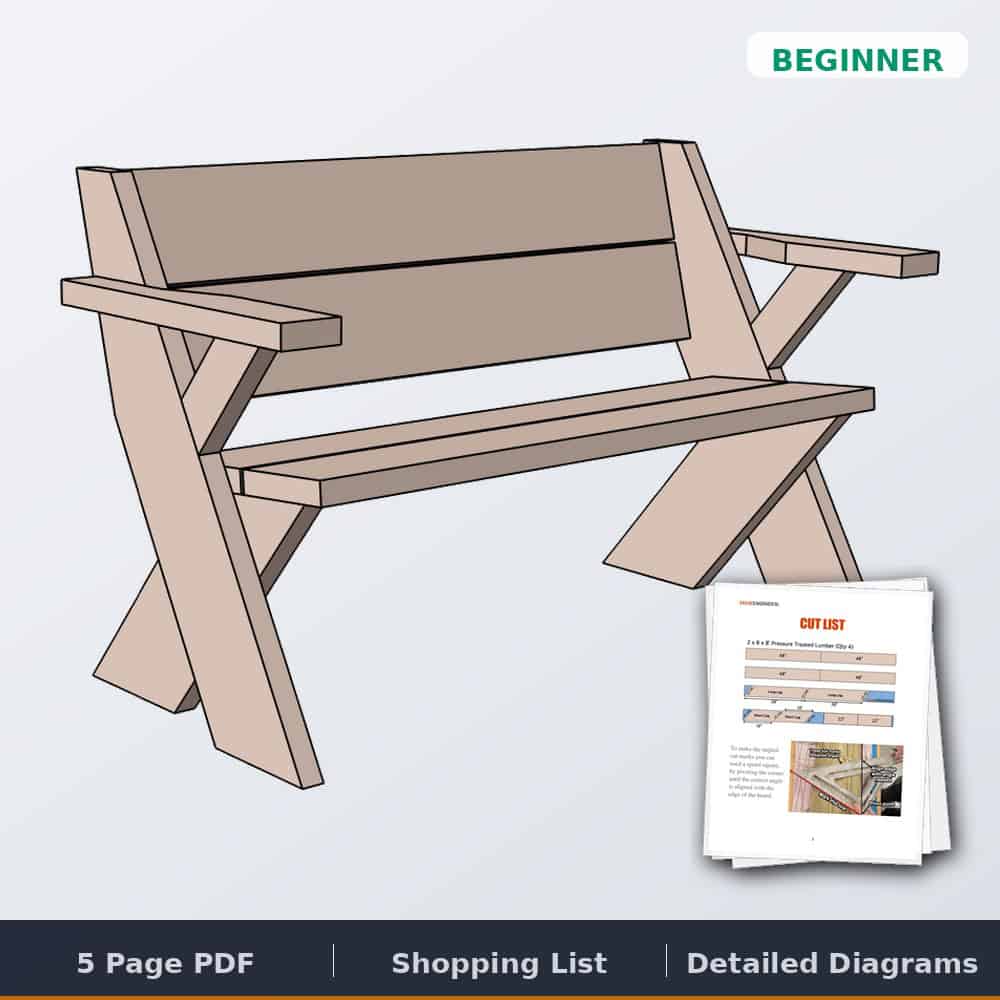
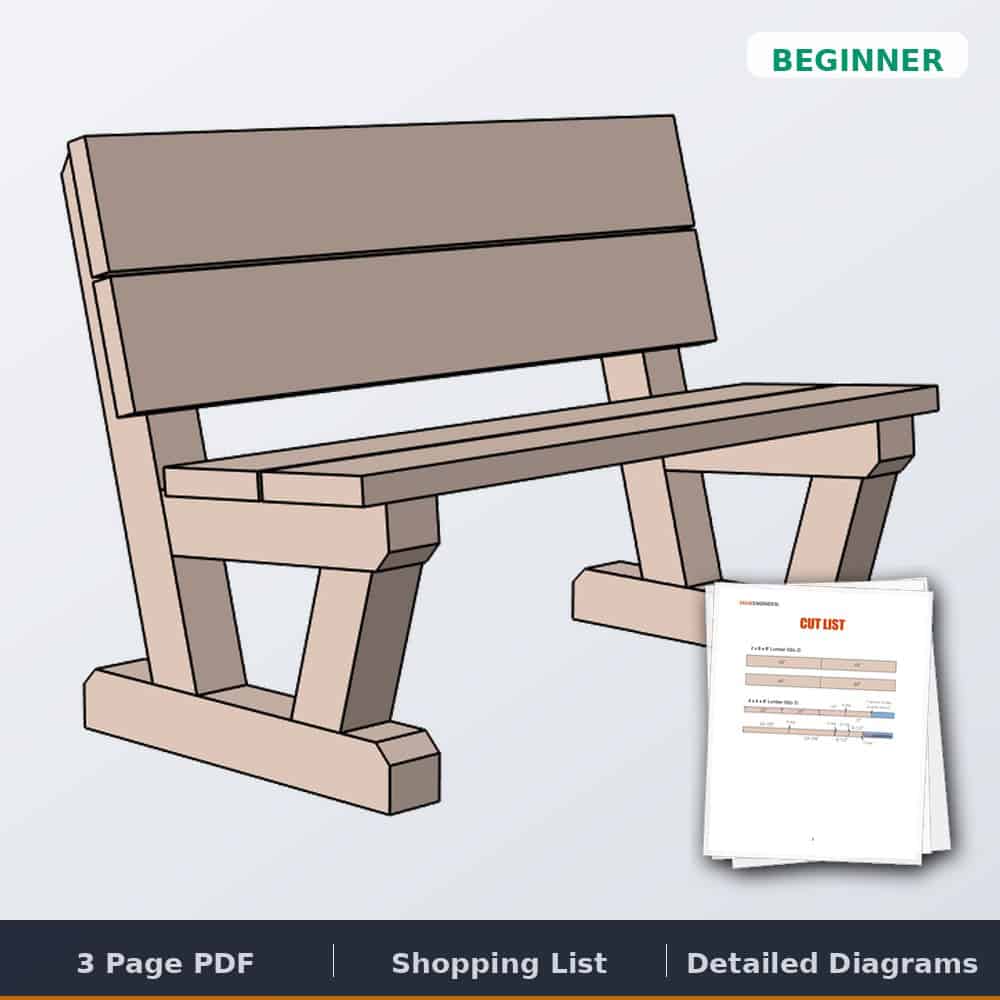
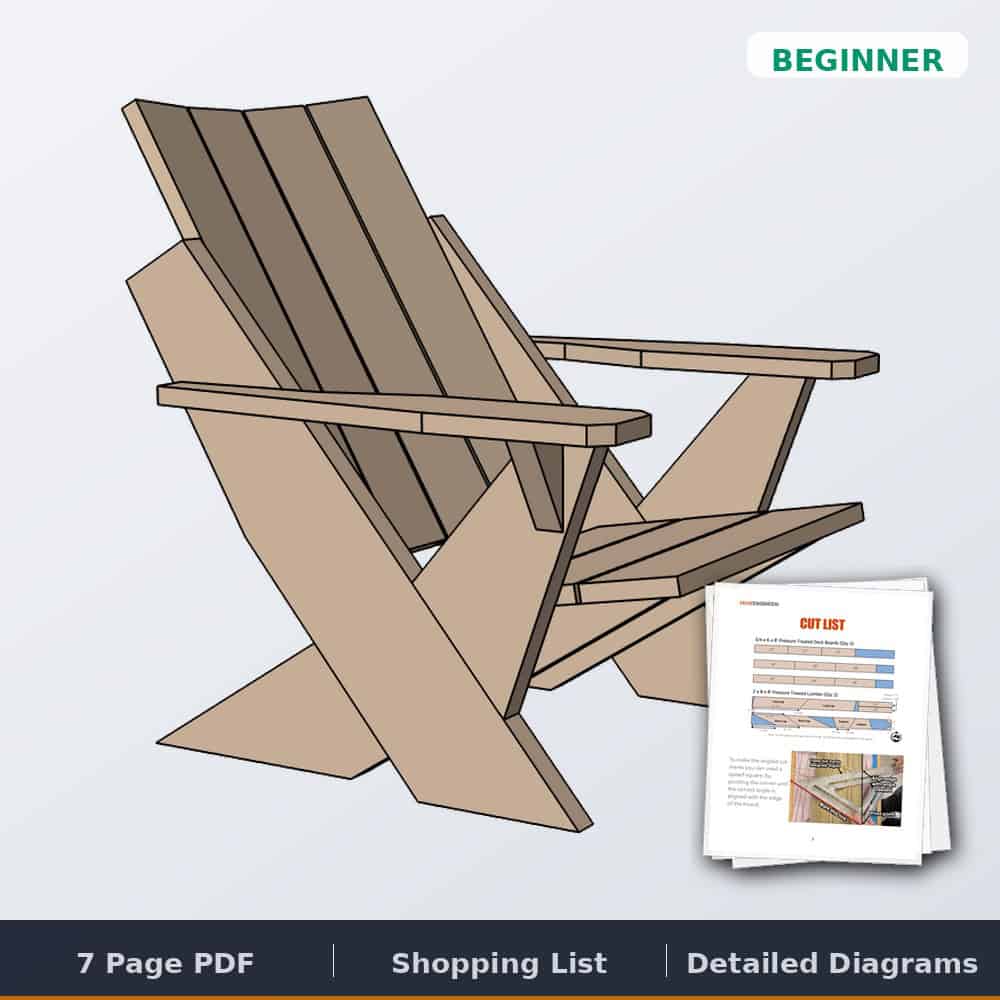
Not sure this is the right bench for your spot? We compared all six of our outdoor benches — cost, tools, time, and skill — on the outdoor bench plans page.
Other outdoor seating builds with printable plans:
first saw this design when I worked with BSA, now they are Scouts of America, my eagle scout worked on a bike/hiking trail across South Carolina, that had these benches. BSA adopted them because the where simple & easy as well as strong. We could not let scout use power tools, but hand tools where find.
Thanks for the detailed video. This joel
Thanks Joe!
These look like great, easy, durable benches and I’d like to build one. Am a bit confused about the longer of the two legs; are both ends cut at 30 degrees and then the top cut (for the angle) again the 4 1/2″? Or do you leave one end straight and then go in 4 1/2″ to make the angle? Either way, how far down do you run the angle? Must be 2 times the width of the 2 x 8 plus the gap?
Both ends of the long leg are cut at 30 degrees to start. Then in step 2 I show how to measure and cut the taper at the top. It’s 4-1/2″ in from the back and 21″ up from the bottom. Connect those two and that will give you the line.
It says free plans but when I click the download button it states $5
A $5 fee is now required to download the PDF however you are able to view the plans in this article for free. I put a lot of effort into curating these plans and if you would like the additional convenience of having a printable version, a $5 fee is how you can support the website so we can continue to put out great content.
Understood, Thanks.
Love it. Going to get my husband to make one or two.
Thanks! Post a pic when you are done!
Why on the short pieces is one 19″ and the other 20.25″ and why are the angles different? 40 & 45
Am I missing something? Does the 45 angle go to the seat or the ground ?
One is upside down. With the different angles at each end you end up with a long side and short side. The 45 deg angle is at the seat and the 40 deg angle is at the ground.
He cut them all at 40, but seems to work ok.https://uploads.disquscdn.c… https://uploads.disquscdn.c…
Hello! Excellent work, everything is very simple and fast. I like your design, I would like to try to do it. I am just starting to work on wood, most often when I needed to do something I called the employee at https://contractorfinder.bradfordwhite.com/contractors, but I’m sure that I can do the bench. I have a garden behind the house, I want to put one there. Thank you for sharing, have a nice day!
Thanks so much for this very comfortable plan! It was so easy too, thanks
Thanks!
$30? treated pine bust be cheap in your location, and decent guage exterior screws. I’d be up for double , but nice design though and worth doing if you need a seat.
Yea the price will vary depending on location for sure.
Hi Jamison,
I am a newbie in woodworking/DIY. In Australia, we don’t get 2x8inches timber. If we replace 2x8inches with 190*45mm do we need to change the angle of cuts ? Not sure what else needs to be tweaked, if we change the timber ?
Thanks
Harmit
That should be roughly the same. The angles will not change.
Made one today. It came up so nice. Not perfect due to my skills. But the design is so awesome!! https://uploads.disquscdn.c… Thanks a lot for the plan!!
A slight variation of an Aldo Leopold bench, which I have made several and liked a lot. This version is a little more eye pleasing though.
Woohoo! I made the bench! Thank you so so much! So nice to feel accomplished during this social distancing.
Definitely cost a little more then 30 dollars as I had to buy the saw, and Home Depot was VERY concerned about me
Purchasing a saw and blade. Jokes on them!!
I did have homedepot cut my 48” pieces so I could fit them in my car but now I’m one piece short because said homedepot cut it to short, I think I might leave it this way though.
Thank you again! As a young female it’s so fun to tackle something like this!
Trying to post a photo but the system keeps telling me to log in when I am logged in. Happy to email it over!
Hi Jamison, very nice build.
Can you please tell what is the base you are cutting on?
Is it lumber or other stuff?
Thanks
I have leftover 2x6s – what modifications could I make to this for a kids bench?
Built this bench today to put in the woods behind our house. Pretty easy and quite comfy. Thanks for sharing your plans! https://uploads.disquscdn.c…
Hi Jamison,
To go with your bench, do you have any plans for a matching table ?
Jim