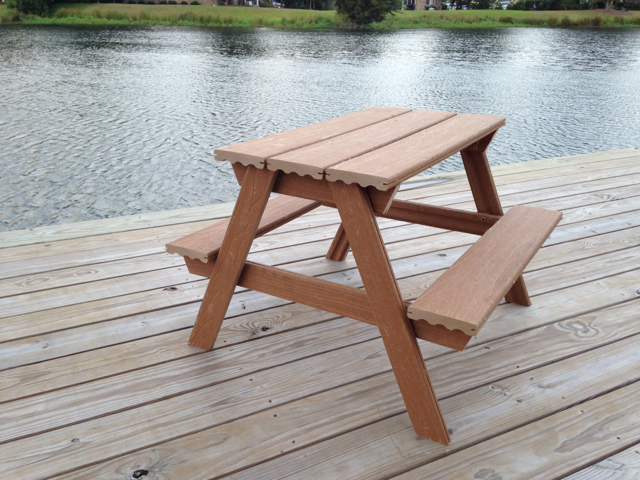
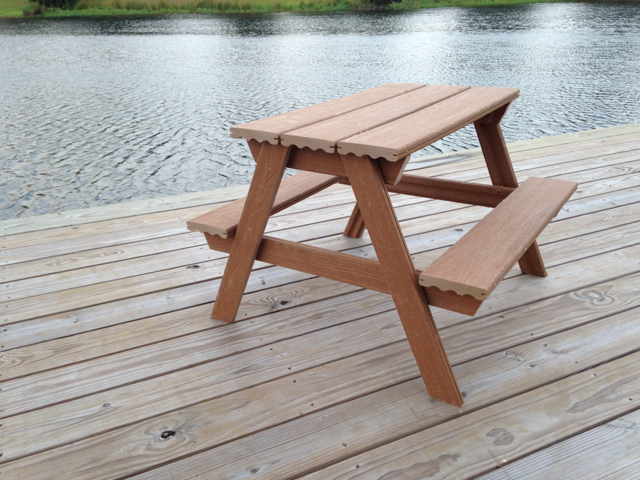
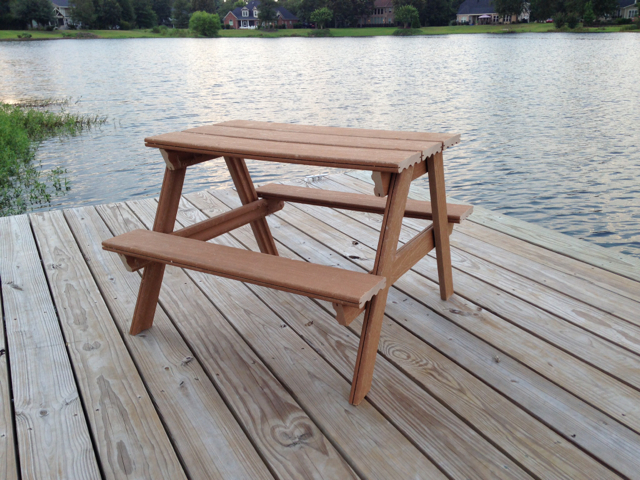
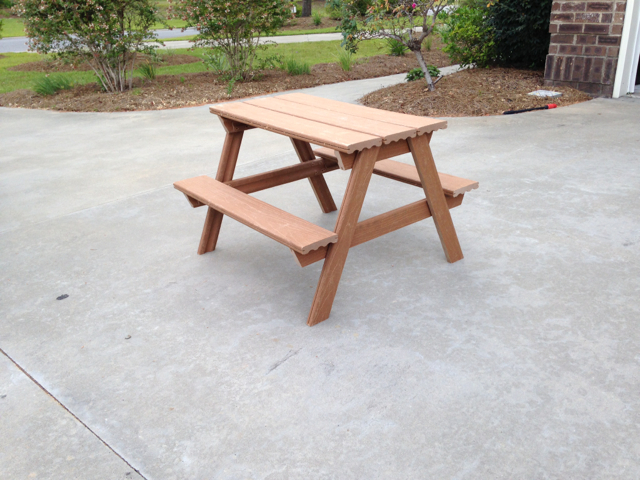
So this past Christmas I want to make my parents something that they would love. One thing that I kept hearing from them over and over, again and again was how awesome this outdoor composite furniture they just got was. “It will last forever!” “It doesn’t require any maintenance!” So after a bit of thinking I decided on a composite toddler picnic table to match. With them constantly have grandchildren around, what could be better then a composite toddler picnic table! So I built this table using only three 8′ long composite decking boards. That’s one awesome composite toddler picnic table for only about $45! Your welcome!
Required Tools
- Miter Saw
- Table Saw
- Kreg Pocket-Hole Jig
- Cordless Drill
- Level
- Tape Measure
- Safety Glasses
- Ear Protection
Materials
- 3x 1 x 6 x 8′ Composite decking boards
- These are actually 1″ thick by 5-1/2″ wide
- Most come in 16′ lengths. (I bought three 16′ boards and built two tables)
- 1-5/8″ Exterior Wood Screws
- 1-1/2″ Kreg Blue-Kote Pocket Hole Screws
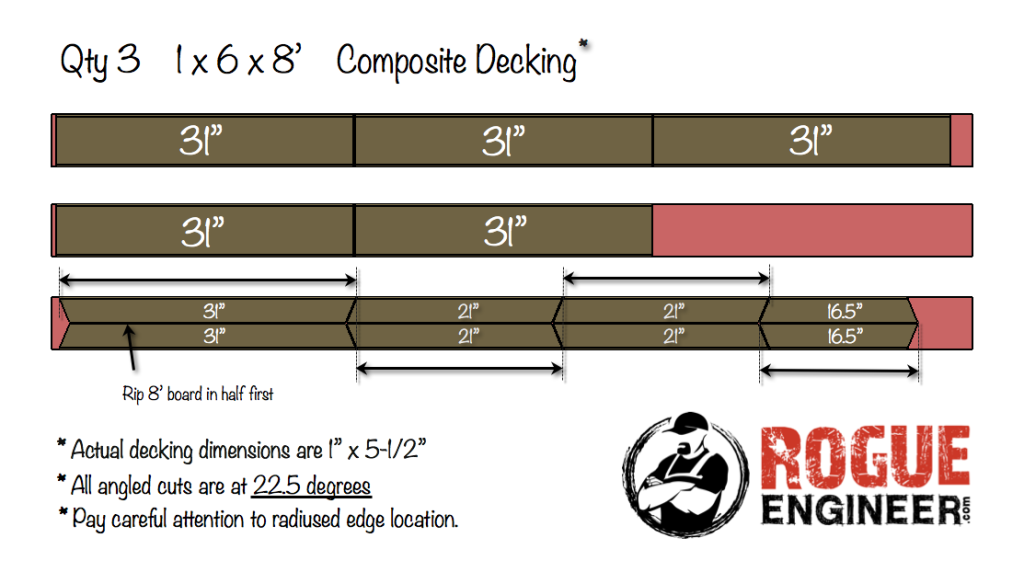
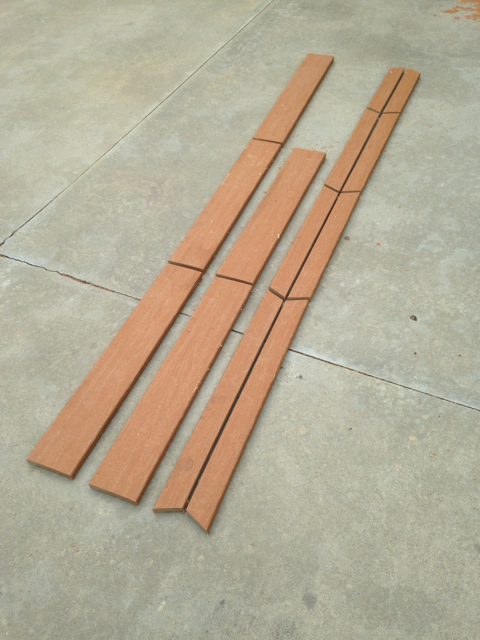
Cut List
Composite Toddler Picnic Table Plans
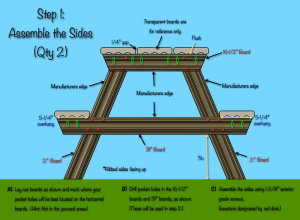
Step 1: Assemble the sides (Qty 2)
Taking note of the manufacture edge locations, start out by first laying the boards out as shown. Position the boards used for the table top and the seats where they would go and mark, on the 16-1/2″ board and the 31″ board where the pocket holes should go to be most effective. (Hint: Not in the grooved areas)
Drill your pocket holes as shown. (These will be used in the next step.)
Then lay the boards out again and assemble using 1-5/8″ exterior screws (Locations designated by red dots). Stand the side up and check horizontal boards for level.
Brayden playing in the sawdust!
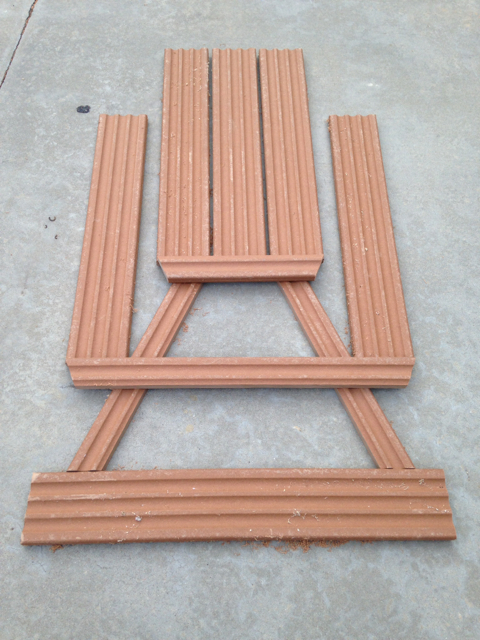
Layout as shown
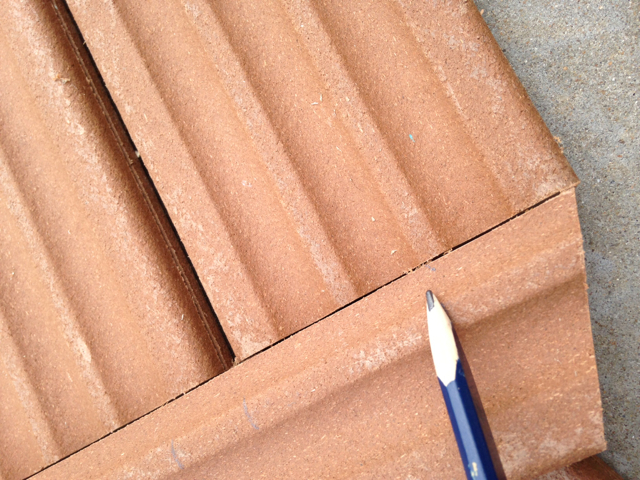
Mark your pocket hole locations
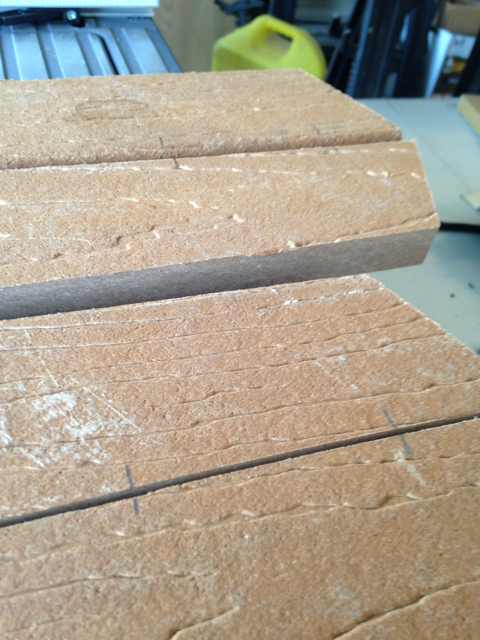
Transfer Markings
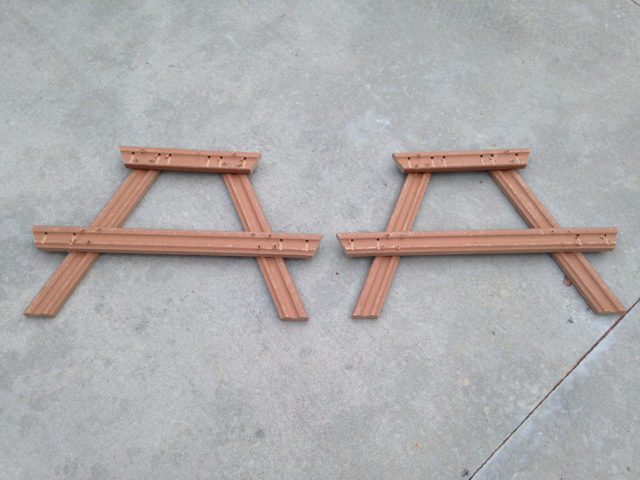
Drill pocket holes and assemble sides
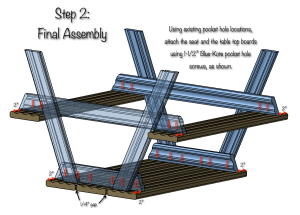
Step 2: Final Assembly
Lay three of the 31″ boards on the ground evenly with a 1/4″ gap in between them. Set each side center to the top and in 2″ from the ends. Utilizing the pocket holes drill in the last step, assemble using 1-1/2″ Blue-Kote pocket hole screws.
With the seats in place, 2″ from the ends as shown. Utilizing the pocket holes drill in the last step, assemble using 1-1/2″ Blue-Kote pocket hole screws.
Finishing
Since kids will be using this, it’s a good idea to go ahead and knock down all the sharp edges with a sander but other then that your done.
Comments
As always if you have any questions don’t hesitate to comment below and especially don’t forget to post pictures of your finished products in the comments! ENJOY!

