Okay so I am almost ashamed of myself for taking so long to publish this. But hey, better late than never right? Anyways, if you didn’t know already, we bought a house a while back that we wanted to renovate. If you want to see how it started out check out our before tour. Basically it was a total gut and obviously the master bathroom was part of that. While I did take on building the vanities and cabinets. I decided to hire out the tile work in the shower. I’ve tiled floors, backslash and walls before but never a shower. I knew I could probably figure it out, however, I want to see it done first hand and I thought this was a good opportunity to learn from a professional.
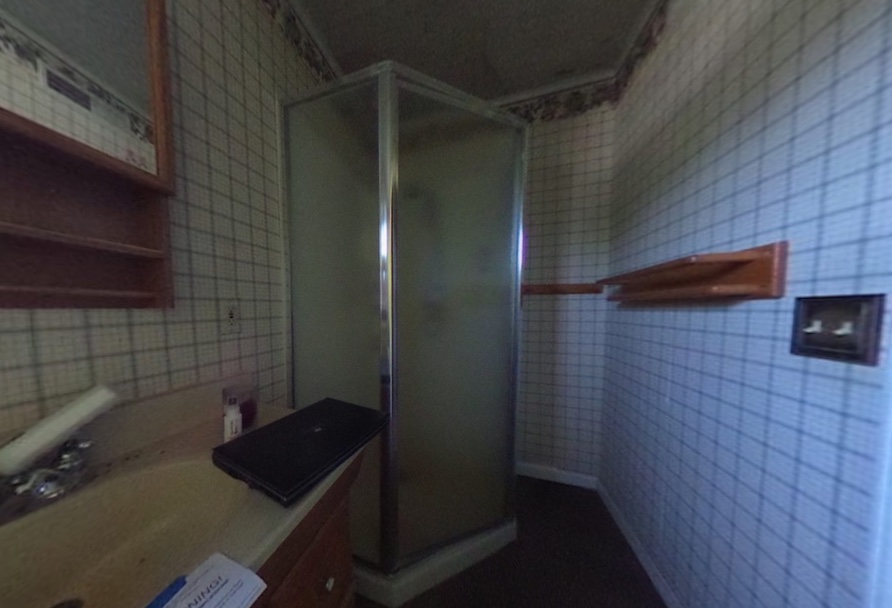
Below you will see what we started with. It wasn’t pretty.
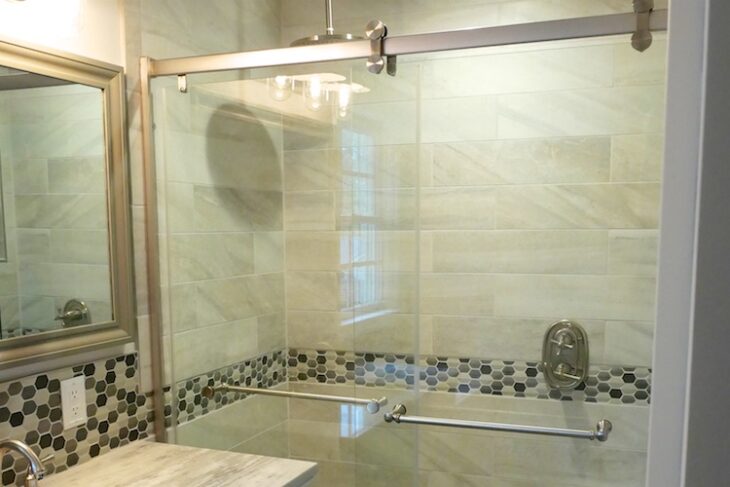
And now, the final reveal! What a huge difference.
Don’t forget to subscribe on YouTube and for sneak peeks of our upcoming projects be sure to check out Our DIY Life on YouTube, follow us on Facebook and Instagram. Also, follow me on Pinterest to get tons of projects plans from all around the web!
Waterproofing the Shower
When it comes to showers, there should be some waterproofing involved. Okay, there should be a lot of waterproofing involved and we decided to go with Schluter Systems products to make sure it was done right. To do so you have to make sure a good base membrane is installed before any tile is set.
Setting the Shower Tray
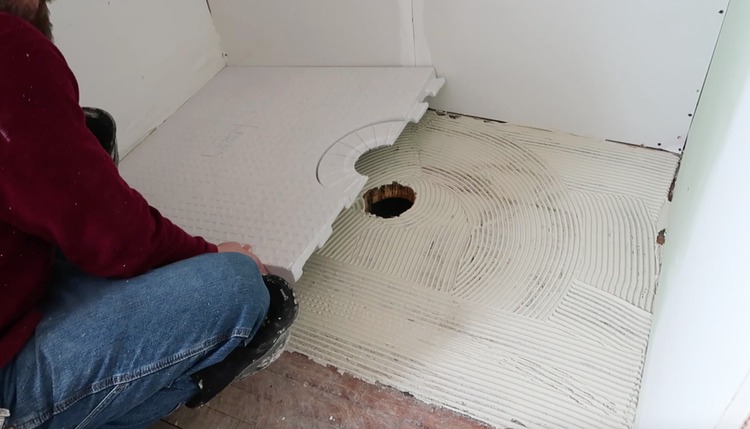
For this shower we went with the KERDI-SHOWER-ST sloped shower tray from Schluter Systems. To set this shower tray we simply trimmed the tray to fit out space with a utility knife, spread Ditra-Set (or Schluter Set) with a 1/4″ x 3/16″ (6 mm x 5 mm) V-notched trowel and pressed the shower tray into place.
Setting the Drain
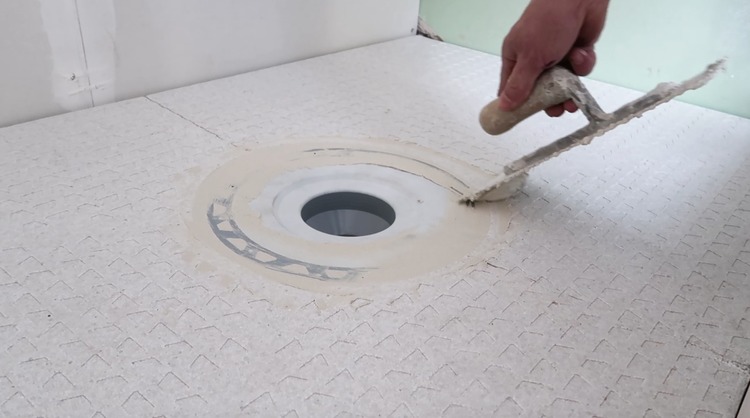
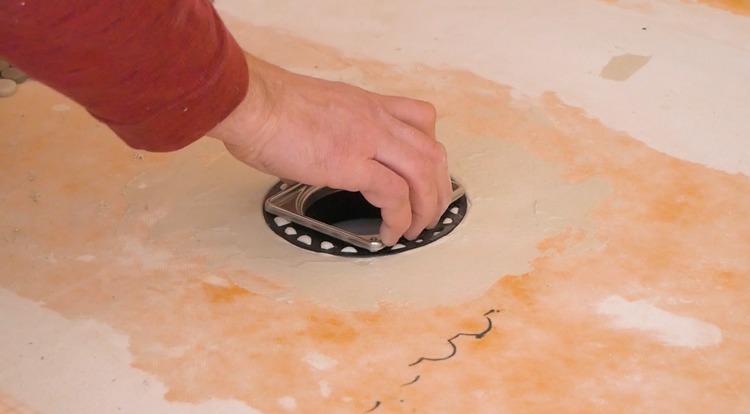
With the tray installed, now the drain gets set with the same mortar mix and the plumbing is connected below.
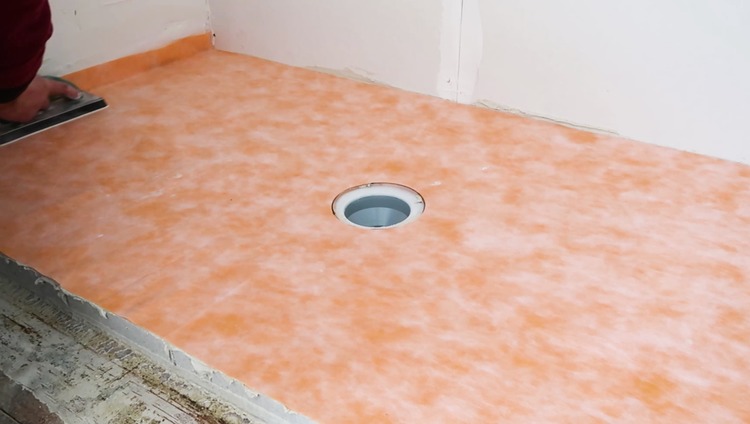
Waterproofing Membrane
Now the KERDI waterproofing membrane gets cut to fit and installed with the same mortar mix and pressed into place with a float.
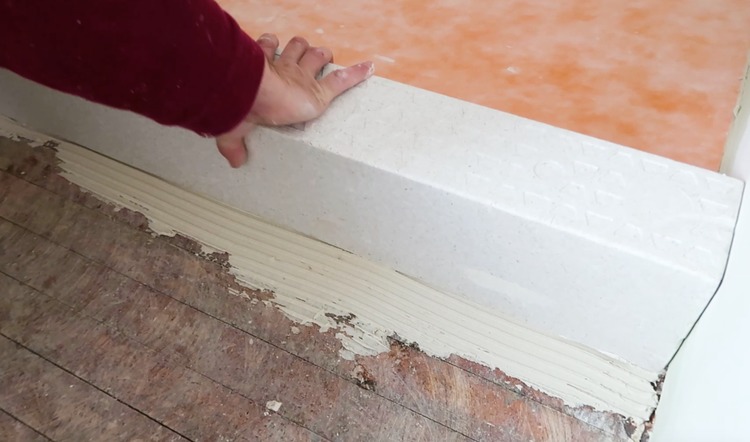
Setting the Curb
We opted for a prefabricated curb from Schluter and that is easily cut to fit and mortared in place.
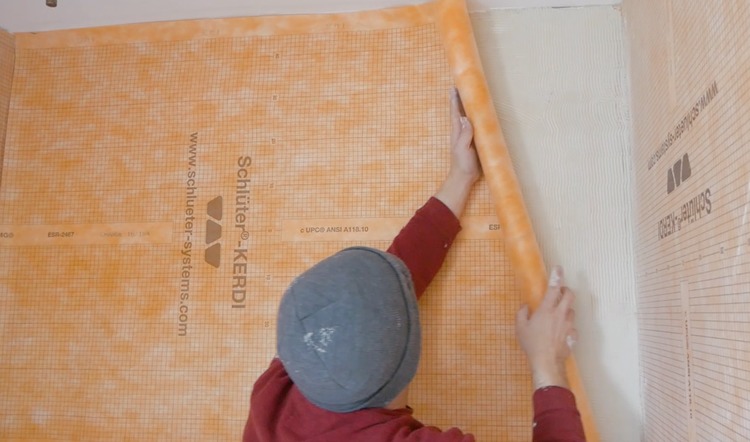
Waterproofing
To waterproof the walls, floor and curb, they all get covered with the KERDI waterproofing membrane and mortared in place.
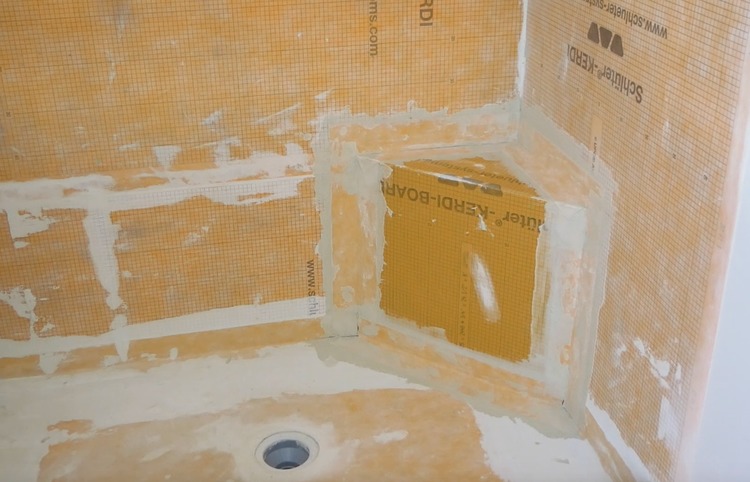
Installing the Corner Bench
Schluter makes a prefabricated corner bench that can be mortared into place along with the corner pieces to overlap and create a completely water tight bench.
Tiling the Shower
Not only is the KERDI membrane a great waterproofing barrier but it is also a great surface to tile against.
Shower Floor
For the shower floor you need to start by mortaring the drain into place. Take extra care to make sure that the drain is perpendicular to the wall (when you lay the tile it will show if it isn’t).
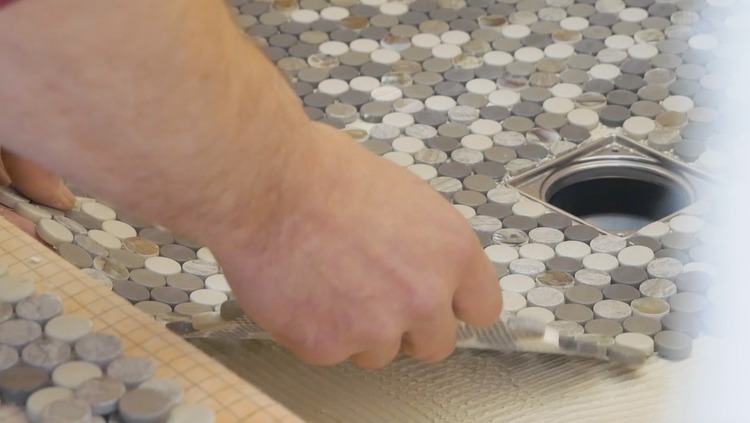
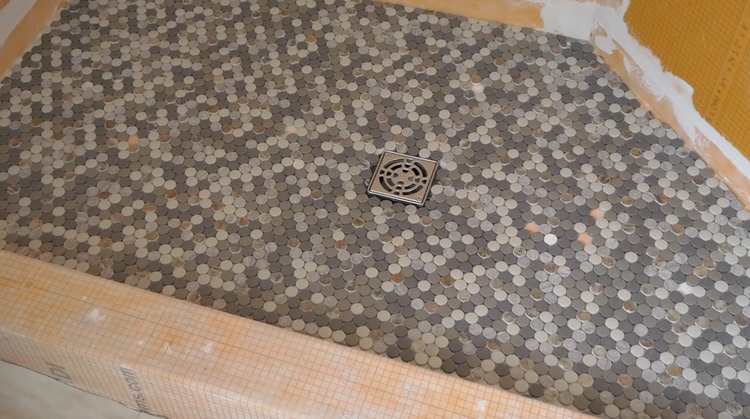
With the drain set you can now mortar and set the floor tile into place. An angle grinder or tile nippers is a great way to trim tile to fit around drains and into corners.
Setting the Wall Tile
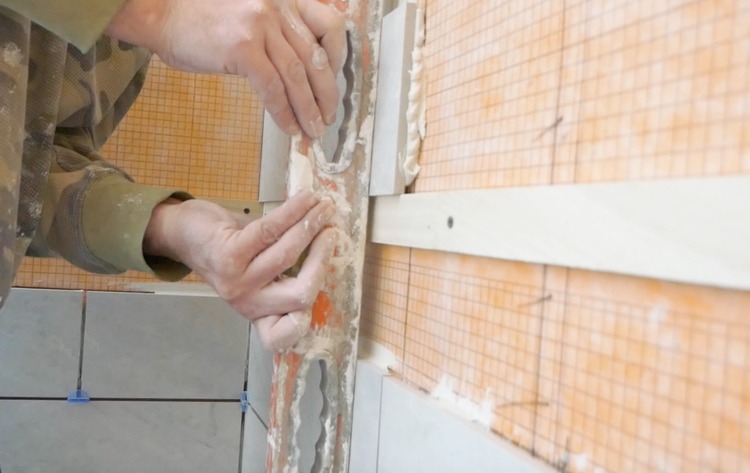
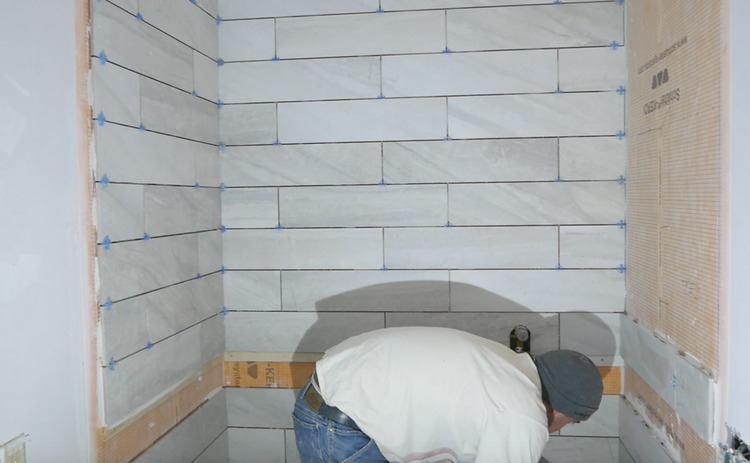
Mortar and set the wall tile with the appropriate trowel and spacers making sure each row is nice and level. We went with a 6″ x 18″ tile and a 1/3 offset pattern. However, we did want to leave room for a decorative row so we figured out the width and set a board at the top to carry the tile above it.
Adding the Decorative Row
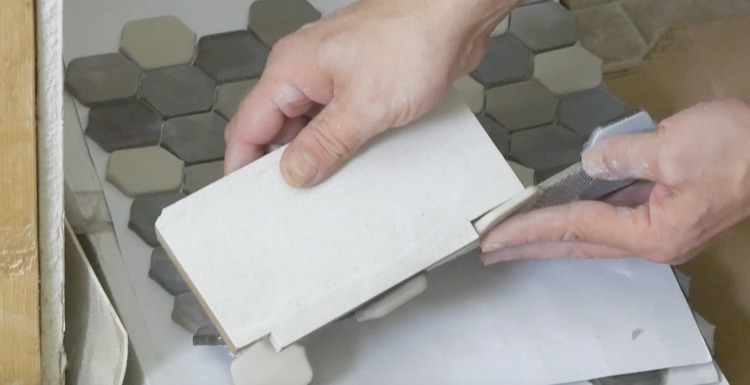
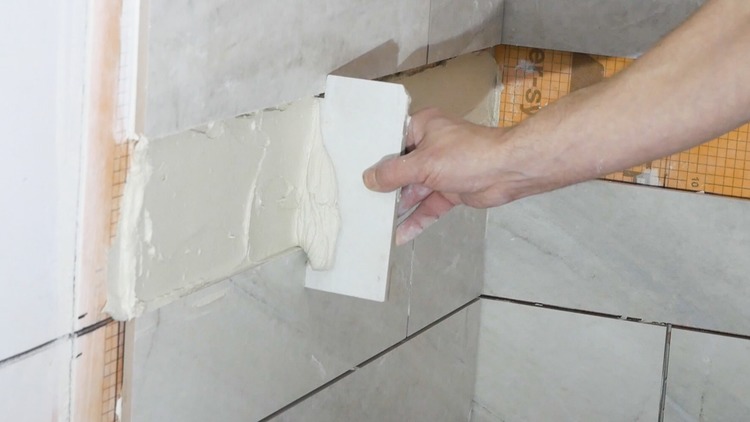
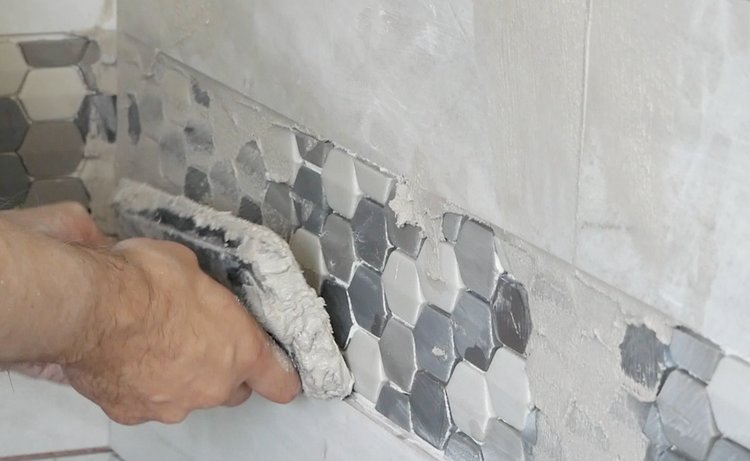
To start we need to bring the bonding surface out to the correct height since the decorative tile was far thinner than the wall tile. To do so we cut a tile such that the end fit into the decorative tile row and the height was just that of the tile thickness itself.
Then we put a bunch of mortar in the decorative tile row and used that tile we just cut to smooth out the mortar to the correct depth. This gives us a bonding surface that is just the right depth.
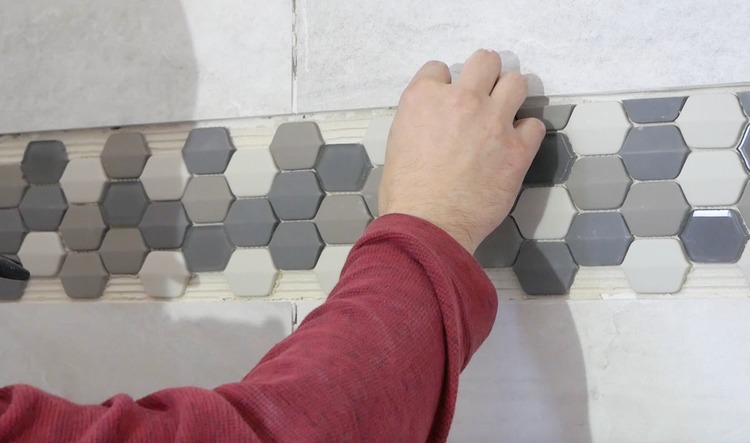
With that set up overnight we could then set the decorative row.
Installing the Niche
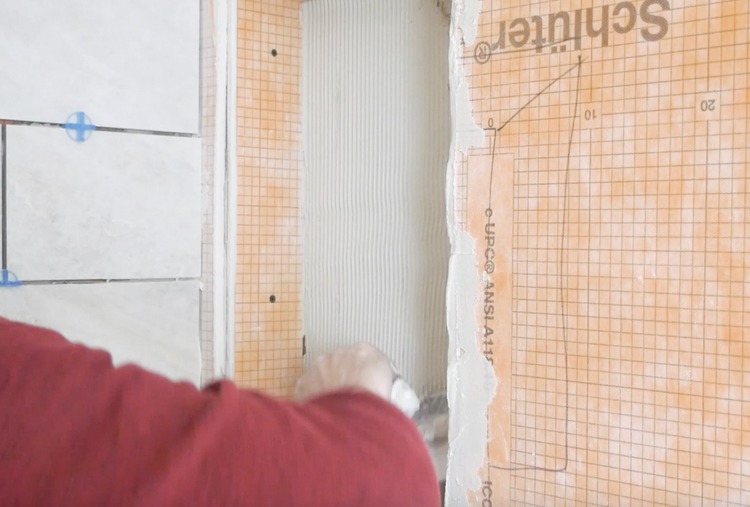
We purposefully left the tile off of the area that we wanted to put the niche, so that we could locate and cut the niche such that the tile falls in line with it perfectly. With the niche cut and famed out with drywall now we could add the KERDI membrane to waterproof it like we did the rest of the shower.
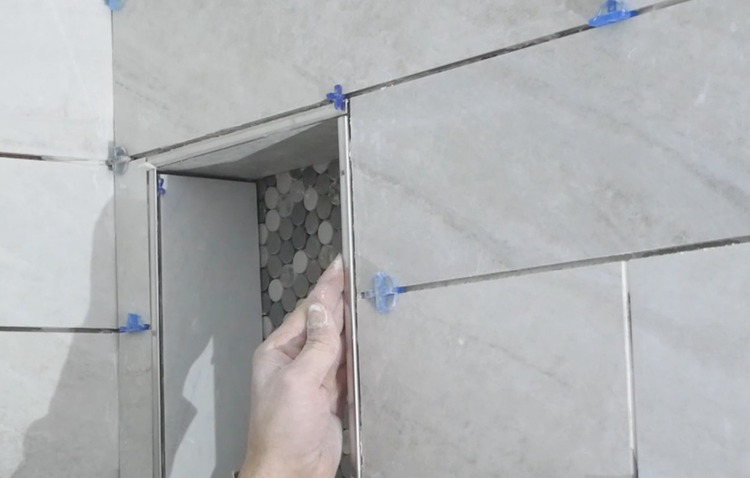
With the niche waterproofed it was time to lay the tile. We went with the same penny tile as the floor for the back of the niche. Since we didn’t have enough bullnose tile we opted to use stainless tile edge trim.
One interesting fact to note is that the location of the niche should be hidden and not on display; and the decorative tile in the back really doesn’t matter. Why you ask? Because, what purpose does a niche serve? To hold your shampoo bottles and other junk. So why would you want that on display.
Grout
Grouting is fairly straight forward. Simply mix the grout to a peanut butter like consistency and push it into all the joints with a tile float. Then come back and wipe all the excess grout off with a clean wet sponge. Rinsing the sponge in a bucket of water after every few passes.
Shower Door
After the grout has set up and the tile is cleaned and sealed, it’s time for a shower door to be installed. We went with a Delta Shower Door because they have great options, you can custom design your own door and it’s far cheaper than doing a frameless glass door. We opted for the sliding glass door which really went with the character of the home. Once you design your door, then you get a link to head on over to Home Depot for purchase!
Vertical Rails
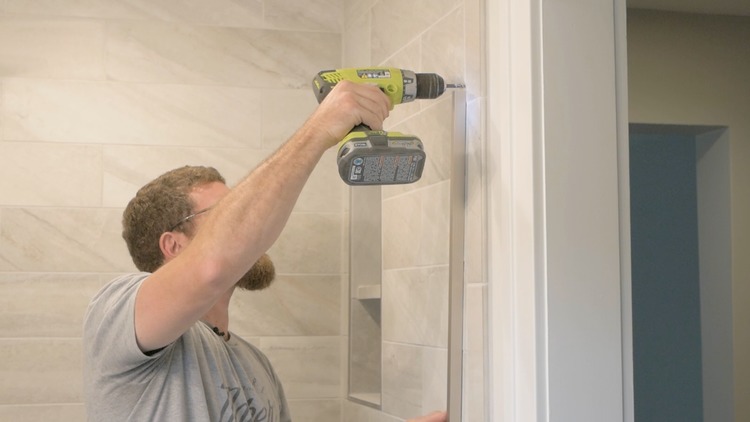
To get started on the door installation, you first locate and drill two holes on each side for anchors to be placed. Then you screw into those anchors so that the vertical track can slip into them and be held firmly against the wall. These track will carry the load of the glass doors down to the curb.
Top and Bottom Tracks
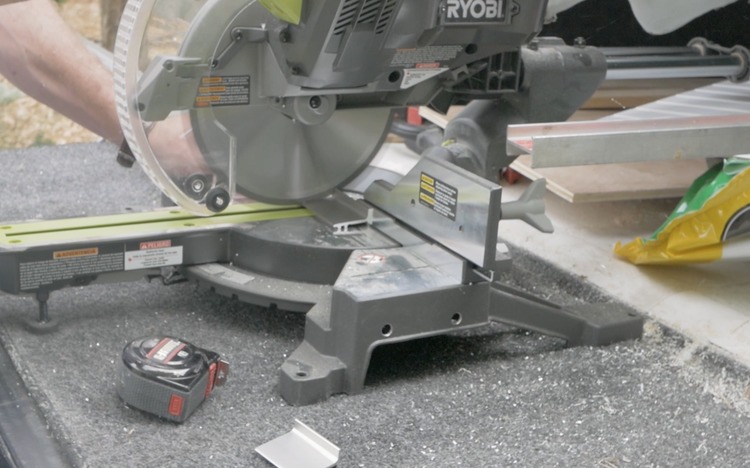
The top and bottom track need to be cut down to fit your shower width. Since they are made of aluminum, a chop saw or hack saw will cut just fine.
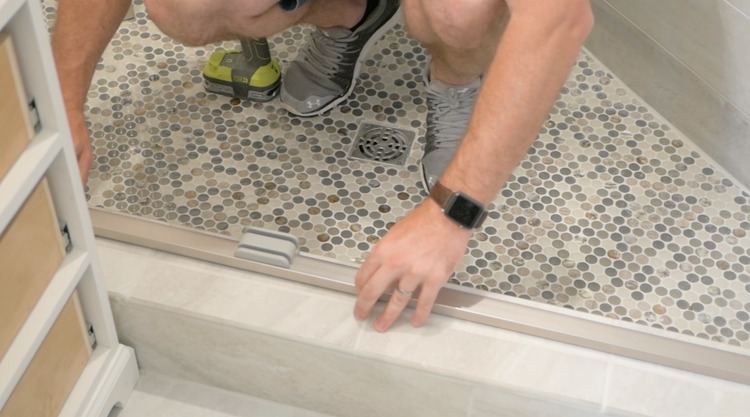
The bottom track gets adhered to the curb with silicone.
The top track gets installed to the top of vertical rails using a connector.
Hanging the Door
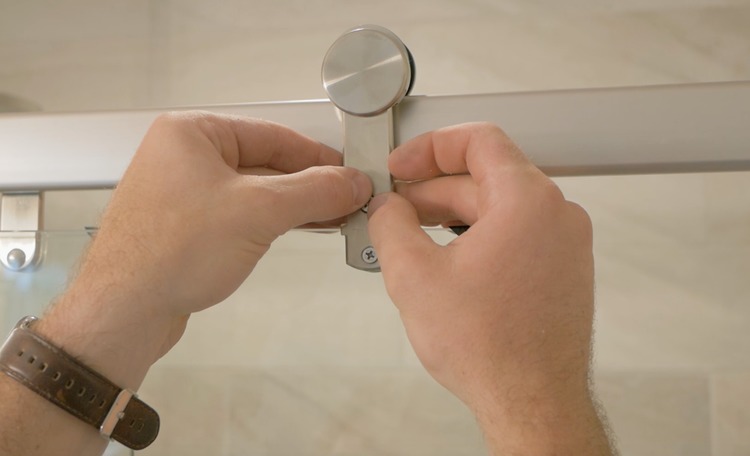
With the bumpers installed and the sliders attached to the top of the glass, the doors can now be hung and adjusted for level.
Installing the Handles/Towel Bars
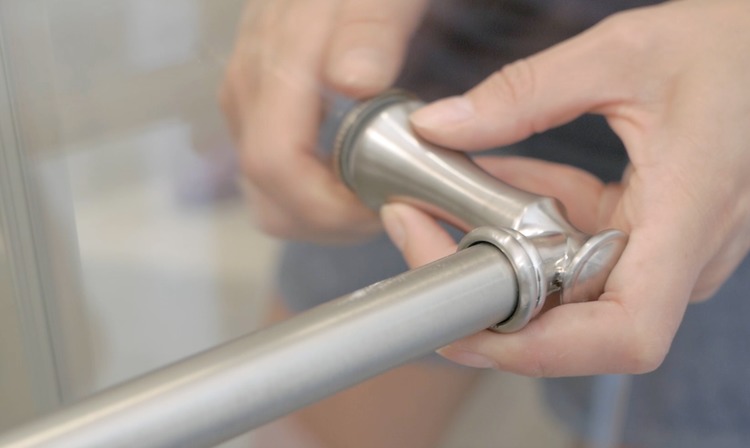
The handles/towel bars already have pre-drilled holes and get installed pretty easily. The nice thing about using Delta shower doors was that the installation was pretty straight forward, the instructions were clear and concise, and it went pretty fast.
The Rest of the Shower & Bathroom..
In the shower we went with the Portsmouth 2-Handle Thermostat Trim Kit and the Modern Rain Shower Head from American Standard.
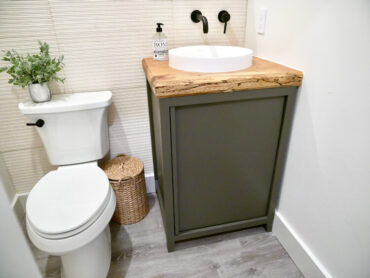
The vanity was custom-made by yours truly and you can find all the details right here.
And how could I forget these sweet self-cleaning toilets from American Standard! That’s right. They clean themselves.
Well, I hope you all enjoyed seeing this shower and bathroom come together. We are really happy with how it turned out and know the new homeowners are as well. Stay tuned for upcoming post on the heated tile entryway and the custom kitchen cabinets!

