

Beer Tote
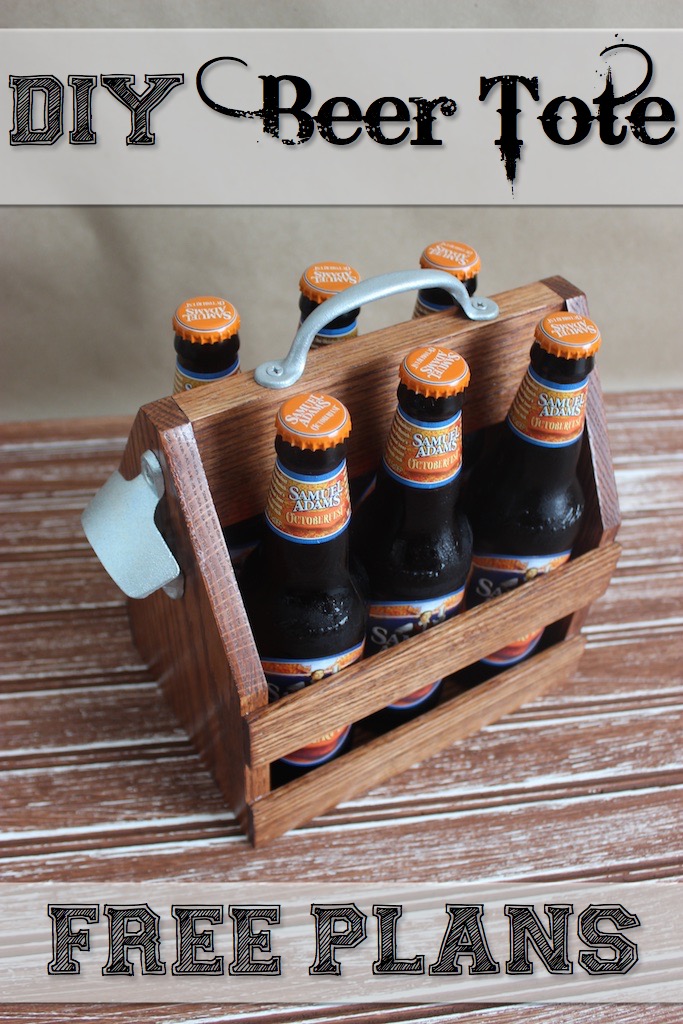
What better way to spread some Christmas joy than with great beer and a DIY beer tote! Arrive to that Christmas party in style with this easy beer tote that you can build in under an hour. Similar totes sell for up to $50, but you can build this one for half the price!
I was honored when Ryobi asked me to teamed up with them to offer this How-To as a celebrity blogger on Ryobi Nation! A team of DIY bloggers came together to offer Fast and Easy DIY Gift ideas for the holidays.
Disclosure: The links provided in the “materials” and “required tools” sections are affiliate links. If you would like to support our site and help keep our content free come find out more about how we can make money with no extra cost to you.
Tools Required
Materials
- 1/2″ x 6″ x 48″ (Oak Hobby Board)
- 1/4″ x 2″ x 48″ (Oak Hobby Board)
- 1″ x 3″ x 12″ (Oak Board; Sold by linear foot at Home Depot)
- Wall Mounted Bottle Opener
- Galvanized Handle (3/4″ width)
- Qty 1 #8 x 1/2″ Oval Head Wood Screw
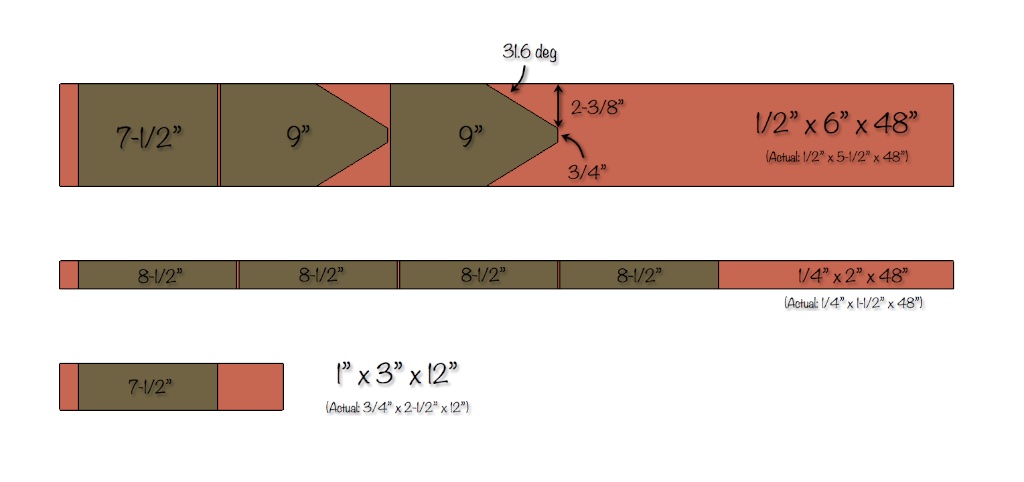
Cut List
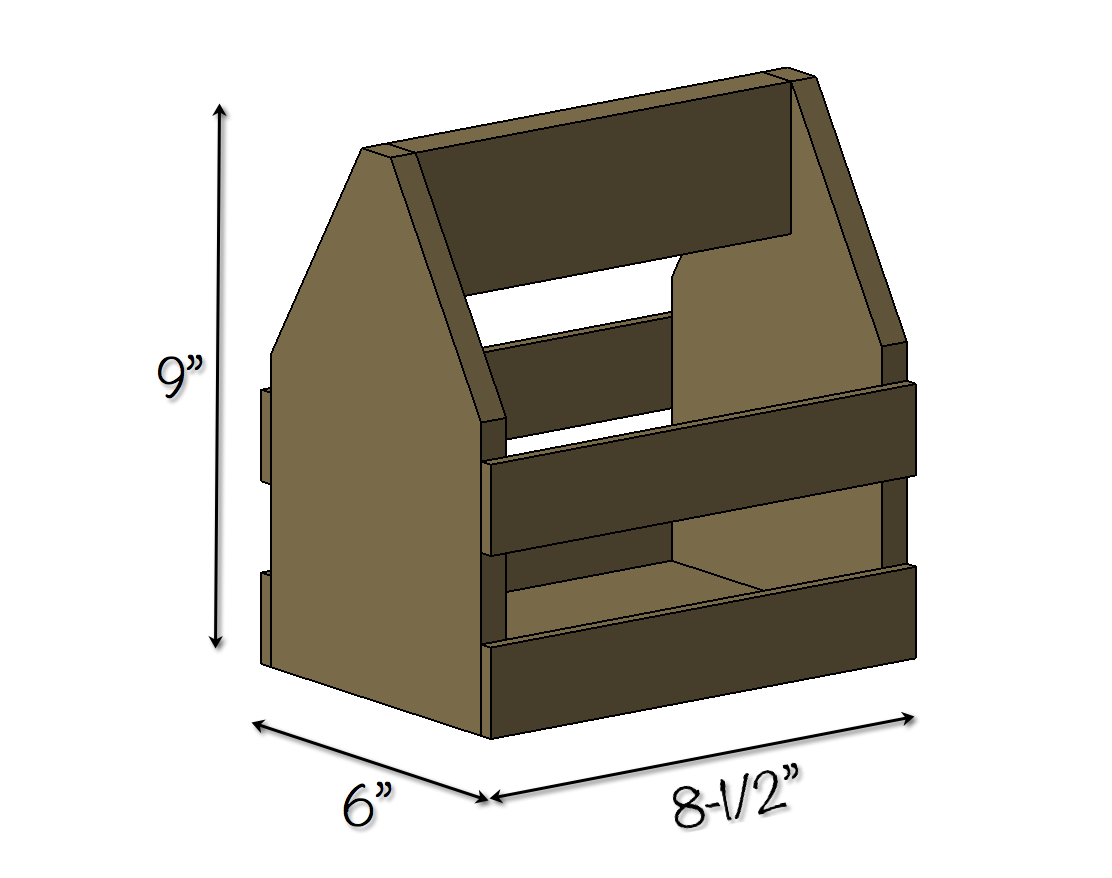
Dimensions
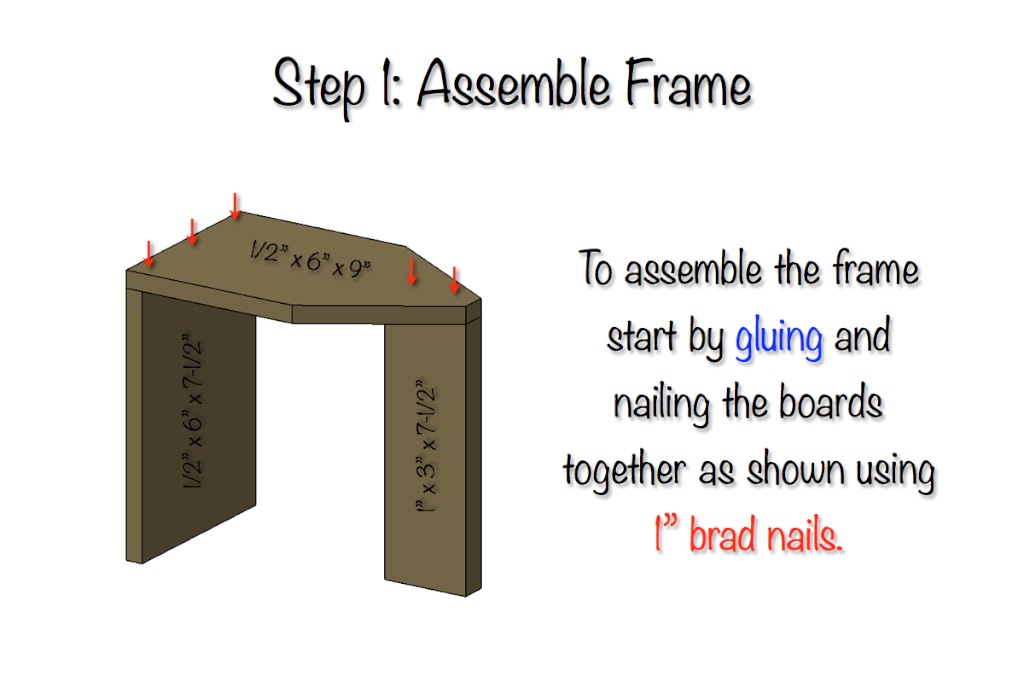
How to build a Beer Tote
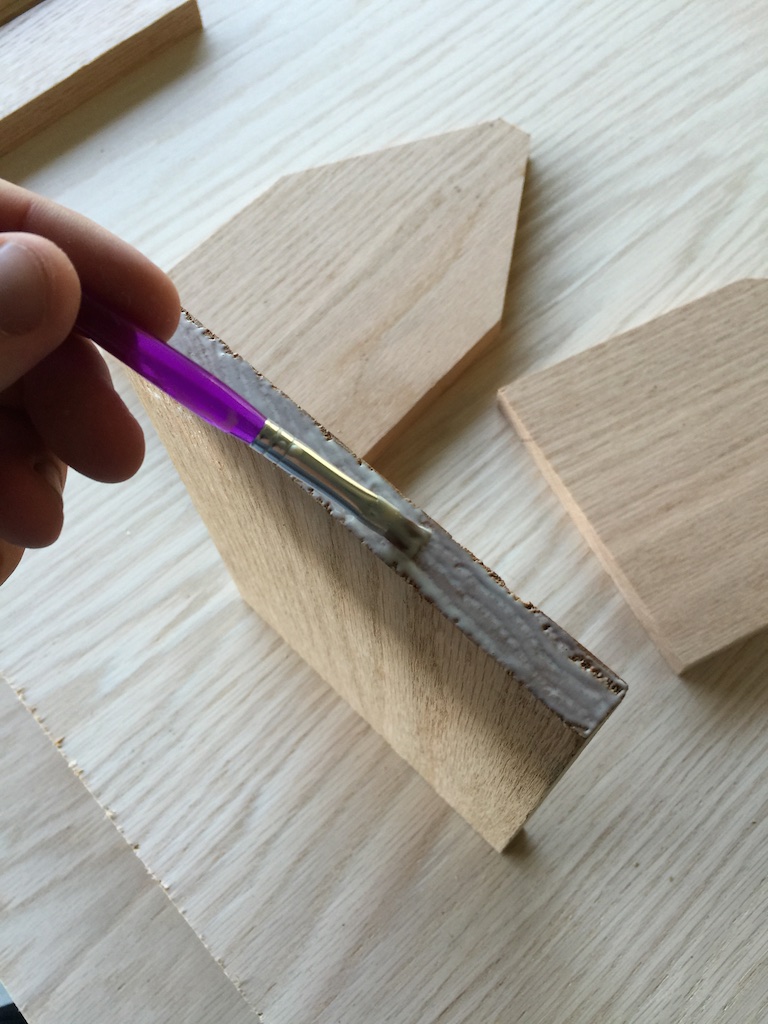
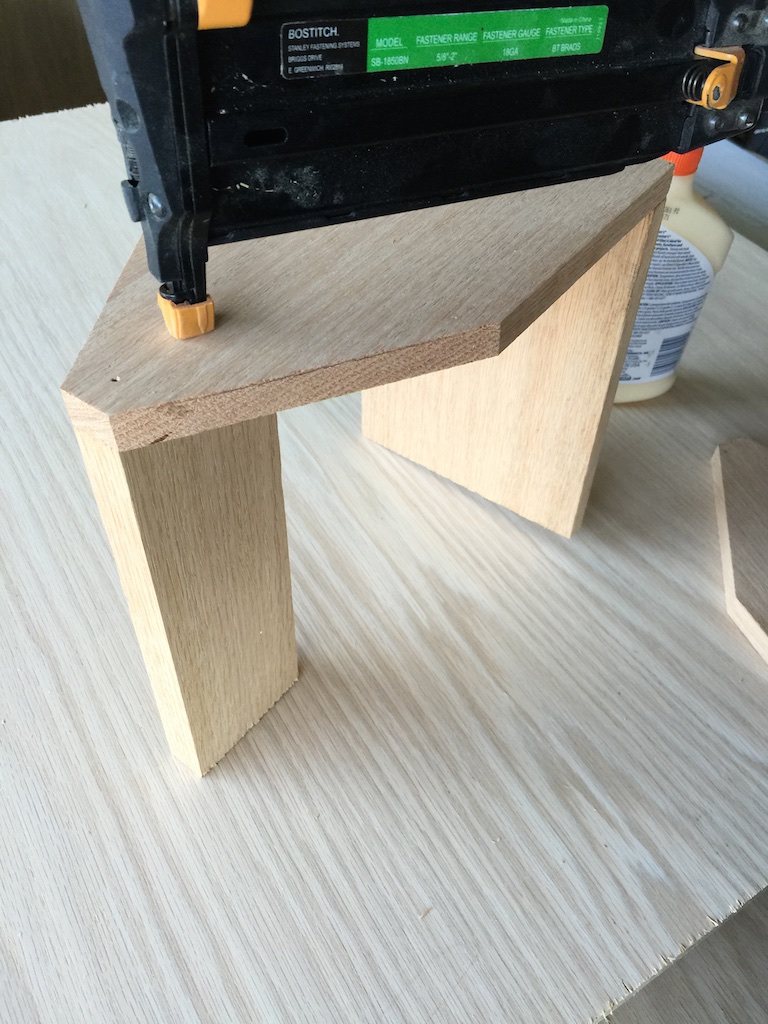
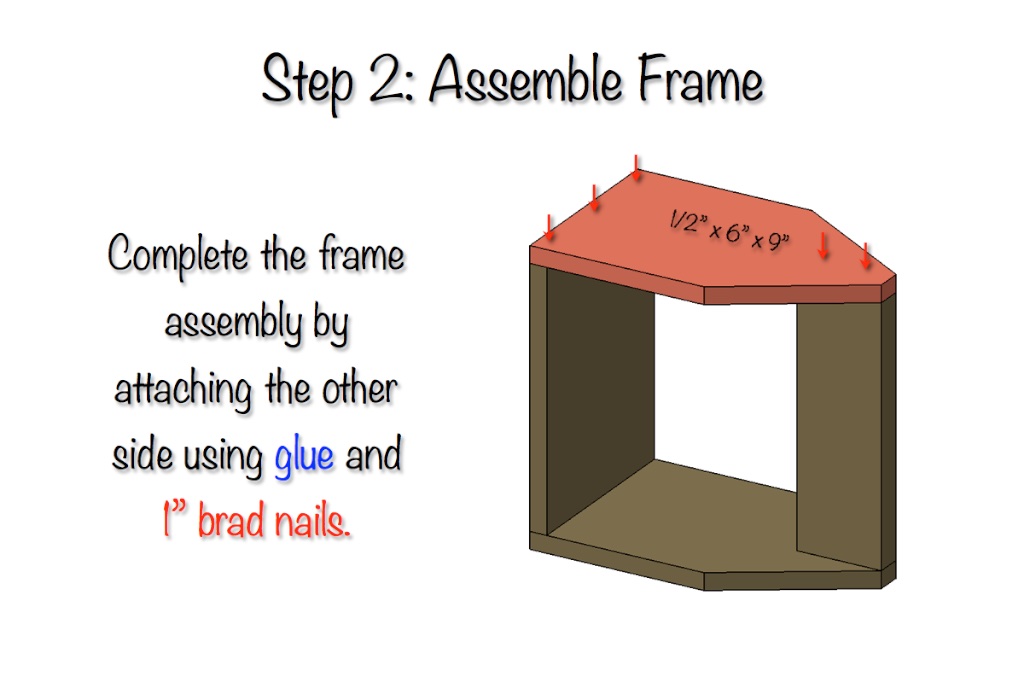
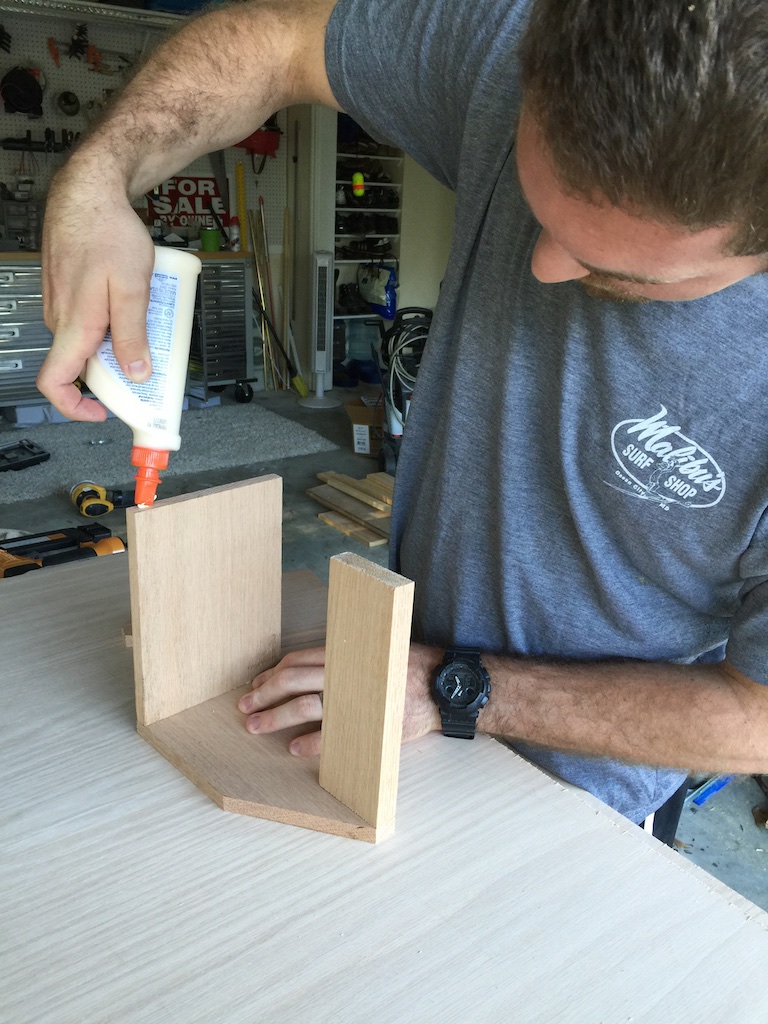
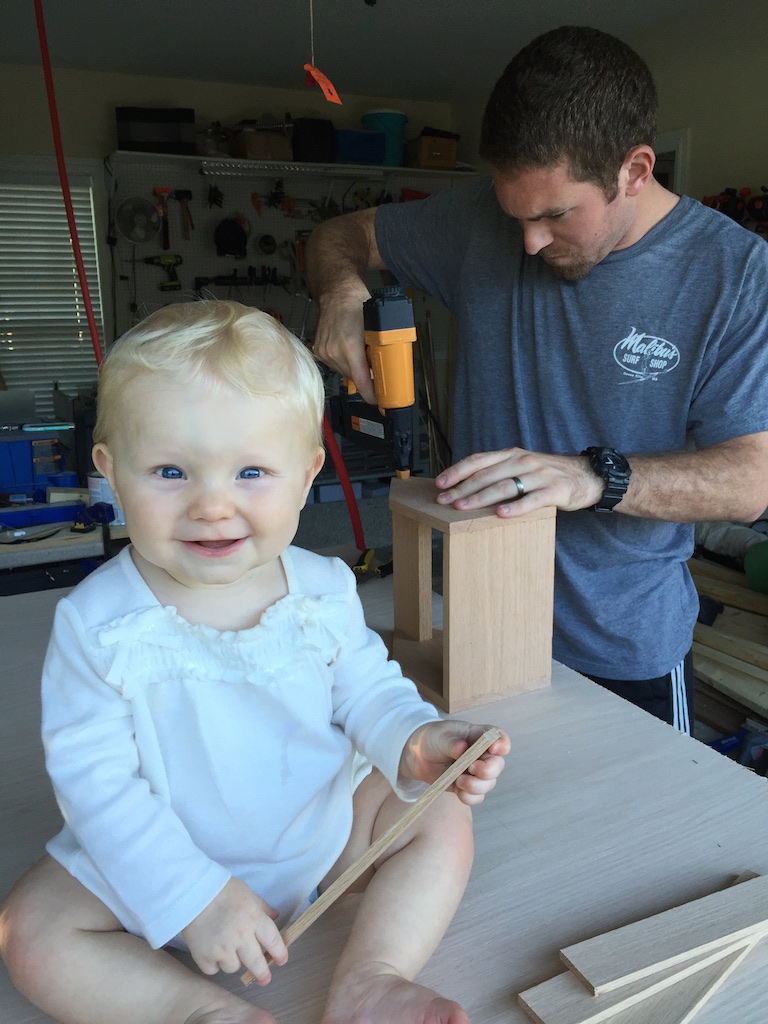
Finishing
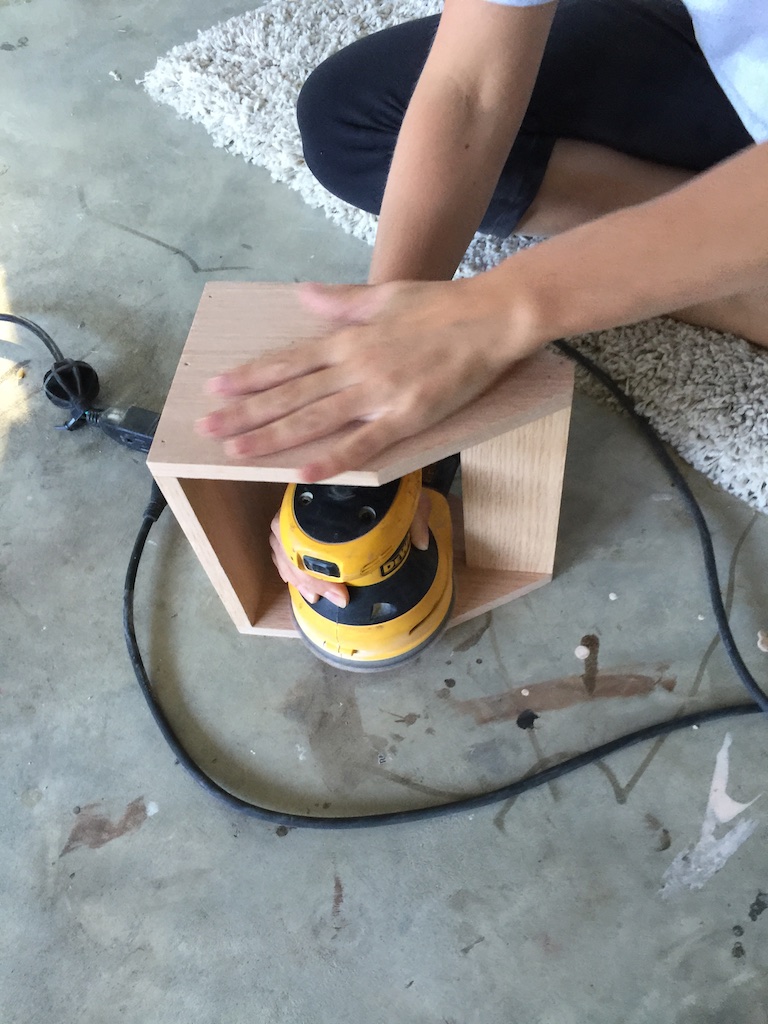
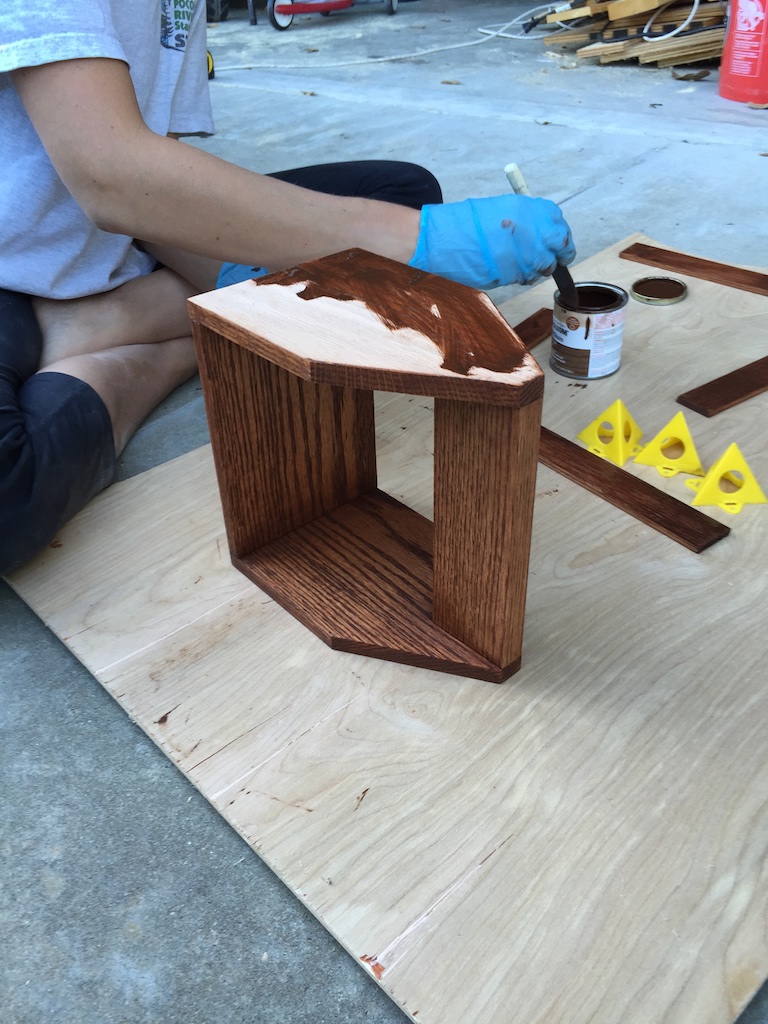
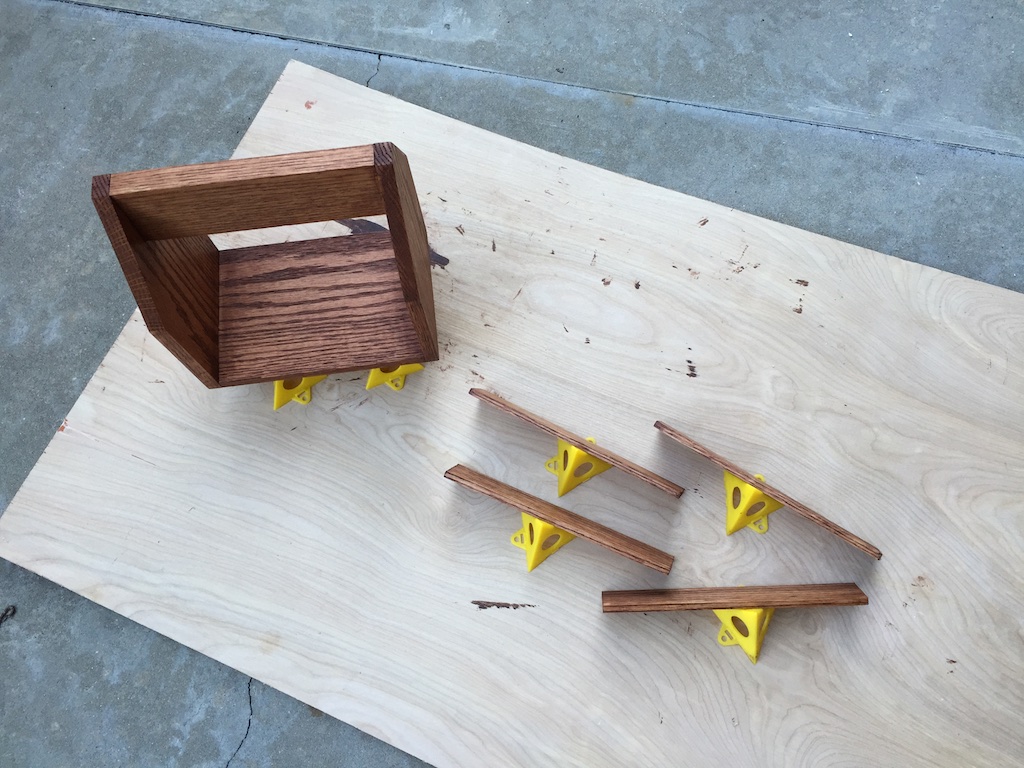
Now is the best time to stain and lacquer your tote. Stand using 220-grit sandpaper. Stain to your liking, and add a protectant coating (poly, lacquer, etc.)
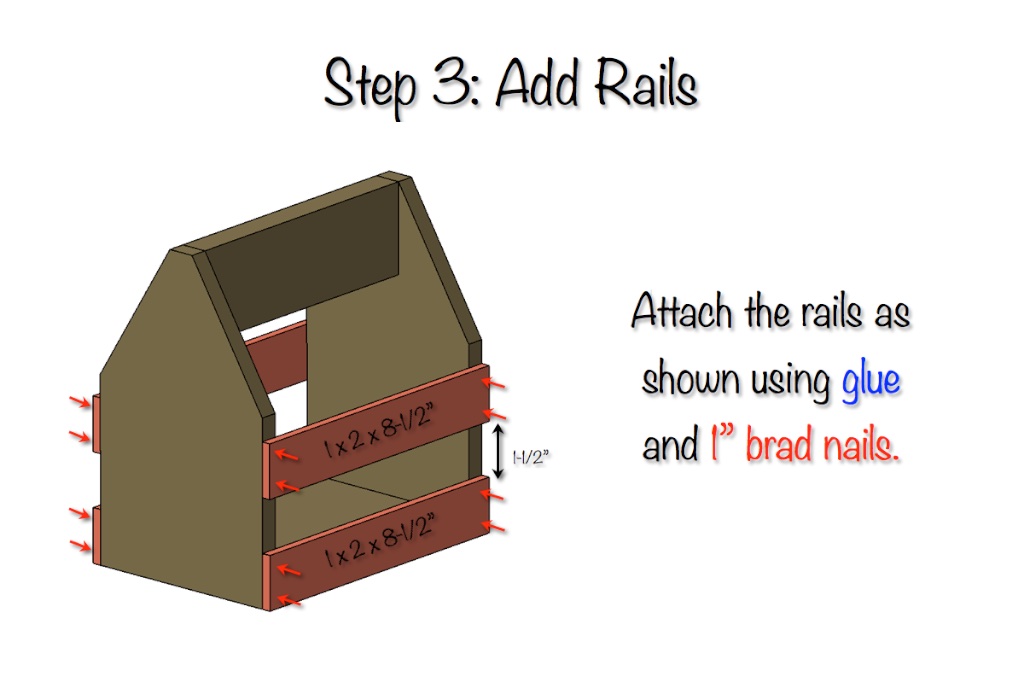
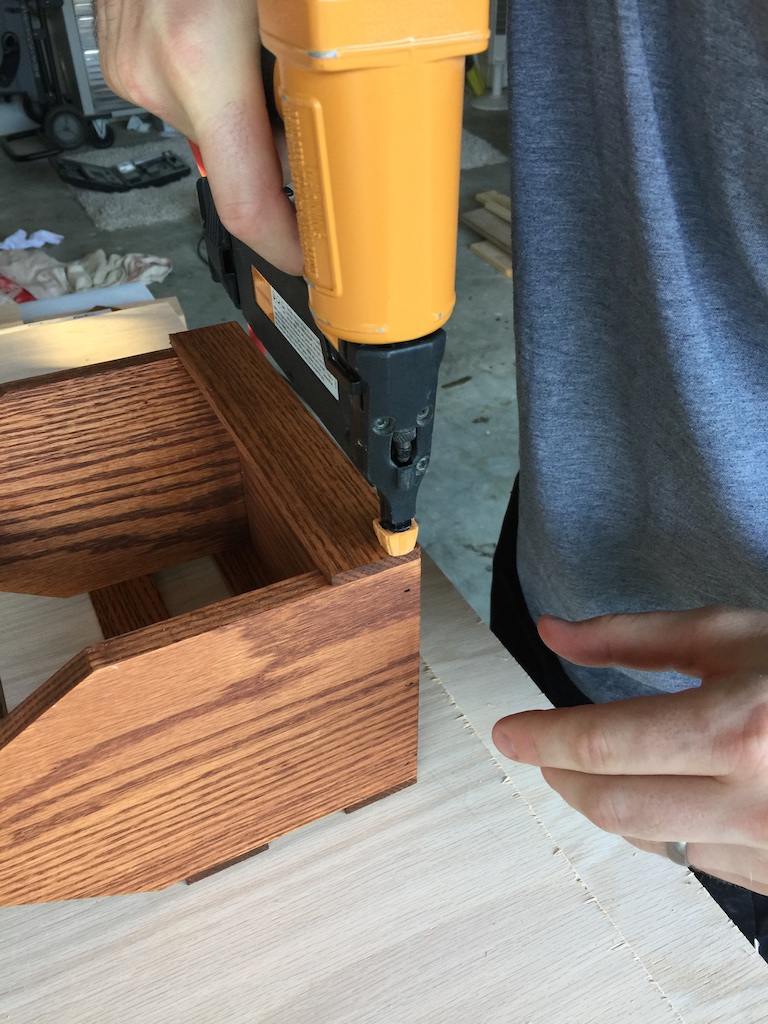
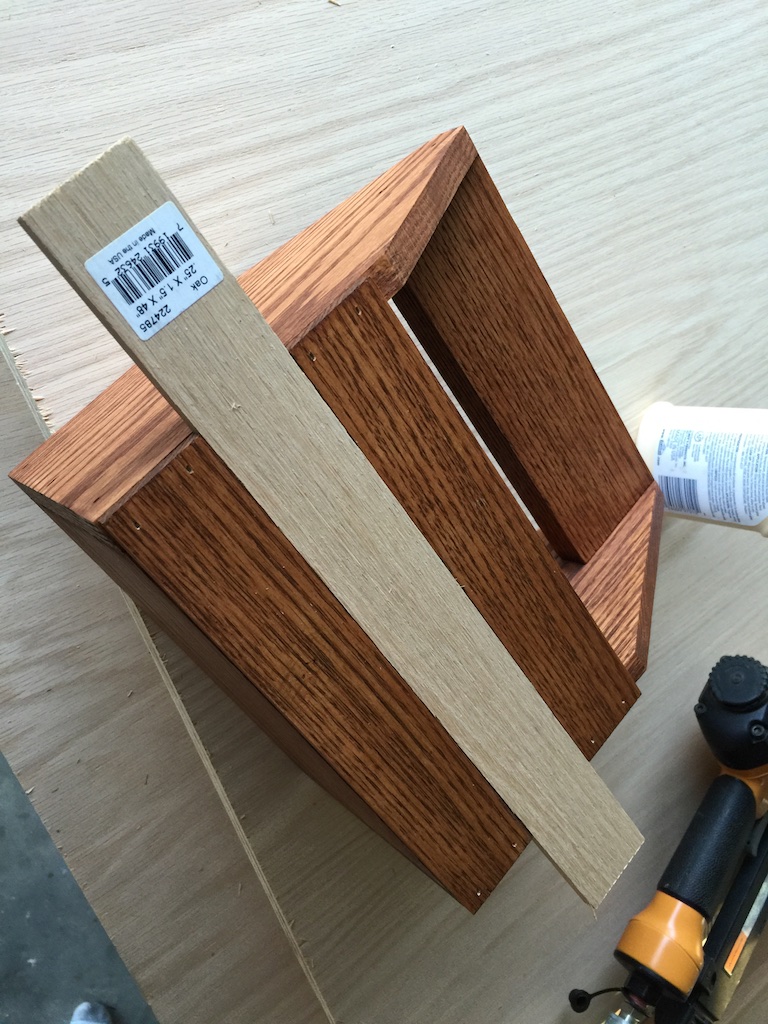
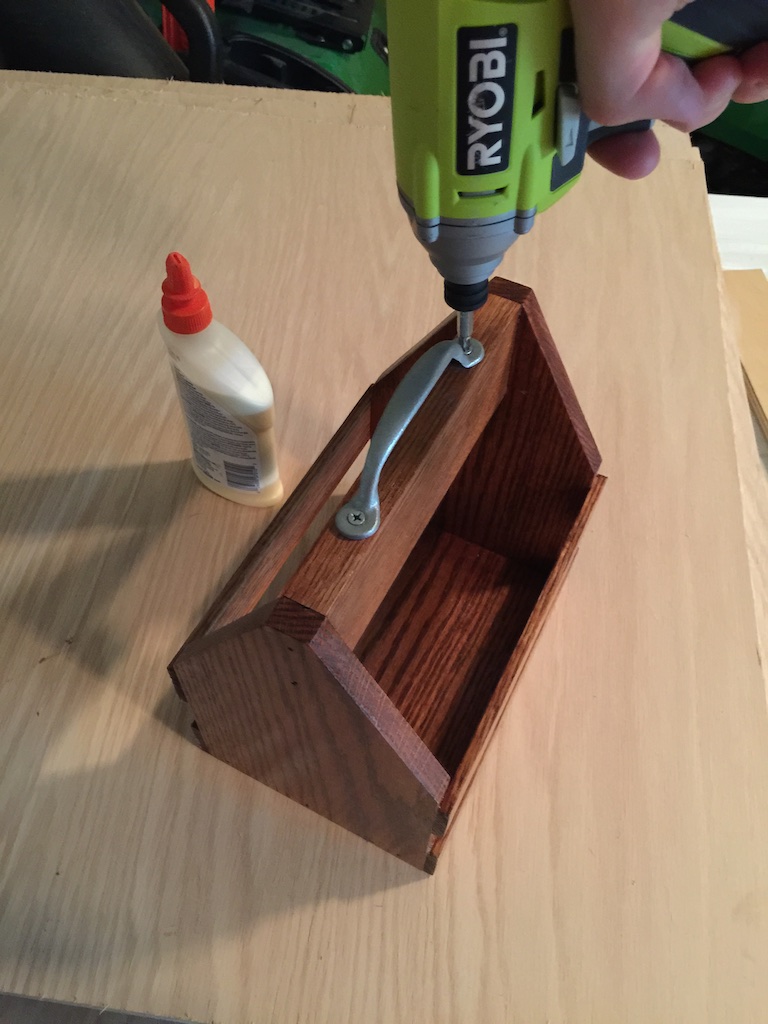
Now it’s time to add your handle and bottle opener!
Note: My bottle opener came with 3/4″ screws and since one of those gets screwed into only 1/2″ thick material I had to purchase a 1/2″ screw so it would not blow out the other side.
Questions? Comments?
As always, if you have any questions don’t hesitate to comment below and especially don’t forget to post pictures of your finished products in the comments! ENJOY!
Looks great Jamison! I’m gonna make a few for the brother-in-laws and my buddies at work.
Thanks Kane! These will make great gifts.
Used this idea as a jumping off point, since I had some oak pallets lying around (which were slightly smaller than the boards you used). A wide plank was cut for the base and ends and a smaller slat was used for the sides. Instead of another board for the top (too thick for bottles), I used a piece of 3/8″ braided nylon rope tied off in a nice figure 8 knot. I originally had a center slat for structural help and to keep bottles from clinking, but it proved useless as the bottles wouldn’t fit so it was removed. Still have to mount the bottle opener and stain/seal it, but I’ll get you pics soon!
That sounds awesome Zombie Dad. I can’t wait to see a picture!
I made three of these yesterday for my neighbor, son and son-in-law for Christmas. They are going to love them. I used red wood stain with a rag on oak boards so the grain would come through.
Simple project with easy to read plans.
Thanks
That’s awesome Dan! These definitely make great gifts.
Thanks and I’m glad they turned out well.
This is awesome. Been meaning to make something like this. Love the mounted bottle opener – nice touch!
Thanks Brad!
I made one up for a Christmas gift exchange. After others saw it, I ended up making three more based on their requests. Great idea, good plans, easy to follow. Thanks!
Thats awesome John! Thanks!
I made one of these from your plans. I love how it turned out!
Very nicely done! Thanks for sharing!
Reattaching photo that was removed
How did you make the 31.6 degree cuts? Maybe it’s just my saw but the piece is far too narrow to safety clamp without anything getting in the way of the blade. Any tips?
Thanks, and I love your projects!
Yea sorry about that. I probably should have touched on how to cut the sides. There are a few ways to do it. You could clamp a board to the miter saw fence to act as as a zero clearance sacrificial fence. Or you could also clamp/screw/nail the side to a larger scrap board and use that to hold it. Or, if you still feel uncomfortable you could cut it with a circular saw or jig saw. Hope that helps.
Thank You for the awesome plan. I intend on making it for the Husband for Father’s Day and incorporating the magnetic feature from your “magnetic bottle oper” plans.
It would make the perfect father’s day gift! And awesome idea to incorporate the magnetic bottle opener. Let me know how it turns out. Be sure to share you finished product with us.
This is one of my favorite building plans I’ve ever come across.
That looks awesome Ashley! Thanks so much for sharing!
Reattaching photo that was removed
Good evening , I am Brazilian and joinery work with , I want to know what software you use to make the cutlist ! thank you.
Hey Marcos, my cut lists are created manually using CAD software. As far as what program specifically, I always recommend SketchUp because you can try it for free and its rather intuitive.
Hi Jamison
Awesome plans. I’m a fellow Engineer (EE) recently bit by the woodworking bug. I want to make these for friends, as they’re simple yet impressive. An internet search didn’t result in 3/4″ wide handles. Your link in the BOM is broken. I haven’t tried a trip to Home Depot yet. Any pointers?
Hey Tom! This link seems to be working fine on my end. (Try this one: http://amzn.to/1R5YWaL) If you’re outside of the US you may have a problem. If so, Home Depot should have something of the sort. Happy building!
Hey Tom! This link seems to be working fine on my end. (Try this one: http://amzn.to/1R5YWaL) If you’re outside of the US you may have a problem. If so, Home Depot should have something of the sort. Happy building!
I’m a recent college graduate and as a former art student I’m always chomping at the bit looking for ways to be creative. One of my best friends is a socialite and a beer connoisseur, so I thought this would be a cool project to get my gears working again and make a nice gift!
I must admit, I’m no professional and did receive a little assistance from dear old dad, but I’m really proud of the way it turned out. Thanks for the plans 🙂
That turned out great Erin! Thanks so much for sharing, I’m sure your friend will love it.
Reattaching photo that was removed:
I was just wondering what kind of laquer or poly that you used for yours? Or was it one that’s combined with the stain? If so what are you using? Thanks! Love it! I’ve made this for a couple of friends and they love it!
Thanks Nate! I used the gloss lacquer from Watco.
Hey Jamison! Great plan. Finally got around to building it last night. It came out a little rougher than I hoped…nail gun issues. No project ever seems to go trouble free haha. I still have to add my handle and bottle opener and stain. I was wondering what stain you used? Thanks again for all of the plans!
Looks great Jared, thank for sharing. As far as wood stain I believe I used dark walnut. Can’t be 100% since it’s been so long ago.
Reattaching photo that was removed:
Is there a downloadable for this one?
There is now. I can’t believe I overlooked that for so long. Thanks for the ping.
I am presently making one for my husband for Christmas! I am adding dividers to the inside so the bottles don’t bang against one another. I am doing this with a dado blade.
Awesome! Great idea. Would love to see pictures of how it turns out.
[…] Made some progress on two woodworking projects: building a new headboard for our bedroom and building a beer tote.3 […]
[…] Tutorial Link: Check out Jamison’s blog to learn how to make this […]
Made this for a friend for his birthday.
Awesome! Hope he liked it!
[…] Kuponi za spojeve 2. Drveni nosač za pivo 3. Podmetači za čaše 4. Muževni piling za ruke 5. Drvena daska za rezanje u obliku srca 6. […]
Thanks for the plans and walkthrough. This was a really fun project and as a new hobbyist I learned a lot. There are a lot of techniques here that I think are probably pretty simple to someone with experience but good to practice if you are new. i modified the side rail design slightly so I could incorporate bottle caps from my favorite breweries and ended up drilling through the handle crossbar piece to accept a cabinet/drawer pull (which opened up my options on the final look).
I’m really happy with how it turned out and am looking forward to looking through your full site to find the next project/learning experience. Thanks again!
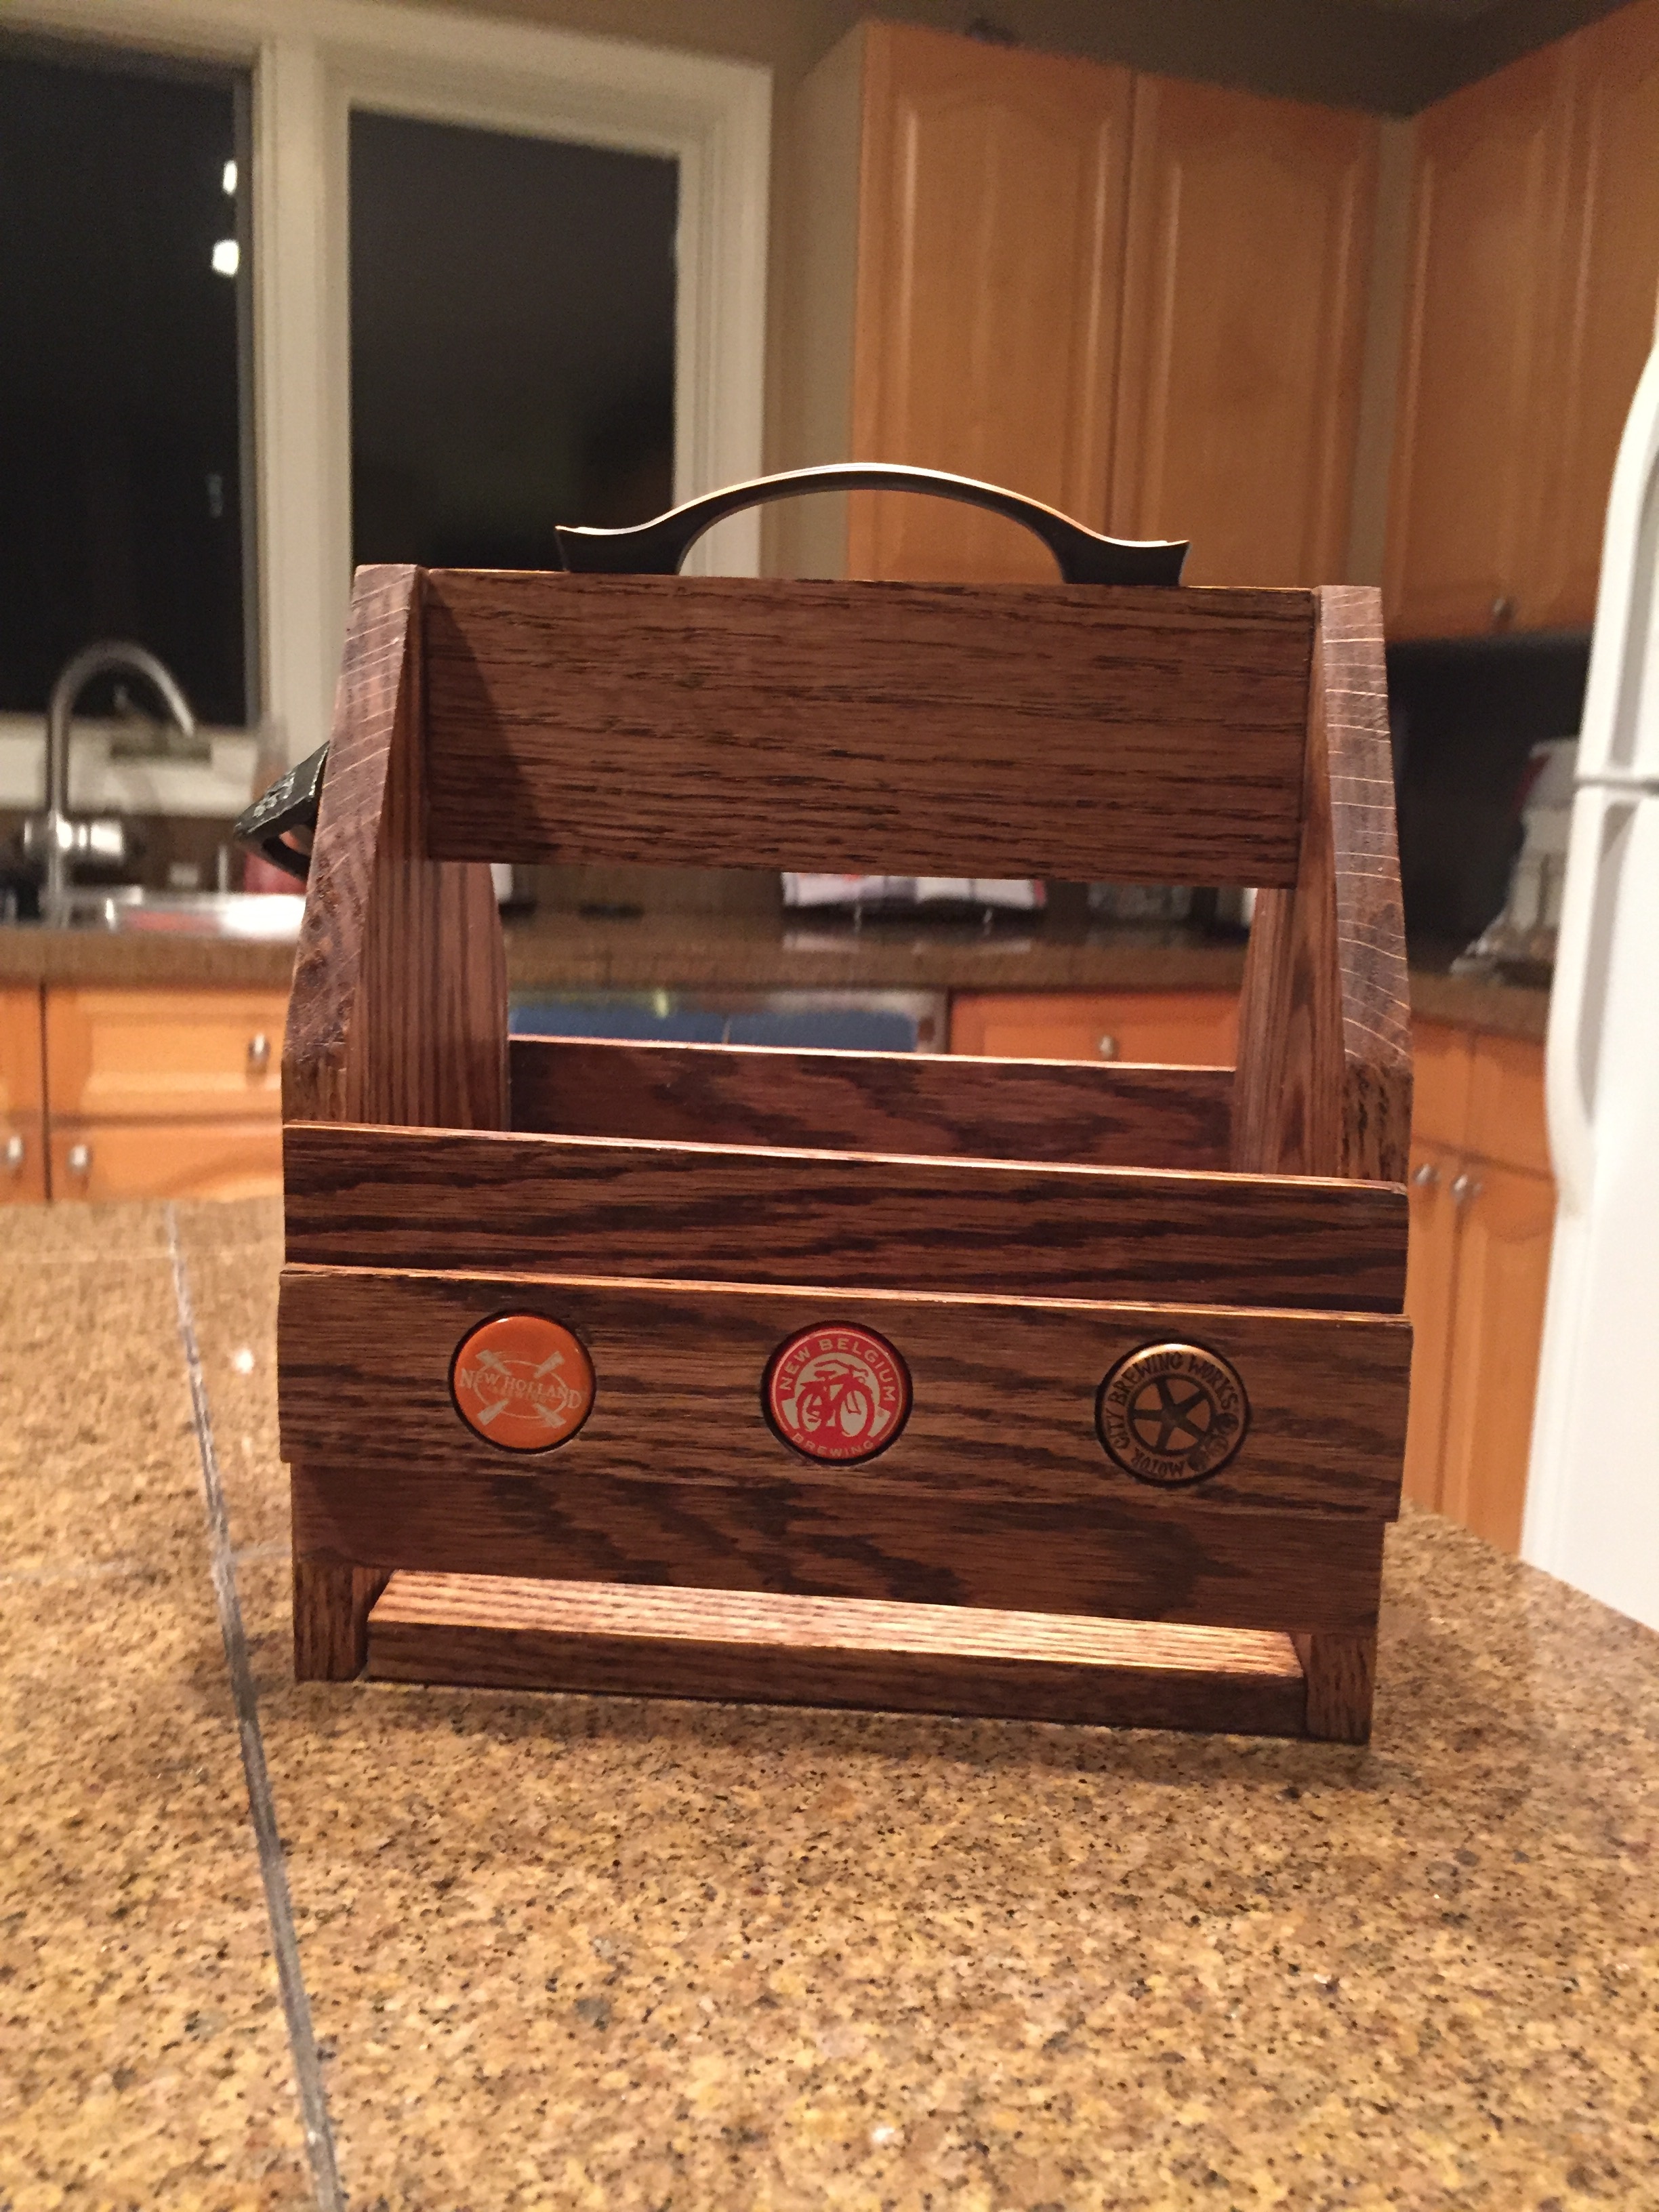
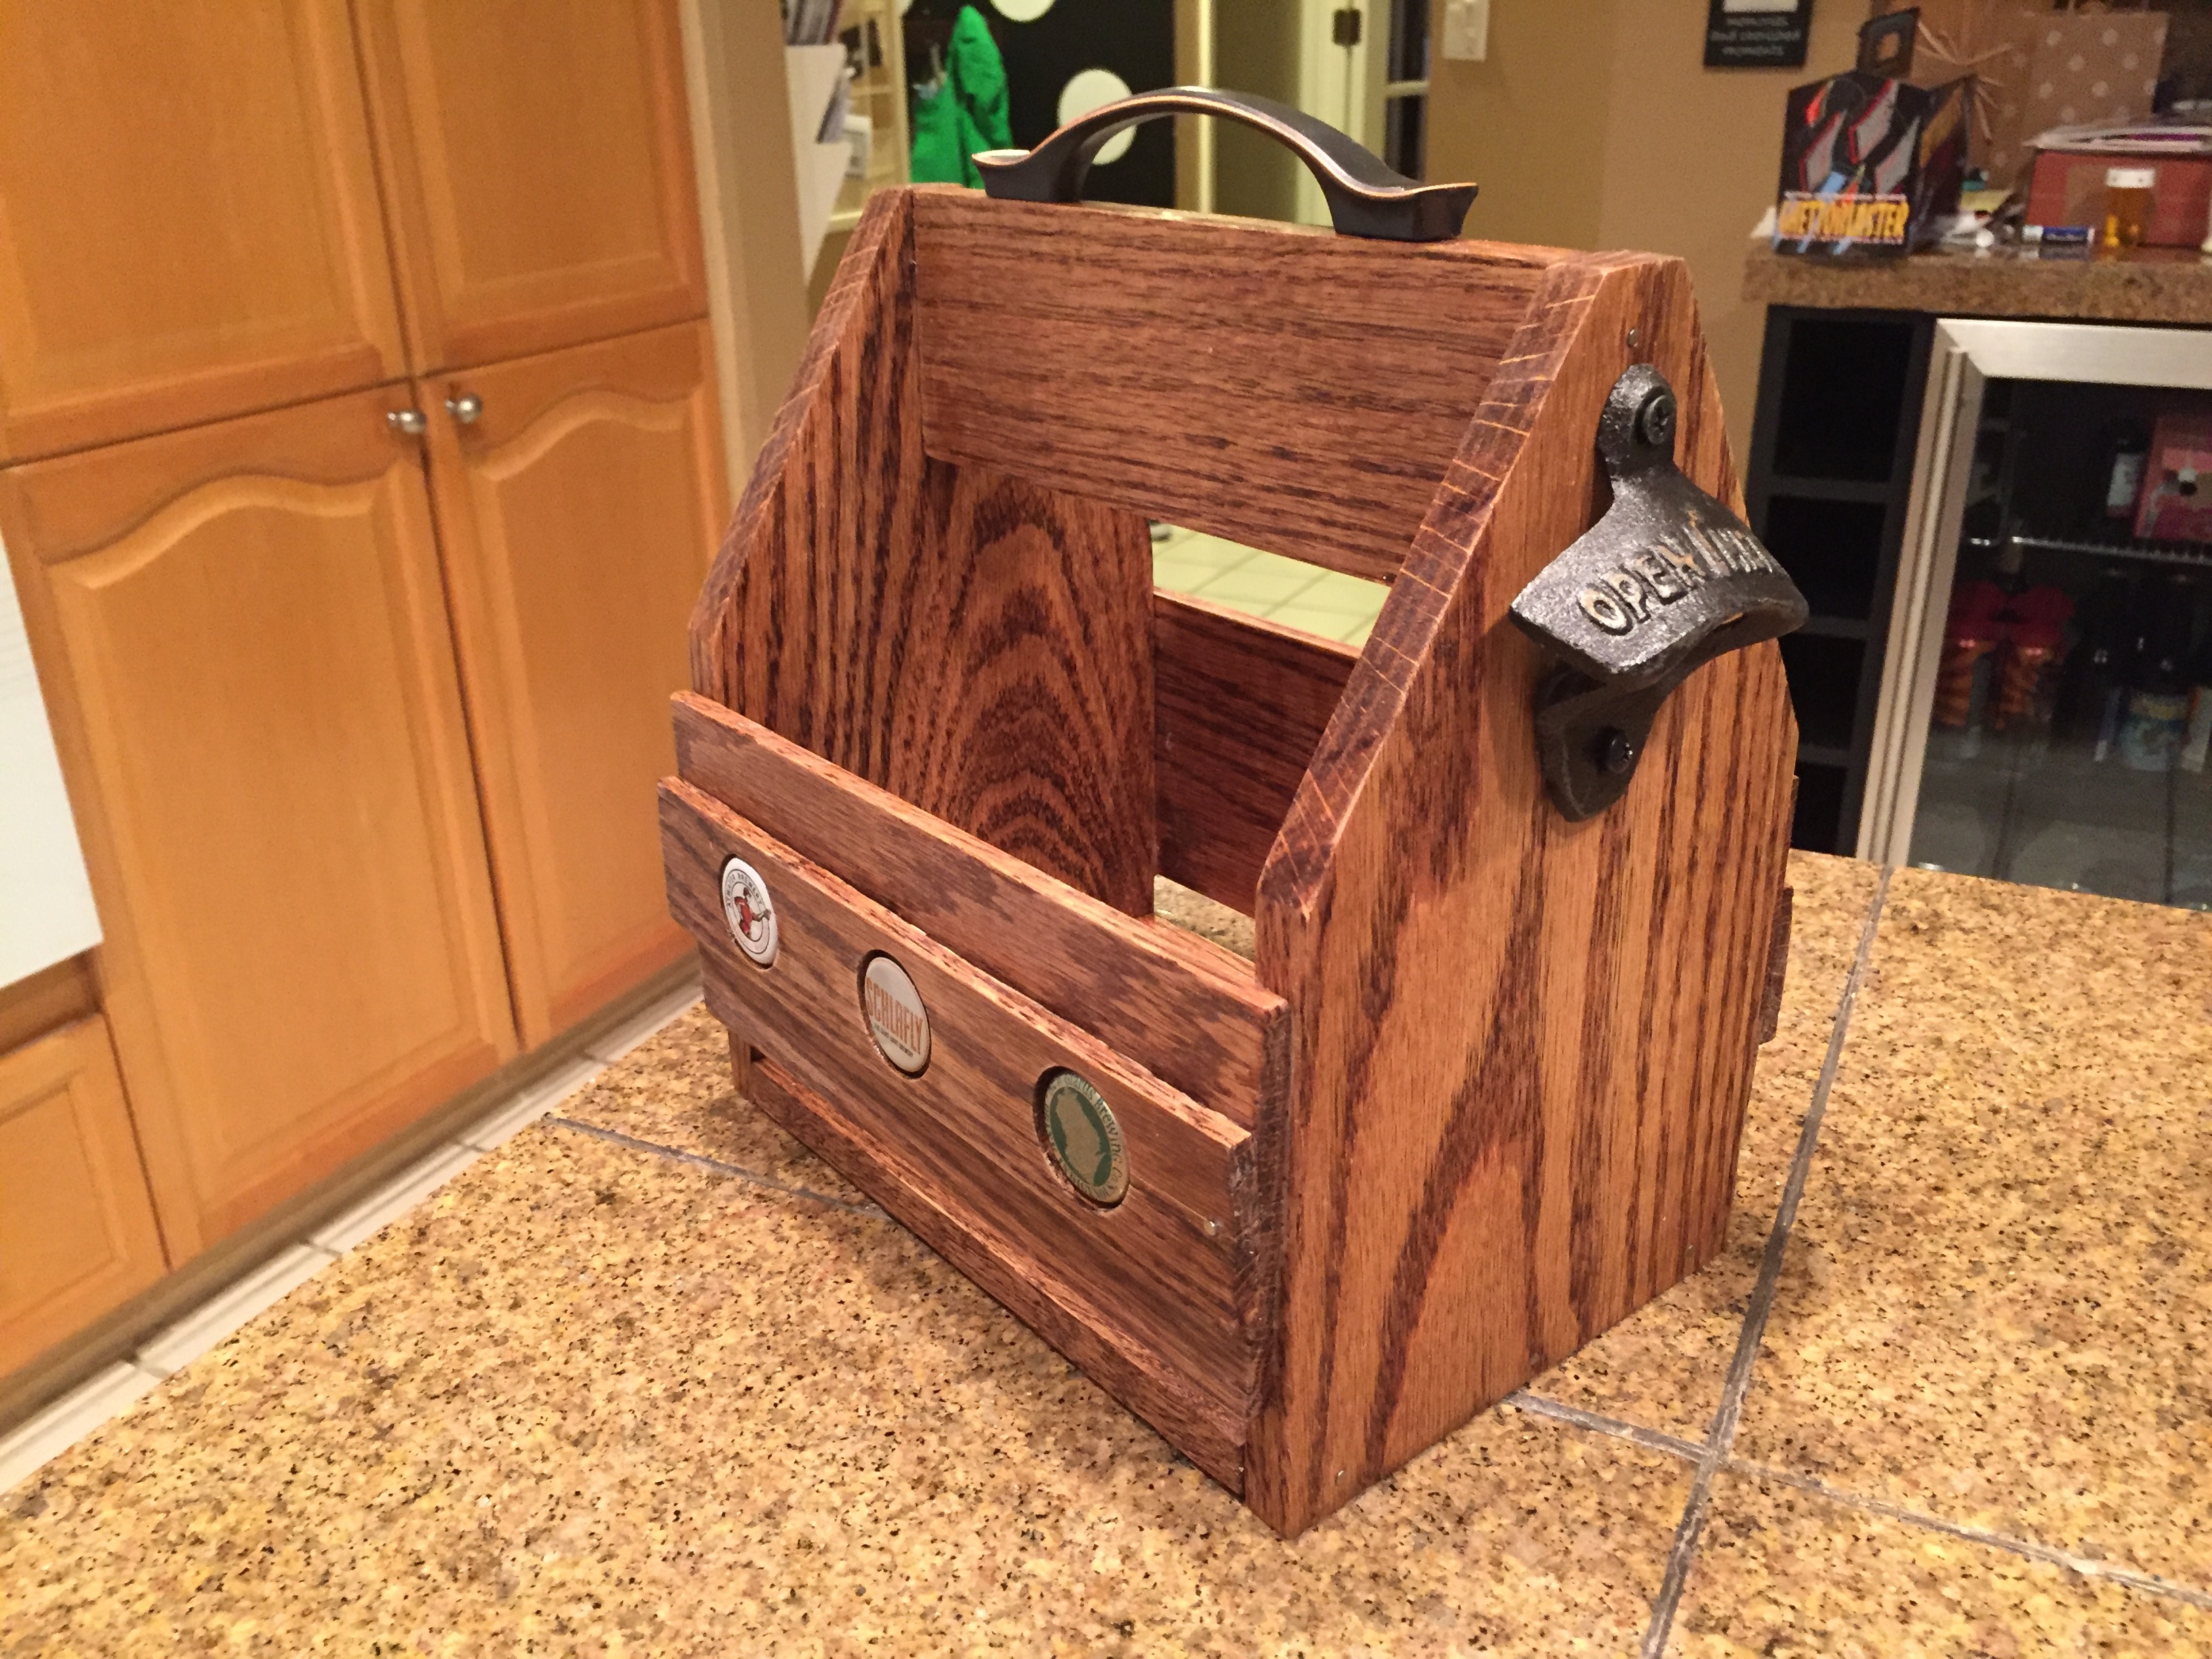
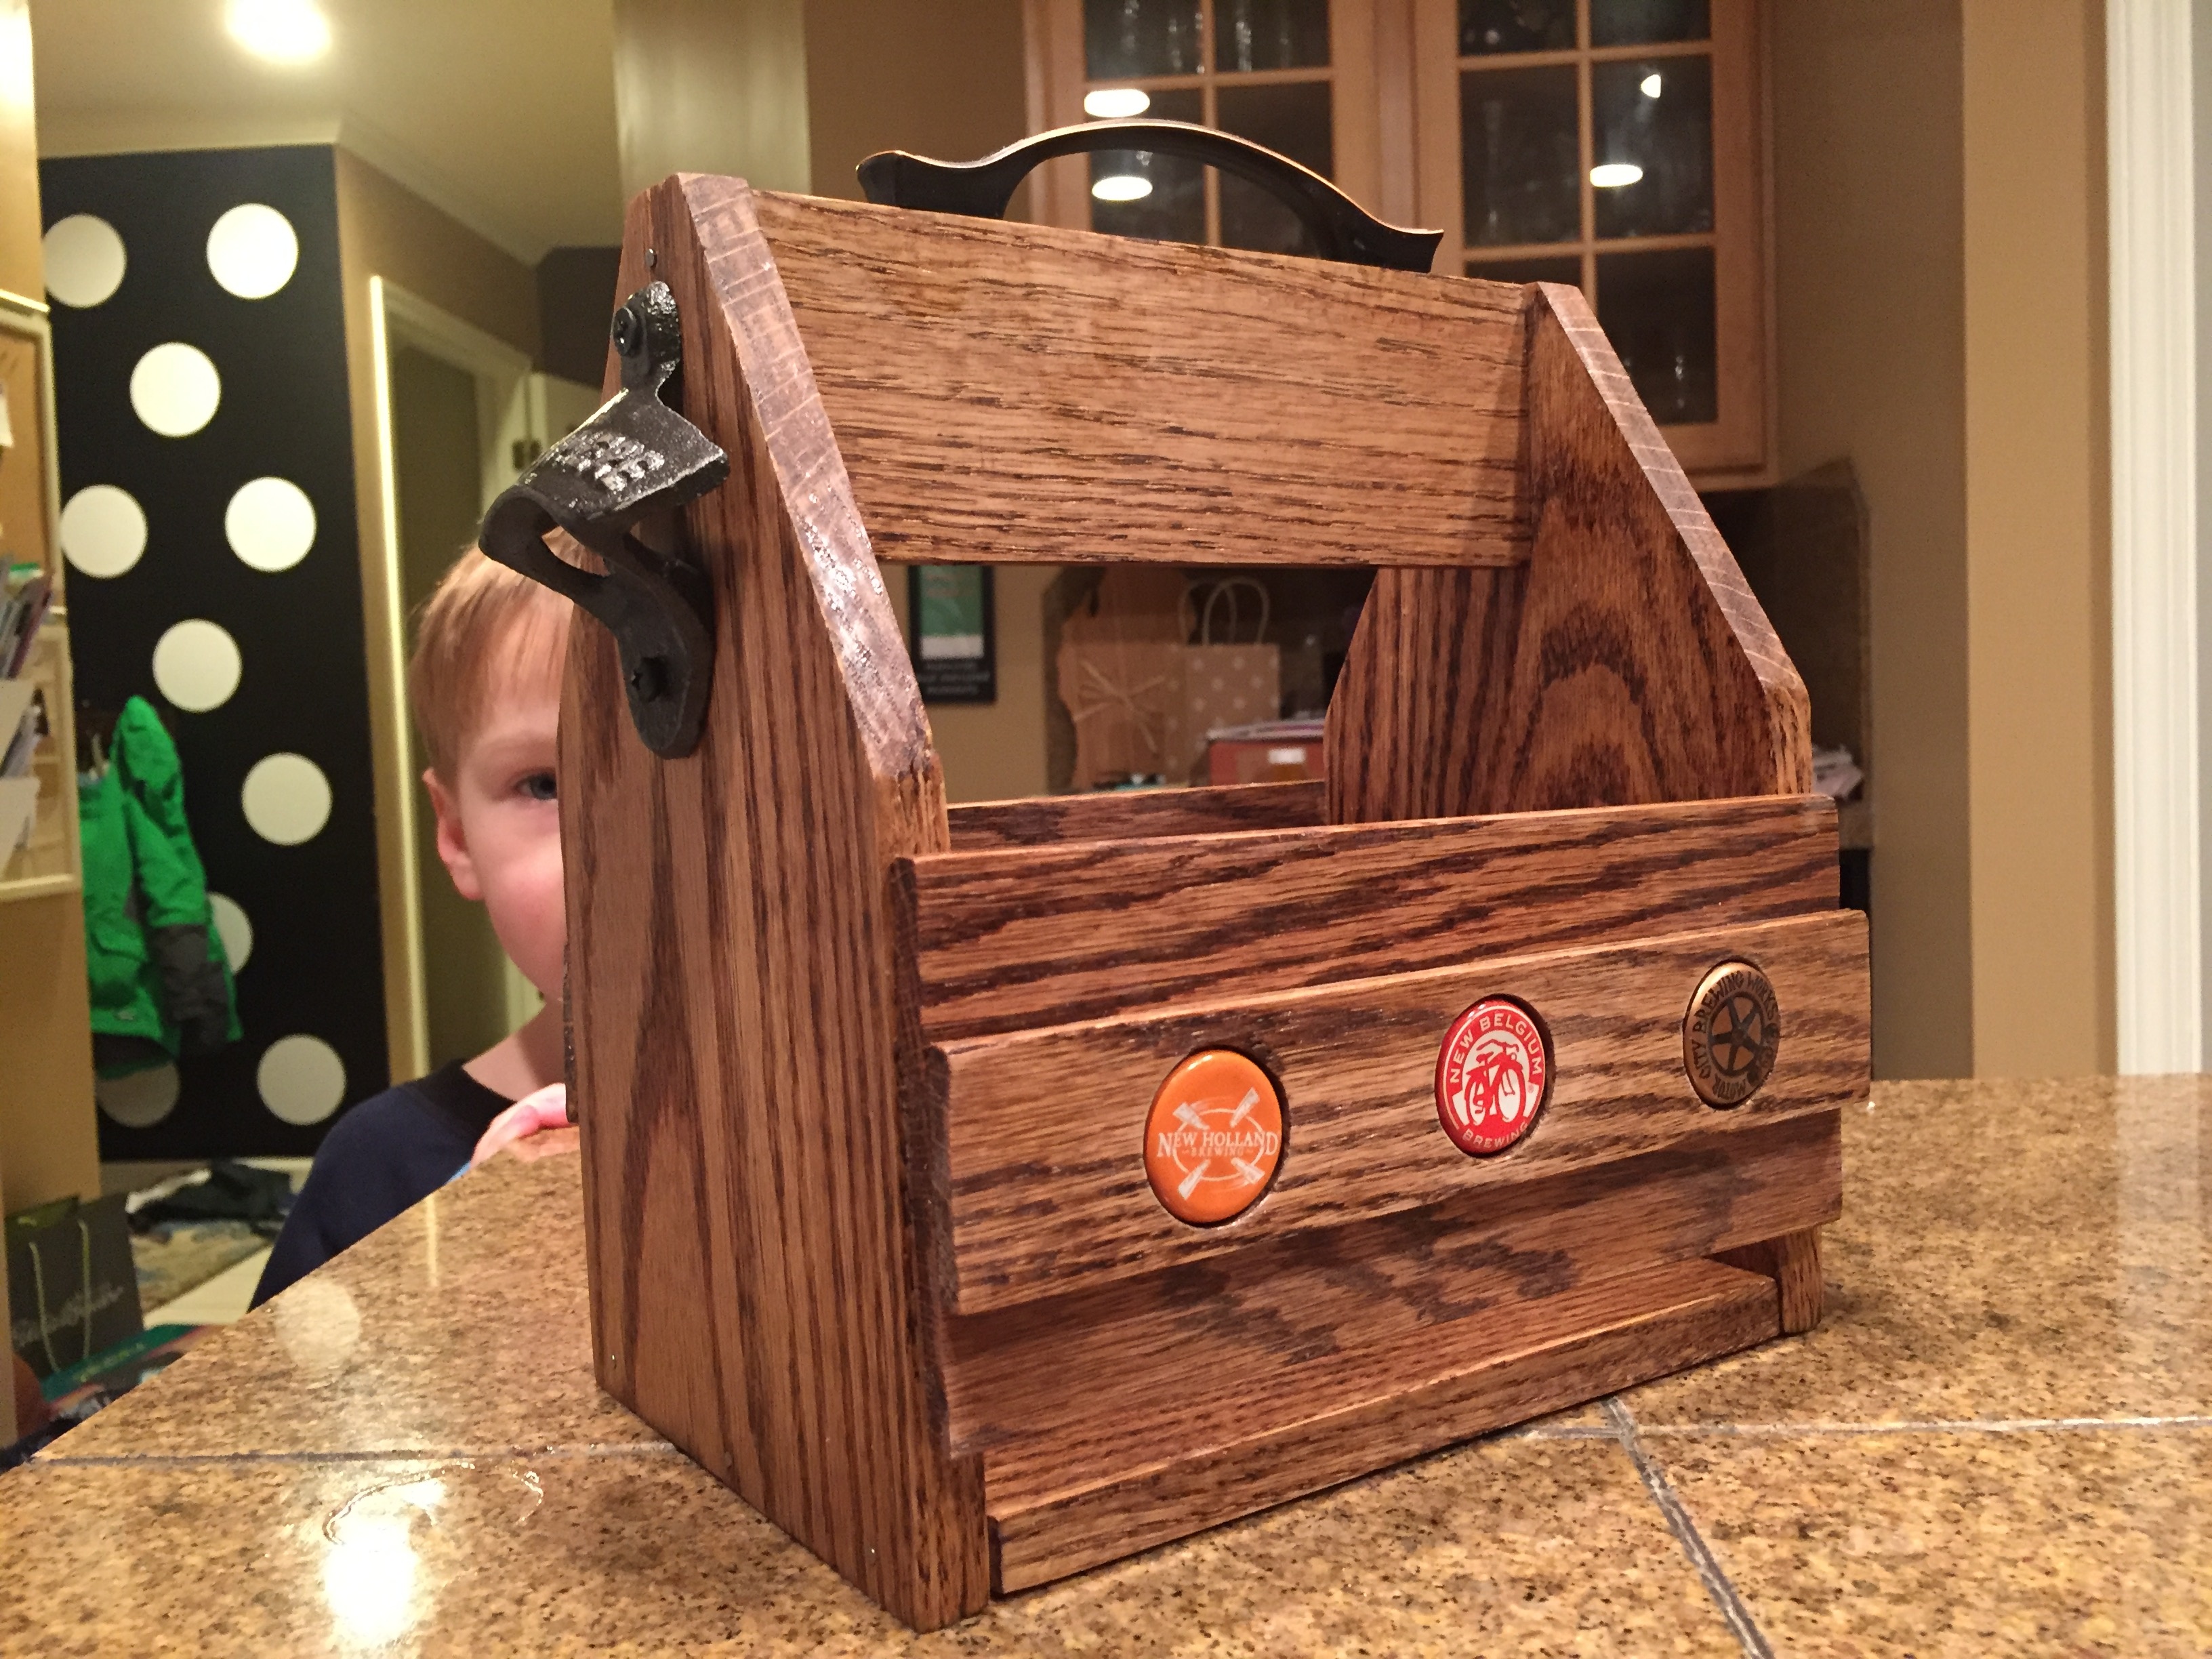
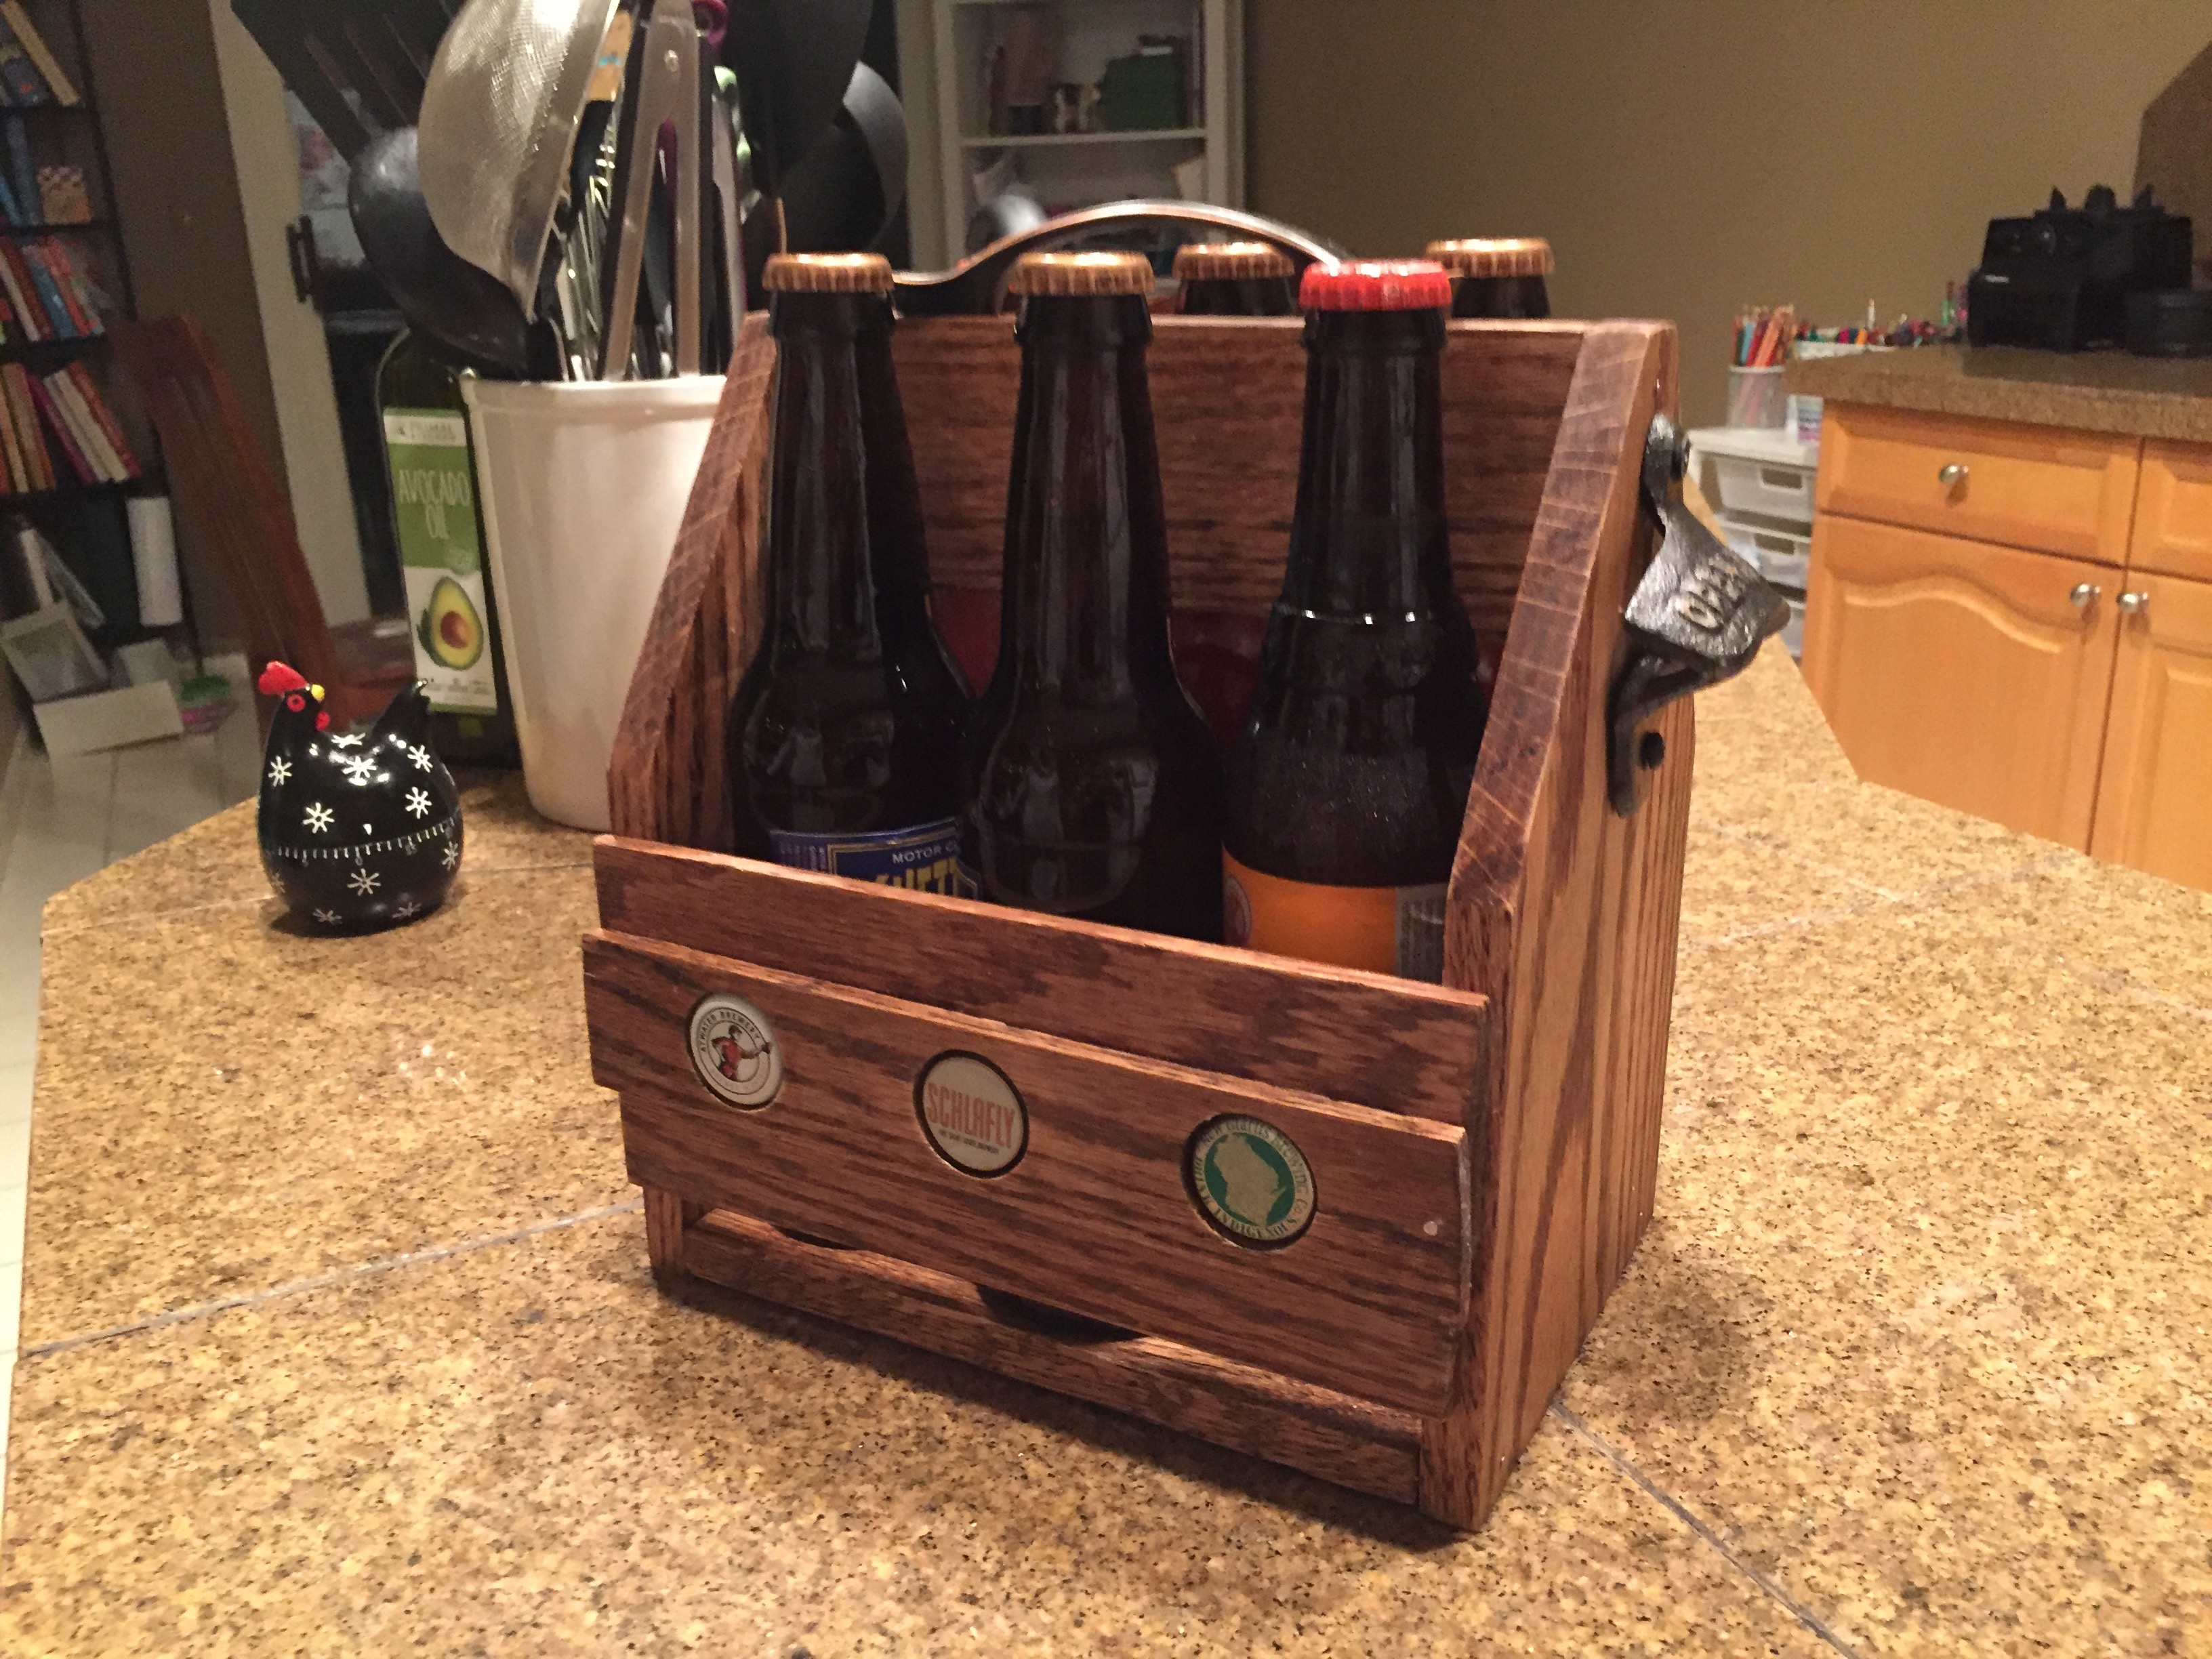
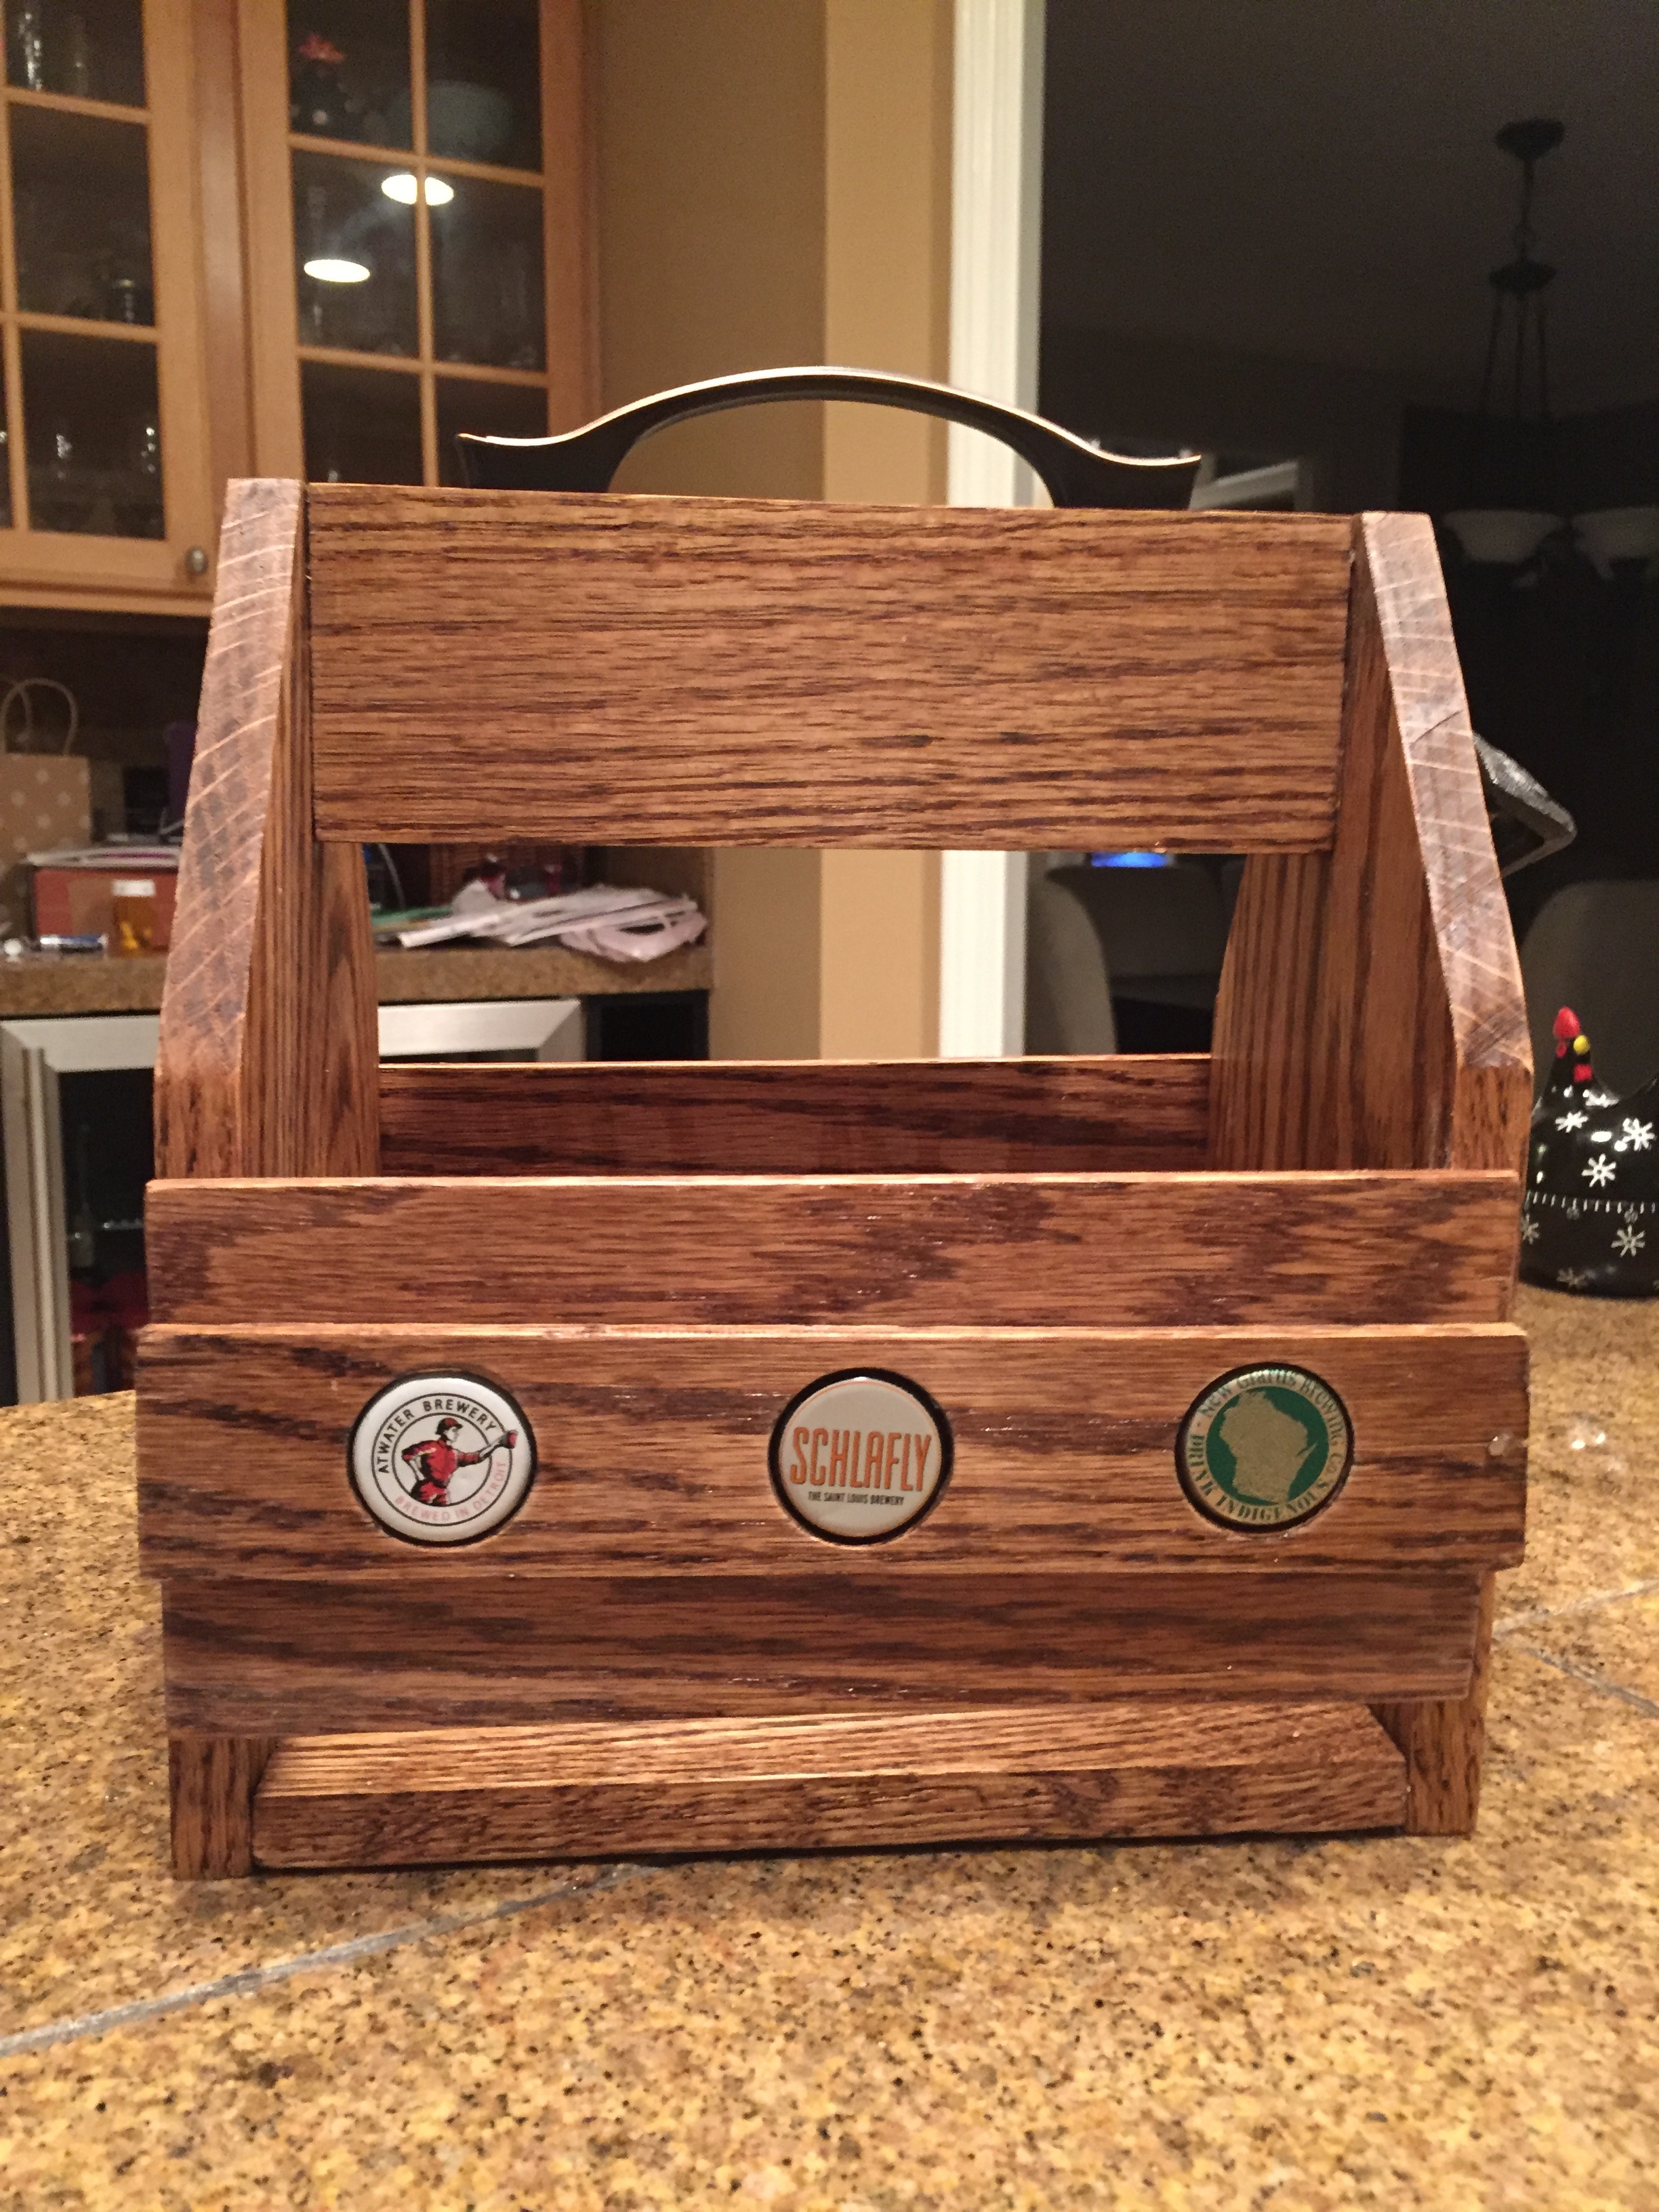
Here’s my first attempt, really enjoyed the time spent making it!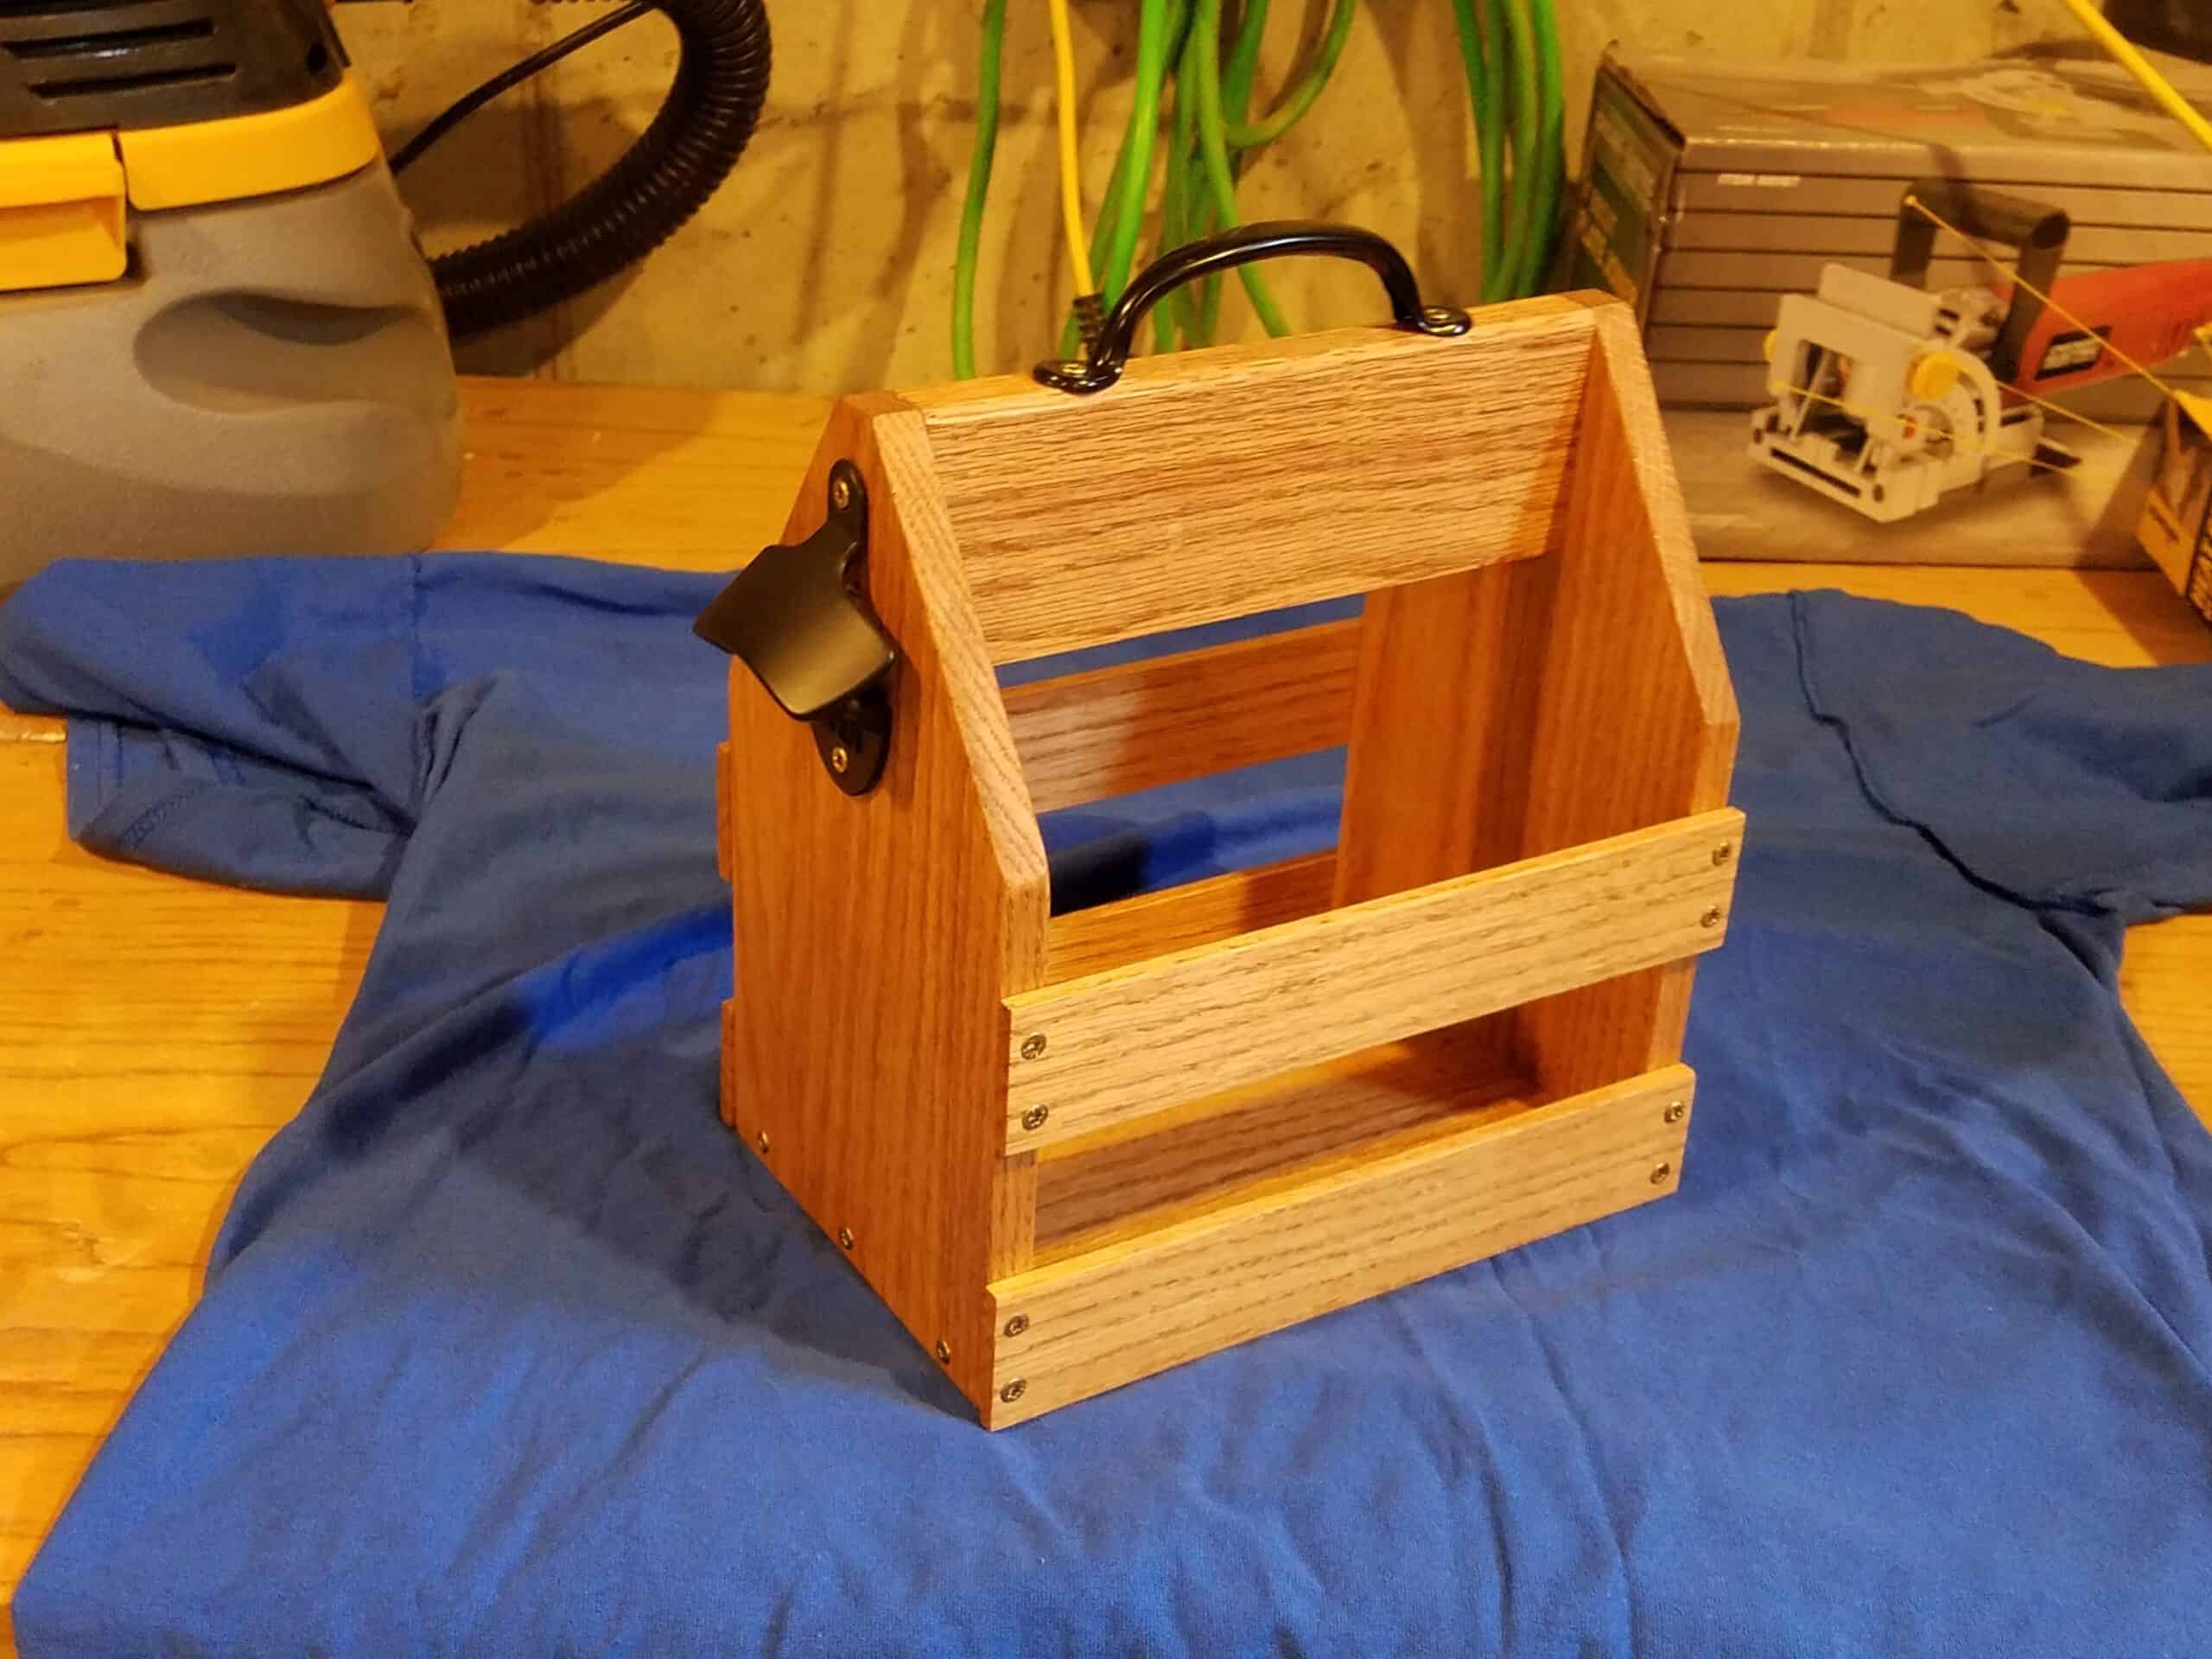
This is brilliant!
I know what I making my dad for Fathers Day.
And I might make one for myself too.
Looking forward to making this! Couple of questions:
1. Really struggling to find 1/2″ hobby boards. Here in Canada, neither the big box or specialty stores seems to carry them. Where did you find the ones you used?
2. What are those yellow pyramid things that are supporting the work while the stain is drying? Looks very useful!
So the only difference between the one you made and the one I’m trying is I used poplar wood and poplar dowel for the handle as I didn’t like how the handle turned out but now I’m wondering if that may be part of my problem. I’ve been trying to make this for a few weeks and the handle never fully touches the two sides, even when I cut it longer and try sliding it in. The lower half will touch but the top won’t. Any thoughts?
This is really cool, I’m going to try figure out if I can make one with scrap wood, I have some spruce wood from old furniture that I’ll try make work