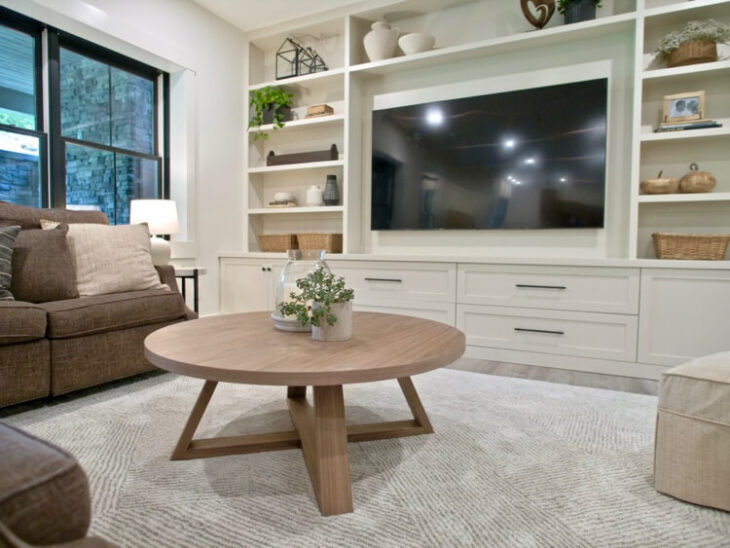
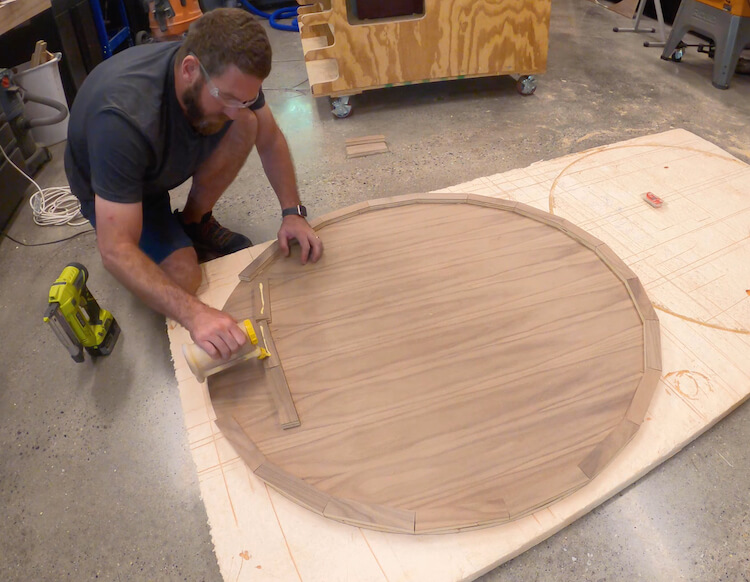
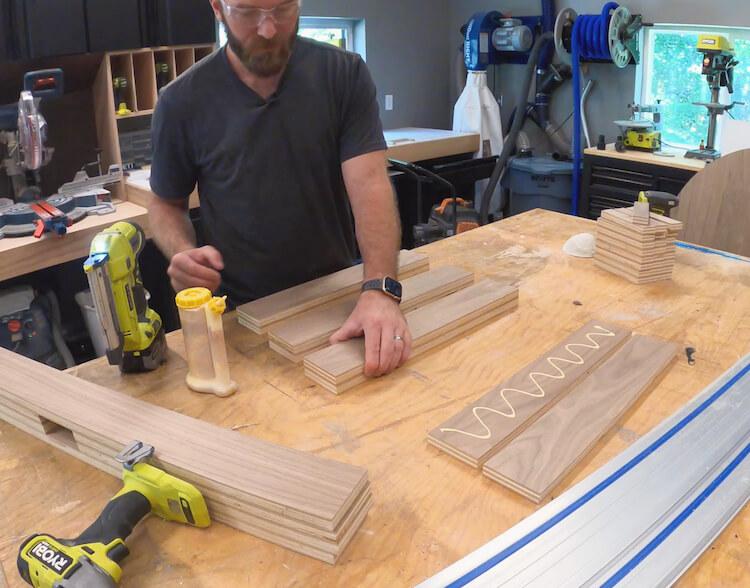
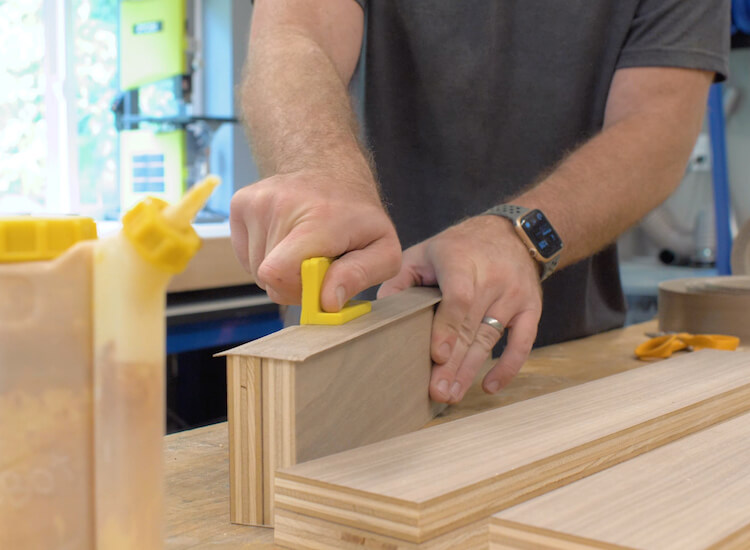
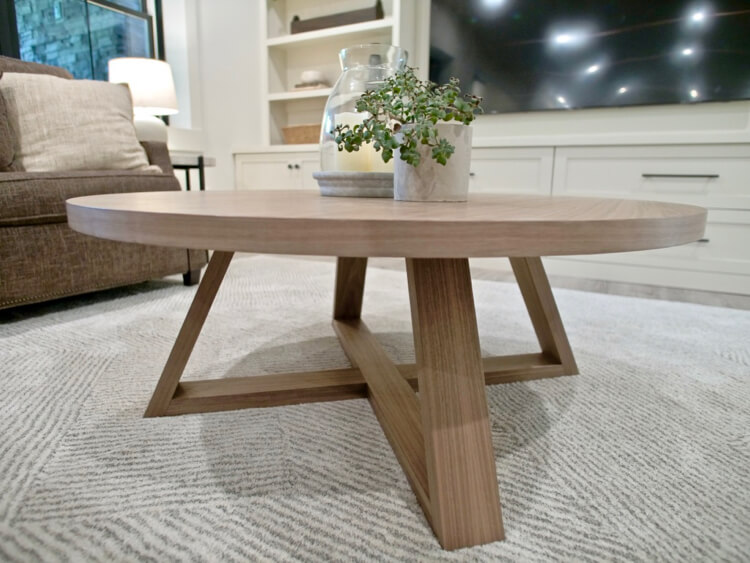
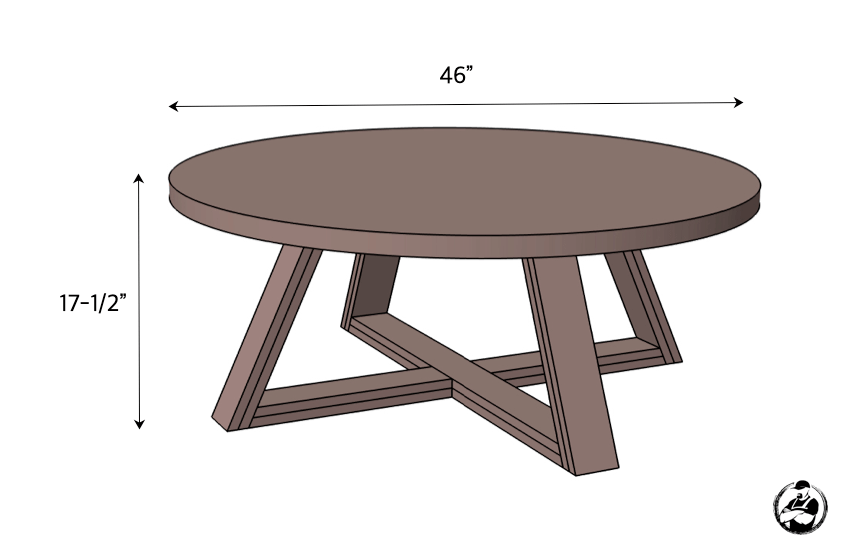
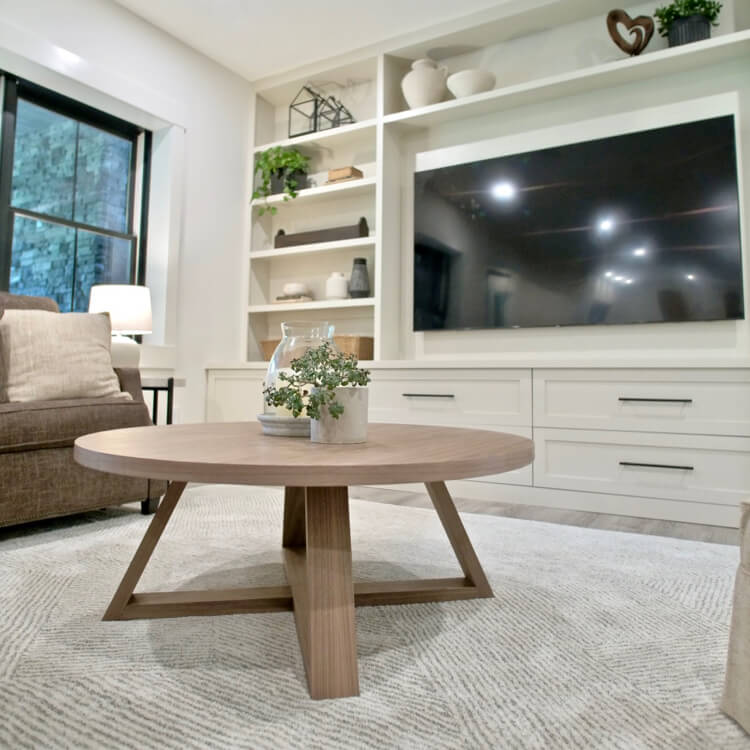
When my wife sent me an inspiration photo for our new coffee table I knew I had just the right material for the job. I recently purchased a sheet of 3/4″ walnut veneered plywood and didn’t end up using it. However, I was unsure if it would be enough for this job. After designing it and laying it all out, I knew it could work. Using some techniques I’ve picked up over the years I was able to make a 46″ round coffee table from a single sheet of plywood and it turned out even better than her or I could have ever expected.
If you love this stuff as much as we do, you might want to consider following us on Instagram where we post sneak peeks and behind the scenes stuff in our stories. Also, did you know you can get tons of projects plans from all around the web when you follow us on Facebook and Pinterest!
Disclosure: This project was sponsored by Kreg Tool Company however the design opinions are 100% my own.
Full Project Video
Wanna see how it all came together? Check out the full project video below and don’t forget to subscribe on YouTube so you won’t miss future videos!
Tools
Materials
- 3/4” x 4’ x 8’ Plywood (or 2x 4’x4′ sheets)
- This could also be done with oak plywood
- 2” Edge Banding 50′ (or 2x 25′ rolls)
- Wood Glue
- 1-1/4” Pin Nails (optional)
- 1-1/4” Wood Screws
- 1-1/4” Pocket Screws
- 2” Pocket Screws
- Furniture Feet (Optional)
Disclosure: The links provided in the “materials” and “required tools” sections are affiliate links. If you would like to support our site and help keep our content free come find out more about how we can make money with no extra cost to you.
Dimensions
Time needed: 1 day.
These plans will show you how to make a round coffee table out of a single sheet of plywood.
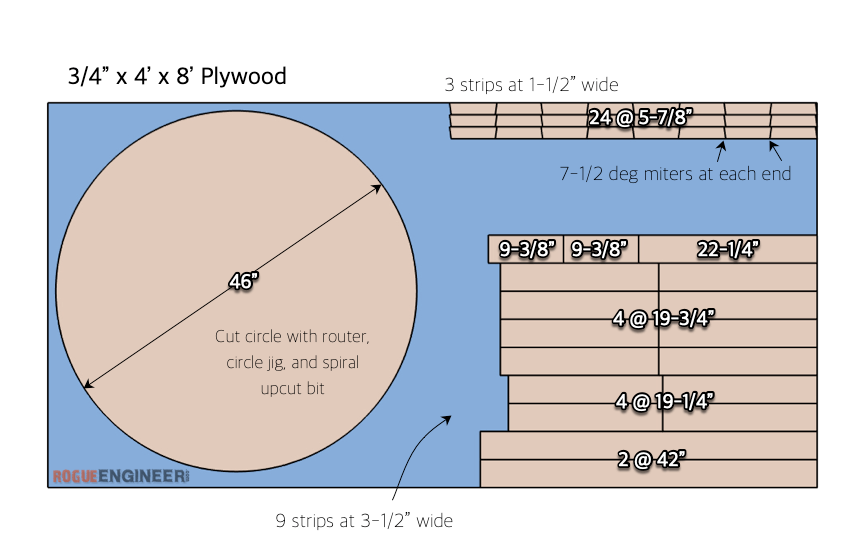
- Cut List
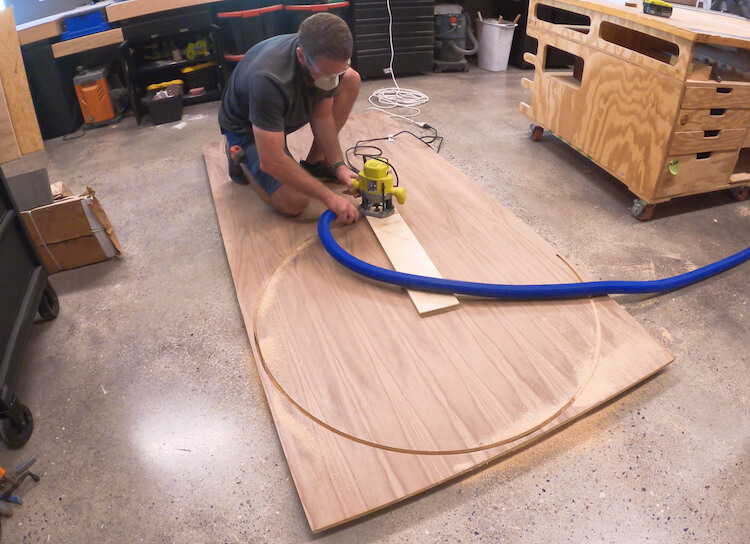
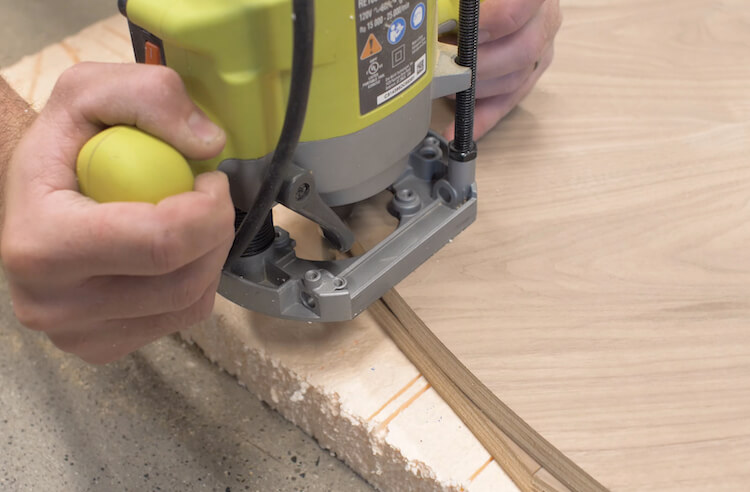
Use a scrap board to mount your router to and drill a hole 23″ from the edge of the router bit. Then secure with a 1-1/4″ wood screw to the location that will be the middle (bottom) of your table top. Use a spiral upcut bit to cut out the circle. - Thicken the Top
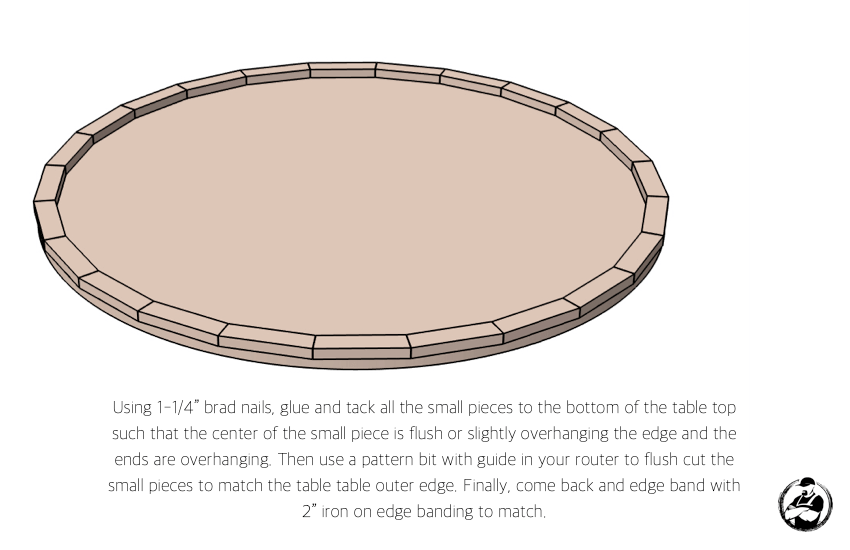
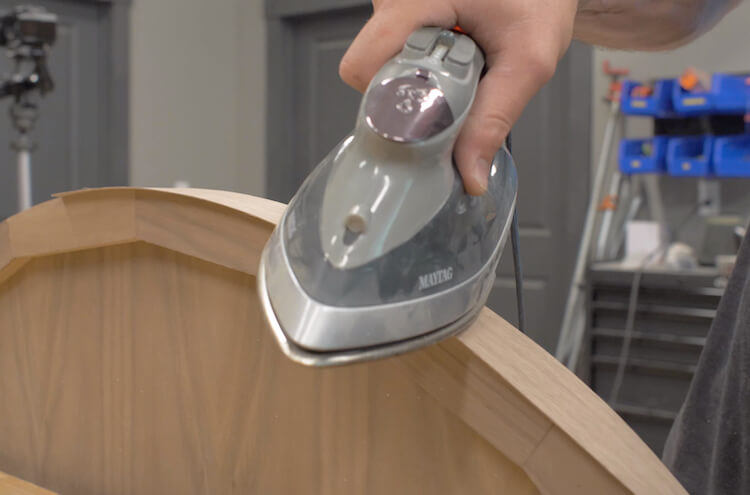
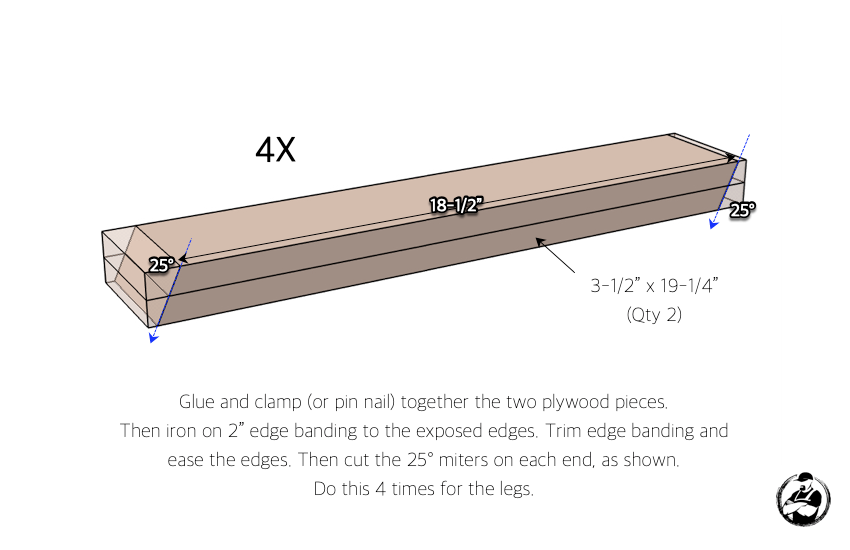
- Assemble the Legs
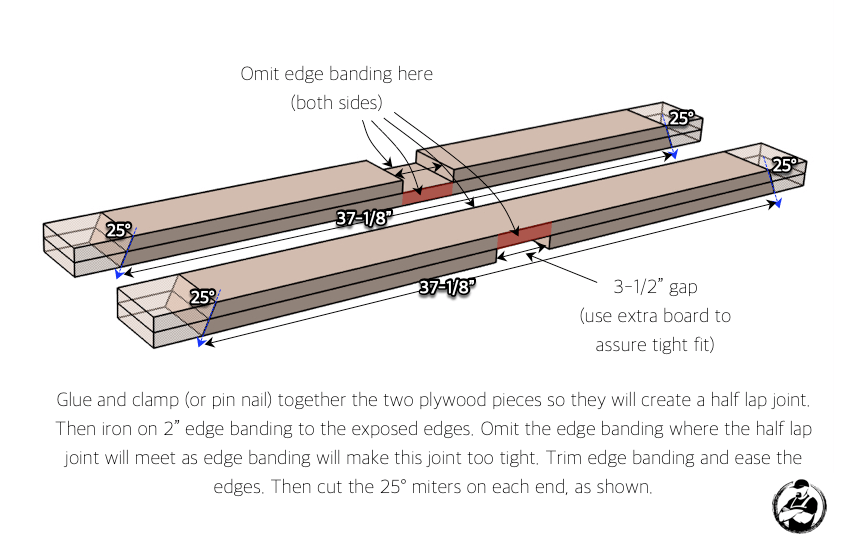
- Assemble the Boards for the Bottom of the Base
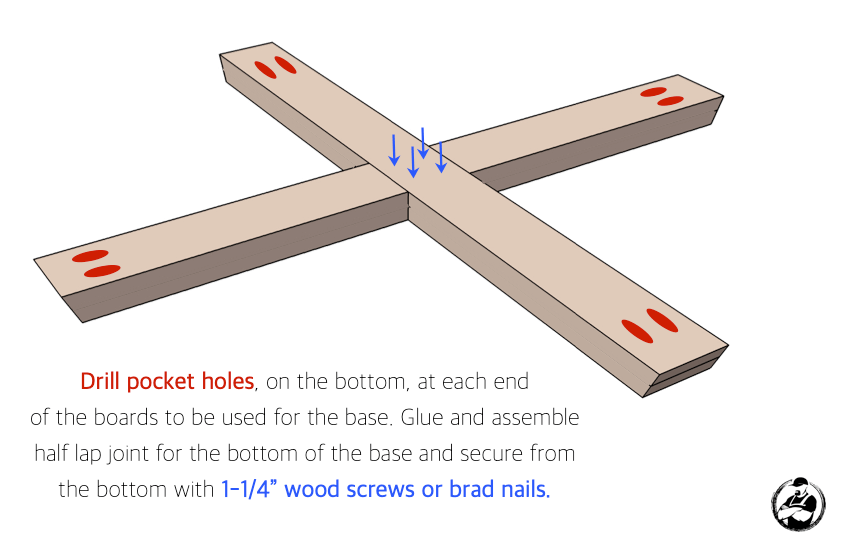
- Assemble Bottom of Base
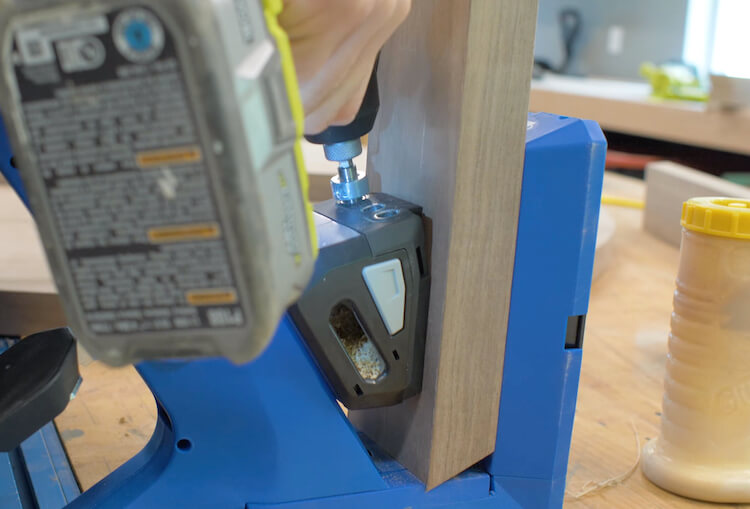
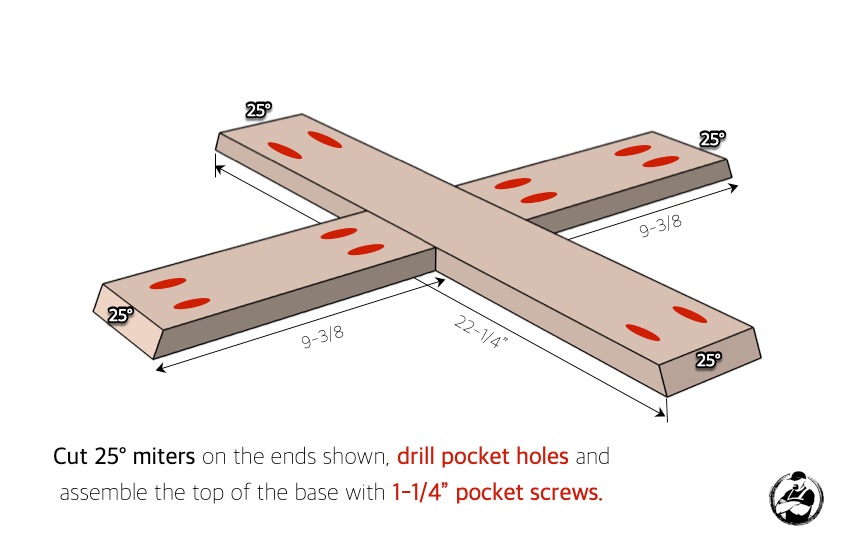
- Assemble Top of Base
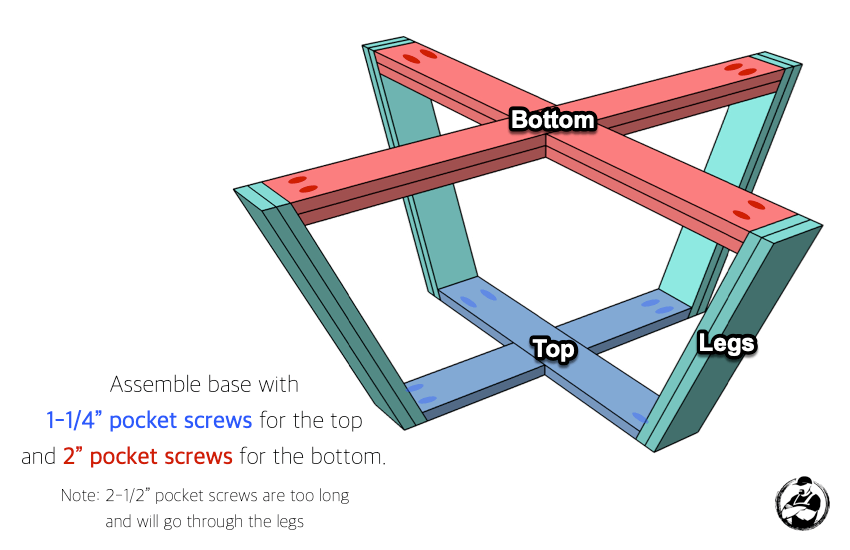
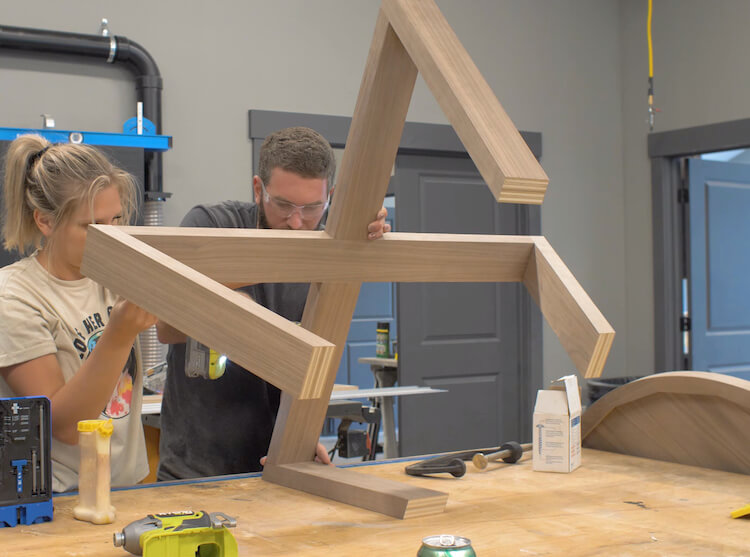
- Assemble Base
- Apply Finish
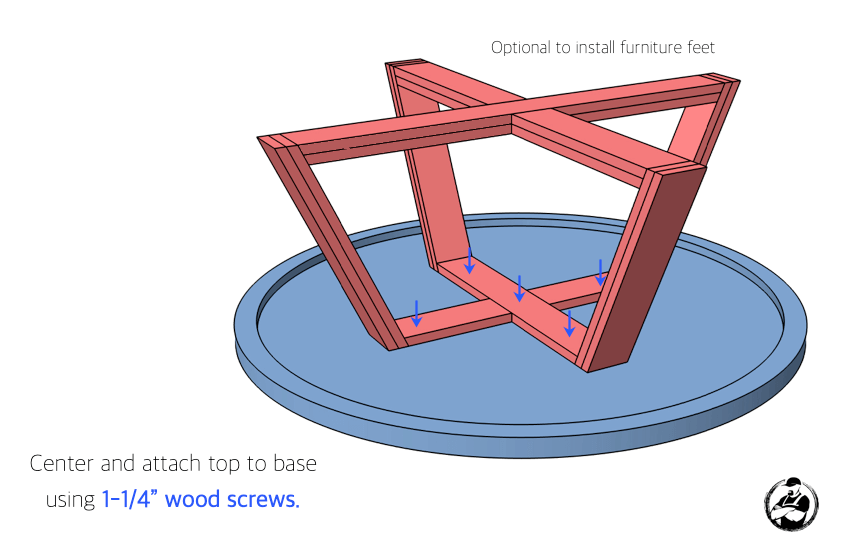
For this we went with a furniture wax finish to preserve the natural look of the walnut. - Attach Top to Base
Questions? Comments?
As always, if you have any questions don’t hesitate to comment below and especially don’t forget to post pictures of your finished products in the comments! ENJOY!

