

Tea Light Centerpiece
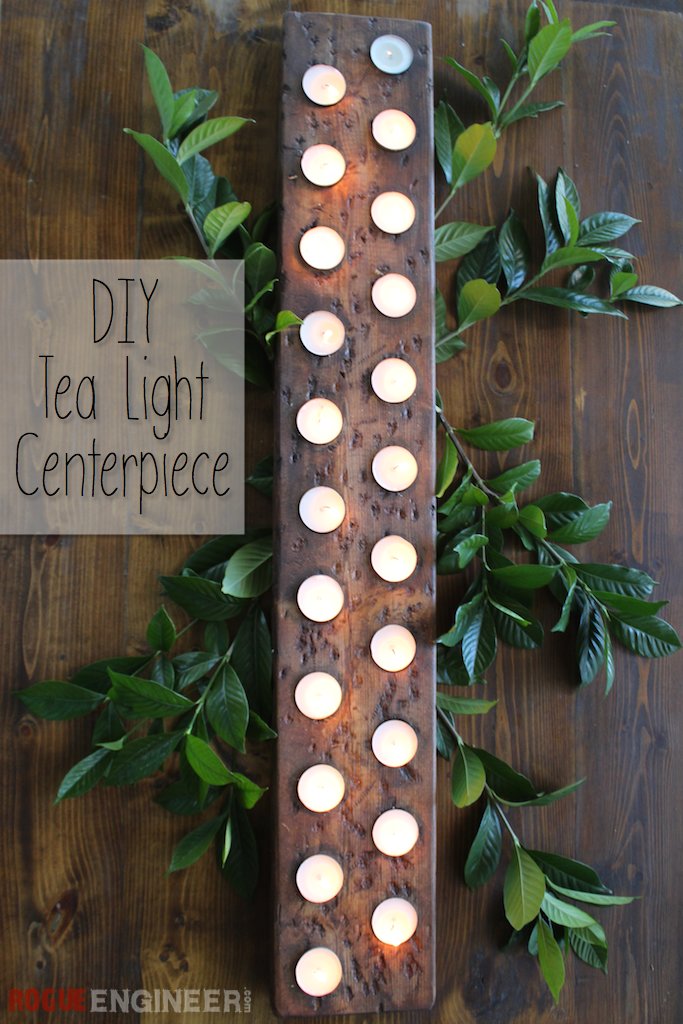
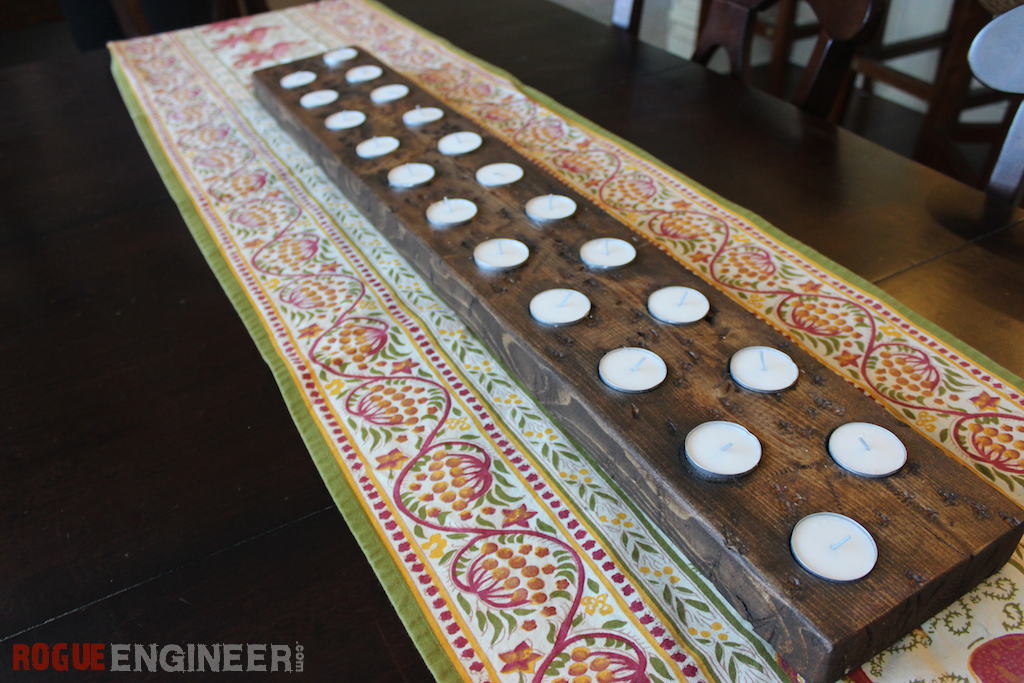
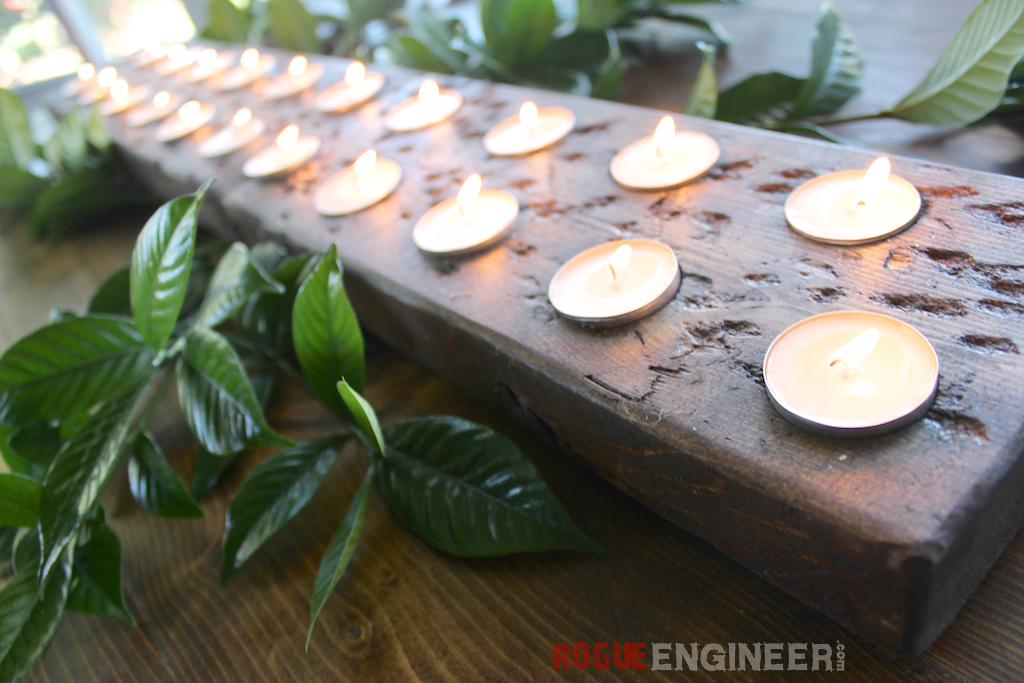
We been looking for ideas for a fall centerpiece for some time now. The other day we spotted a great idea on the Pottery Barn fall decorating page for a simple tea light centerpiece. As stated by Pottery Barn, “In place of a wood-burning fire, a series of candles makes a compelling – and eco-friendly – spectacle of light.” I could’t agree more. Possibly the best free piece I’ve made thus far. We hope you enjoy!


Disclosure: The links provided in the “materials” and “required tools” sections are affiliate links. If you would like to support our site and help keep our content free come find out more about how we can make money with no extra cost to you.
Tools Required
- Drill
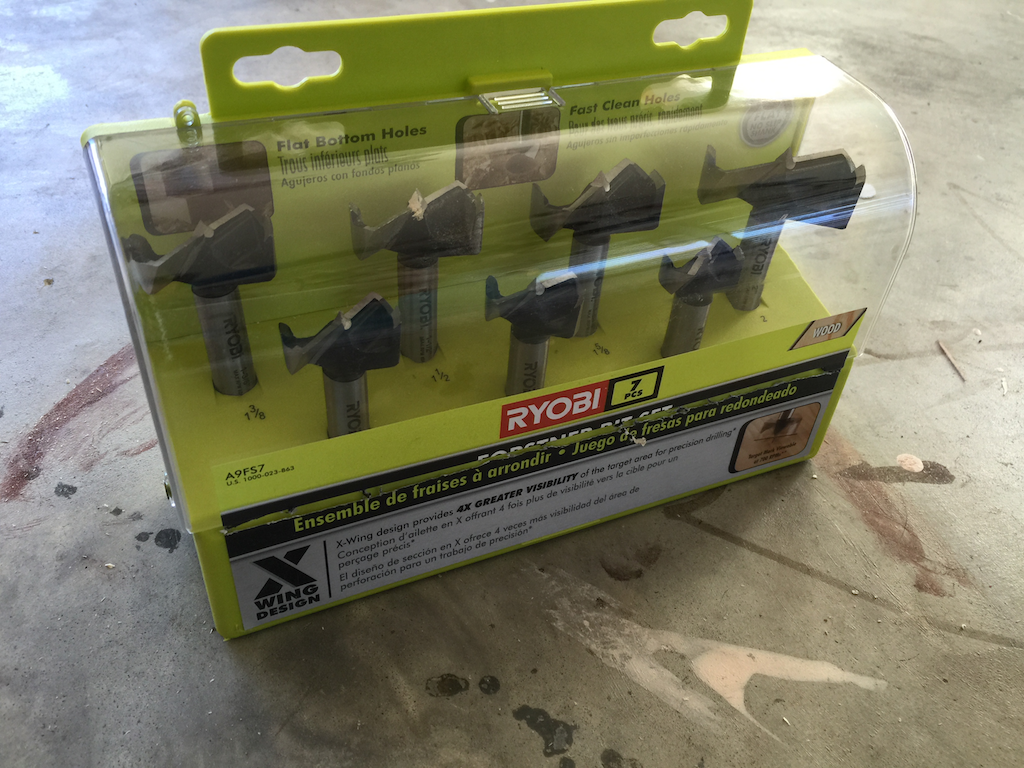
- 1-1/2″ Forstner Bit
- Note: This link is to the smaller Ryobi Forstner bit set but you actually need the larger bit set that includes the 1-1/2″ Forstner Bit, which I could not find anywhere on the internet. However, I do know HD has this set because I bought it myself.
- Miter Saw
Materials
- Qty 1 2 x 6 (I used scrap wood)
- Qty 22 Tea Lights
Cut List
- 2 x 6 x 34.5″
Tea Light Centerpiece Plans
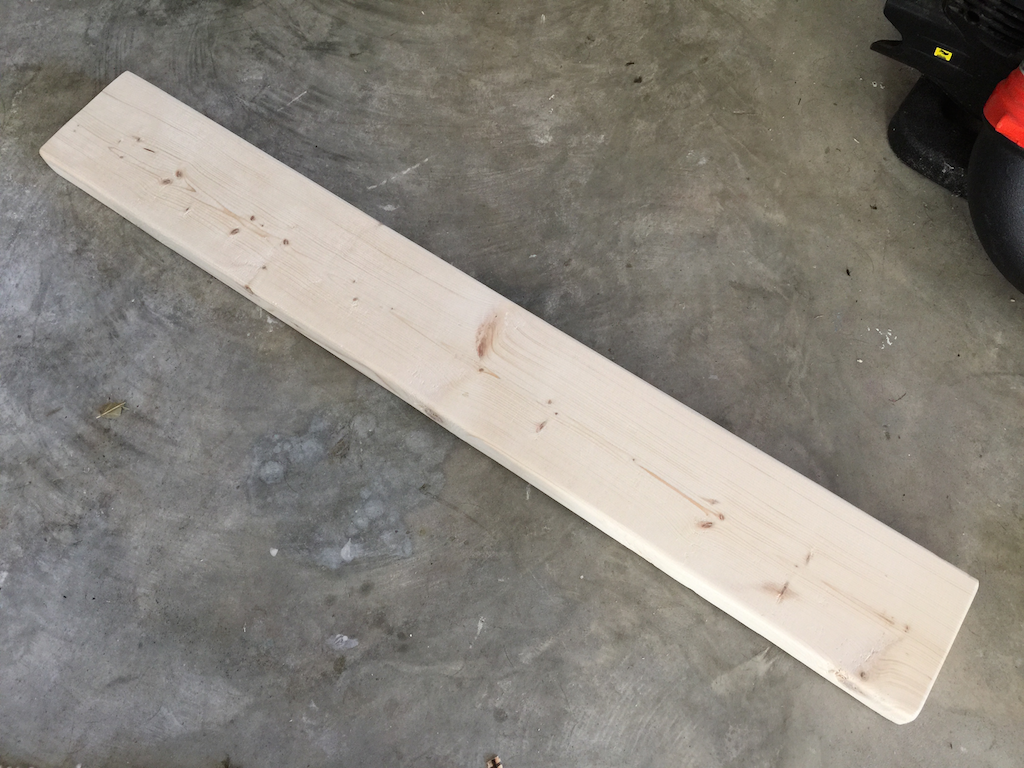
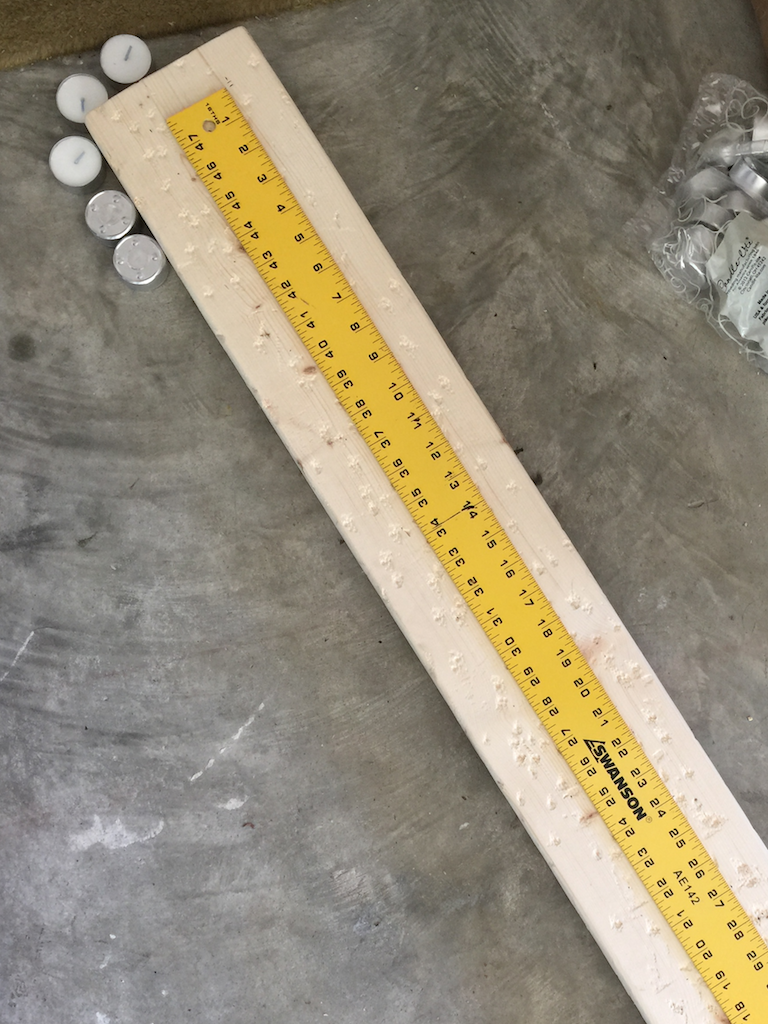
Step 1: Beat the crap out of your board
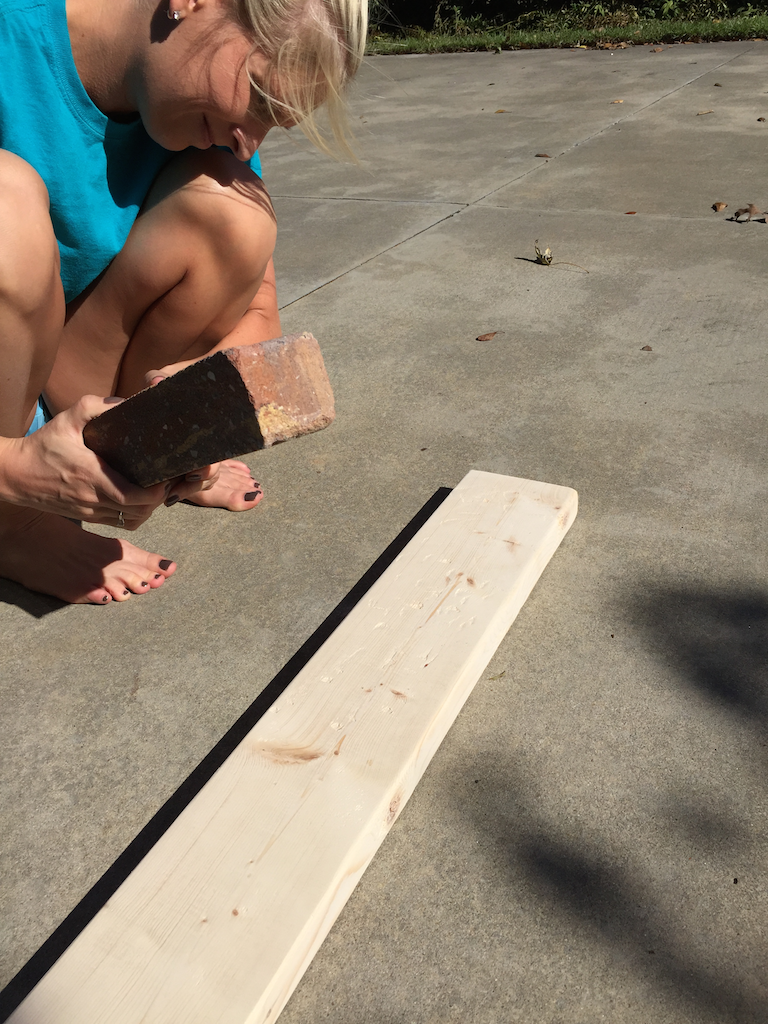
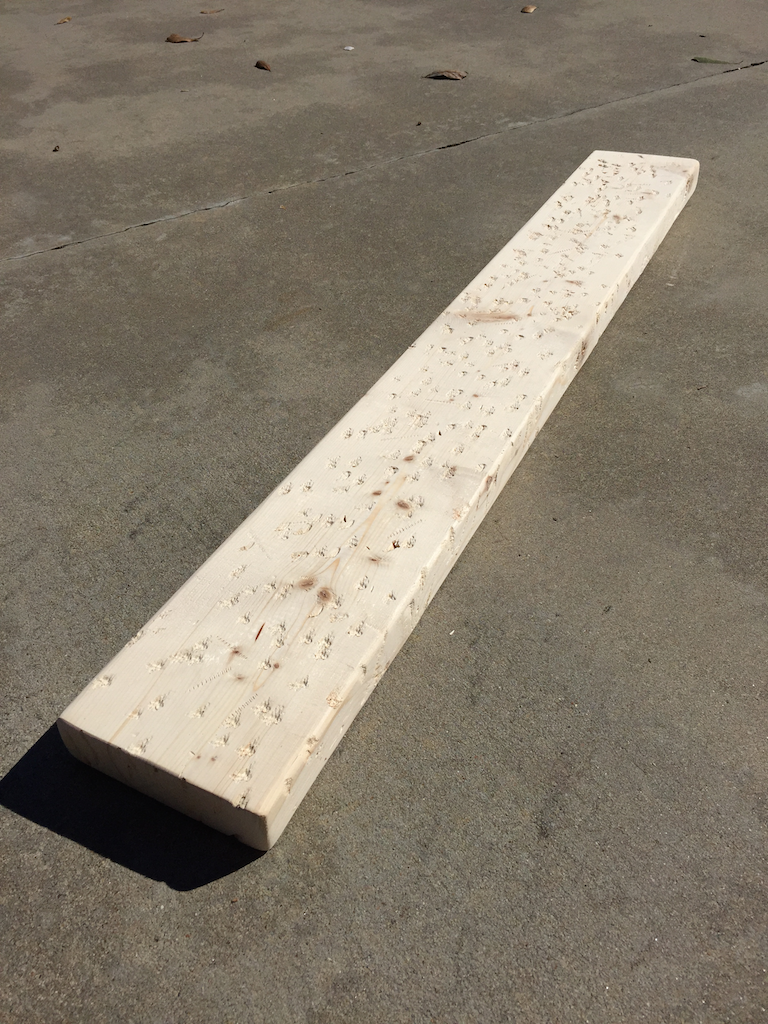
No really, I used a brick but you can use whatever makes you happy. I sanded it first. Not sure why, but I did. Then we took turns beating the heck out of it because, although fun, it gets tiring slinging that brick around.
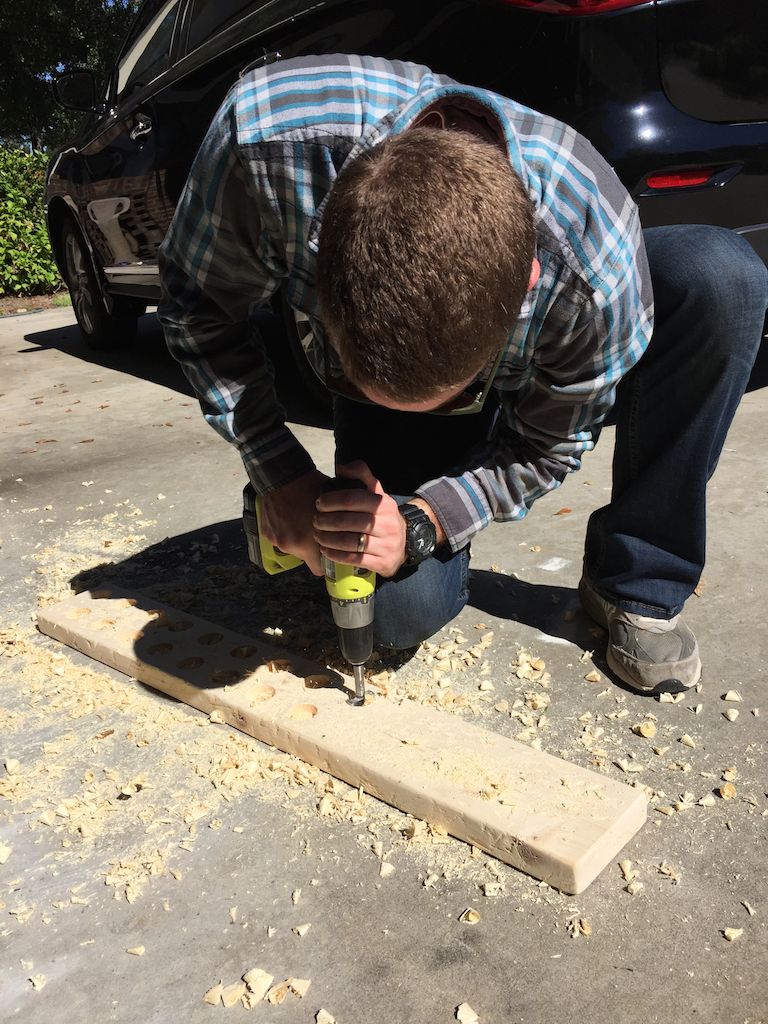
Step 2: Drill your holes
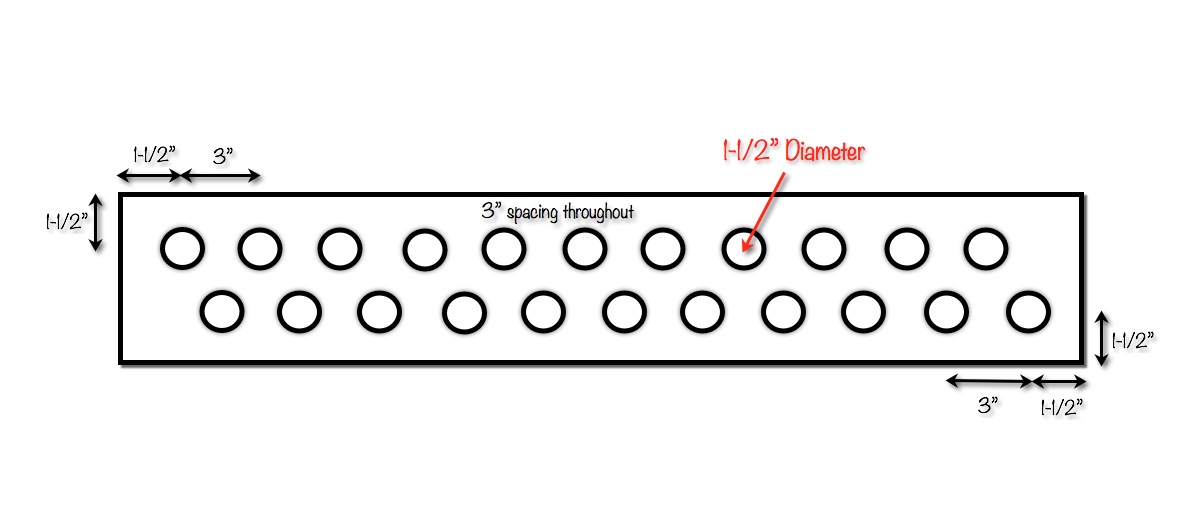
Using the 1-1/2″ forstner bit I bored a hole to a depth approximately equal to the depth of the tea lights. Oddly enough this is about the same depth of the cutting portion of the forstner bit itself which made it really easy.
Finishing
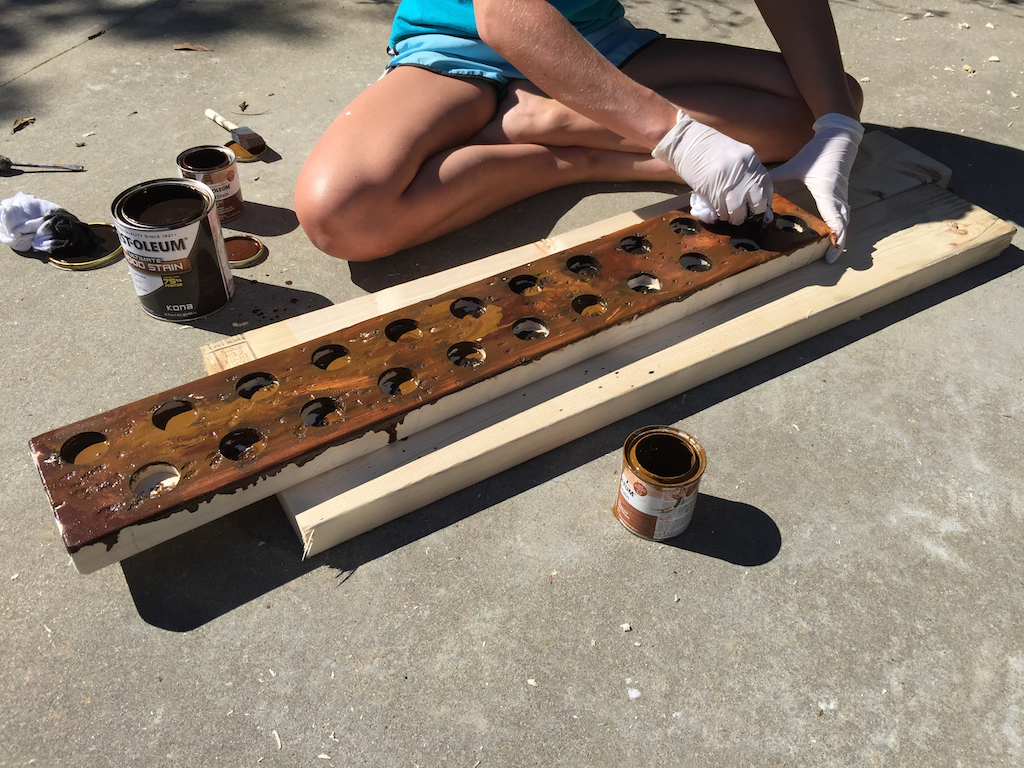
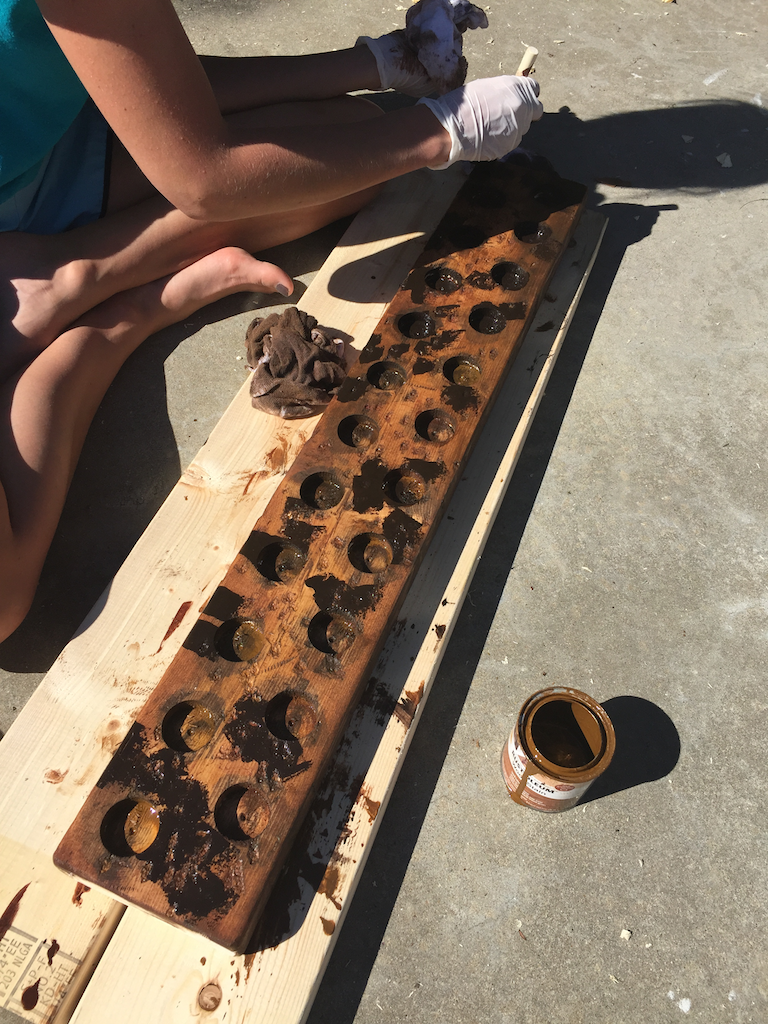
After giving the centerpiece a nice sanding to remove all the debris and rough patches it was ready for stain. Jamie opted to go for a finish that we saw at Rustoleum this past week which was dabbing on different stain colors and blending them together. I think it turned out great. She opted to go with Kona, Wheat and Carrington for this mixture.
Questions? Comments?
As always, if you have any questions don’t hesitate to comment below and especially don’t forget to post pictures of your finished products in the comments! ENJOY!
Love this! Practicing with my forstner bit and the tea light is really really snug. Like smash it in the hole snug. Did you experience this? Ikea tea lights. Thx!
Cindy, mine fit pretty good, maybe a little snug in some cases but not what your experiencing. I got my tea lights from the local grocery store. Maybe try wobbling the bit around a little when your drilling to open up the hole just a tad more.
Thanks Jamison! One more question. To keep the two rows of holes straight, did you draw pencil lines? I measured carefully and marked a dot for the center of each hole, but ended up with not quite straight rows! May just need more practice. Thanks again.
No problem! I just laid out a ruler as my straight edge and used a fine tipped sharpie to mark.
The hyperlink to the Forster bit set is the wrong size set. It’s largest bit is 1 3/8. Maybe that’s why the person above is having trouble getting them to fit. FYI
I remember why I did that now. Because that larger bit set is no where to be found on the internet. Thanks for the heads up though. I added a note about the issue.
I made the same mistake and bought the smaller Forsner bit set, Home Depot has the larger but quite a bit more expensive, $39 vs $19. They are so much better than the spade or hole drill though. As of today I am using a drill press which makes it so fast and easy, I love all the ideas as I like to add my own touch to them, Thanks for sharing!
The drill press defiently makes things a lot easier!
As I don’t feel 100% safe using candles near wood I purchased the battery operated ones from the Dollar Tree and they look and work great on two AAA batteries. They have the tea light and tall ones.
Thats a good option!
Thank you for the plans for this gorgeous build. It looks so Christmasy and fun for the holidays and I am loving it! I posted a video on YouTube of me building it and I have a link to you your plans. Thanks again, Michelle
Looks great, and super simple! The brick technique is genius. When I distress wood, I like to lay a screw on the wood and give it a whack. Leaves beautiful marks that are very cool looking after staining. I put a clear sealer over the stain.
You can make a jig for the holes, which can eliminate measuring every hole every time. Cut a piece of 1/2″ or 3/4″ plywood the exact width of your 2×6, and a little longer than needed to cover the first 2 pairs of holes (2×2 pattern). Drill the first 4 holes (2×2 pattern) into the plywood jig, exactly as they should be spaced on the board. Lay the jig over the board (lined up exactly against the end of the board) and drill your first 2 holes. Drop 1.5″ dowels into the first pair of holes, and drill your second pair of hones using the other holes in the jig. Move the jig one pair over, drop in the dowels, and drill the next pair of holes. This process will guarantee the holes will be lines up at perfect intervals and spacing from the edges of the board.
If you are planning on making lots of these centerpieces, you could then make a longer plywood jig the same size (width and length) as the 2×6 and drill all the holes into the plywood. Now you have a template to place over each subsequent 2×6 and you never have to measure the holes again. Just clamp the template/jig to the 2×6 and drill all the holes.
do these bits actually cut well? ive purchased 3 different brands and needed to return them all because the do nothing but slide over the wood and do not cut into it