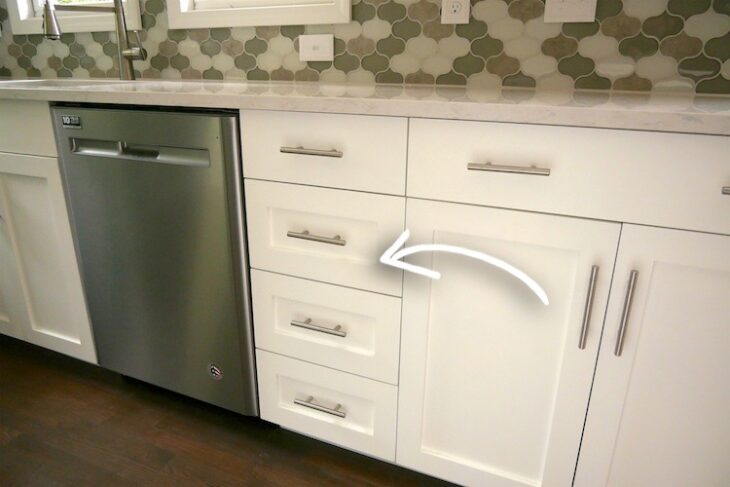
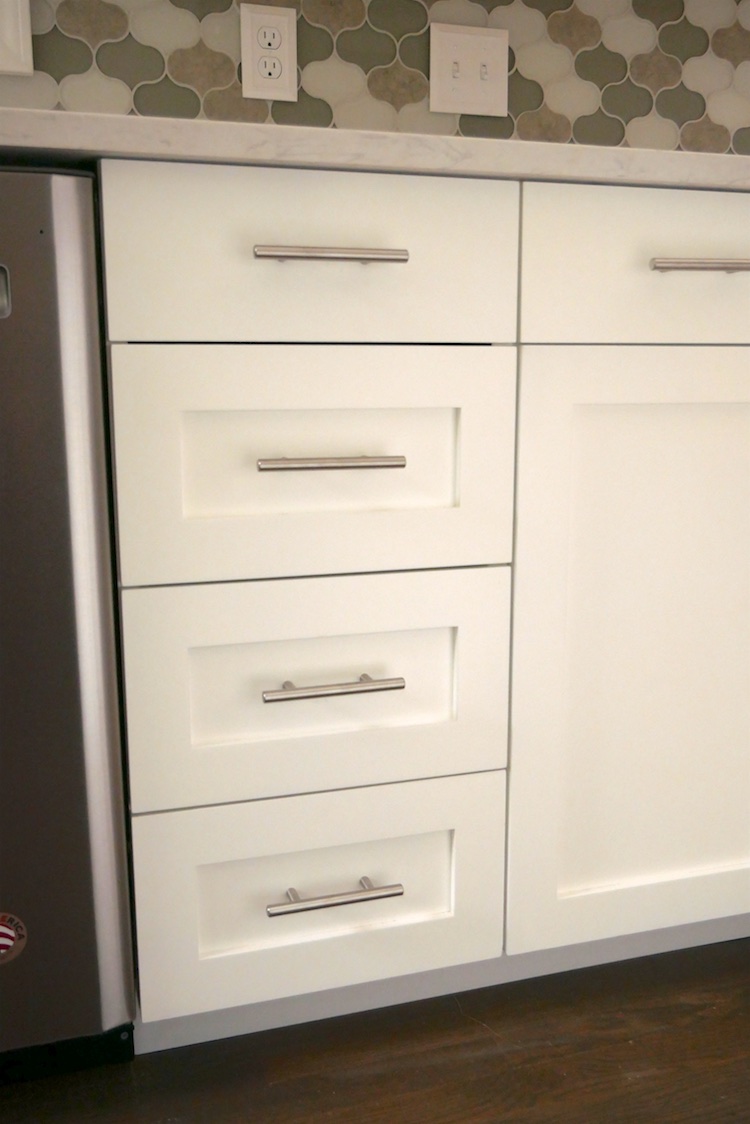
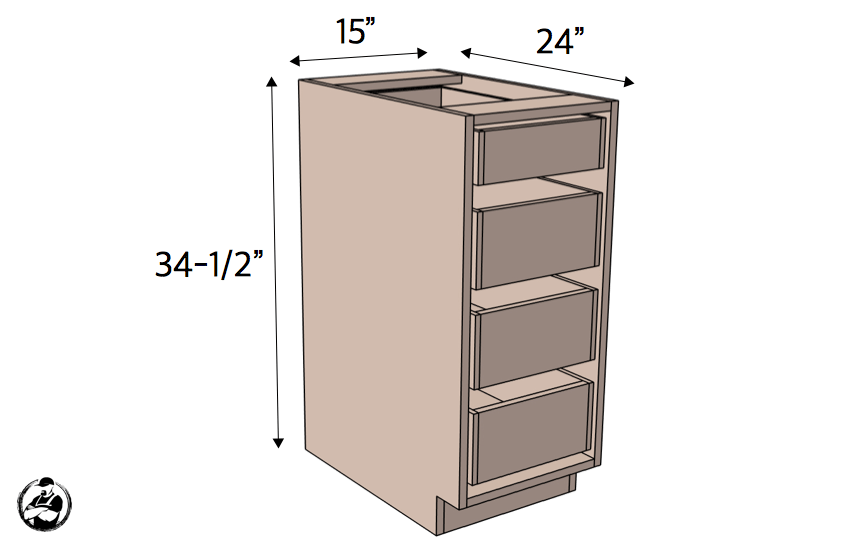
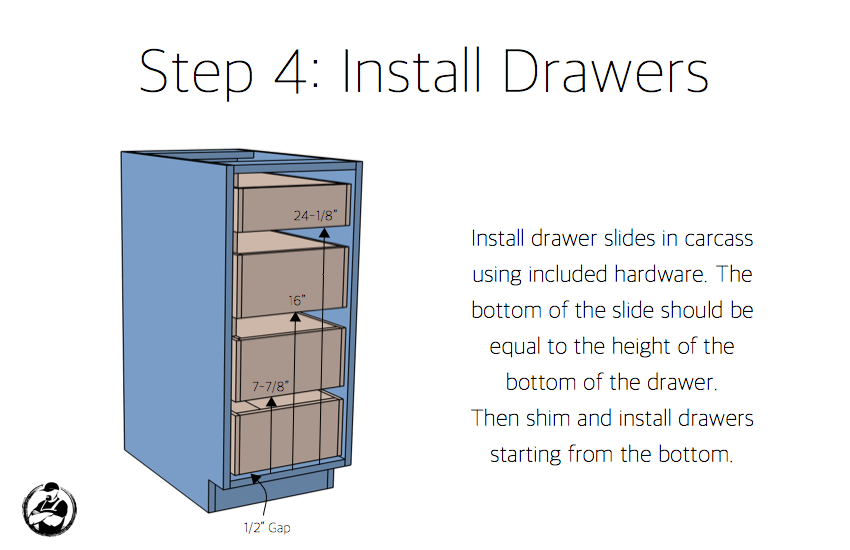
This post will show you how I built a 15 inch wide base cabinet that has 4 drawers. The drawer at the top accepts a 6-1/2″ tall drawer front and the lower 3 accept an 8″ tall drawer front. The cabinet is a frameless, or European style, cabinet which basically means that there is no face frame. This allows you to better utilize the space in the carcass. The carcass is made of 3/4″ pre-finished maple plywood from Purebond and while I decided to make all my own carcasses for the flip house kitchen, the doors were purchased from Rockler Woodworking. The doors and face of the cabinets were painted Night Blooming Jasmine from Behr.
Below is a list of projects that have been publish or are to come in this kitchen renovation series. So be sure to check those out for more details.
Our Flip House Kitchen Renovation Series
- Frameless Cabinet Carcasses
- 7in Slim Base
- 36in Lazy Susan
- 15in 4-Drawer Base
- 30in Upper
- 27in Sink Base
- 30in 1-Drawer 2-Door Base
- Cabinet Door Drying Rack
- Countertops
- Cabinet End Panels
- Spraying & Installing Cabinet Doors
- Upper Cabinet Crown Moulding
Don’t forget to subscribe on YouTube and for sneak peeks of our upcoming projects be sure to check out Our DIY Life on YouTube, follow us on Facebook and Instagram. Also, follow me on Pinterest to get tons of projects plans from all around the web!
Required Tools
Materials
- Qty 1 – 1/2″ x 2′ x 8′ Pre-Finished PureBond Plywood
- Qty 2 – 3/4″ x 2′ x 8′ Pre-Finished PureBond Plywood
- Paintable Iron-On Edge Banding
- For cabinet face
- Pre-Finished Maple Iron-On Edge Banding
- For top edge of drawers
- 1-1/4″ Kreg Pocket Screws
- Qty 4 – Liberty Hardware 22″ Soft Close Drawer Slide (1-Pair)
- Wood Glue
Disclosure: The links provided in the “materials” and “required tools” sections are affiliate links. If you would like to support our site and help keep our content free come find out more about how we can make money with no extra cost to you.
Dimensions
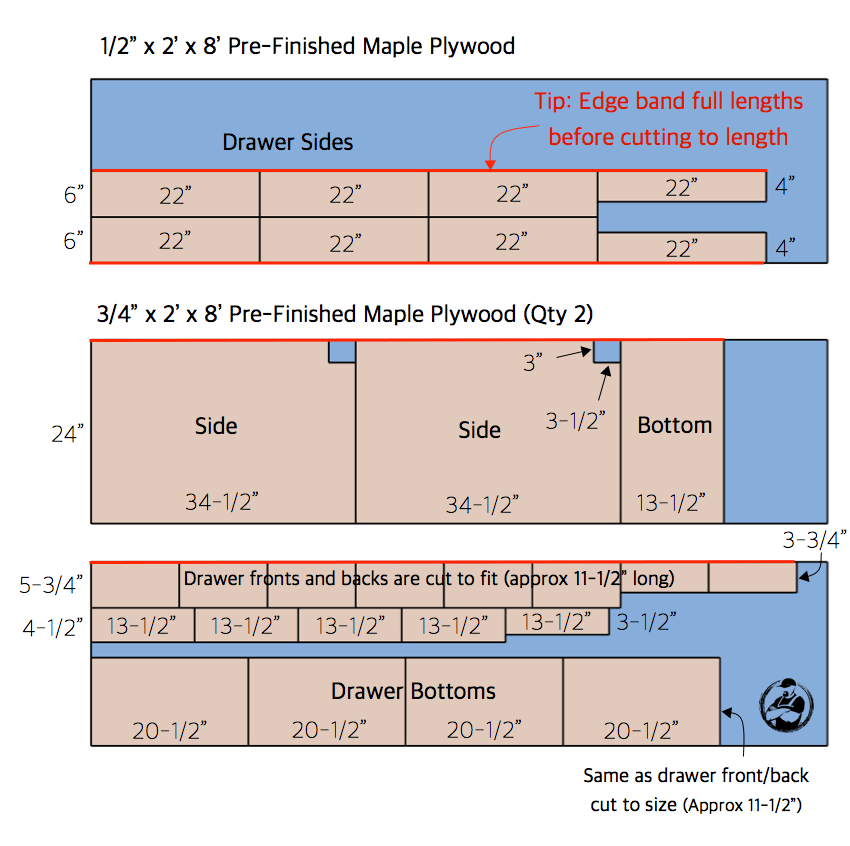
Cut List
Note: The drawer fronts, drawer backs and drawer sides get the top side banded with pre-finished maple to match. The carcass sides, bottom and one of the 4-1/2″ x 13-1/2″ boards (used for the top/front) gets banded with a paintable banding (if painting the drawer fronts) like birch.
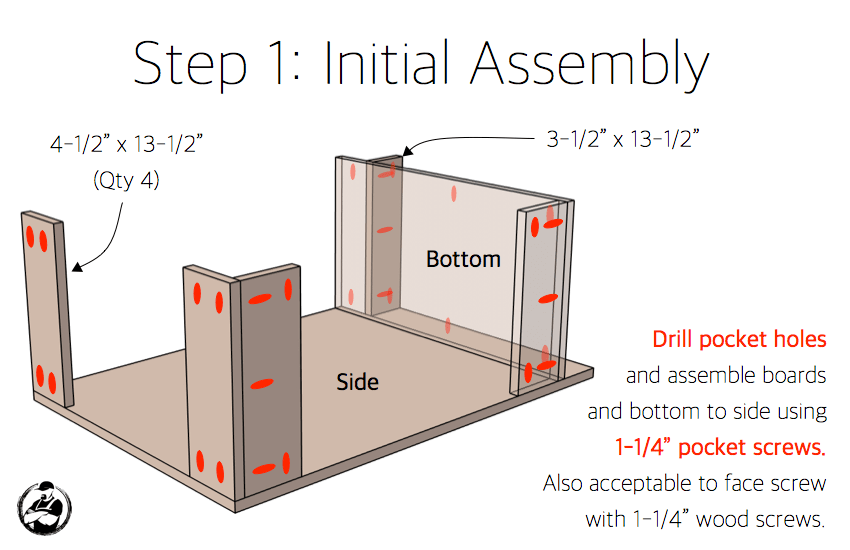
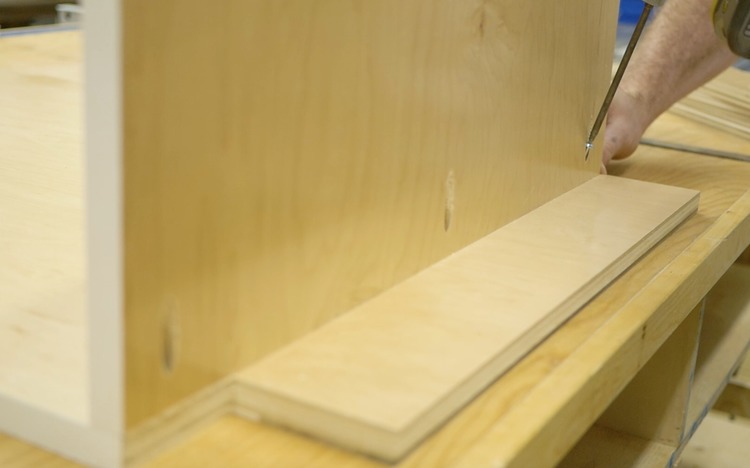
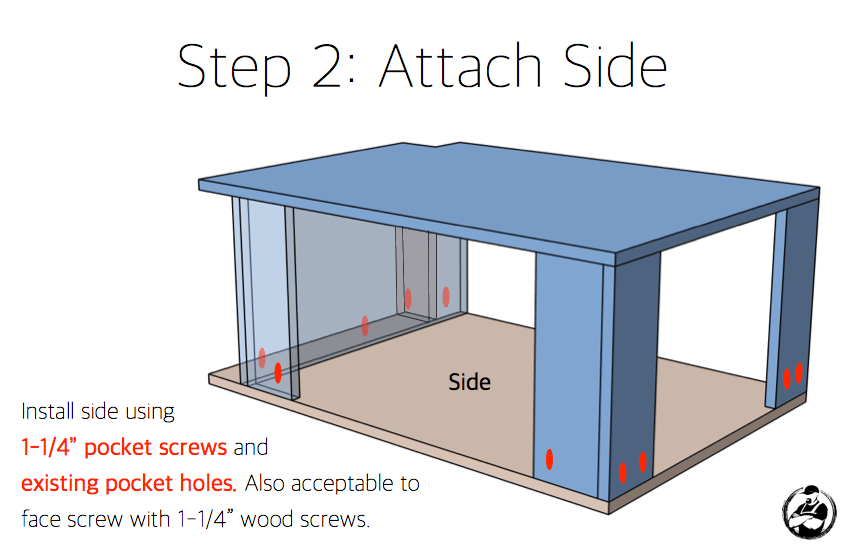
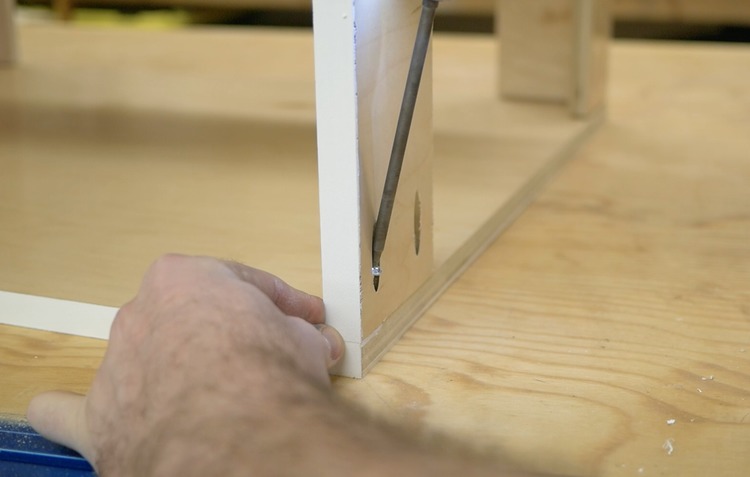
How to build a 15in 4-Drawer Base Cabinet Carcass
If you decide to take on this project I highly recommend you download the printable PDF below to have with you during the build. To do so just click the button below and subscribe to get weekly updates. In return I’ll instantly email you the PDF for free! It’s a win-win.
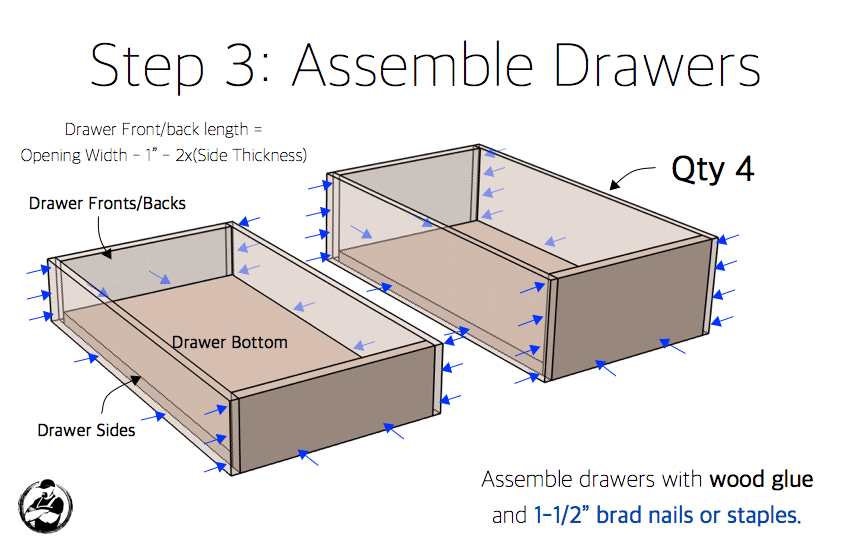
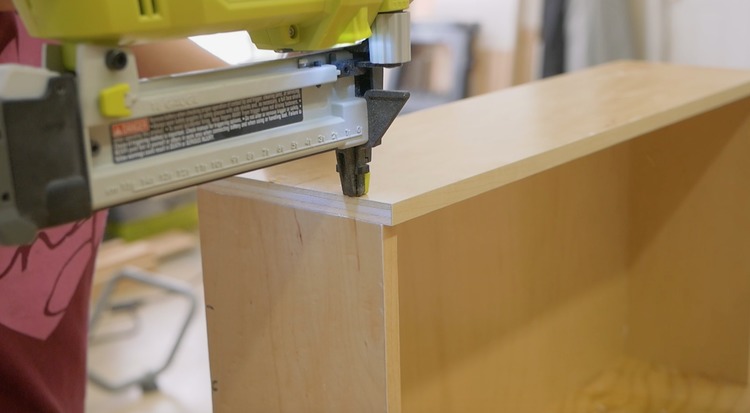
For more details on how to build a drawer, check out my tutorial here.
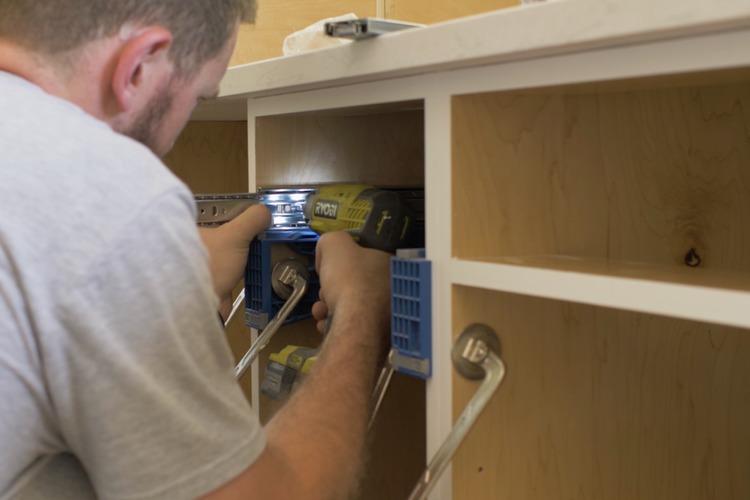
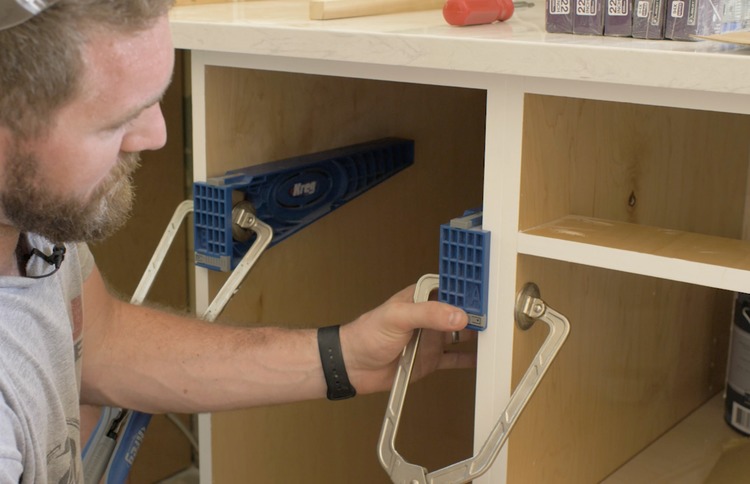
For this step I used the Kreg drawer slide jig which made things way easier. This $25 tool is well worth the investment to speed up this process. It’s basically like a 3rd hand that helps make sure the slides are installed in the right spot and nice and level. Another cool thing is that it also works for face frame cabinets and several types of setups.
Disclosure: I did receive product and/or compensation from PureBond Plywood and Kreg Tool Company however the design, opinions and everything else are all my own.
Questions? Comments?
As always, if you have any questions don’t hesitate to comment below and especially don’t forget to post pictures of your finished products in the comments! ENJOY!

