

Toddler Bed Rail
Quick answer: This DIY toddler bed rail is a wooden guard rail built from one 2×4 and two 1×4s for about $15 per rail. The rail assembly pocket-screws together in an afternoon, and instead of straps or hardware it’s held in place by a 1×4 “keeper” frame that slides under the mattress — the mattress weight locks the rail upright. Legs are cut to your mattress height plus 8″, so it fits any bed. Free plans below. Designed, built, and documented by Jamison Rantz.
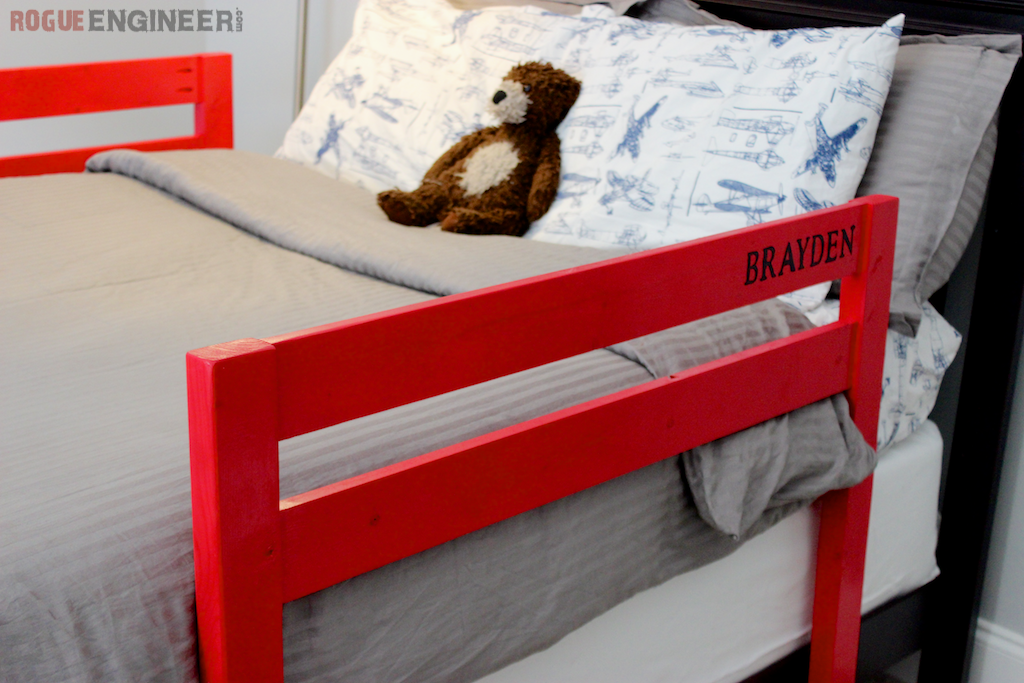
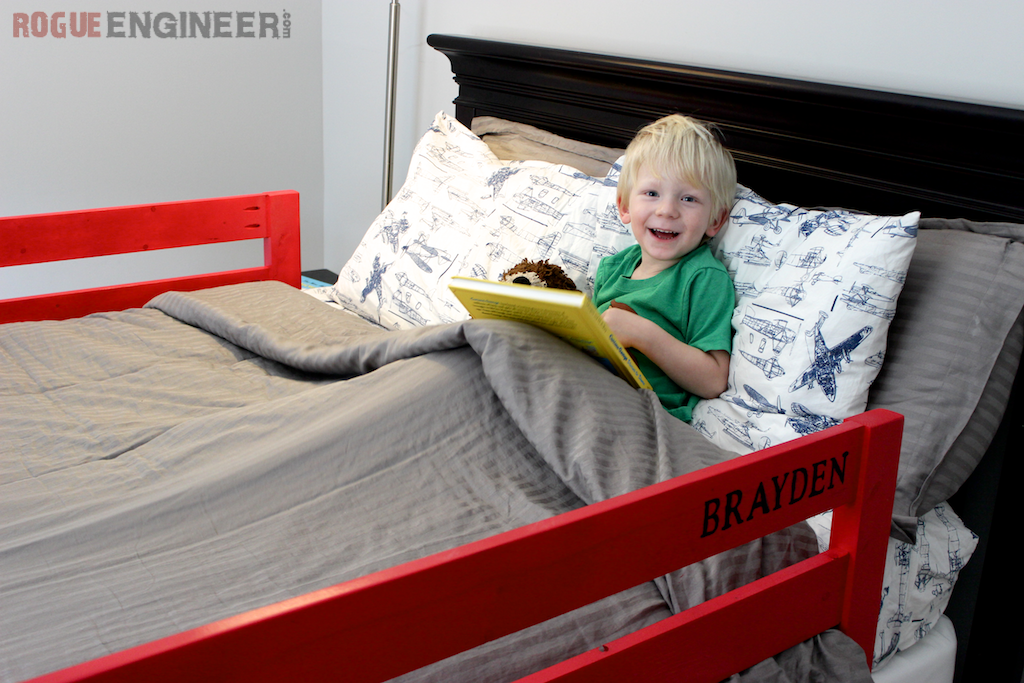
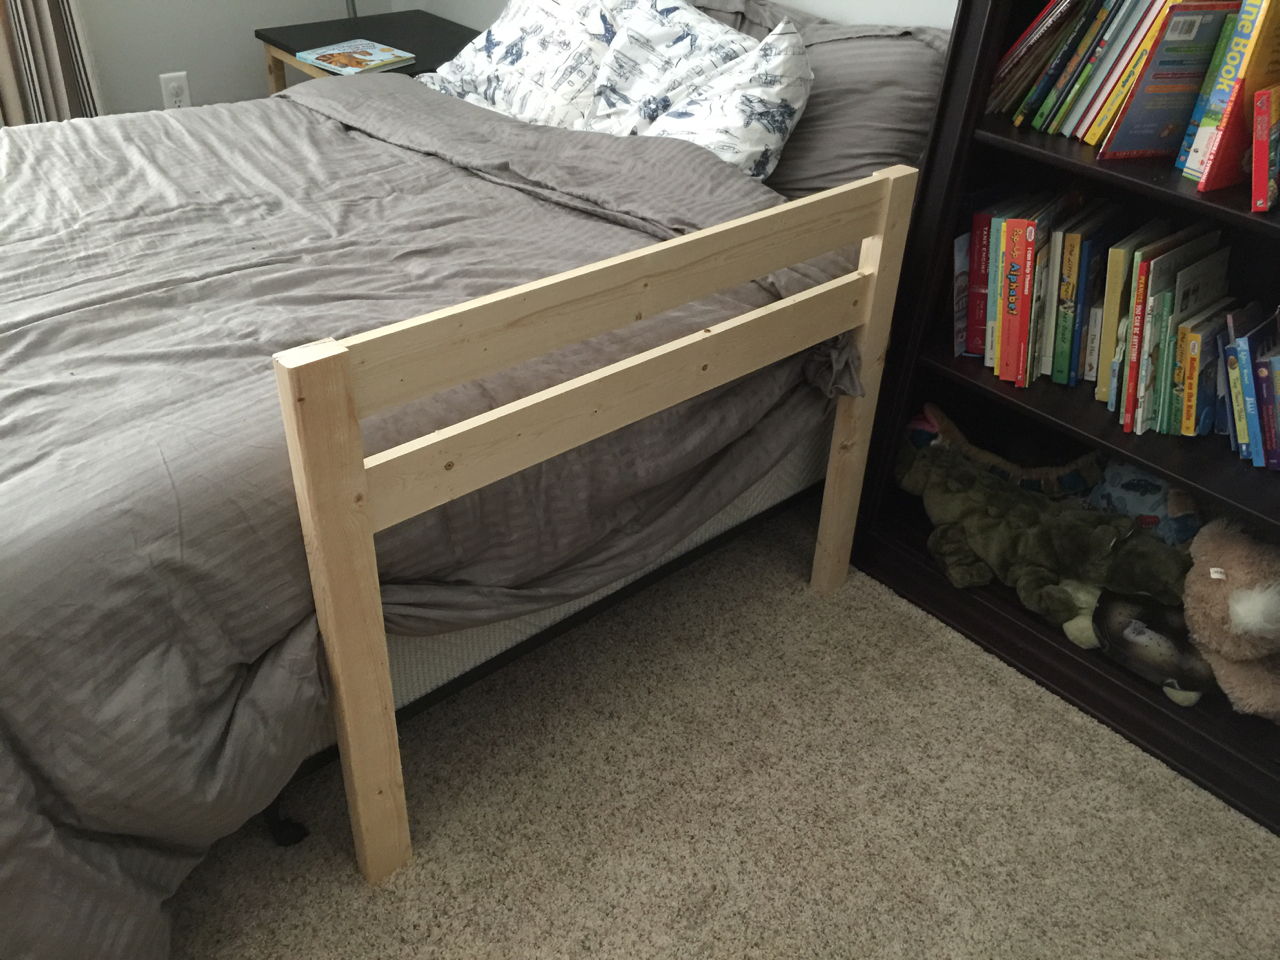
So our 3-year-old boy, Brayden, finally made the switch to a big boy bed full-time! Of course we needed bed rails to keep our rambunctious little one from rolling out of bed at night so of course, like usual, we made them ourselves. Custom fitted to his bed, these bed rails are not only sturdy as heck but they are a nice wooden alternative to the cheap plastic looking rails that are all over the place. The best part about is that we made these for about $15 a piece!
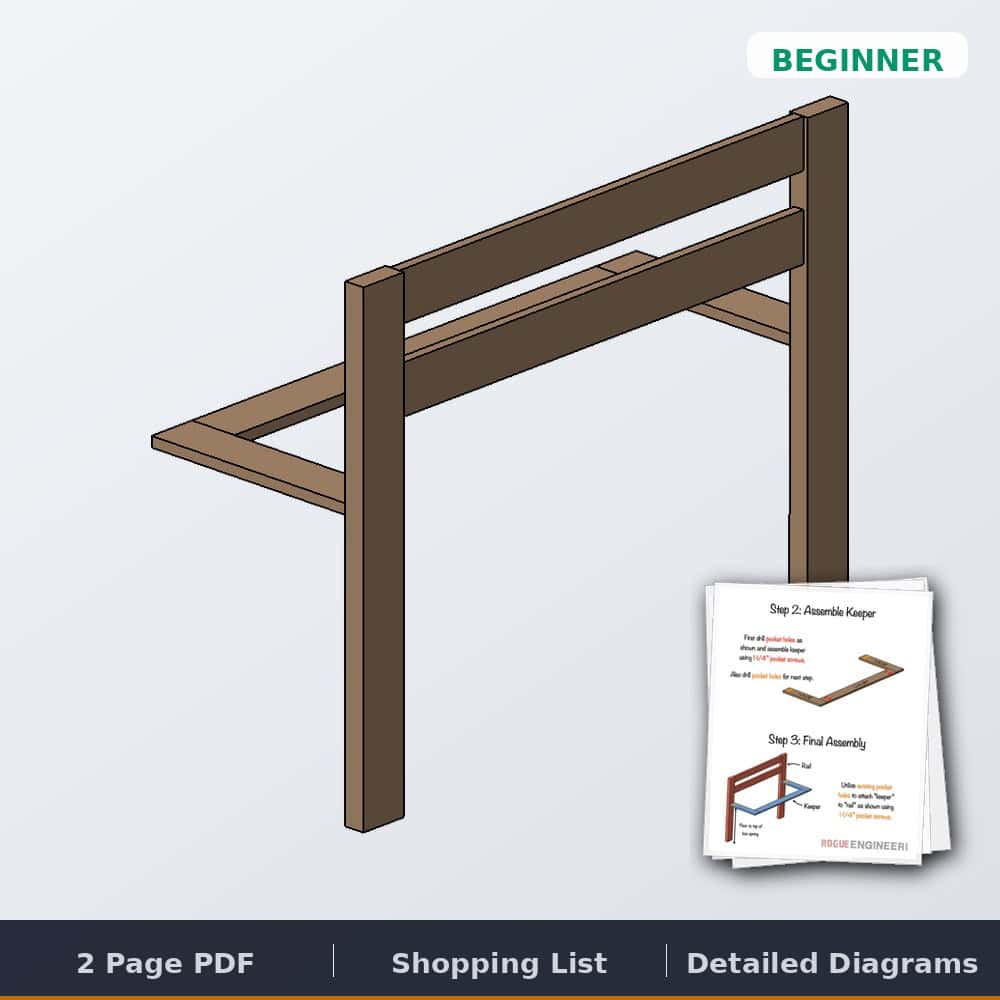
Tools & materials
Cut list

Dimensions
The only measurement you need from your bed: the legs are cut to your mattress height plus 8″ (floor to top of box spring, plus the mattress), so the rail rides the right height above the mattress on any bed.

How to build a toddler bed rail
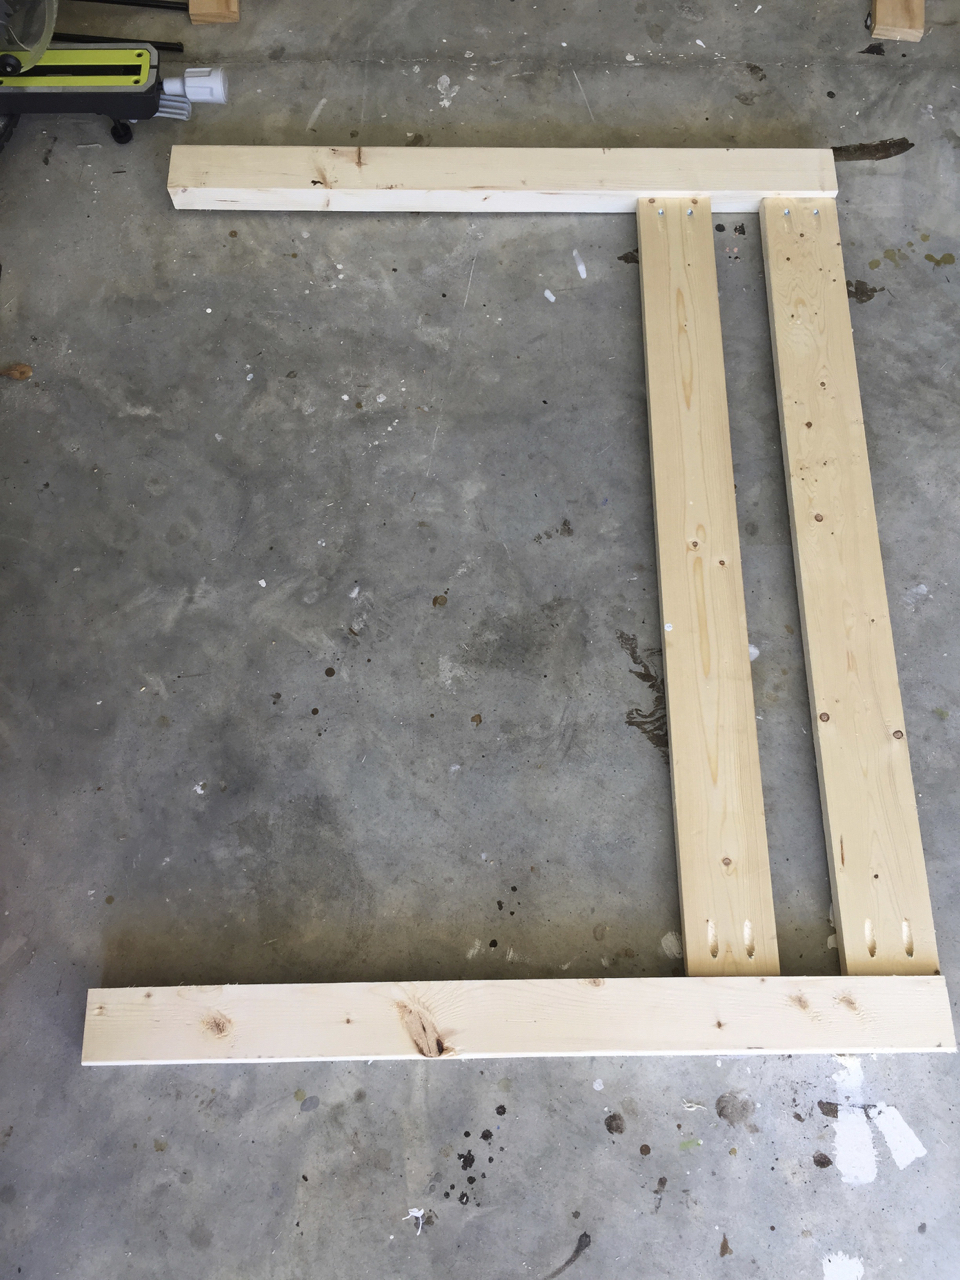
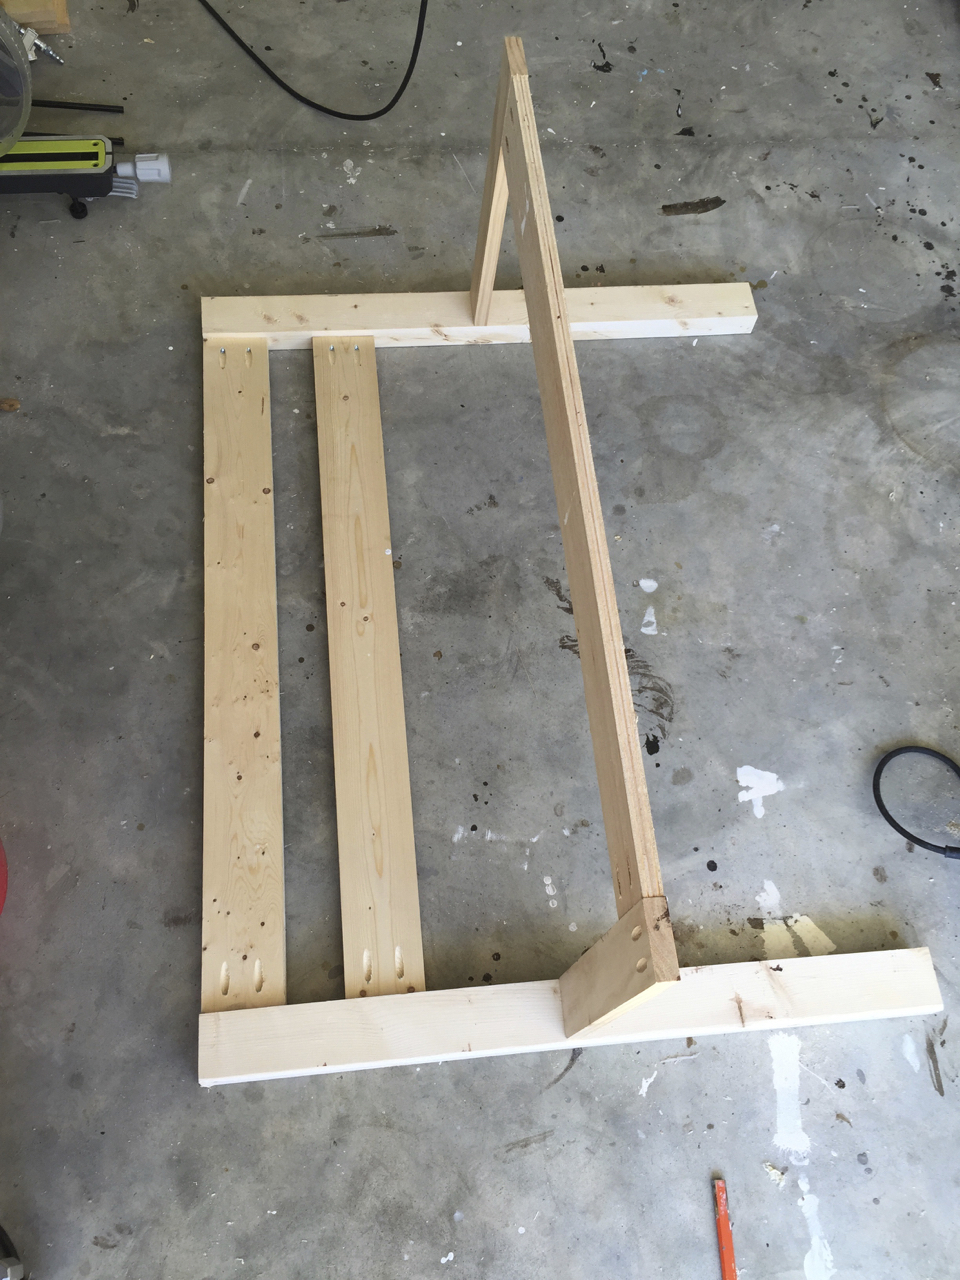
Step 1: Assemble the rail
Drill pocket holes in the two 1×4 × 35″ rail boards and attach them to the 2×4 legs (cut at mattress height + 8″) with 1¼″ pocket screws. Center the rails on the 2x4s with a 3/8″ offset from each side, spaced 2½″ apart — I used a scrap 1×3 as a spacer.

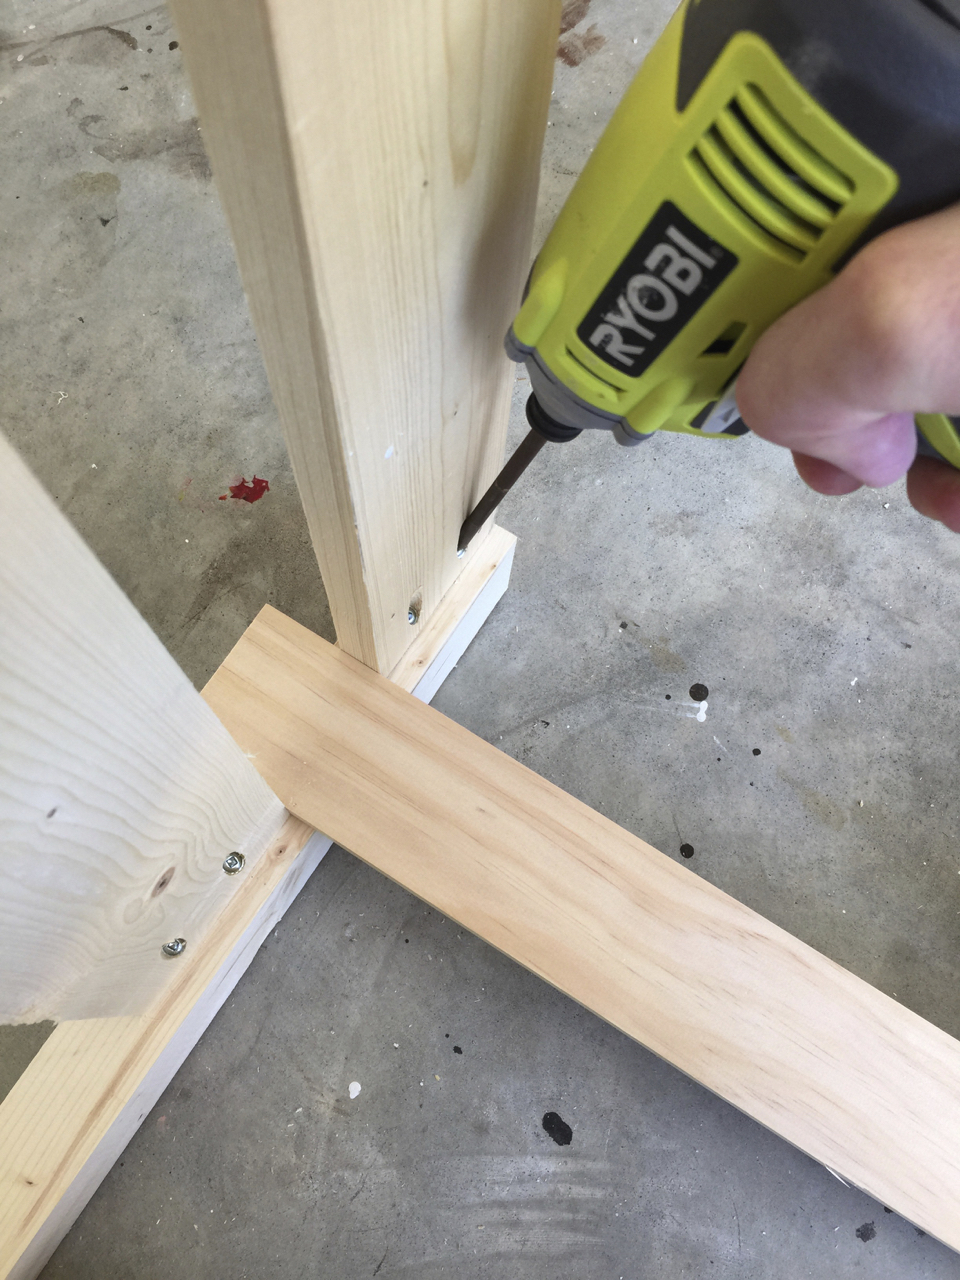
Step 1 completed:
Step 2: Assemble the keeper
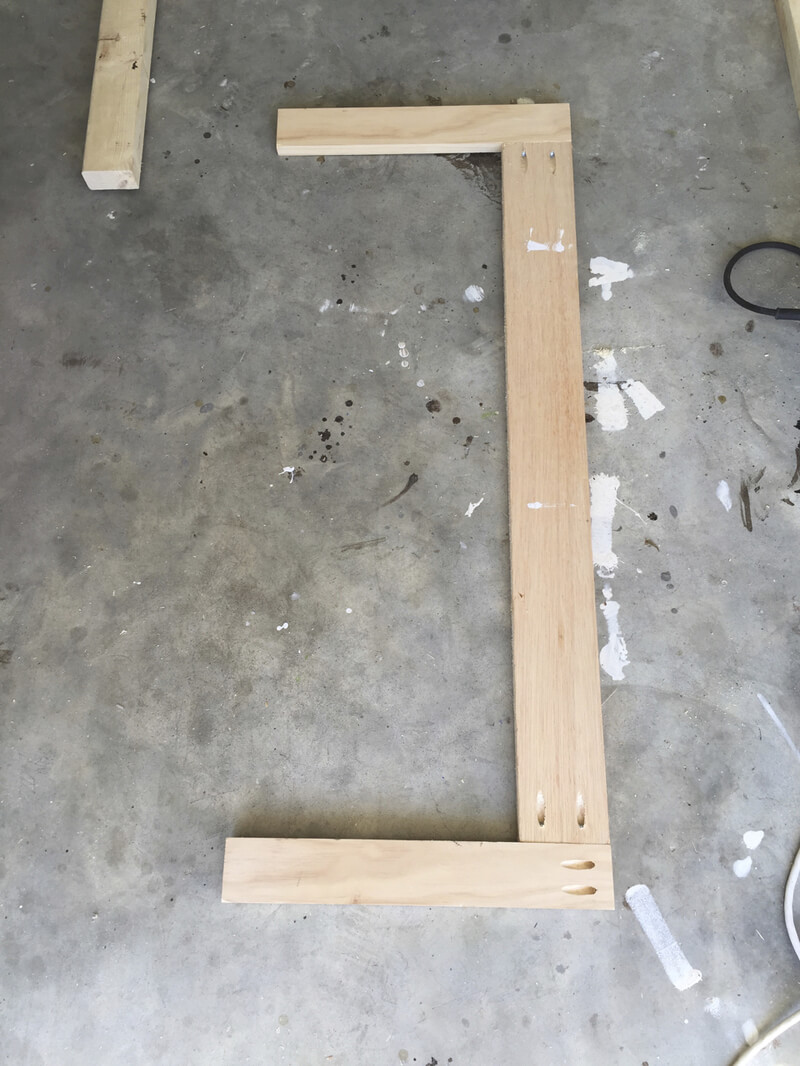
The keeper is a U-shaped 1×4 frame — a 35″ cross board with a 16″ arm on each end — that will slide under the mattress. Drill pocket holes and assemble with 1¼″ pocket screws, and drill the extra pocket holes now for attaching it to the rail in the next step.

Step 2 completed. Ignore the extraneous pocket holes and plywood board, I used scraps since these are unseen.
Step 3: Final assembly
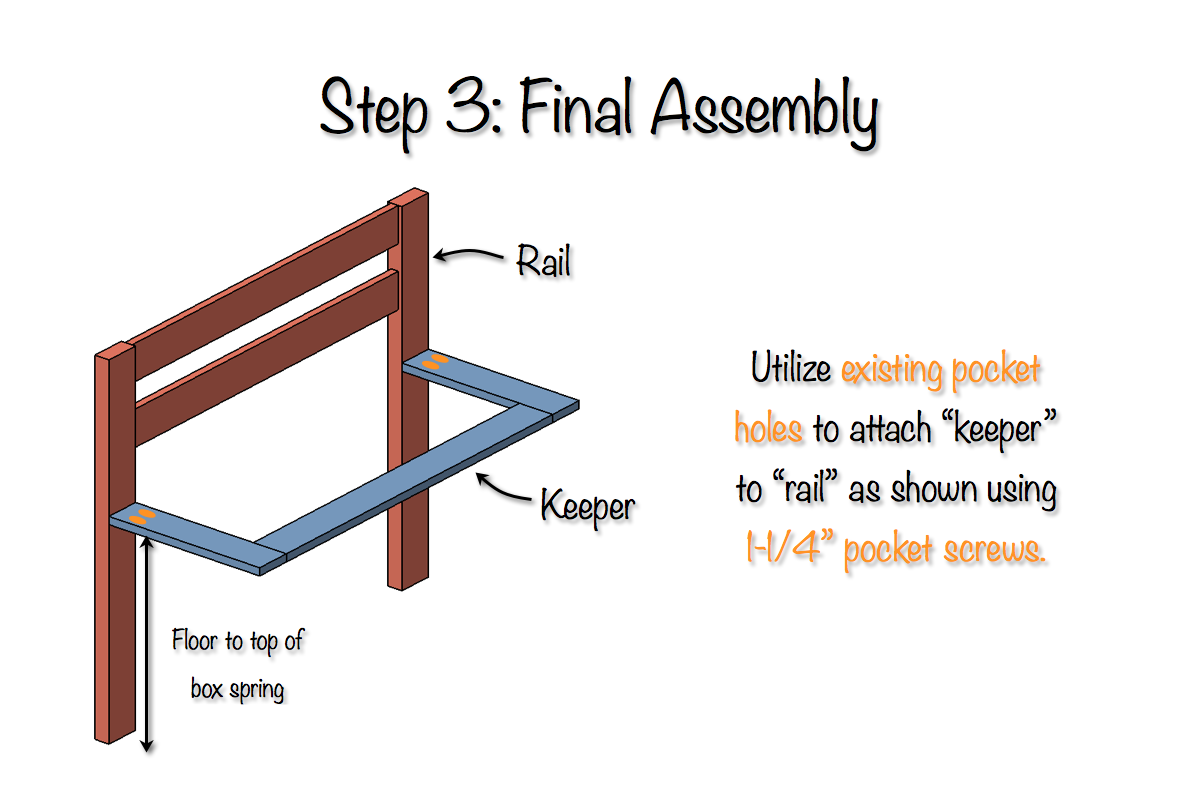
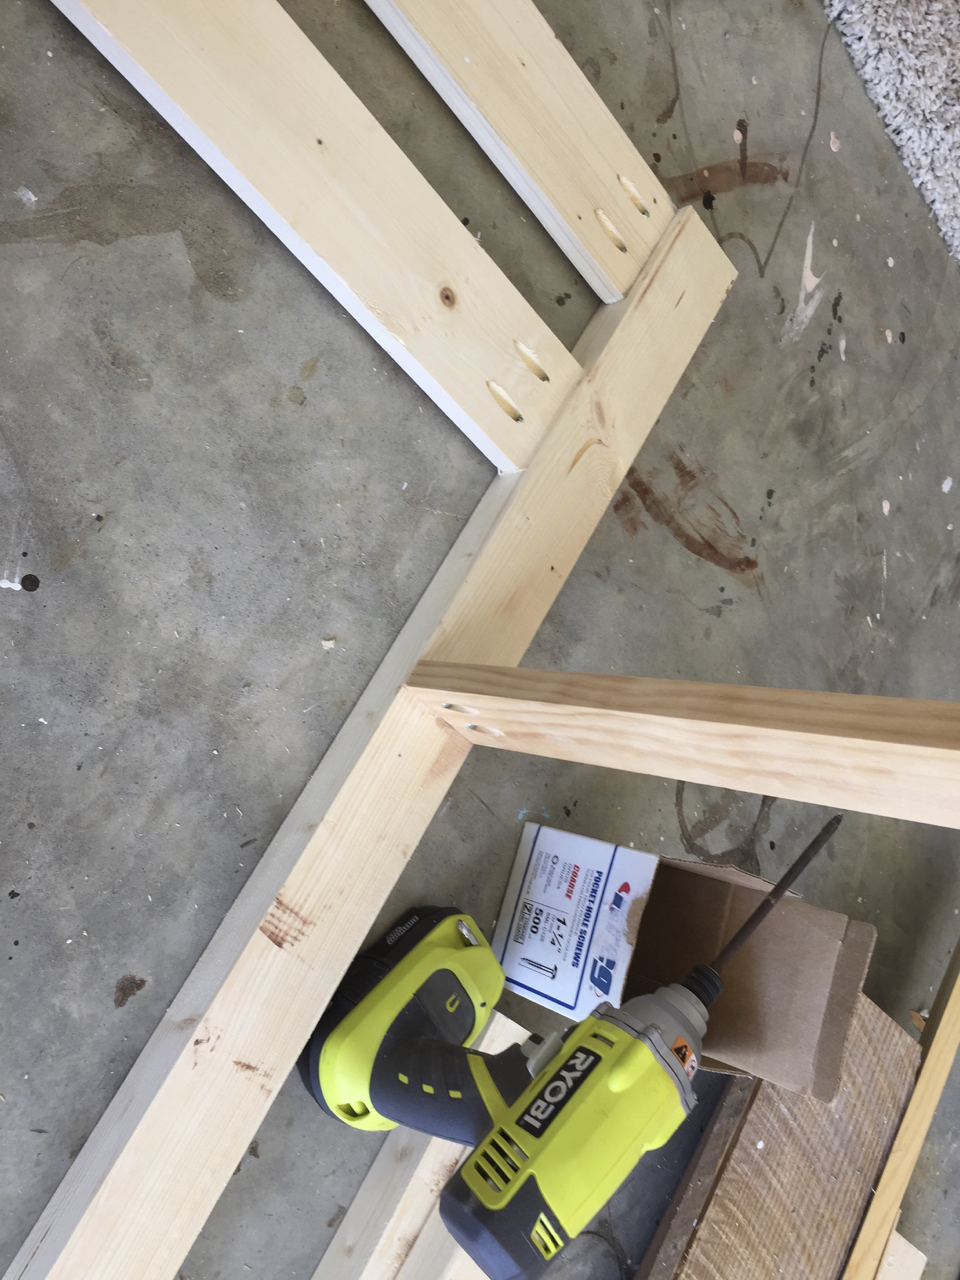
Using the pocket holes from step 2, attach the keeper arms to the rail legs at the height of the top of your box spring, with 1¼″ pocket screws. Slide the keeper between the mattress and box spring — the mattress weight is what holds the rail solidly upright. Check the fit and you’re done.
Toddler bed rail questions, answered
How do you make a DIY bed rail for a toddler bed?
Three steps with one 2×4 and two 1×4s: pocket-screw two 1×4 rails between 2×4 legs, build a U-shaped 1×4 “keeper” frame, then join the two so the keeper slides between the mattress and box spring. The mattress weight holds everything in place — no straps, brackets, or wall anchors.
How tall should a toddler bed rail be?
In these plans the legs are cut to your mattress height plus 8″ (measured floor to top of box spring, plus the mattress), which puts the top rail a safe height above the sleeping surface on any bed — the plans adapt to the bed instead of assuming one size.
What holds a wooden bed rail in place?
The keeper frame. It’s a flat 1×4 U that slides under the mattress and pocket-screws to the rail legs at box-spring height — your child’s mattress (and your child) sitting on it is what pins the rail upright. It lifts out just as easily when the big-kid phase is over.
How much does a DIY bed rail cost?
About $15 per rail: one pine 2×4 stud, two 6-ft pine 1×4 common boards, and a handful of 1–1/4″ pocket screws. A fraction of store-bought rails, and it’s solid wood instead of plastic mesh.
More builds for the kids
Questions? Comments?
As always, if you have any questions don’t hesitate to comment below and especially don’t forget to post pictures of your finished products in the comments! ENJOY!
I followed these plans for a rail at Grandma’s house as well as for our own home!! So easy and fabulous!!! Thank you so much!
That looks awesome Lyndsay! Thanks for sharing. I’m glad these worked out well for you!
Reattaching photo that was removed
Love this!!! Also love the bed frame/headboard itself, where is it from?
[…] DIY toddler bed rail was my inspiration for securing the clamp to the bed. You can see in that example that they run […]
Where’d you get the wood from to make the rails?
I got the wood from Home Depot. You will need 1 2X4 and 2 1X4’s, you can see this in materials list, to make 1 bed rail.
Thank you so much for creating this! My husband and I bought the exact same cribs for our twin boys and the store never mentioned how they discontinued making the conversion sets!! Thought we were up the creek until now! Thank you! We are going to make your toddler rail!
Awesome! Glad to be of help. Toddler twin boys… that’s a scary thought! We have a 4 year old boy, and he’s a handful himself, and we also have a 1 year old girl. Be sure to share pictures when you are done!
[…] Toddler Bed Rail […]
The miter saw link you have in this posting is dead. Just fyi, in case you wanted to get that updated!
Thanks for the heads up. I fix it now.
Also, thanks for sharing. I really like these plans, so much so that I am building it now over my own – bolt to bed frame idea -.
I really like some of the other designs you have posted as well!
Awesome man. Thanks. This made me realize a lot of my links in older posts for the miter saw are also dead, looks like its going to take me some time to start fixing them all!
Still isn’t ?
its done!
It still isn’t working (9/27/16)
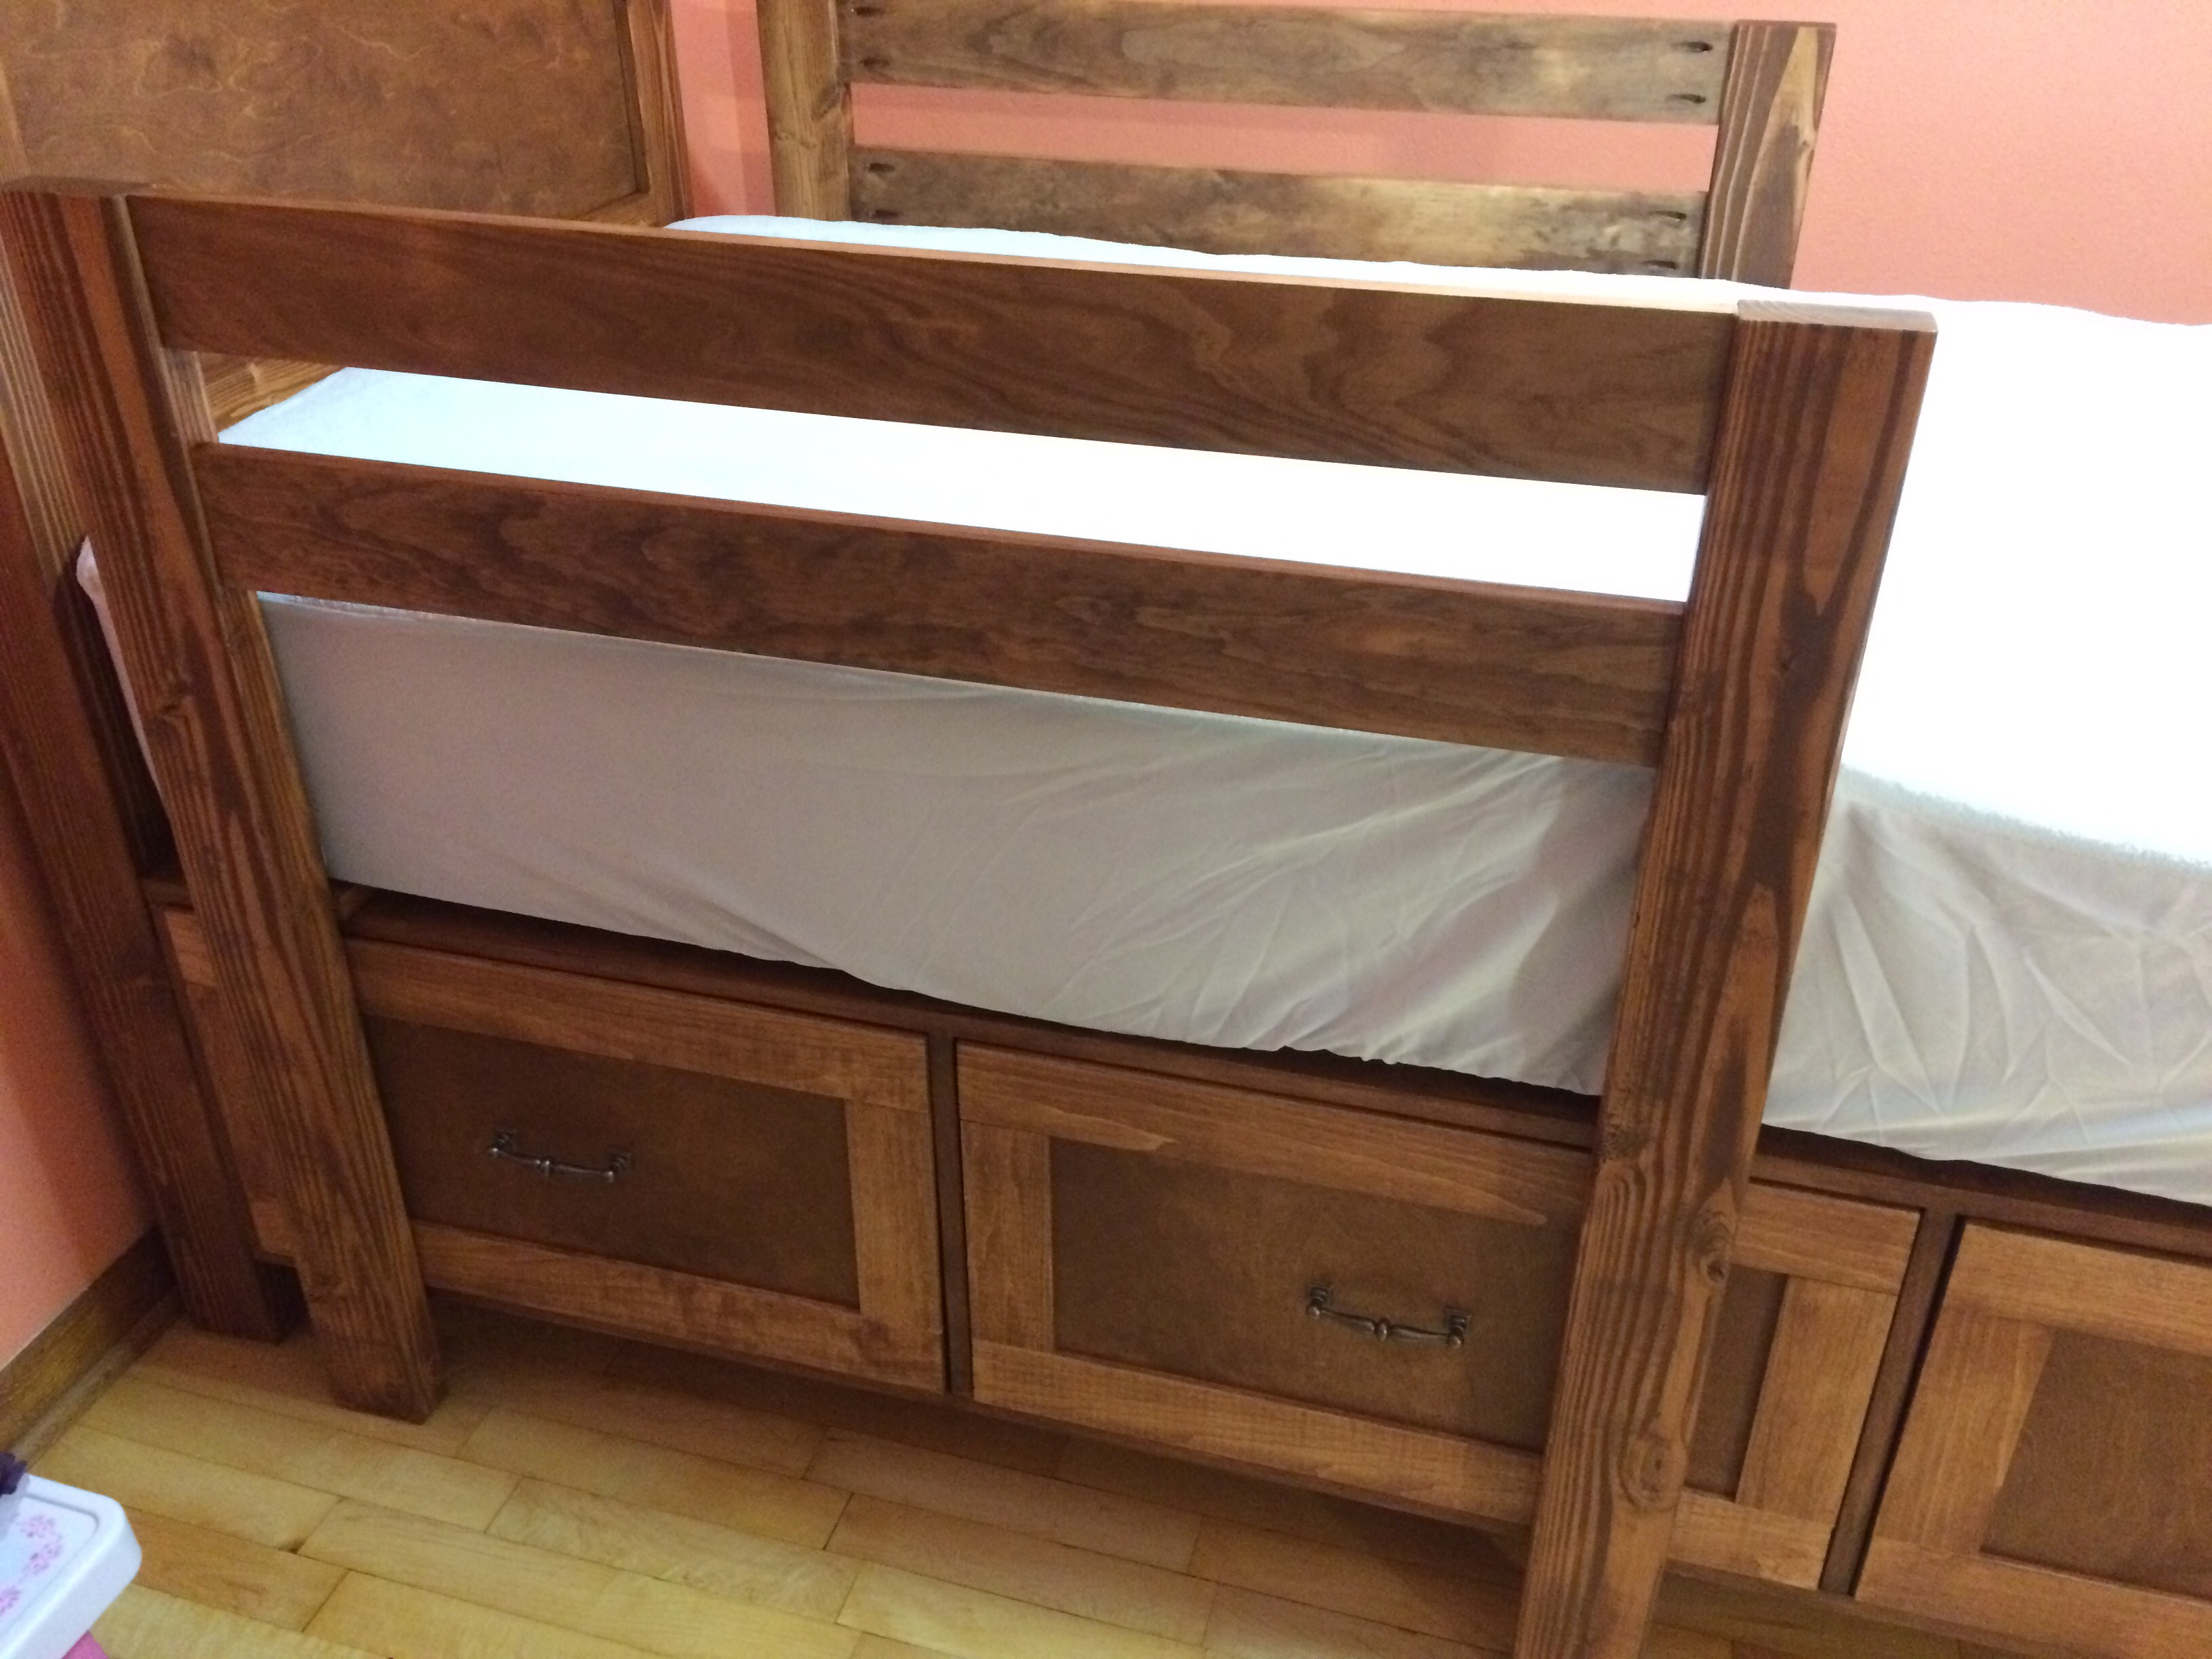
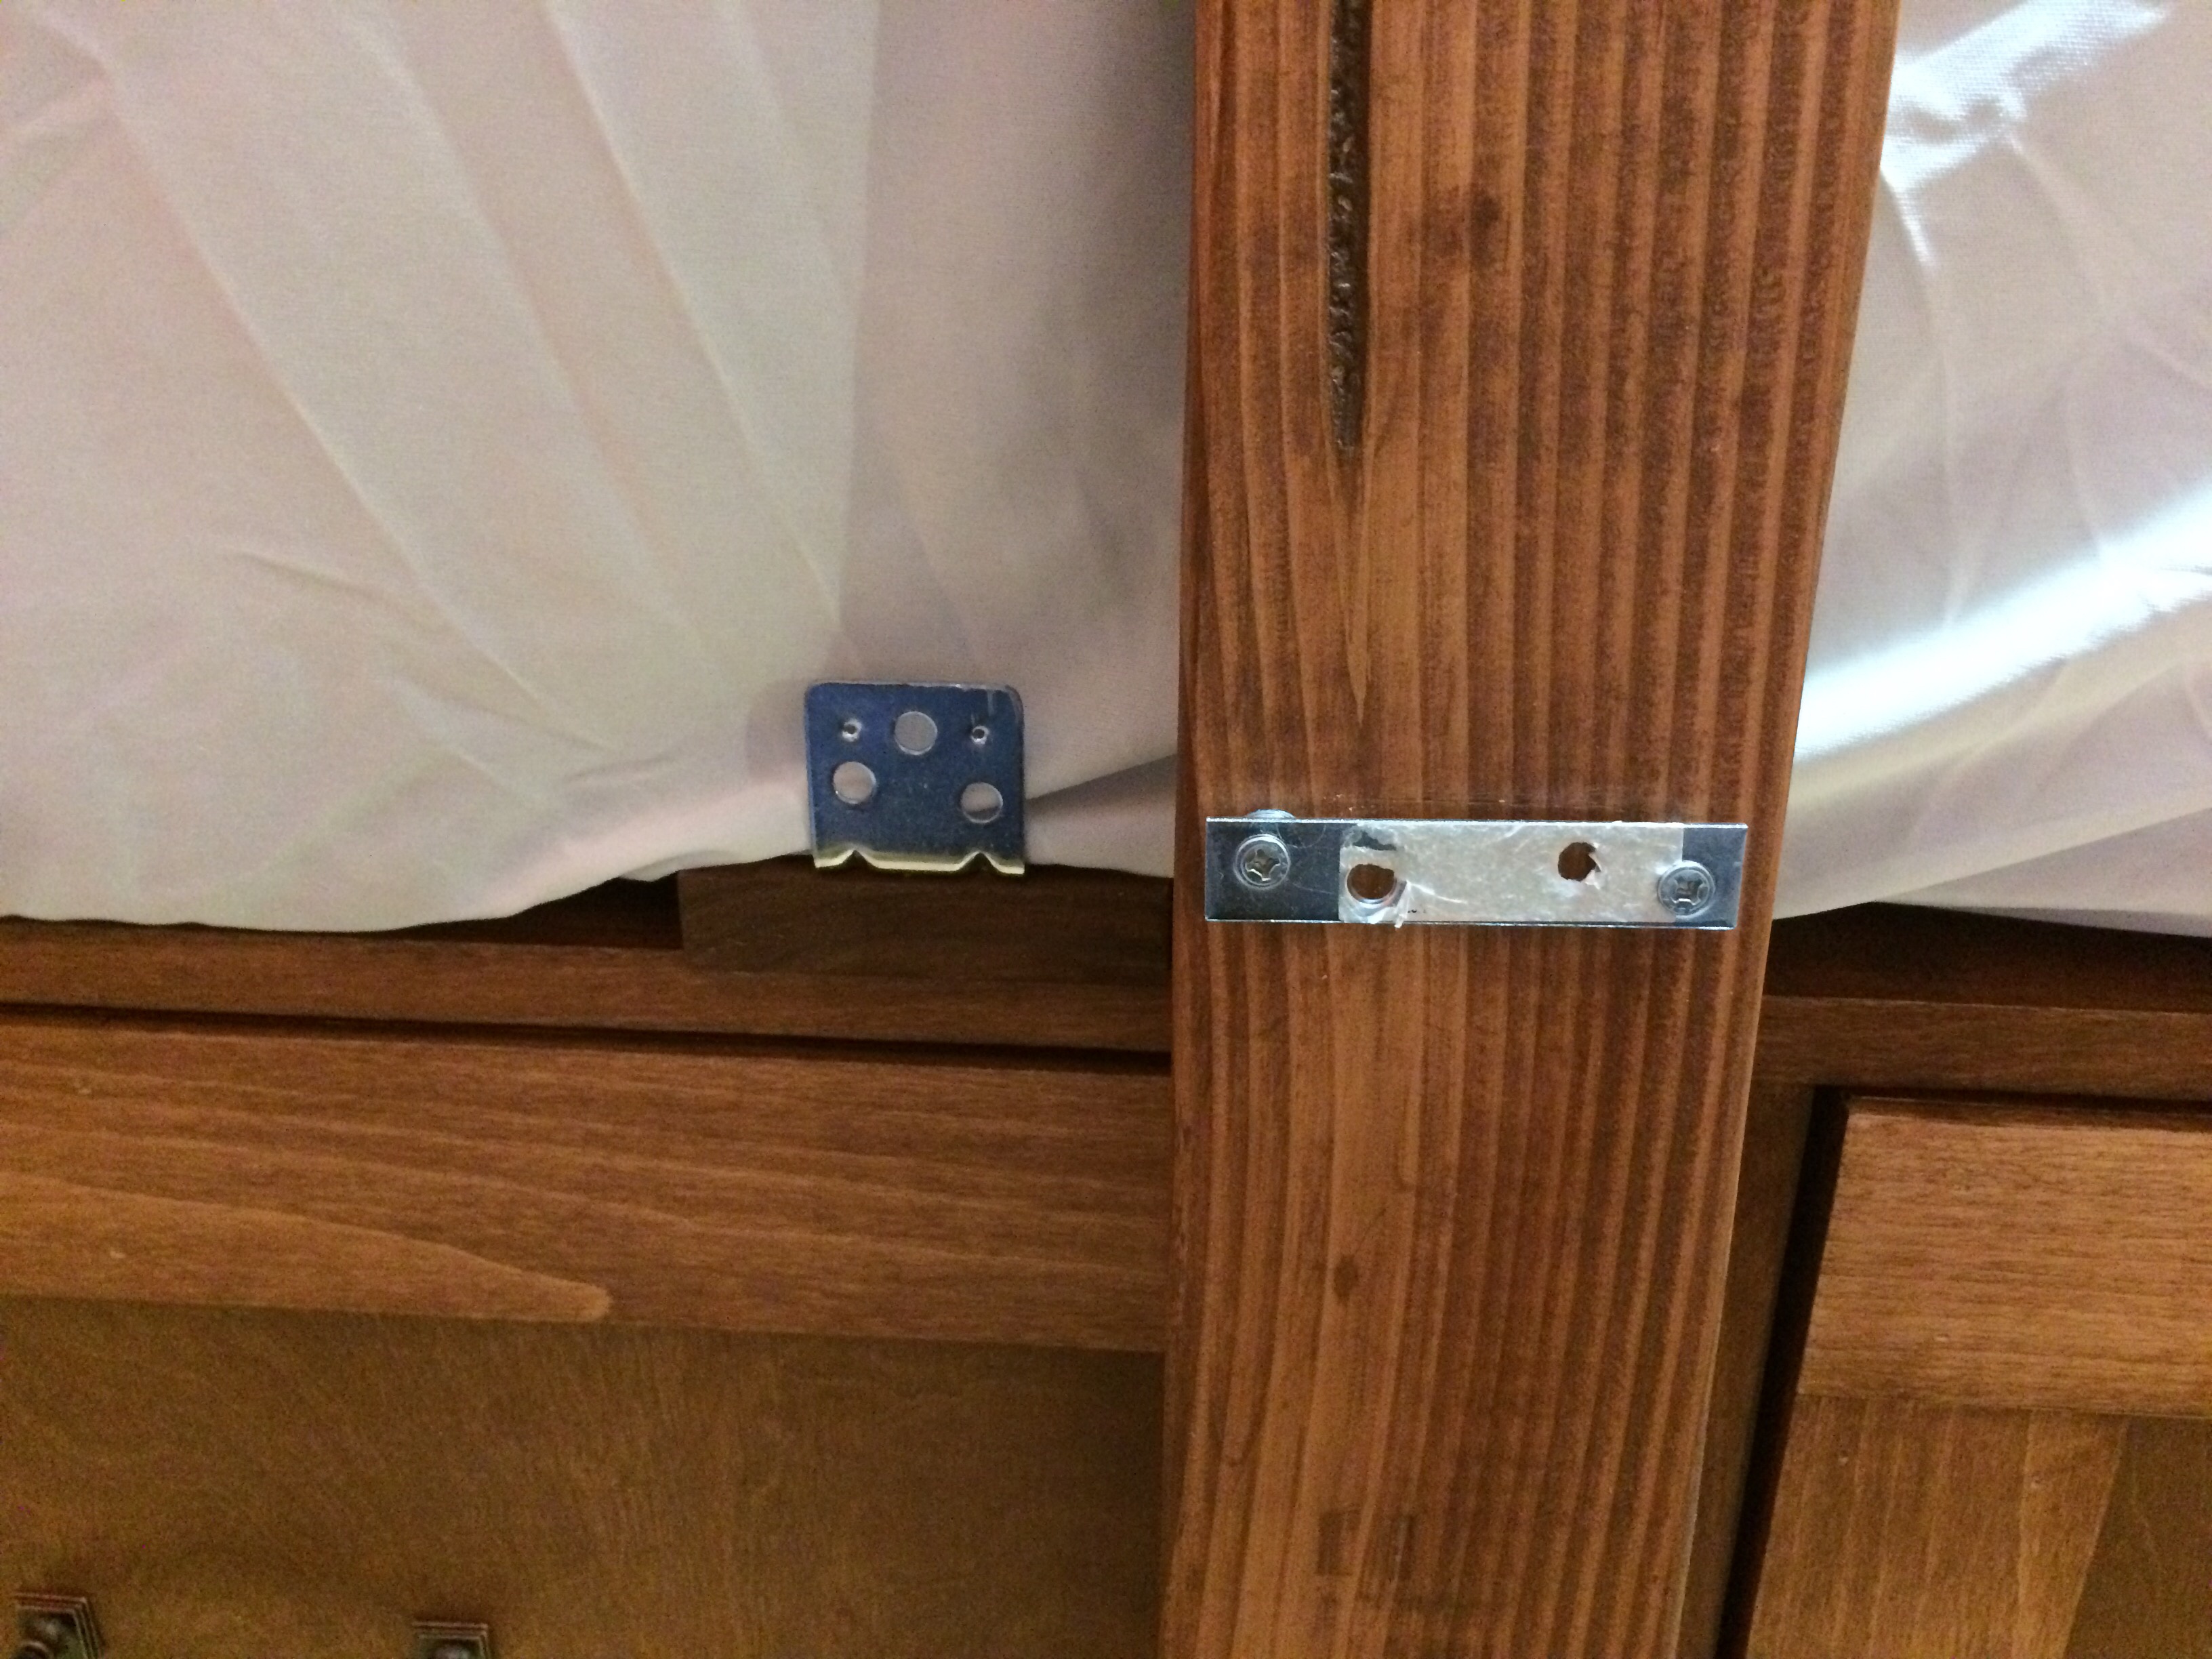
I really liked the idea of your rails, but I had to modify it just a bit since the bed i built has drawers under it that we needed to get access too. So using brackets, the rails are able to lift off.
When using rails on both sides, did you connect them under the mattress in some way?
No I didn’t
How did you space the 1x4s 3/8” from the edge of the 2×4? Also/related, I’m new to using a Kreg jig. Aren’t you always supposed to clamp the boards together? The pic shows yours just standing on its end
What would I do if I don’t have a box spring? I have a raised platform base.