

Tribal Coffee Table
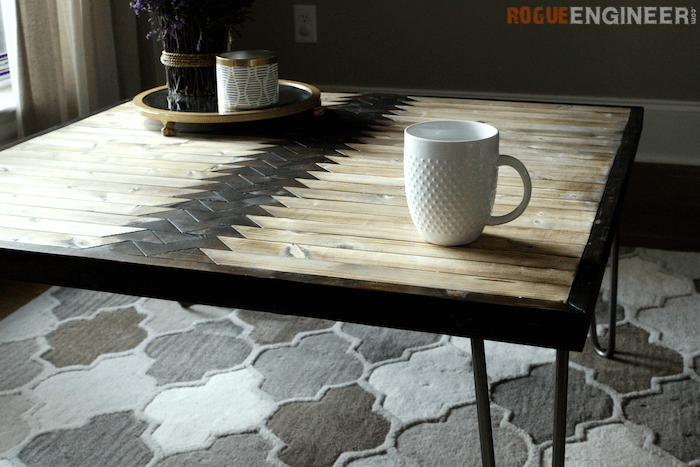
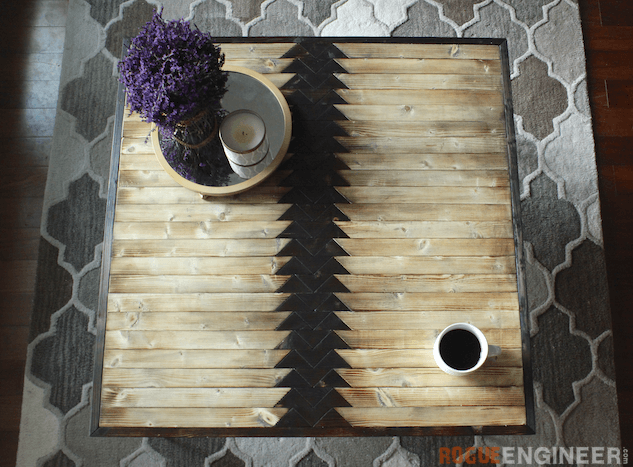
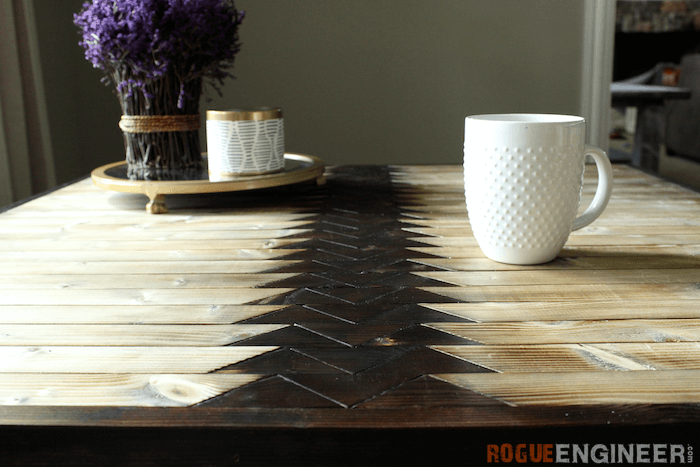
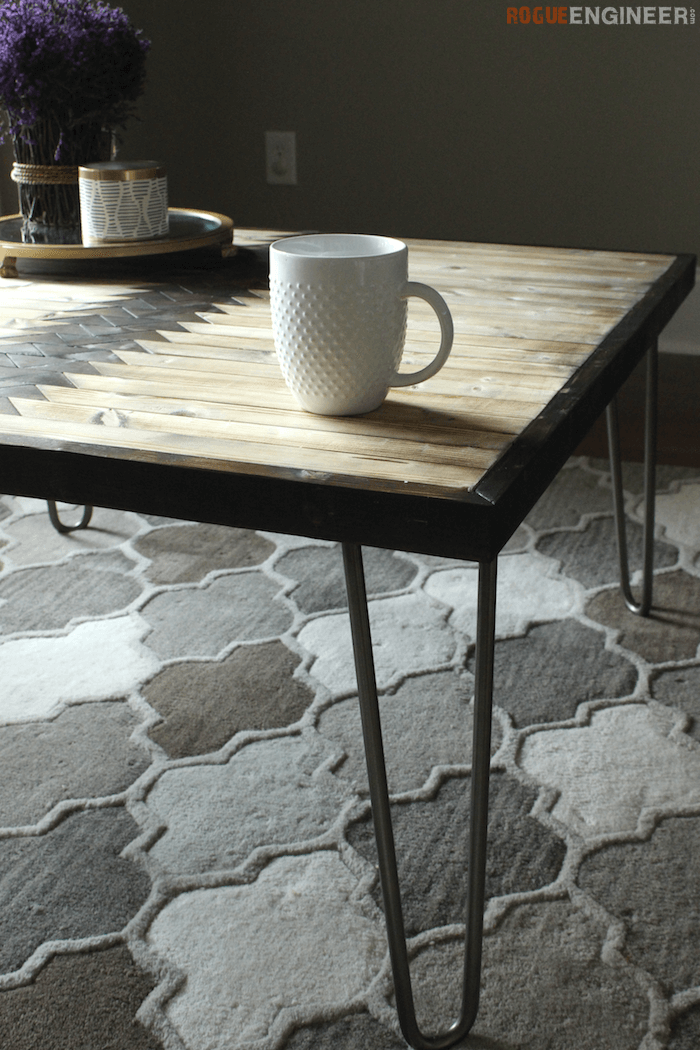
My wife is endlessly online shopping, during one of her searches she came across an awesome table pattern and knew it was a must do DIY project. Hope you love it as much as we do! Enjoy!
For sneak peeks of our upcoming projects be sure to follow me on Facebook and Instagram. Also, follow me on Pinterest to get tons of projects plans from all around the web!
Required Tools
Materials
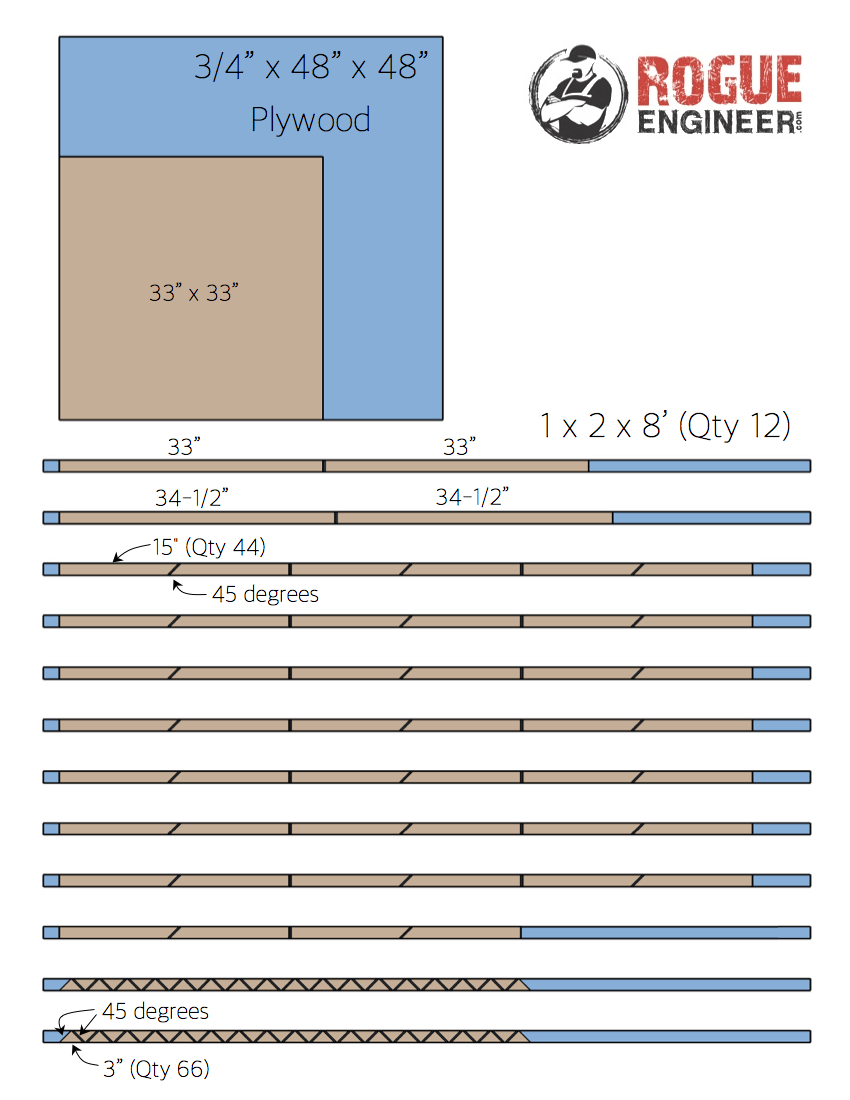
- Qty 12 – 1 x 2 x 8′ Common Board; Pine
- 3/4″ x 48″ x 48″ Plywood
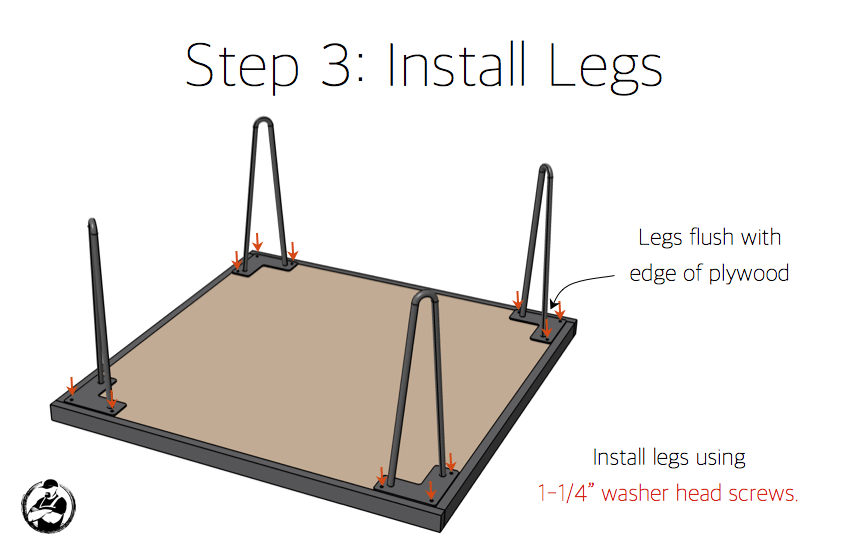
- Qty 4 – 16″ Hairpin Legs (1/2″ rod w/ clear coat)
- Wood Glue
- 1-1/4″ Brad Nails
- 1-1/4″ Washer Head Wood Screws
Disclosure: The links provided in the “materials” and “required tools” sections are affiliate links. If you would like to support our site and help keep our content free come find out more about how we can make money with no extra cost to you.
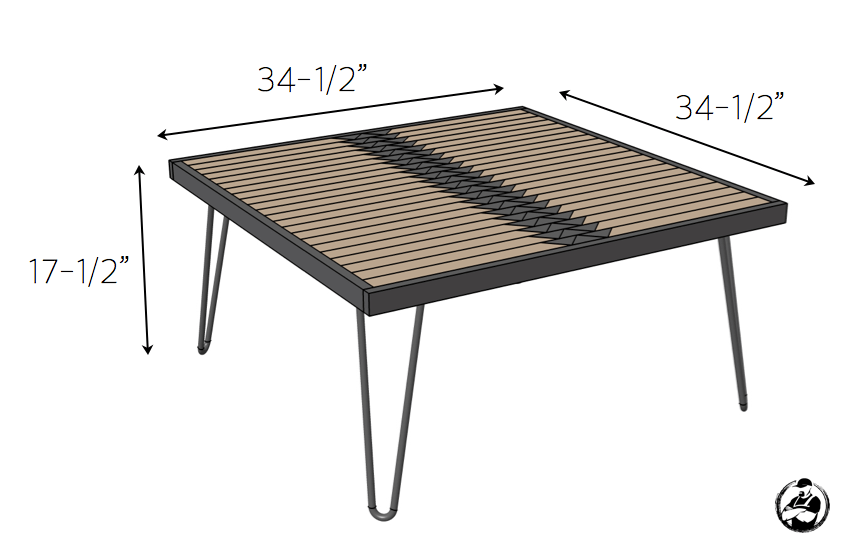
Dimensions
Cut List
Finishing
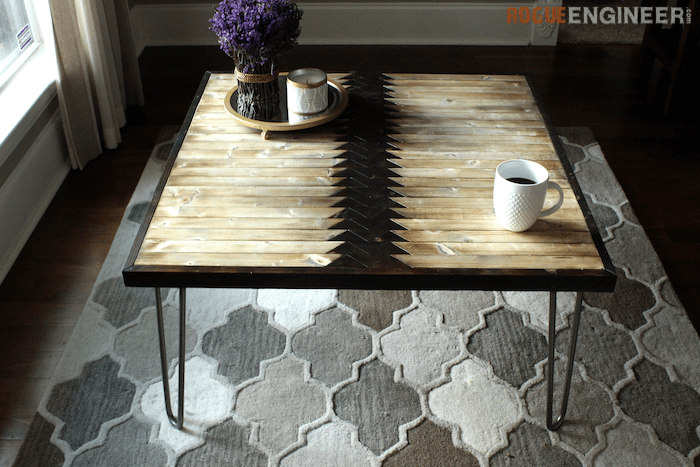
So my husband may like the building part when it comes to projects, but mostly avoids anything when it comes to finishing. This is where I normally step in and take charge. However, he couldn’t resist the torch on this one.
Who finishes before they start?!? Well in this case we needed to due to the color combo. But for this project we decided take a different route and TORCH IT! Well, because who doesn’t want to torch things?! Plus it makes for a super cool finish.
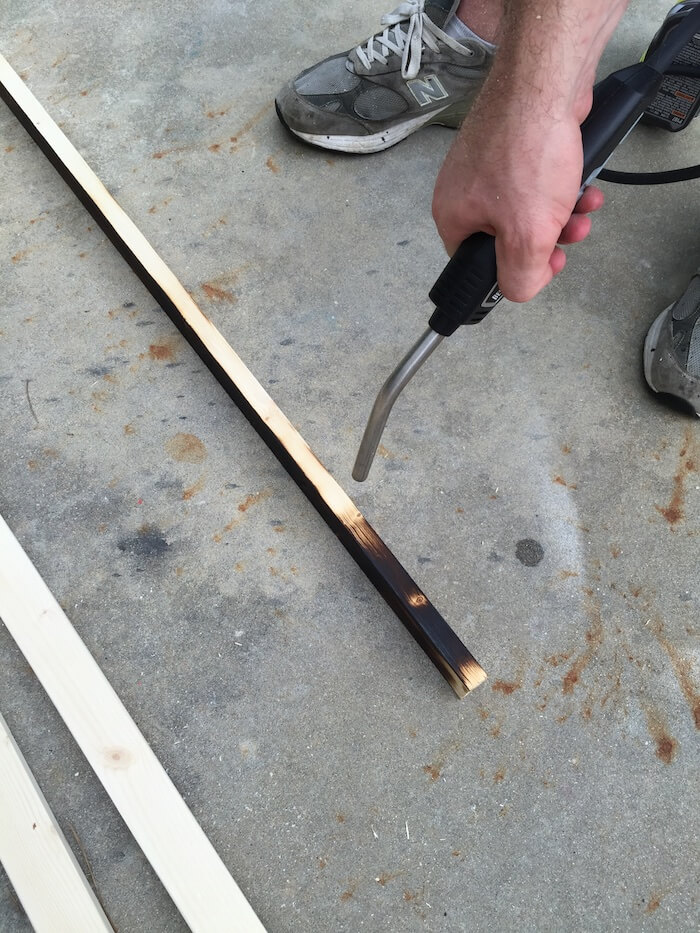
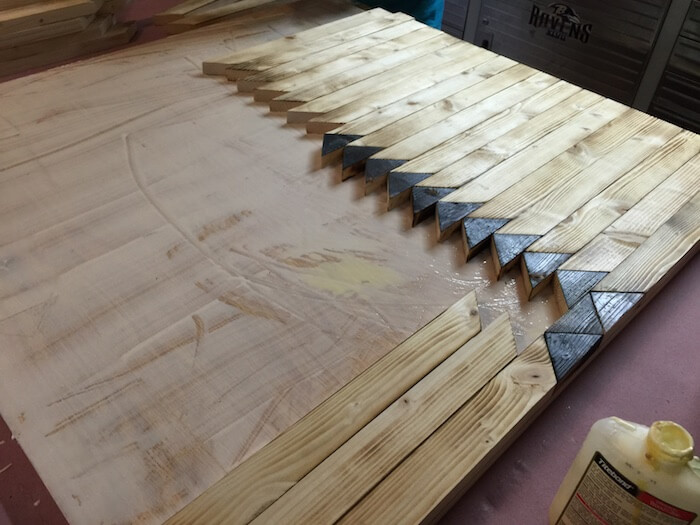
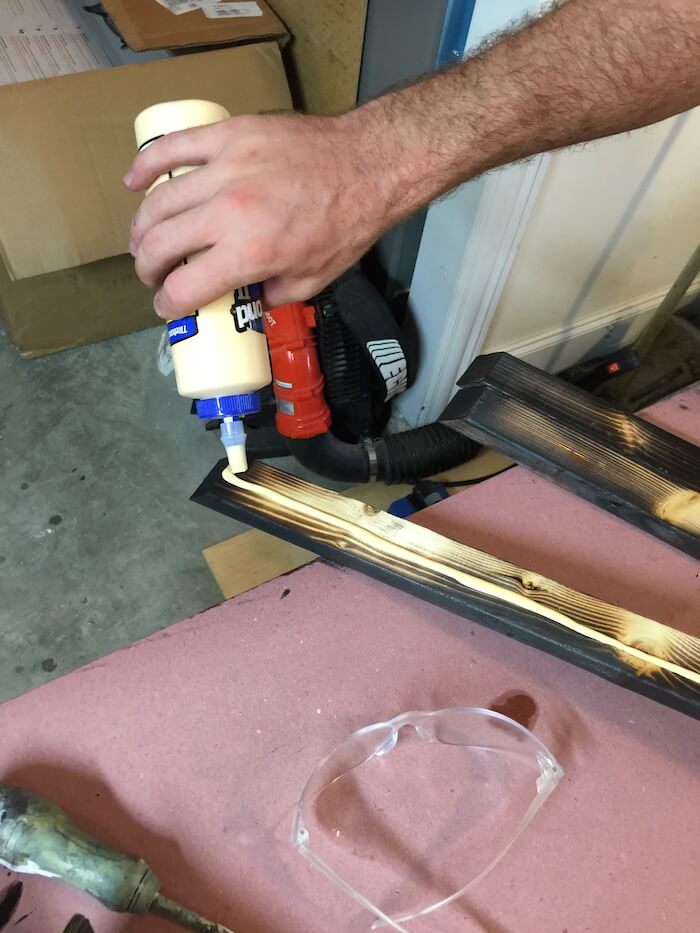
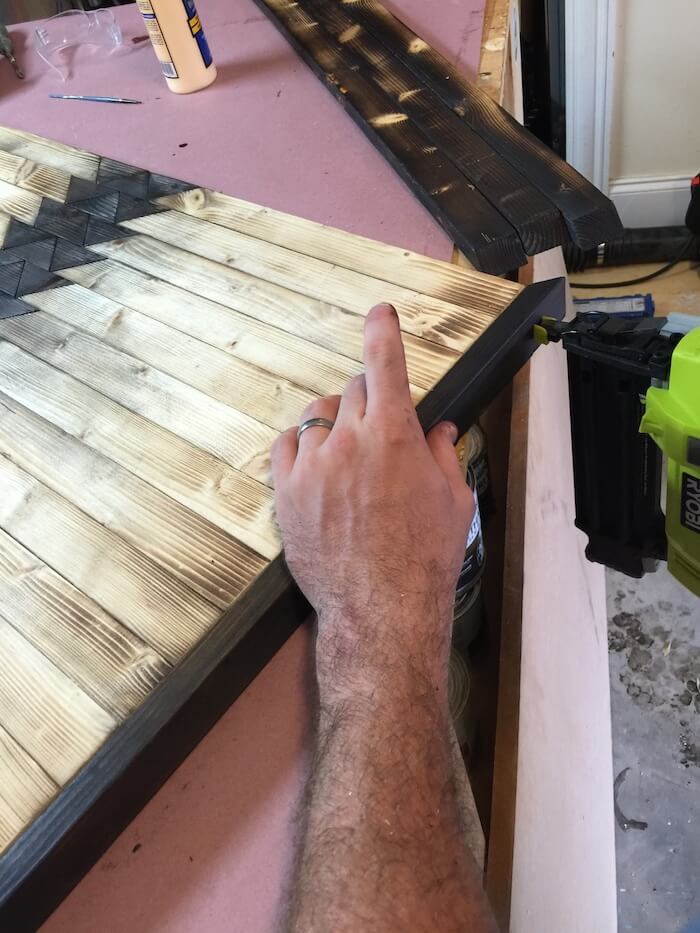
First, using 120 grit sand paper sand the rough edges of the wood. Then for the smaller triangle pieces we completely torched them. Torching the wood burns away all the softer wood leaving a raised grain. It makes for a really cool texture on the tabletop. For the long pieces we lightly torched them to add a little character.
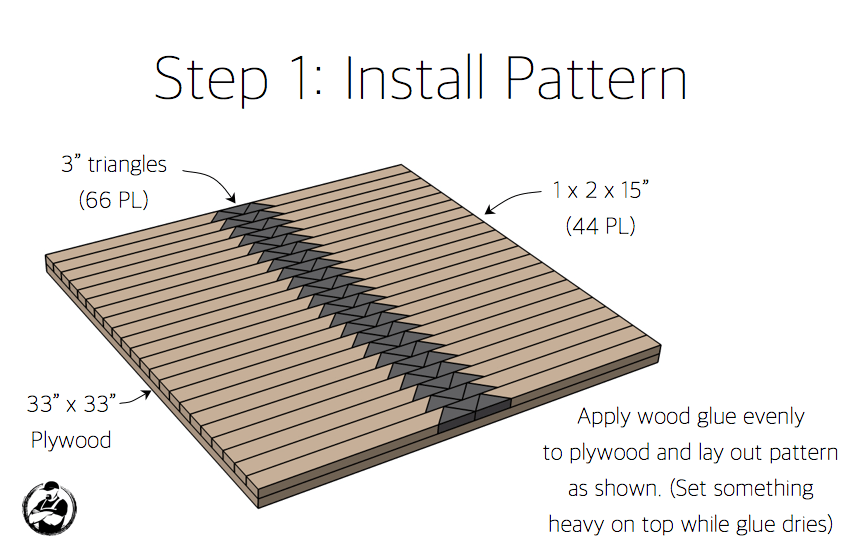
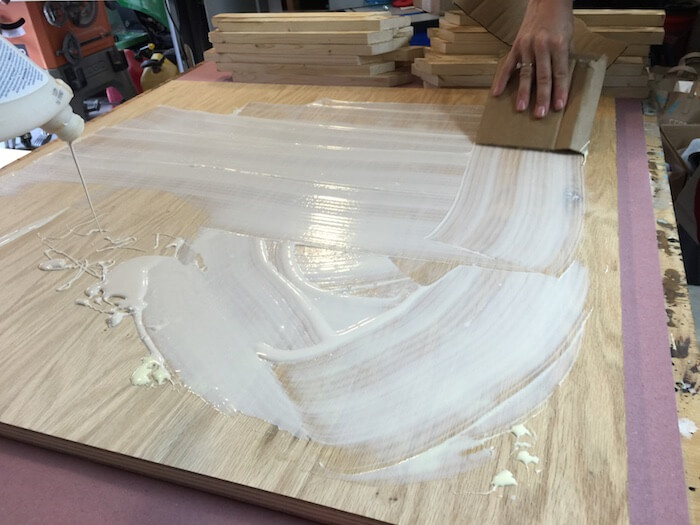
Once all the pieces were assembled and glued onto the plywood, we used tung oil to finish. The smaller triangle pieces that we completely torched were covered in ash. We decided to leave the ash and rub it into the longer pieces with the tung oil. This gave the table a little more ashy character which we loved.

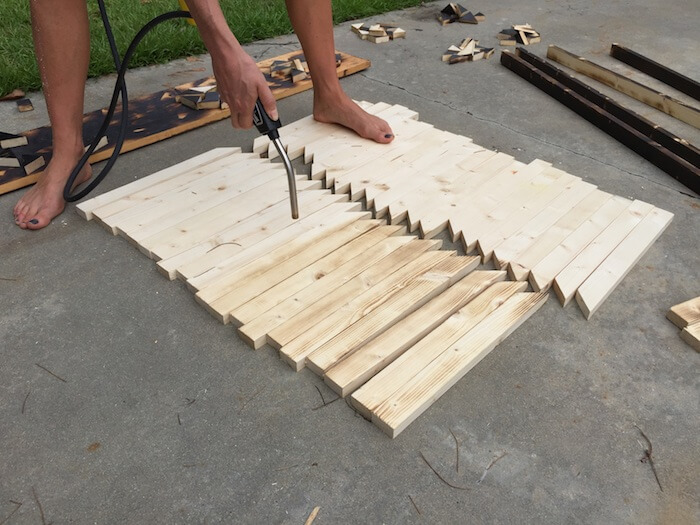
(And yes, I torch things barefoot. But you definitely shouldn’t do that.)
How to build a Coffee Table with Hairpin Legs and a Tribal Patterned Top
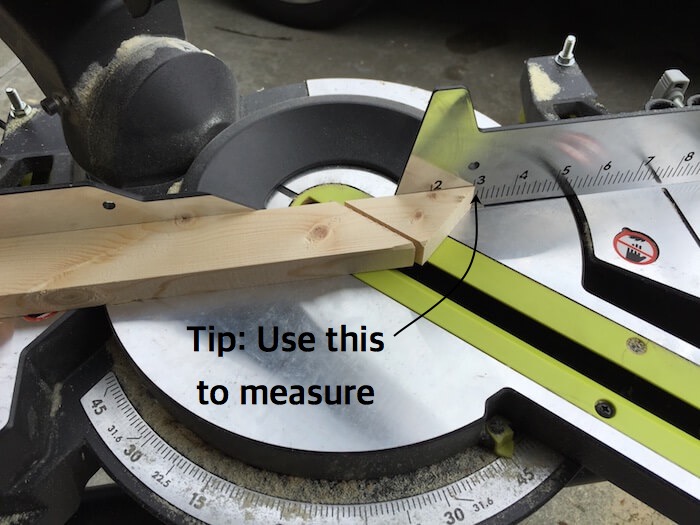
These free and easy DIY plans will show you exactly how to coffee table with hairpin legs and tribal pattern top. No woodworking experience required. Seriously, this one is super easy. If you know how to make a 45 degree cut and can make a lot of them, then you are good. If you decide to take the plunge, go ahead and download the free printable PDF below.
Have fun and enjoy this project. Don’t hesitate to email me with any questions you might have and I’ll do my best to get back to you.

Questions? Comments?
As always, if you have any questions don’t hesitate to comment below and especially don’t forget to post pictures of your finished products in the comments! ENJOY!

Just. WOW! Love everything about this table. Thank you for sharing all of your awesome projects and plans.
Malissa, Thanks! and thank you for taking the time to stop by and leave me a message. Always glad to hear people appreciate what I do!
Awesome table!! Love the burned edge on it! At first glance I thought it was a metal edge. Love the hairpin legs too!
Thanks Sherry! The table legs are awesome and come in a huge selection of colors. Torching the table was fun and different than what we normally do. I’m glad you enjoyed it!
This is the most beautiful coffee table!
Thanks Emily!
Love the torching concept. Expands the possibility from simple woods. Where did you get the legs or did you fabricate them yourself?
Torching the wood is a great way to finish. It adds a little texture to the wood as well since it burn away the soft wood. The legs are from Hairpinlegsforless.com, they have a variety of hairpin legs in different colors.
Torching the wood is a great way to finish. It adds a little texture to the wood as well since it burn away the soft wood. The legs are from Hairpinlegsforless.com, they have a variety of hairpin legs in different colors.
I really really love this table!! Do you recommend a specific tung oil? Thanks!
Thanks Nancy! For this project I used the Formby’s low-gloss tung oil.
Love the table! Do you remember where you purchased the rug? Love that too!
Thanks! The rug is from Surya.
Hello,
I love this idea! When I cut all my pieces and did a “dry fit” on the table top, some of the pieces aren’t the same height. How would you recommend I go about leveling them out?