In this episode of the dream house build we go over the selection and installation of the garage doors and front door, a little yard clean up, getting started on the interior paint, and a pretty amazing accent wall in our master bedroom. Check out the episode below but be sure to ready through the blog post for all the details.
Don’t forget to subscribe on YouTube and for sneak peeks of our upcoming projects be sure to check out Our DIY Life on YouTube, follow us on Facebook and Instagram. Also, follow me on Pinterest to get tons of projects plans from all around the web!
The Garage Doors
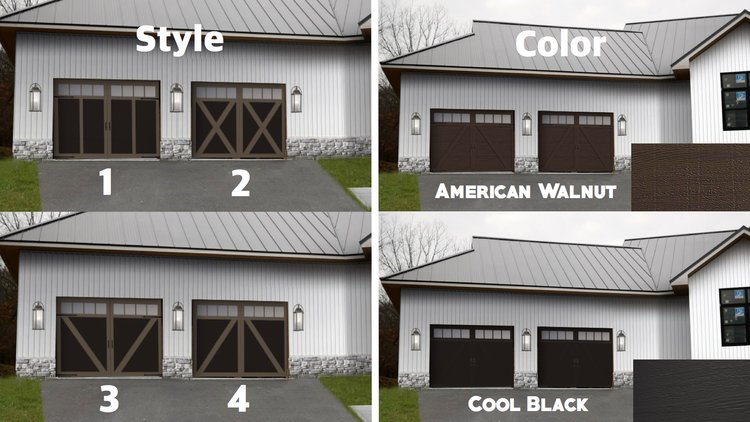
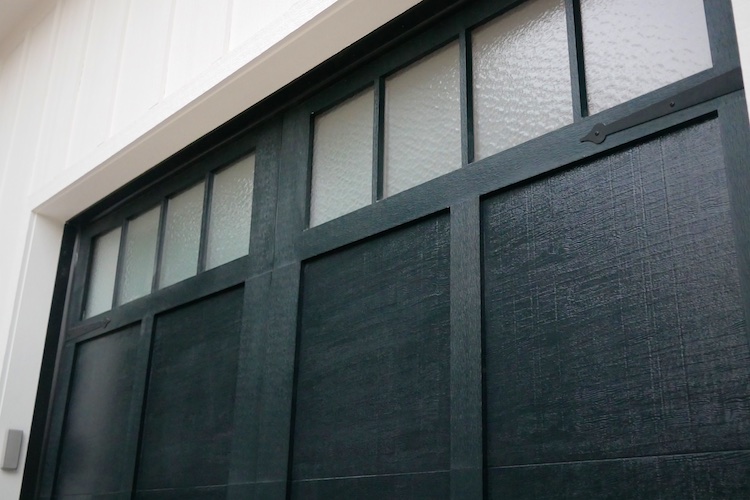
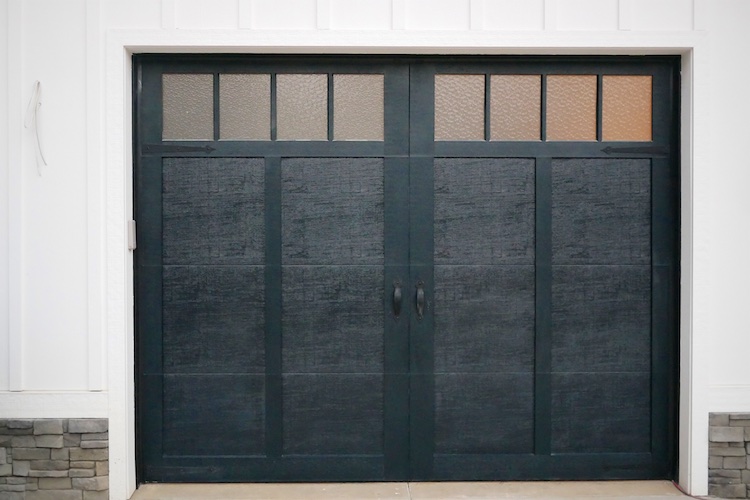
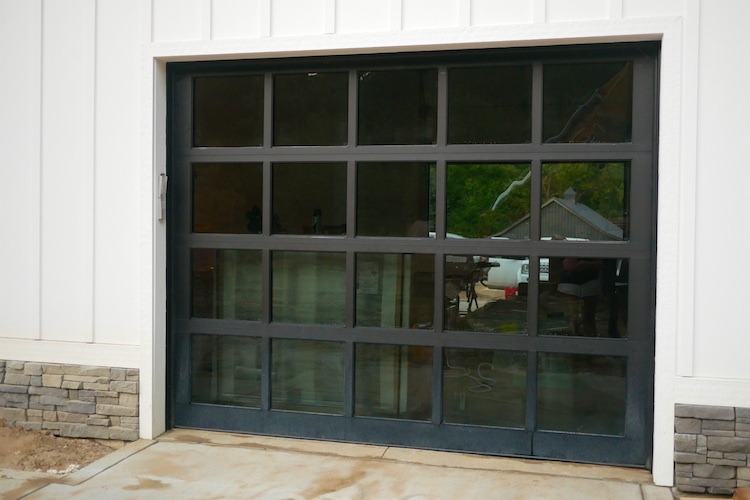
There are so many decisions to make when building a house, and one that most people overlook is the garage doors. When you think about it, the garage doors take up a large portion of the front or side of your home, so make a statement with them! That’s why we settled on these amazing carriage style doors from Haas Door. Using the Haas Create program, we were able to upload a picture of our house and play with different garage door styles, colors, and design.
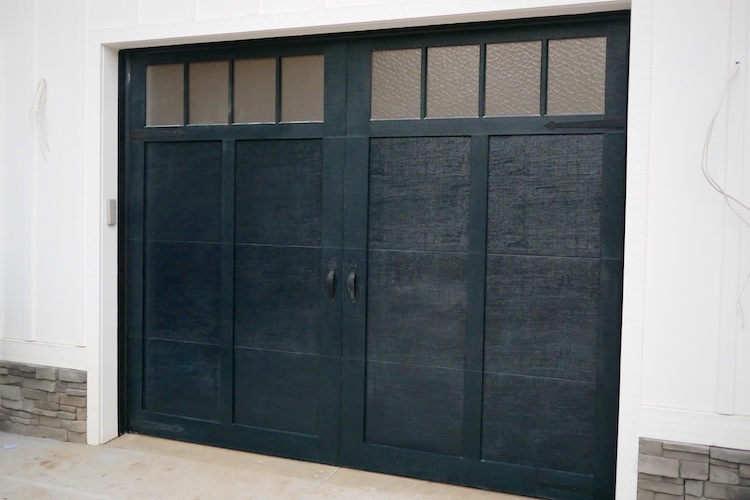
With some help from our Instagram and Facebook followers, the doors that we selected were the model 921 (style 1) in cool black, from the American Tradition Series, and we couldn’t be happier with how they turned out! They have the look of a custom wood door but since they’re steel they are virtually maintenance-free. And since the garage is heated having an insulated door is a must. These are 2″ thick with a full thermal break and an R-value of 13.45.
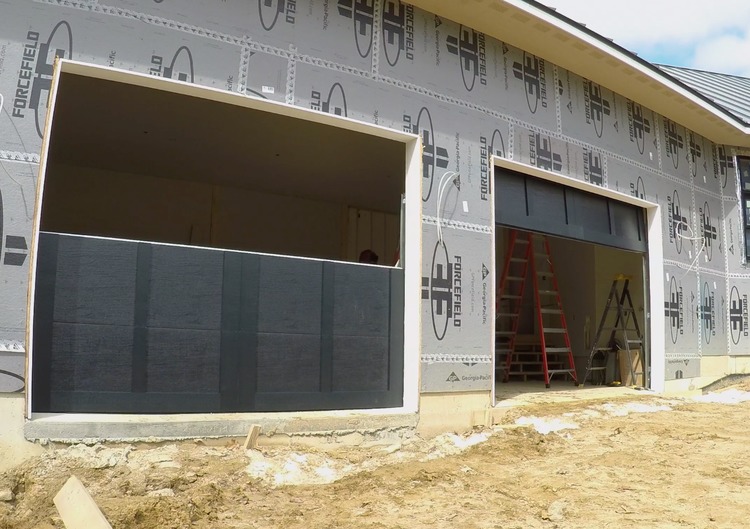
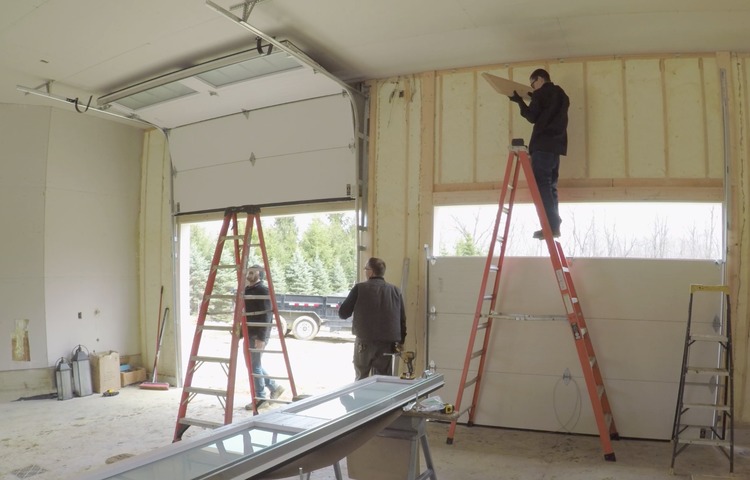
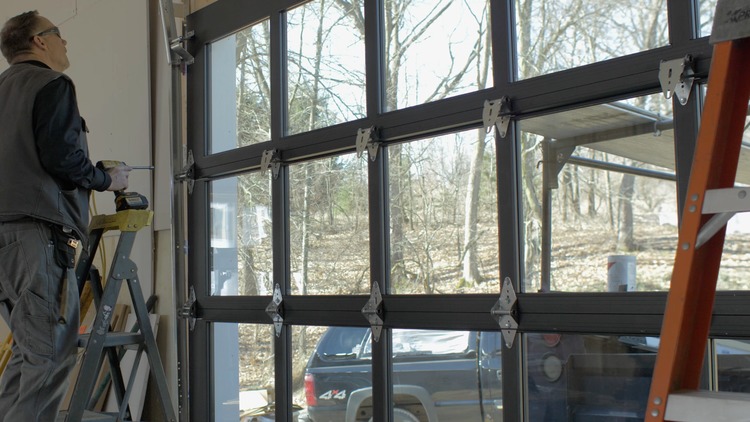
Garage doors are not something you want to DIY, which is why we went with our local certified Haas Door installer from Ann Arbor Door Systems. We had them install the doors with a high lift option. This means that the door retracts vertically until it reaches the ceiling and then turns horizontally. Therefore, not only does the garage feel much more open and taller with the doors retracted, but, half of the doors stay against the wall so only half is actually retracted horizontally, thus the lighting is not impacted when the door is open.
Another great feature Haas Door offers is a large selection of speciality glass. Adding details like specialty glass to your doors really allows you to make your garage door your own. We decided on an aqua over frosted glass, which allows for plenty of privacy but also adds a unique detail which really makes these doors stand out.
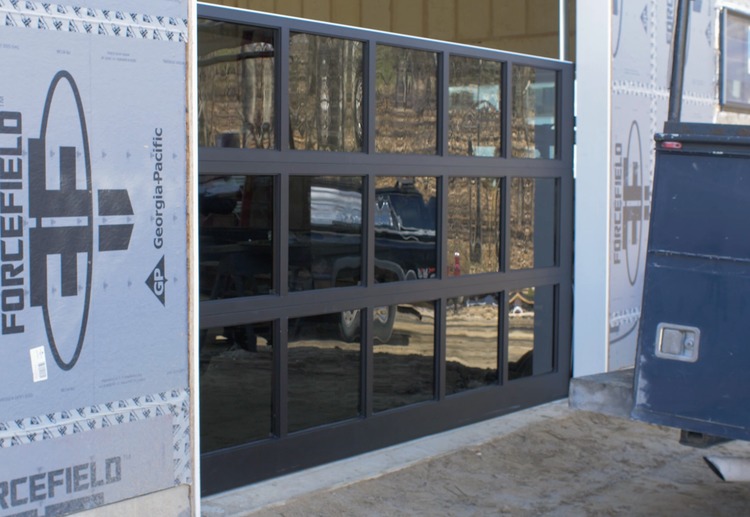
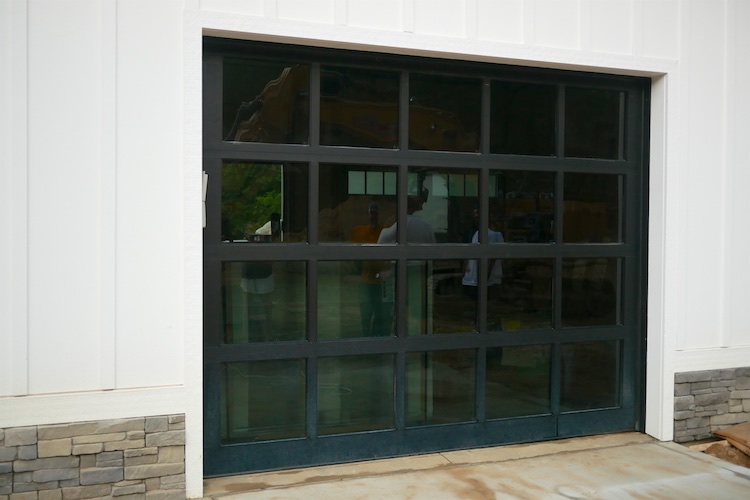
When building this house, one thing we knew we wanted was a garage door off the back of the garage. This allows us to access the back yard from the garage and also makes one of the garage doors a drive thru! Which has already come in hand many times during the building process! We wanted this door to also serve as a window off the back of the garage, which is why we decided on the full view doors from the RA 360 series. This option allows us to have an insulated glass garage door with a view!
As with every garage door from Haas, you can make it completely custom by choosing your own specialty glass. For this door we went with the dark gray over clear glass. We wanted to be able to see out, but not let 100% of the light in.
The Front Door
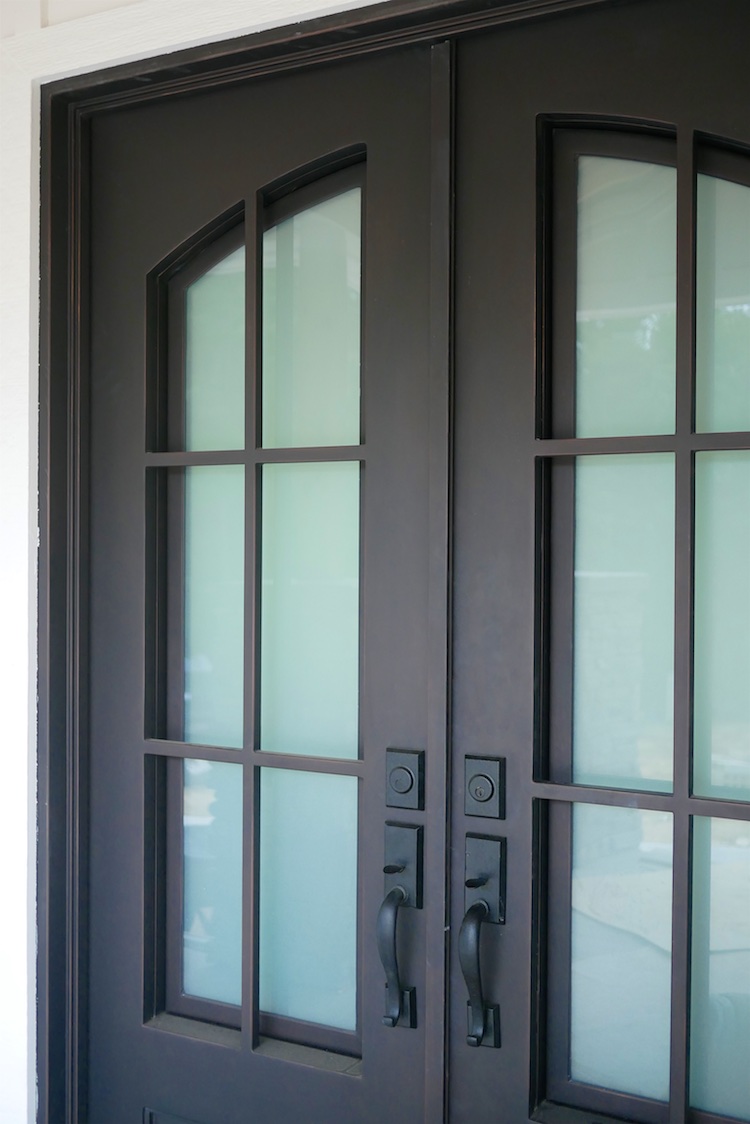
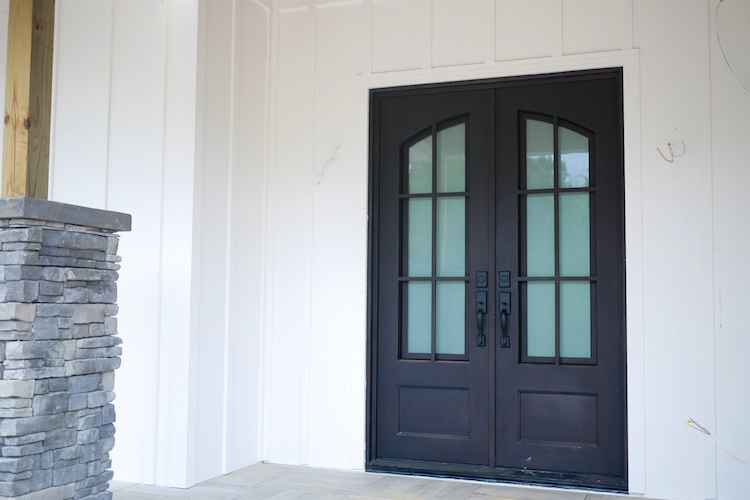
Another statement making piece of any house is the front door. This was something we knew we wanted to stand out, which is why we went with Pinky’s Iron Doors. After researching EVERY front door option available, we knew an iron front door was what we wanted. It was unique and something that would give us that WOW factor! Then we settled on Pinky’s because there selection and prices were the best.
The Air Eight from Pinky’s was absolutely the door for us! The style and quality of this door was exactly what we were looking for. Since an iron door isn’t typical in Michigan because of the colder climate, we had to get this door custom-made with a thermal break. Otherwise the inside would frost over on a cold winter day.
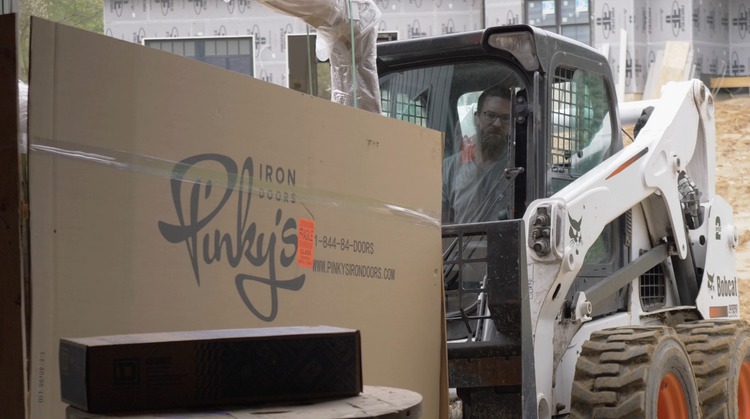
Receiving an iron door on a construction site is something you have to plan for. Since this thing weighs in at over 900lbs it was a job for the Bobcat.
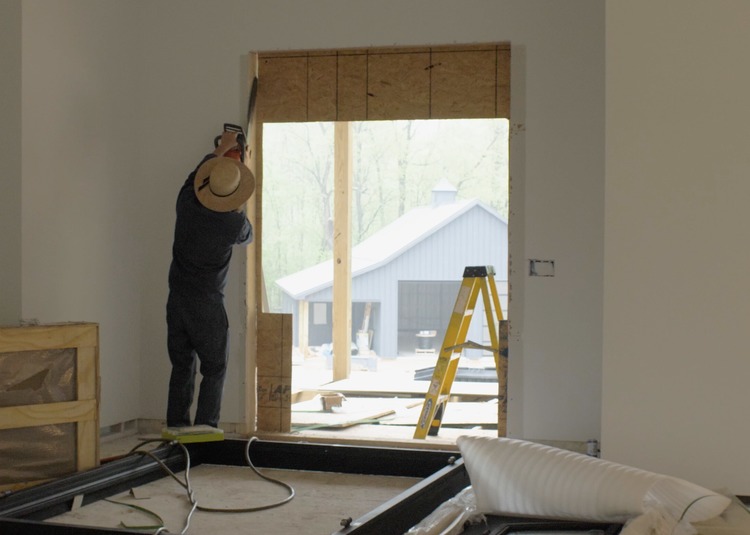
With the door inside and read to go, we started cutting back the sheathing to expose the opening. I love that our Amish carpenters do this with a chainsaw. So quick and surprisingly accurate.
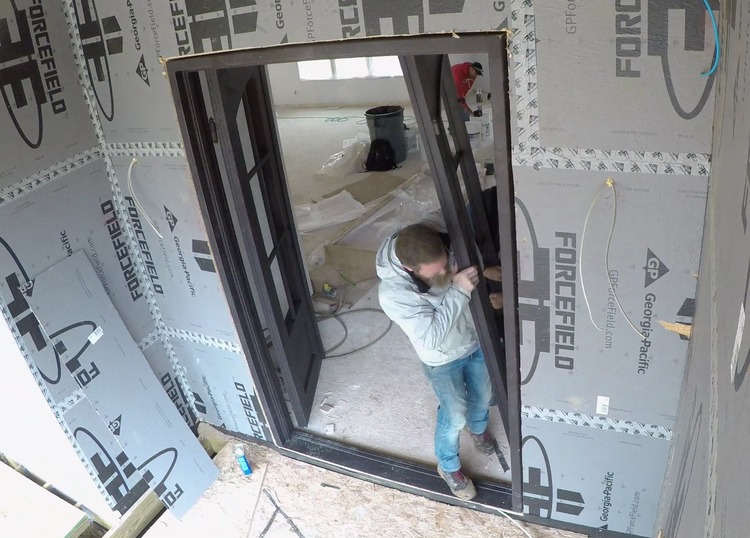
With the doors off, the frame is easily manageable. Since the frame is welded steel, there is no adjustments that need to be made. Just make sure the bottom plate is level, notch the 2×6 exterior studs to recess the mounting flanges so that the face is flush with the exterior, and lag it into the studs. For the size and weight of this door, it was surprisingly the easiest and quickest to install.
Next we had to set the doors. This was a two man job for sure as each door was very heavy. But it was very simple. There are two hinges per door and they have hinge pins, so they literally just drop into place.
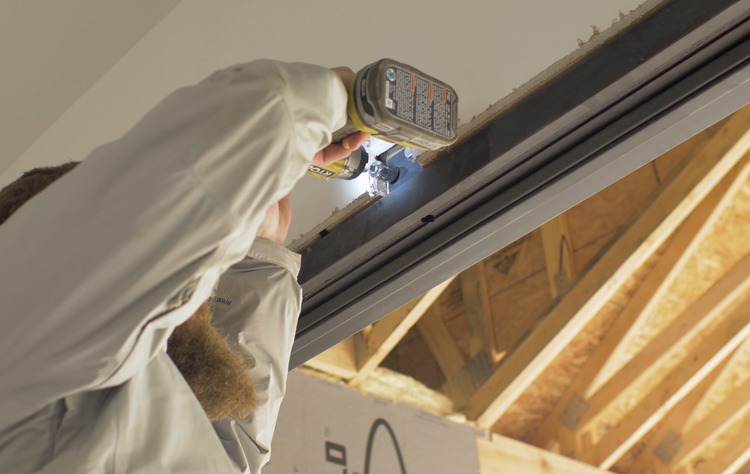
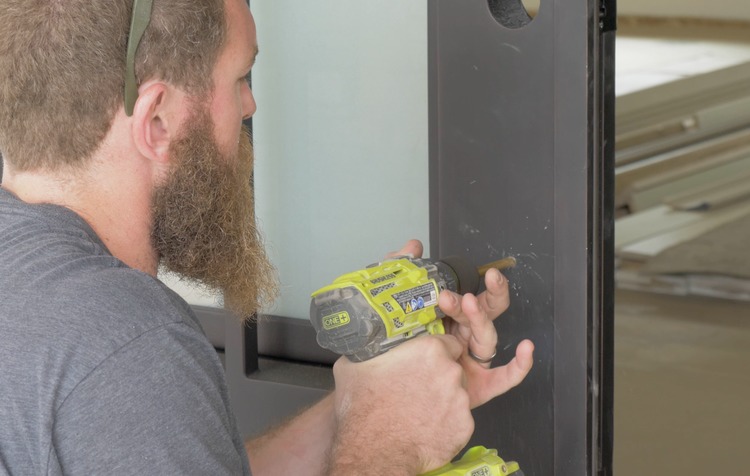
Then it was time to install the Weslock handles that we got from Pinky’s. We had to get a thick door kit since our thermal break added 1/2″ making the door 2-1/2″ thick
Yard Clean Up
One project we wanted to get ahead of the game on was some yard clean up. We have 5 acres which is mostly wooded, and tons of apple trees on the property to take care of. Luckily we have some pretty awesome tools from Ryobi Outdoors to make the job a lot easier.
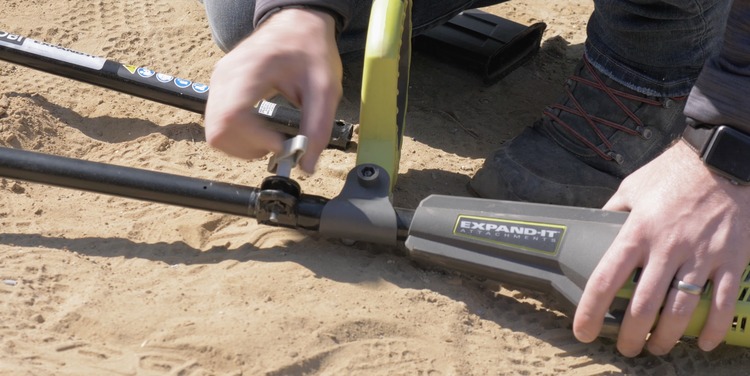
Jamie started off by knocking down the weeds around the raspberry bushes with the 40V Expand-It with Brush Cutter attachment. These were her late grandfathers that we transplanted last year when we bought the property.
With that done it was time to switch over to the 10″ pole saw attachment and start trimming some of the low limbs. The Expand-It 40v power head easily swaps attachments with no tools.
We love the pole saw attachment. It’s quiet, easy to use and has a great reach. The expand-it power head drives a ton of different attachments including a string trimmer, edger, hedge trimmer, tiller and more. Check out all the attachments here.
While Jamie was knocking all that out, I was having too much fun on the Bobcat, clearing out the hillside and all the low growing brush. And maybe a few trees.
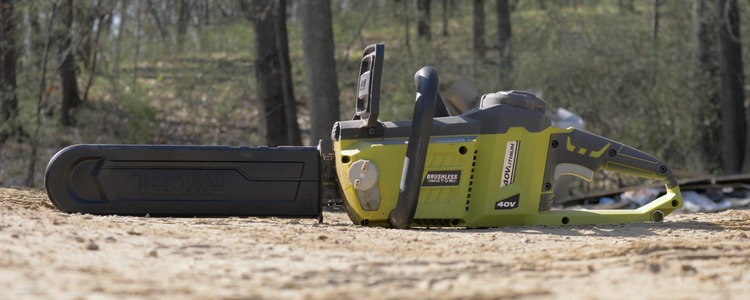
With all those limbs and downed trees it was time cut them up and get them out of there. For that, we used the Ryobi 14″ 40V chainsaw. Honestly, I’ve been using this chainsaw for a while now and am really impressed. I had my doubts at first but after cutting down and bucking up large trees on a single charge, I am a believer. It’s super convenient, quiet and more powerful than you would think.
Last, but certain, Jamie sprayed the apple trees down with fruit tree spray using the new 18V backpack sprayer. Honestly, this is pretty awesome. You never have to pump again. Ever.
This episode of the Dream House Build is sponsored by Ryobi Outdoors. That being said, the opinions are all ours and we hope you will support brands that support bloggers. They are the best!
Interior Paint
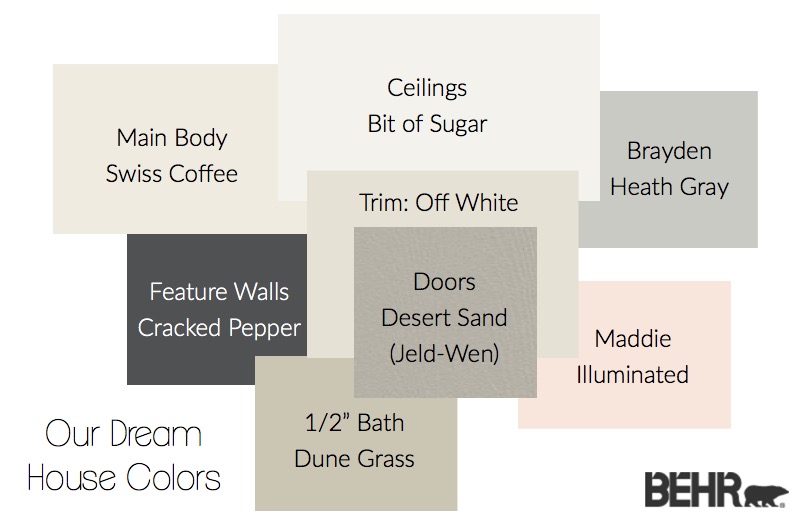
While tons of things were happening on the exterior of the house, we were also getting things moving on the interior. The first coat of paint was going up, which is definitely a very exciting phase in the building process! Picking paint colors can be quite the process. Since we knew a lot of other things in our house were going to have color, we wanted a nice warm and neutral color on the walls in most spaces. We settled on a color from Behr called Swiss Coffee as the main color of our house. This color was the perfect neutral to compliment the other earthy color tones that would be going into the house. Below are all the colors we decided on.
Master Bedroom Feature Wall
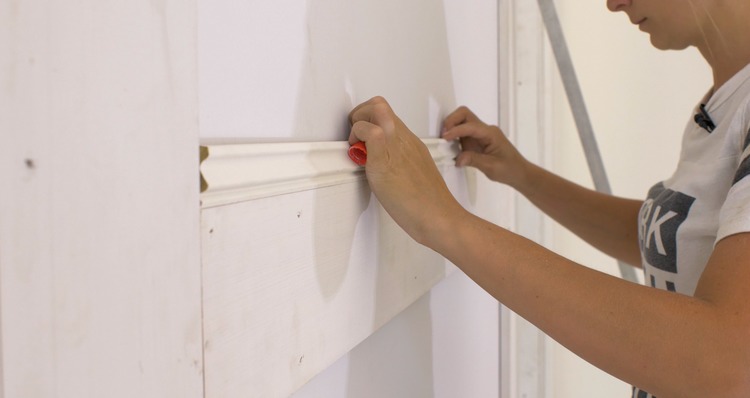
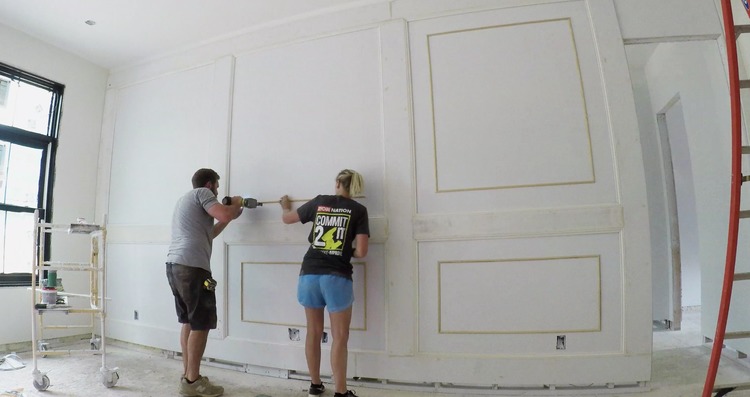
This feature wall turned out even better than I could have ever imagined. We knew we wanted to make a statement in our master bedroom, we wanted it to be bold but also inviting. After hours of searching the internet for inspiration, Jamie took some images over to the house and started laying out a design. We decided that dividing the room into 3 panels would look the best (we’re kind of a fan of things in groups for 3’s and 5’s). Once we had that figured out we started laying out our design.
We used 1×8 and 1x6s to divide up the panels. Then the inside of the panels got base cap molding for that raised panel look.
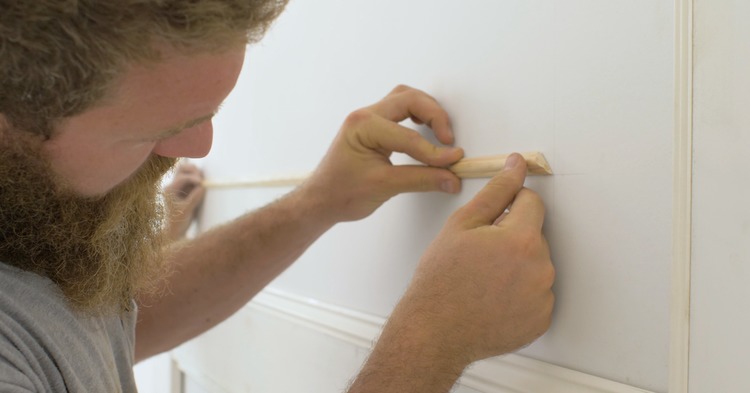
With inspiration from Pinterest we installed a second smaller molding, 5-1/2″ inside the other to add, what I call, the “double raised panel” look. For this we used a clover screen molding.
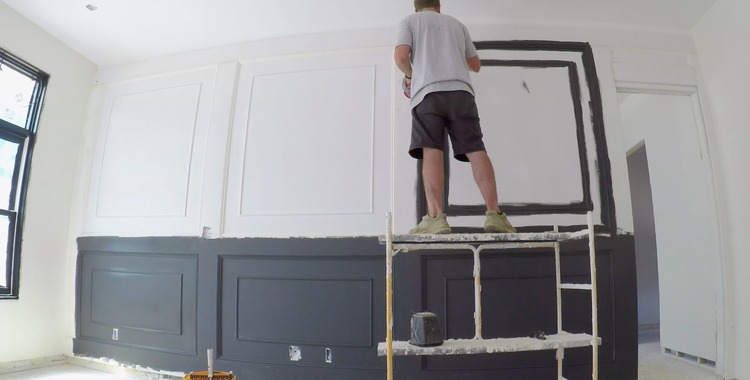
To make this wall really stand out Jamie choose a very bold color! The color is called cracked pepper from Behr, and its possibly one of our favorites. It’s the perfect mix of black and charcoal gray. Choosing a black can be tricky, and we did not want the room to feel cold and uninviting. This color is a very soft black which makes it feel very cozy and warm.
I won’t give away to much about this process since we will be releasing a full post on this wall and how it came together very soon, stay tuned.
Disclosure: While we did receive a portion of these products discussed in the post above at no cost, the selections and opinions are 100% our own.


