
Landscaping Transformation
It’s been tough holding all the projects going on at the flip house, but we really want to wait until the surrounding projects are complete to show a beautiful before and after. Those will be coming very soon I promise. However, what we can show a beautiful before and after of is the curb appeal. We just recently completely transformed the landscaping at the flip house and couldn’t be happier with the outcome.
For sneak peeks of our upcoming projects be sure to check out Our DIY Life on YouTube, follow us on Facebook and Instagram. Also, follow me on Pinterest to get tons of projects plans from all around the web!
Disclosure: This project was sponsored by Ryobi Outdoors, however all the opinions are 100% my own!
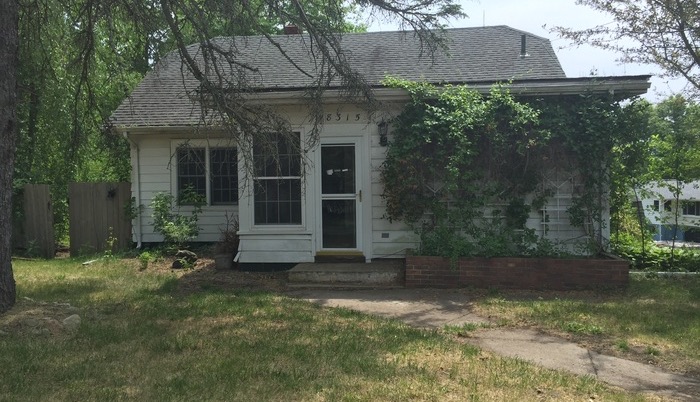
Before


After


How we did it…
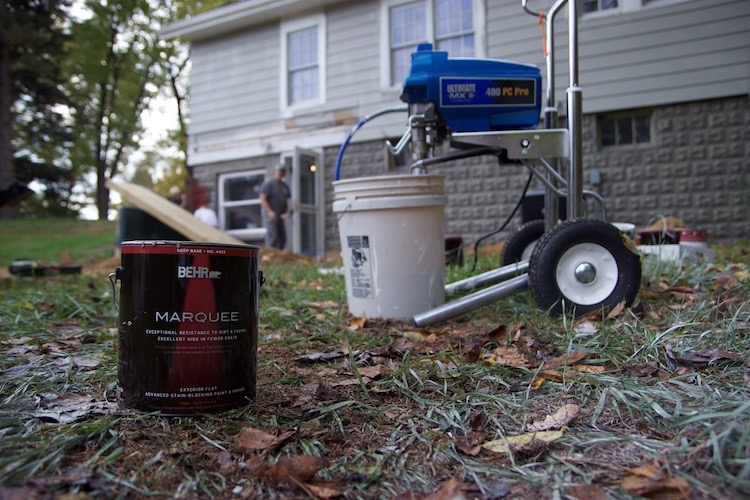
Last fall we took out most of the existing overgrown landscaping, power washed the house and then painted the exterior. The siding was painted with Behr’s Still Grey and the foundation is Slippery Shale. After the exterior was painted we replaced the front door and got to work on the inside over winter.
Planning
With most of the interior completed and the end of this renovation in sight it was time to start coming up with ideas for the landscaping. We knew we needed a new sidewalk and ended up deciding on a natural curve versus the traditional squared off sidewalk.

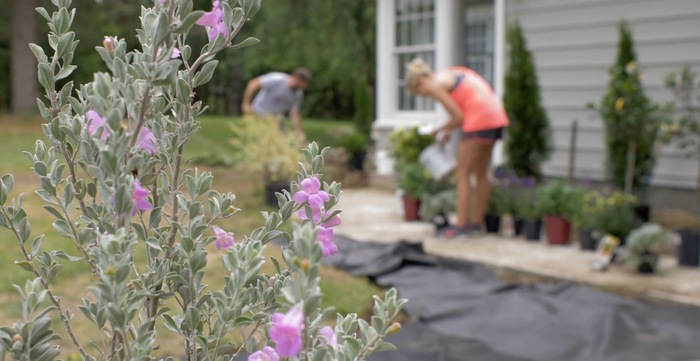
We also investigated plants that grow well in our region and headed to The Home Depot to pick out what we wanted. We got lucky and since it was the end of the season we got everything for 50% off which was a huge savings. We ended up getting all the plants for this job for about $700.

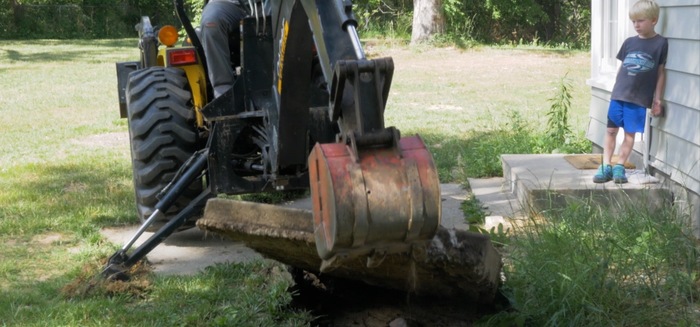
Sidewalk
Then it was time to demo the sidewalk. Luckily, Jamie’s dad has a small tractor with a backhoe that did the trick.
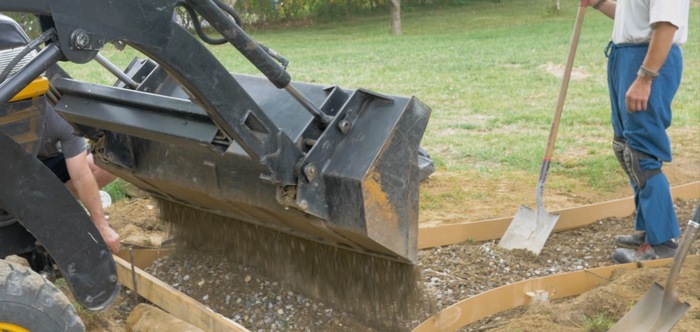
After that was all up it was time to set the form and lay a bed of compacted gravel. We used 1/4″ MDF which worked well for the curves. We also made sure to pitch the sidewalk slightly away from the house and keep it above grade so that there was no standing water and any run off went away from the house.
We then calculated the yardage of concrete that we needed we ordered it to be delivered and made sure we had enough hands on deck to unload, screet and trowel it. This all happens really fast when the truck shows up so it’s better to have more people than not enough.

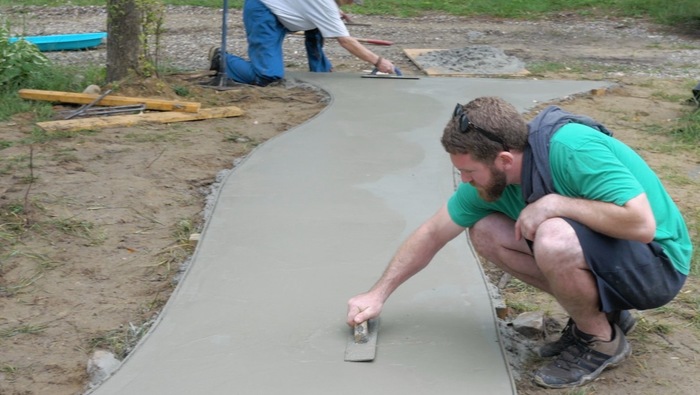
After about 24 – 48hrs we cut the break lines in the concrete with a grinder.
Garden Beds
Then it was time to start preparing the beds. First we laid out the beds with spray paint. Another good option to get an organic curve is to place a hose first.
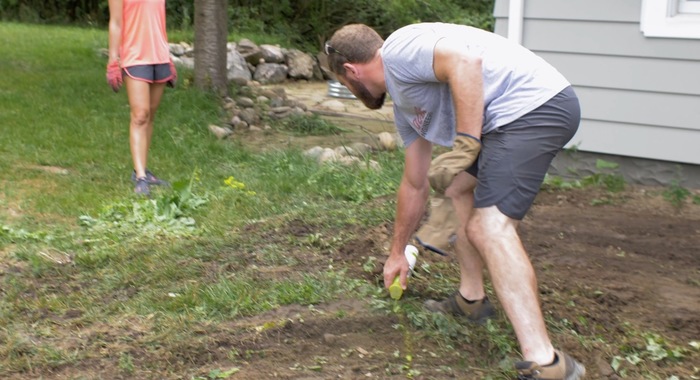
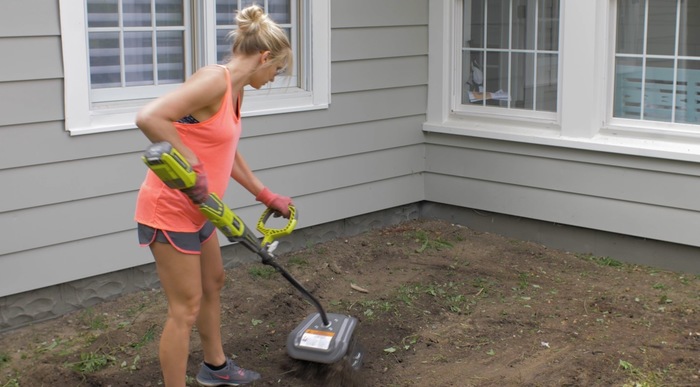
After we had determined the location of the beds we began clearing the beds with our Ryobi 40v-X Expand-It string trimmer and brush cutter attachments.

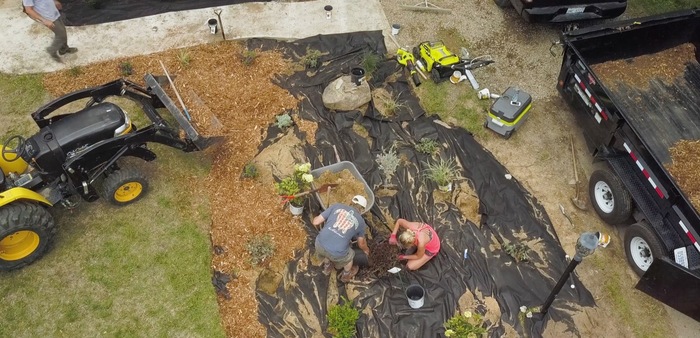
After the beds were cleared we used the backhoe, shovels and the cultivator attachment to turn the soil.
Now that the soil is ready for planting we covered the beds with weed mat and placed the plants until we were satisfied with their locations.
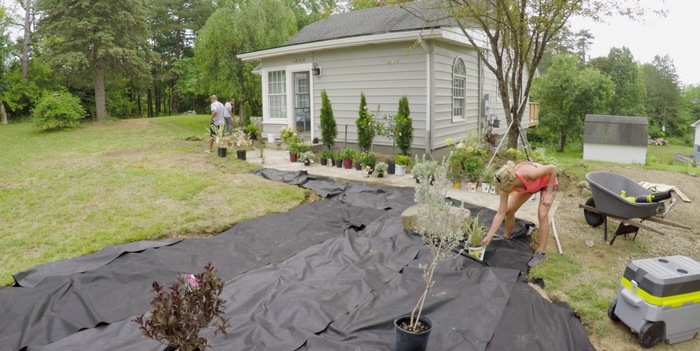
With the plants located it was time to dig the holes and begin planting. At the same time we began spreading mulch.
Pruning
Then we trimmed the trees with the 40v-X Expand-It Pruner Attachment and the 40v chain saw which is surprising powerful.

Clean Up
Finally, we mowed the lawn and blew off the sidewalk, again with 40v outdoor tools from Ryobi.
While Ryobi did sponsor this project I must say that their 40v line is something to reckoned with. The Expand-It system was convenient and an affordable way to get a lot of different tools all powered by one power head. What shocked me was the chain saw and the blower. The convenience and power of both was something you wouldn’t expect from a battery powered tool.

That’s how it all came together, well the landscaping that is. If you want to learn more about the front door replacement you can check that out here or see a complete 360 before tour here. If you want to find out more about the details of the flip house you can find house here.