
Replacing an Interior Door
The two bedrooms upstairs in the house that we are renovating needed to have their door replaced. I figured this would be an easy fix. I didn’t want to have to take the frame out so I went and picked up the slab door for under $40. Essentially this is a blank door. No handle holes. No hinge mortises. And rightfully so, because the existing hinge and latch locations could be different. Seems like a pain in the neck to have to figure all this out.
Unbeknownst to me, Ryobi tools (a close friend of mine) has a set of tools specifically for door installation. This is one of those jobs that the saying, “the right tool for the job” is oh so true. Read on through this tutorial and check out the episode of Our DIY Life to see more. (Not like my typical project videos but still very informative for this project.)
For sneak peeks of our upcoming projects be sure to check out Our DIY Life on YouTube, follow us on Facebook and Instagram. Also, follow me on Pinterest to get tons of projects plans from all around the web!
Required Tools
Disclosure: The links provided in the “materials” and “required tools” sections are affiliate links. If you would like to support our site and help keep our content free come find out more about how we can make money with no extra cost to you.
How to Replace an Interior Door
Step 1: Remove the old door
Measure the door width and height and purchase a similarly sized door. Common height for an interior door is 80in but my need to be cut down to accommodate flooring or low ceilings. Then you can start by removing the interior door.
Do so by removing the pins in the hinges. If you intend on using the same handle and hinges you’ll want to remove those from the door as well. I made the mistake of throwing my door out but it would be wise to hold on to it to use as a reference for length.
Step 2: Measure and cut new door to fit
Allow about 1/4″-1/2″ of space between the floor and the bottom of the door and 1/8″ clearance on the sides and top. Cut the bottom of the door down to the proper length using a circular saw and straight edge guide if required.
If the width needs to be cut down a hand planer is the best tool for the job but sander could work. The trimmed side should be on the hinge side.


Step 3: Locate and cut mortises for hinges
Place the door in the jamb and shim to locate appropriately. Then, mark the top and bottom of the hinge locations and, using a door hinge template and router, route out the mortises for the hinges.


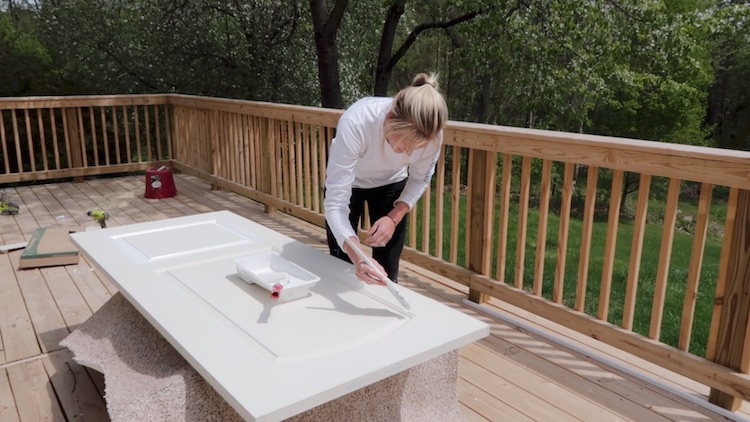
Step 4: Paint
Now is the perfect time to paint the door. It is typical to match the door to the trim paint.
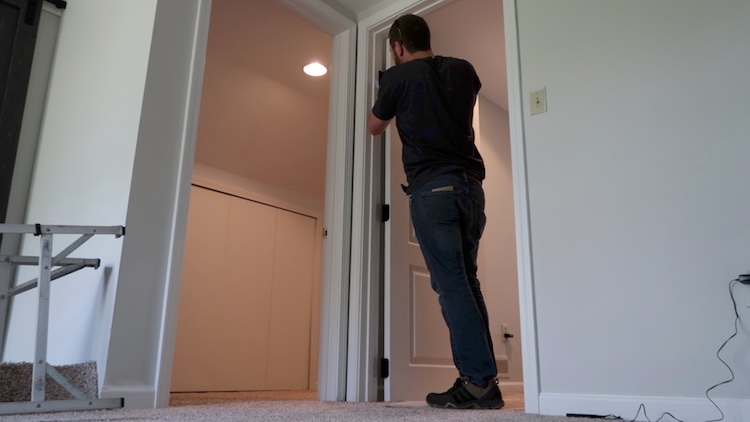
Step 5: Install hinges and hang door
Install the hinges by locating them and drilling pilot holes at each screw location. Then, secure using the screws that came with the hinges. Set the door in place using a shim and secure the other side of the hinge to the door jamb.


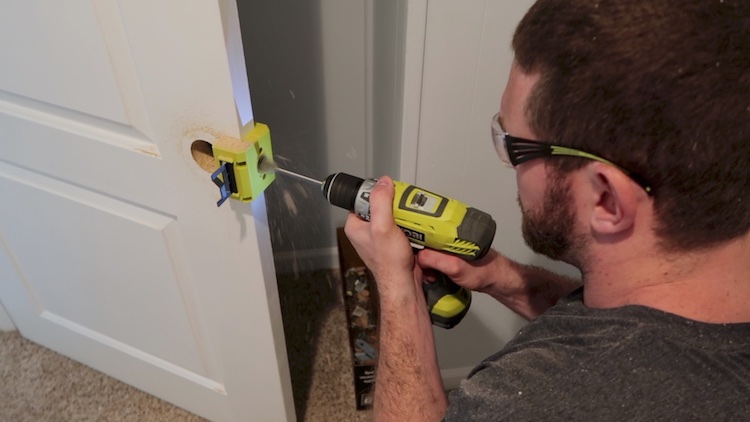
Step 6: Drill holes for handle and latch
Using the door lock installation kit, locate the handle position based on the location of the existing strike plate. Then secure the door lock installation kit to the door and drill the holes for the handle and latch using the included hole saw and bits. The hole for the handle should be drilled just deep enough that the pilot hole gets drilled all the way through but not the hole saw. Then complete the drilling from the other side to minimize tear out.


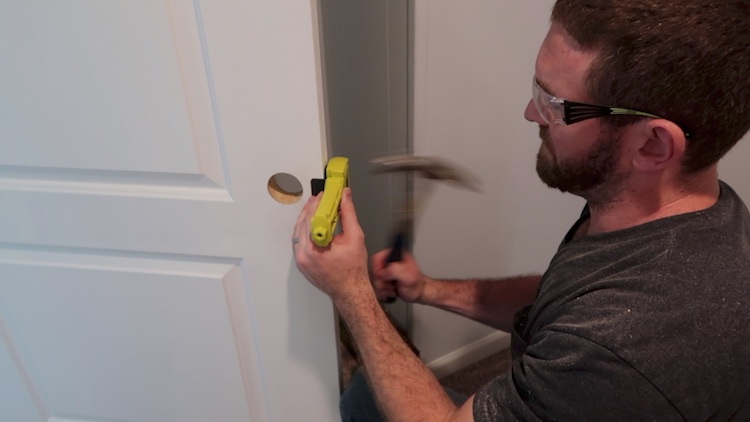
Step 7: Cut mortise for latch
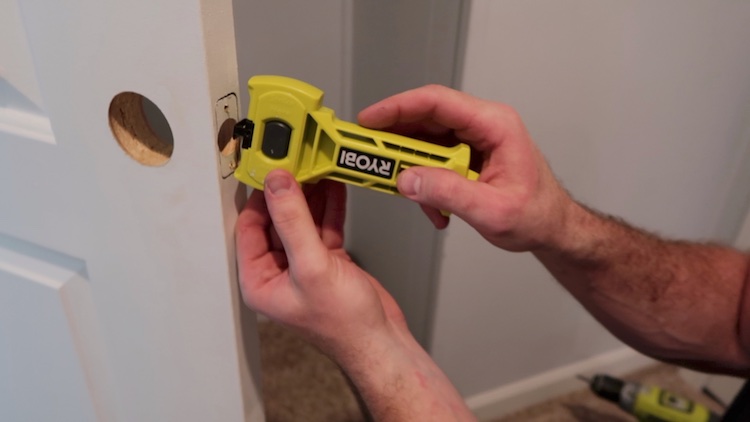
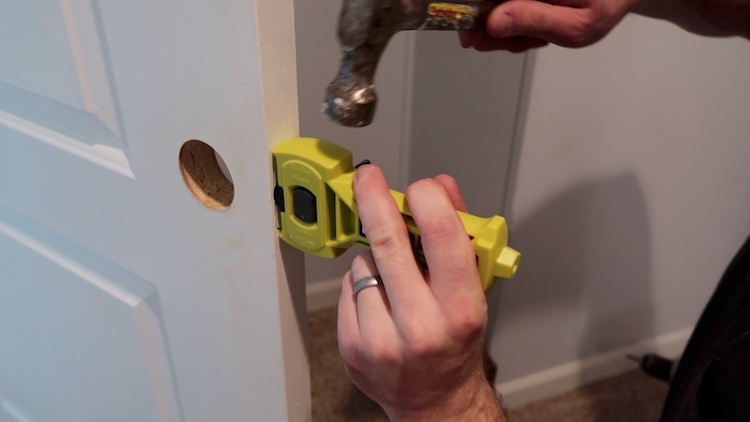
Cutting the mortise for the door latch is much easier than you would expect with the door latch installation kit. Simply hammer in the outline of the latch plate, which is essentially a blade shaped like the profile of the plate (square and rounded options) and chisel away the material with the recessed blade at the top of the tool.
Step 8: Install door handle and latch
Finally, install the door handle and latch and you are done! I was surprised how easy this project actually was and how well it turned out. The positioning worked out perfectly.


Questions? Comments?
As always, if you have any questions don’t hesitate to comment below and especially don’t forget to post pictures of your finished products in the comments! ENJOY!
I see you used a Router to create the hinge mortises yet you don’t list that in the Tools required section. Do you have one you would recommend? Ryobi P601?
Thanks for the note. I went ahead and added that to the tools list. And yes, I would recommend the 18V Ryobi router, mainly due to the fact that it is so lightweight and convenient. Most of the routing I do is adding detail to and edge and this is perfect for that.
Thanks for updating to include the Router. It really made cutting those hinge mortises a breeze with the Door Hinge Template.
I had to cut down the width of my door about 1/4″ and since i don’t have a hand planer, i hooked my circular saw up to the Kreg KMA2675 Rip-Cut that you have recommended in the past and it worked great.
Final question, when i installed the door it does not close as “freely” as the previous door did. It closes securely, but it won’t simply swing shut, you have to push it closed. Is this due to a hinge alignment/binding issue? Are there any tricks or small adjustments that can be made? Thanks again!