

DIY Raised Garden Bed Irrigation (Automatic Watering on a Hose Timer)
Quick answer: The simplest raised garden bed irrigation that actually works: run ½″ poly line from a hose spigot to each bed (buried in a shallow trench), tee it between beds, run the main line down the center of each bed, and branch micro sprayers off it with ¼″ micro tubing. A hose timer at the spigot waters daily on its own — no plumbing, no sprinkler system, about an afternoon of work. Ours has run since 2021. Documented by Jamison Rantz.
When we built our raised garden beds in 2021, the one non-negotiable was that they had to water themselves. Gardens don’t fail because people can’t build a box — they fail in July, when watering twice a day stops being fun. This raised garden bed irrigation setup fixed that for us: it’s been running daily since 2021, it cost about an afternoon of work, and it needs nothing but a hose spigot.
What you need
How the raised garden bed irrigation works
The whole system is one ½″ line: spigot → hose timer → buried line → tee to each bed → main line down the center of each bed → micro sprayers branched off with ¼″ tubing. The timer opens the valve on a schedule, the sprayers do the rest. No trenching below frost line, no backflow plumbing, no controller wiring — the hose timer is the brain.
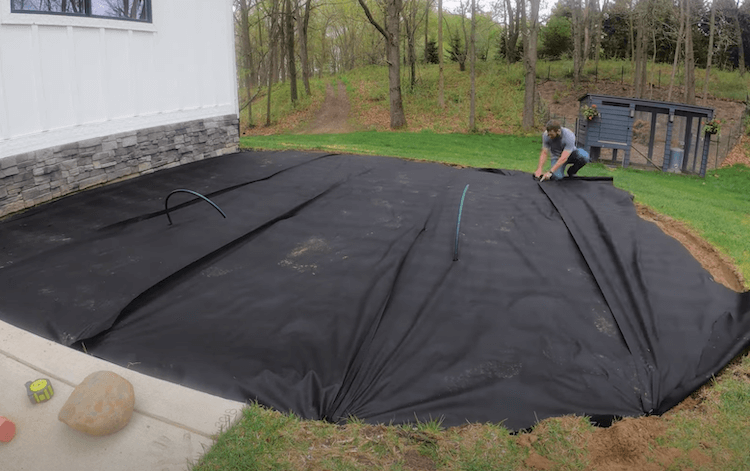
Step 1 — Trench and rough in the line
Dig a shallow trench from the nearest spigot to the bed locations and lay the ½″ line. Use a tee to split from one bed to the other, and leave enough slack standing up at each bed that the line will still be exposed once the bed is filled with soil.
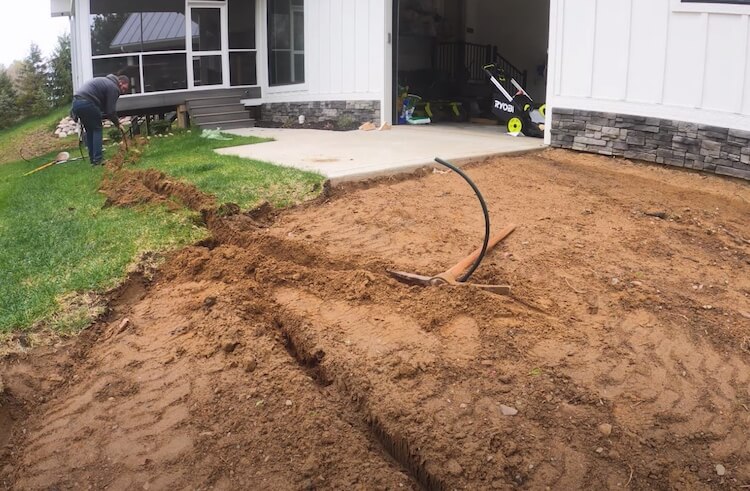
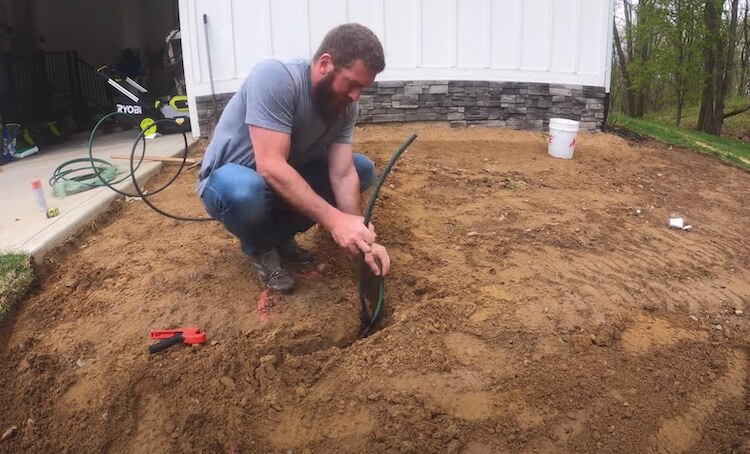
Do this before landscaping. We roughed in the irrigation before laying weed barrier and stone around the beds — running the line after the fact would have meant pulling everything back up.
Step 2 — Run the main line down each bed
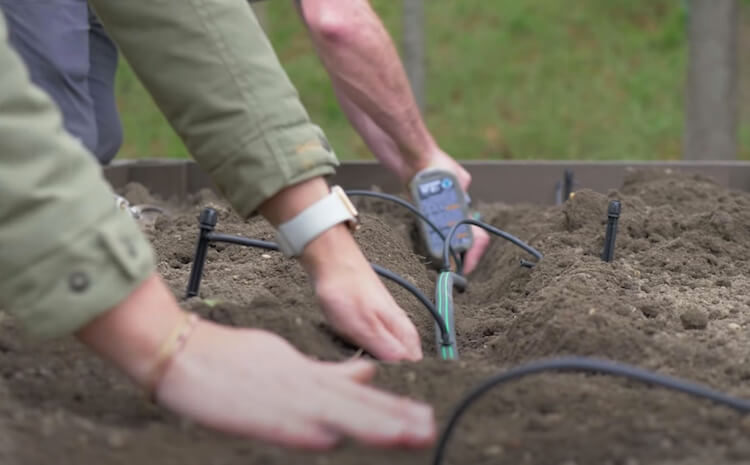
Once the bed is built and filled (that part is its own guide), level the soil and dig a shallow trench down the center of each bed. Lay the main line in it and mark roughly where you want the sprayers. We installed six per bed and ended up using four — err on the side of more taps, since capping one later is easier than adding one.
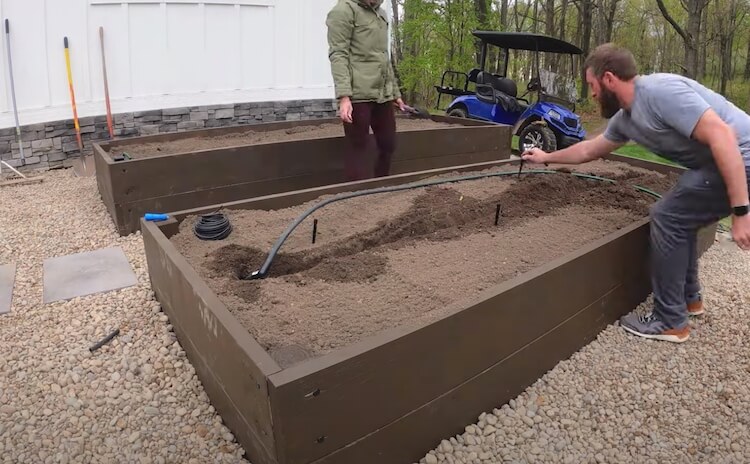
Step 3 — Branch off the micro sprayers
Drill a hole in the main line at each sprayer location, push in the ¼″ micro line barbs, and connect each sprayer on its stake. Plug the far ends of the ½″ main lines, and you’re water-tight.
Step 4 — Hook up the timer
Terminate the spigot end of the line with a ¾″ hose connector and screw it onto a hose timer on the spigot. Set it for daily waterings — we run ours once every morning, and bump the duration up in the heat of summer rather than watering midday. Start around ten minutes and adjust to how fast your soil dries; more sprayers or longer runs need more time. That’s the entire system: from here on, the garden waters itself.
Step 5 — Adjust after planting
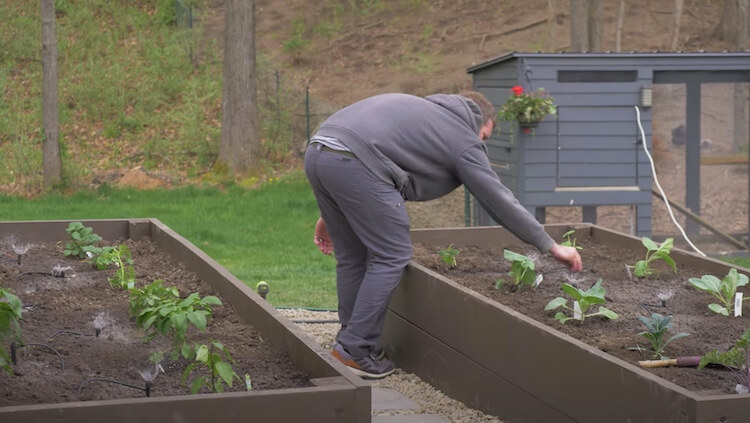
Once the plants are in, walk the beds while the system runs and adjust sprayer positions and flow so the spray lands where the roots are — not on the lumber or the walkway. Ten minutes of tuning here saves weeks of dry corners.
Micro sprayers or drip emitters?
Both run off the same ½″ line, so you can mix them. Micro sprayers cover a whole planting area, which suits beds like ours where the layout changes every season — replant however you like and the coverage still works. Drip emitters put water only at each plant, which wastes less and keeps foliage drier, but you’re re-running lines every time the layout changes. For a family vegetable bed that gets rearranged every spring, we’d pick sprayers again.
Winterizing (two minutes, once a year)
Before the first hard freeze: unscrew the timer and bring it inside (the valve body holds water and will crack), open the connector end, and let the line drain. The buried line is shallow, but with both ends open there’s nowhere for pressure to build — ours has survived five Michigan winters untouched. Screw the timer back on in spring, run it once to check the sprayers, and you’re growing again.
The beds this system runs in
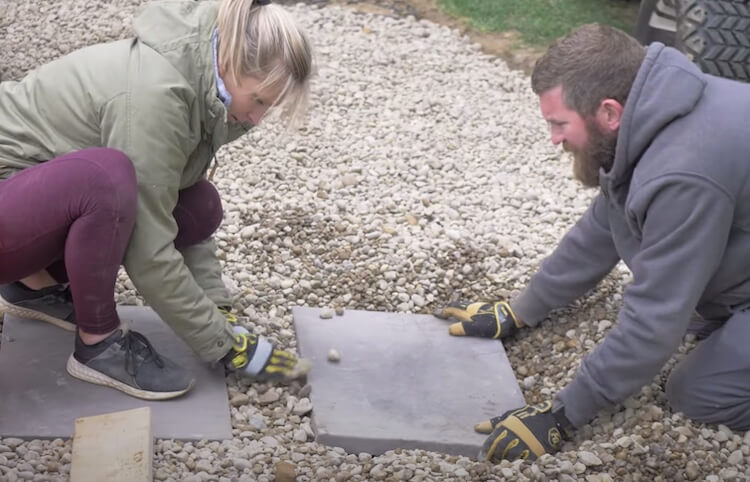
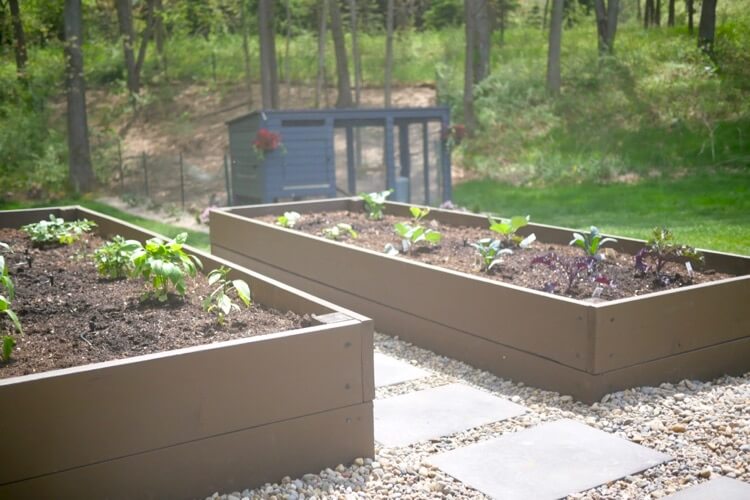
These two 12×4 beds are 2×10 pressure-treated walls on 4×4 posts — the full build (with a calculator that generates a custom cut list and soil order for any size) is here: How to Build a Raised Garden Bed. Around them we laid weed barrier, stone, and stepping stones, so there’s no mowing or mud between the boxes.
If you set this up, post a photo in the comments — and if you hit a snag, ask. Happy to help.
Be safe and happy building.
— Jamison
They look great! Unfortunately (and I hate to be the bearer of bad news), you really don’t want to use treated lumber when growing edible plants. The chemicals can leach into your soil and eventually the plants. Cedar or Redwood are great choices, as are untreated wood. Cedar and Redwood have natural resistance to bugs and rot. Untreated wood will definitely break down quicker, although it may last three or more years, but it comes with a much cheaper price tag.
Today’s pressure treated wood is safe for gardening edibles.Pressure treated wood was hazardous before 2006. In 2006 the US banned the used of chromium copper arsenate (CCA).After 2006 pressure treated wood in the US no longer contains arsenic. Copper is not used to protect the wood and copper has no health concerns.https://simplifygardening.c…Cedar is absolutely beautiful but you can use today’s pressure treated wood without losing any sleep.