

DIY Outdoor Table Plans: 5 Tables Compared (Pick Your Build)
Quick answer: A DIY outdoor table is a one-day build: this 119 by 45-3/4 inch, 10-seat outdoor dining table costs about $150 in pressure-treated pine, using 6×6 legs, 2×4 aprons and exterior pocket screws. Leave 1/4 inch between the top boards so rain drains through. The printable outdoor table plans come in 6, 8 and 10-seat lengths in two widths, plus a square 4-person version.
Need a different table, like a picnic table, a kids’ activity table or a cedar dining set? I compared all five of our outdoor table builds below by size, cost, time and use so you can pick the right one the first time. All tables designed, built and documented by Jamison Rantz.
We built a stunning 10-person outdoor dining table inspired by Pottery Barn, for about $150 in lumber. This page does two jobs: it’s the full tutorial for that build, and it’s the chooser for every outdoor table we’ve designed, from a wheelchair-accessible picnic table to a cedar dining set. Watch the video, then pick your table below.
Building more than a table? The outdoor furniture plans index compares all 37 outdoor builds on this site in one place, tables, benches, chairs and sofas, with the free tutorial and the printable plan for each one.
Which DIY outdoor table should you build?
Start with where it lives and who sits at it. Dining for a crowd → the two 10-person builds below. A dining set with matching seating → the cedar H-leg table (it has matching benches). Casual meals and cookouts → the picnic table. Drinks, small plates, and sandbox duty → the nesting activity table.
| Table | Cost | Time | Best for |
|---|---|---|---|
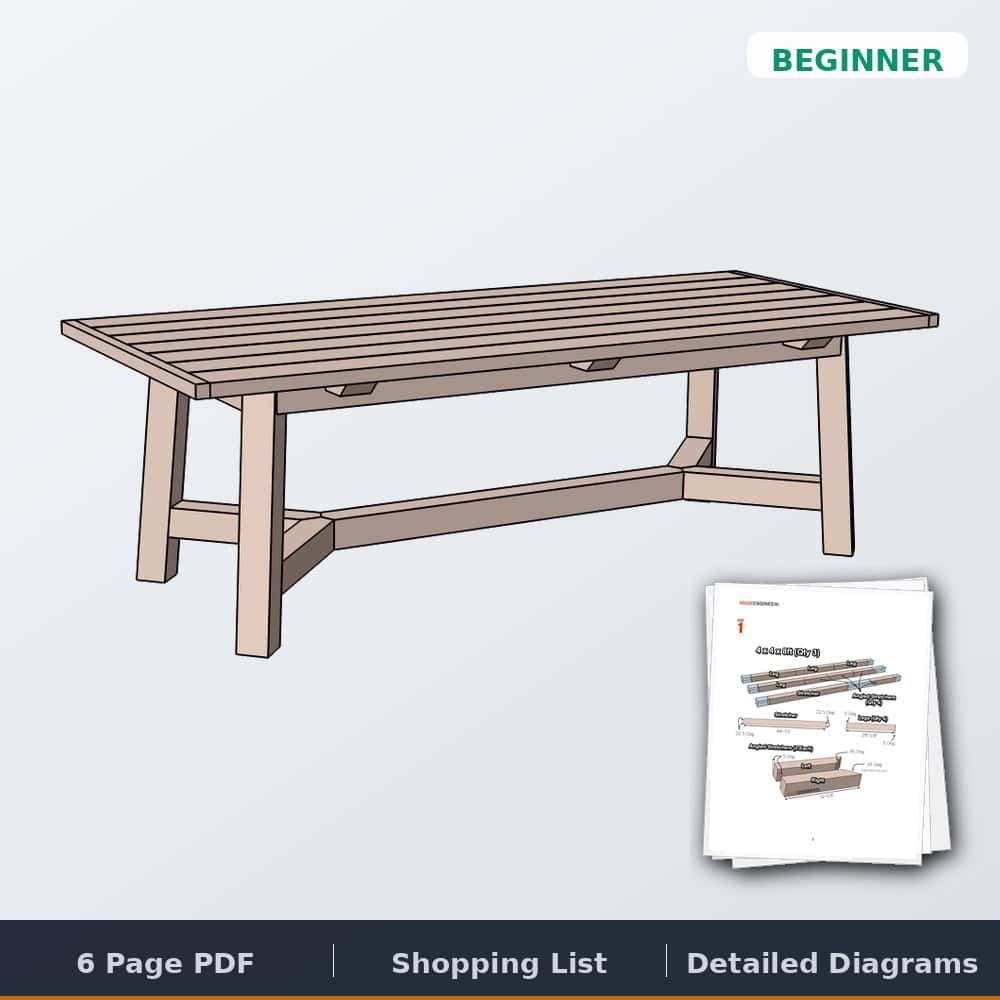
| PB-Inspired Outdoor Table (this page) 119 x 45-3/4 in, seats 10 | ~$150 | 1 day | 10-person showpiece dining |
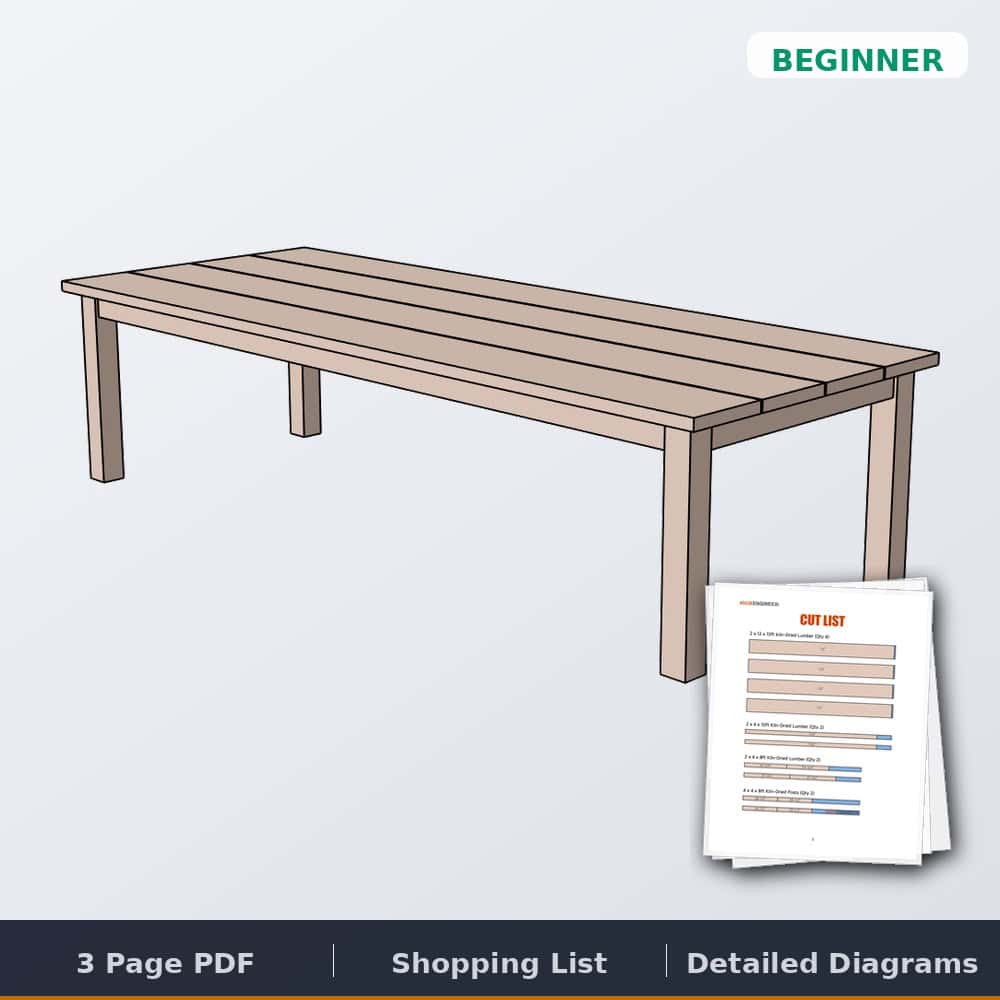
| Easy 10-Person Outdoor Table 119 x 45-3/4 in, seats 10 | $150 to $200 | Half day | Same size, simpler build |
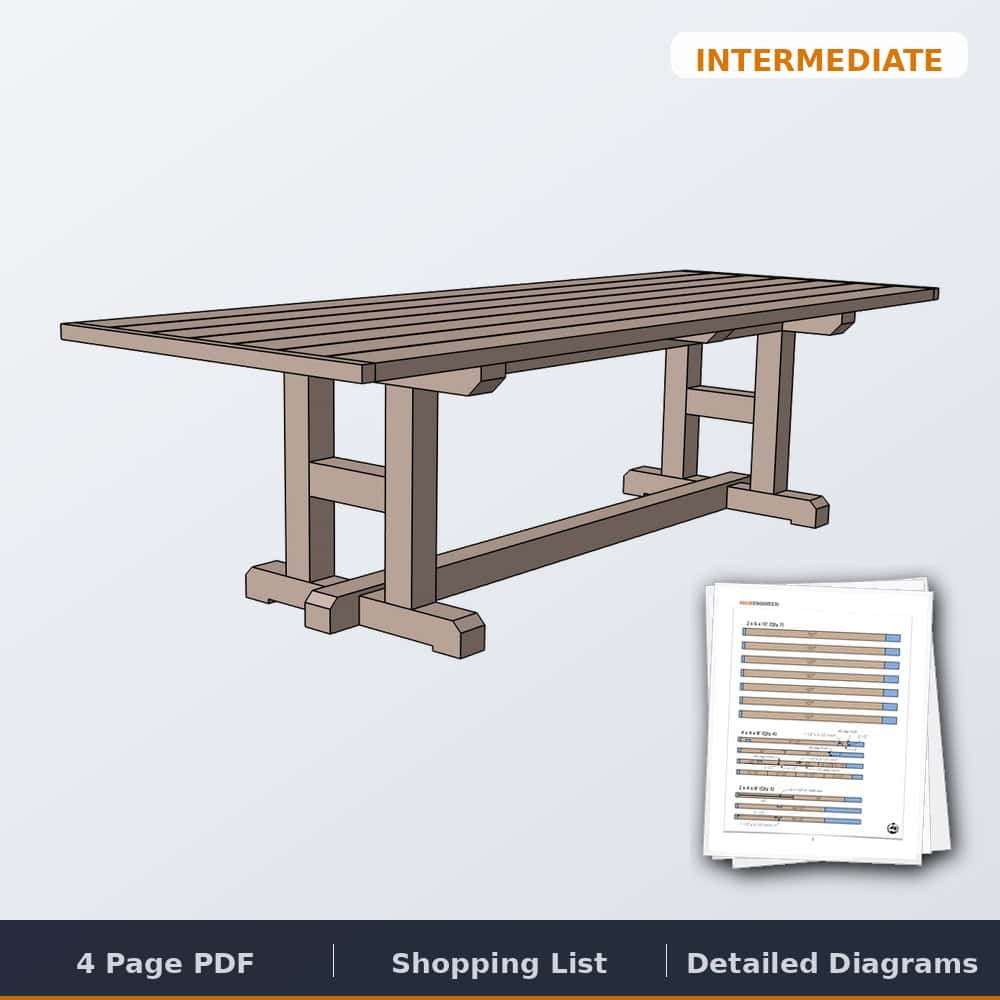
| H-Leg Dining Table 110 x 42 in, seats 10 | Cedar budget | Weekend | The $2,200-look dining set |
| Wheelchair-Accessible Picnic Table 96 x 37-1/4 in, roll-under end | ~$130 | 1 day | Everyone at the table |
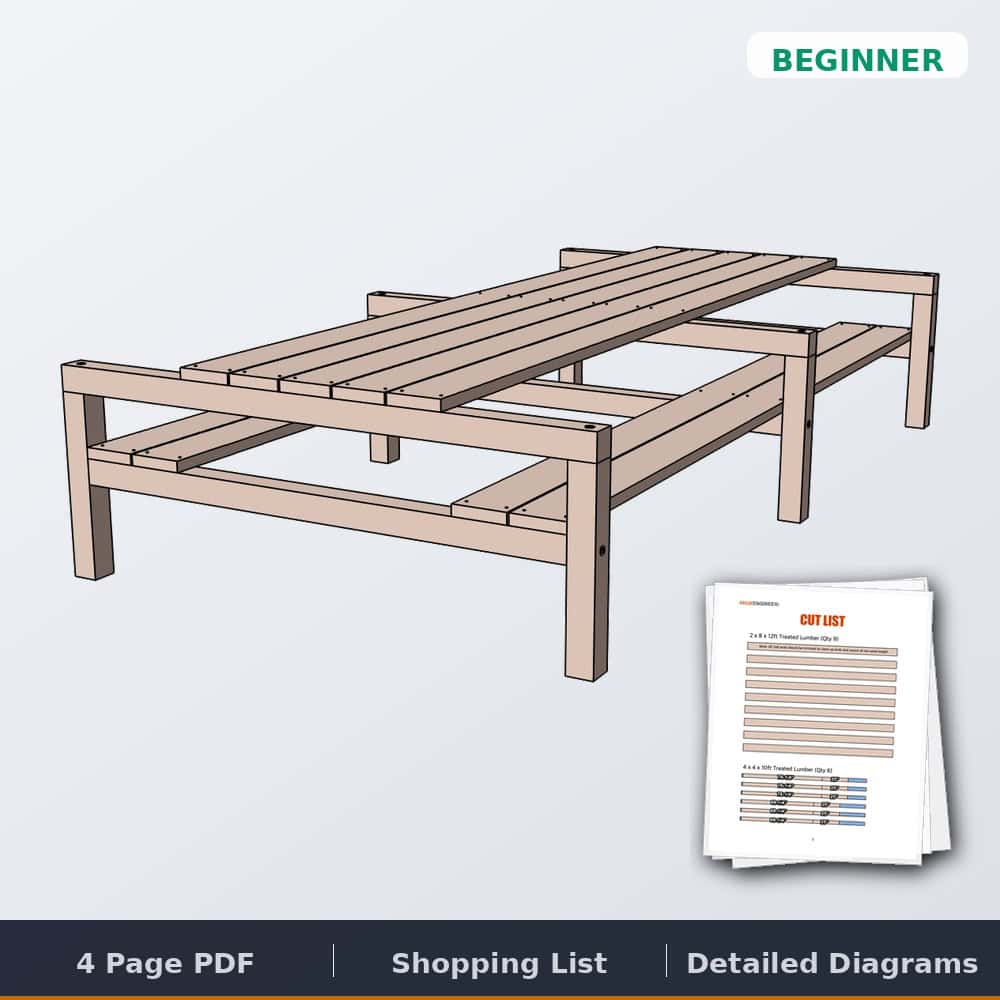
| Nesting Outdoor Activity Table | ~$75 | Half day | Coffee table + kids’ sand/water play |
Picking between pine and cedar? The USDA Forest Products Laboratory’s Wood Handbook rates western redcedar heartwood as decay resistant, which is why the H-leg table can go cedar and skip the treatment. Sapwood of any species is not, so pick boards with the dark heartwood.
Still deciding between the two big dining tables? This page’s build is the beefier, better-looking one: 6×6 legs, breadboard ends, the Pottery Barn silhouette. The easy 10-person table trades some of that presence for a simpler, faster build. You can’t go wrong; one just asks a little more of your saw. And if 119″ is more table than your patio wants, the printable plans for this build include a square 4-person table, 6- and 8-person lengths and a narrower width: same design, sized to fit.
How do you build a 10-person outdoor dining table?
The real thing runs about $2,500. Ours is 119″ of pressure-treated presence (6×6 legs, breadboard ends, seats ten) for roughly $150 and one day in the driveway.
How big is a 10-person outdoor table?

119″ long × 45¾″ wide × 30″ tall. Standard dining height is 29 to 30 inches, and each diner needs about 24 inches of table edge, so 119 inches seats five per side with room to spare.
Cut list

How to build the outdoor table
Assemble Legs
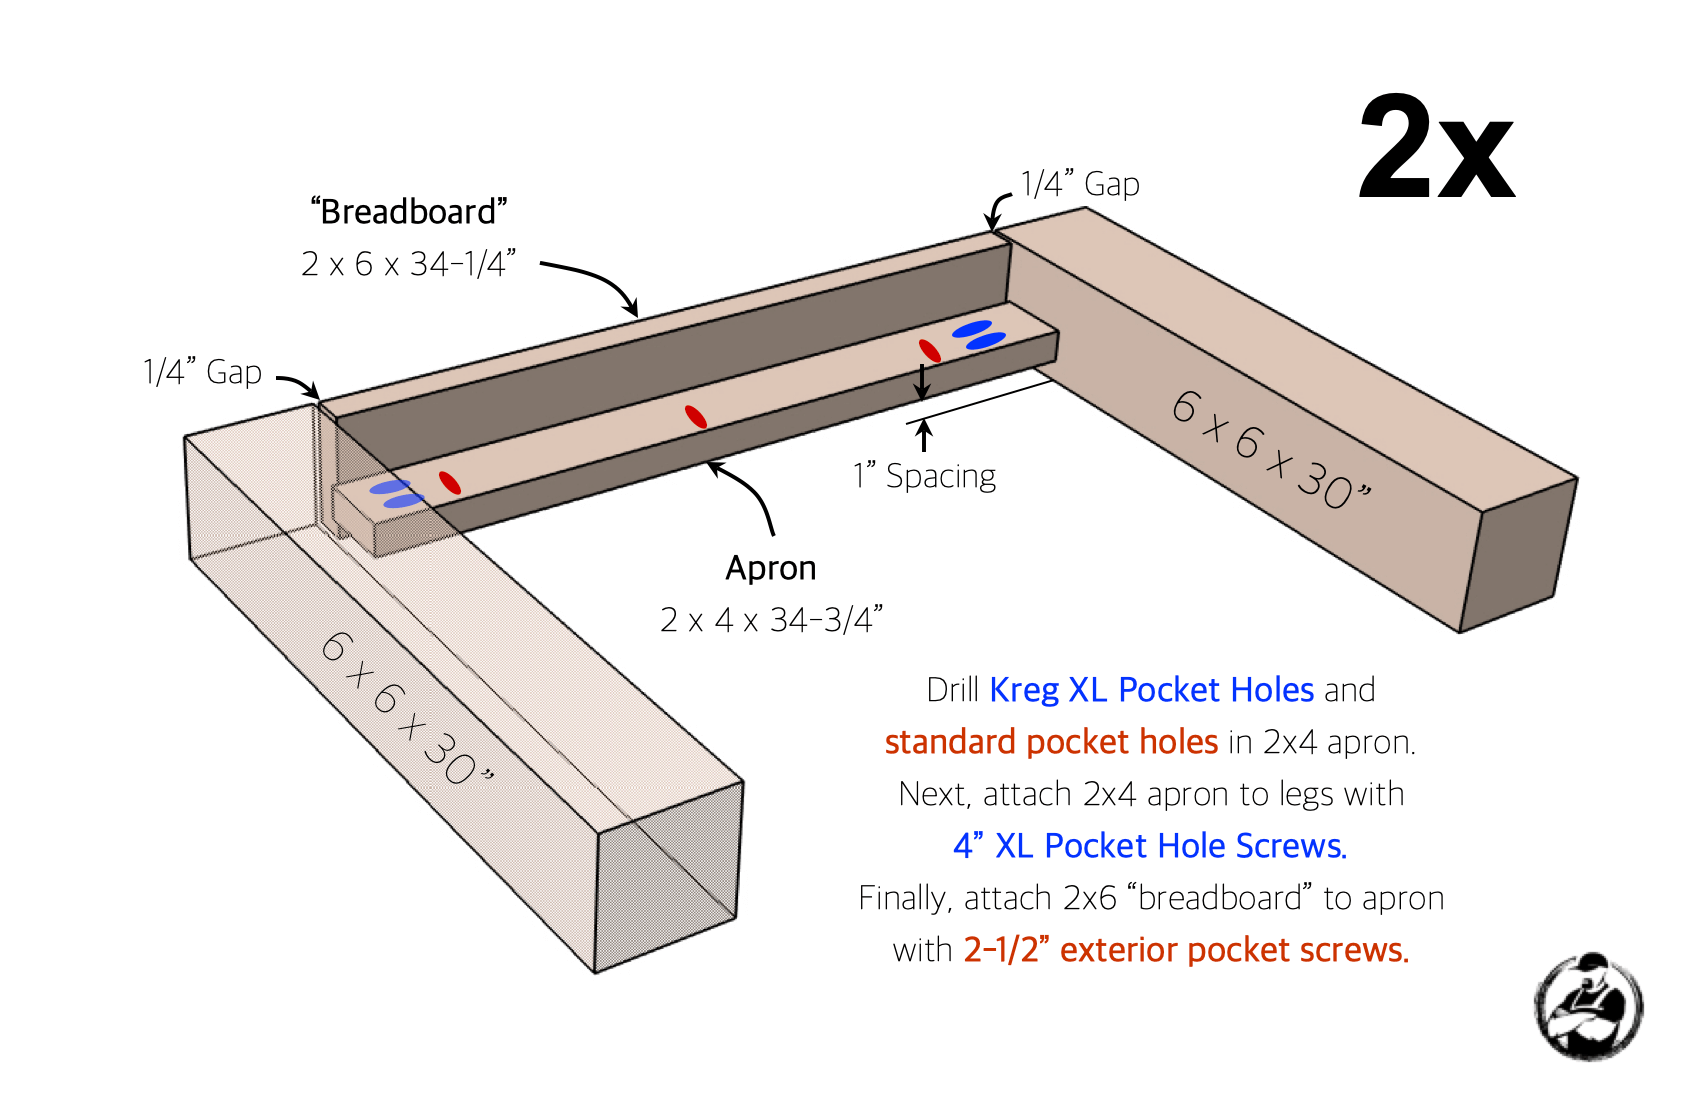
Each end assembly is two 30″ lengths of 6×6 joined by a 2×4 × 34¾″ apron and a 2×6 × 34¼″ “breadboard.” Drill Kreg XL pocket holes in the apron and attach it to the legs with 4″ XL pocket screws, then hang the breadboard off the apron with 2½″ exterior pocket screws, with a ¼″ gap at each end, 1″ spacing off the apron. Build two.
Install Supports
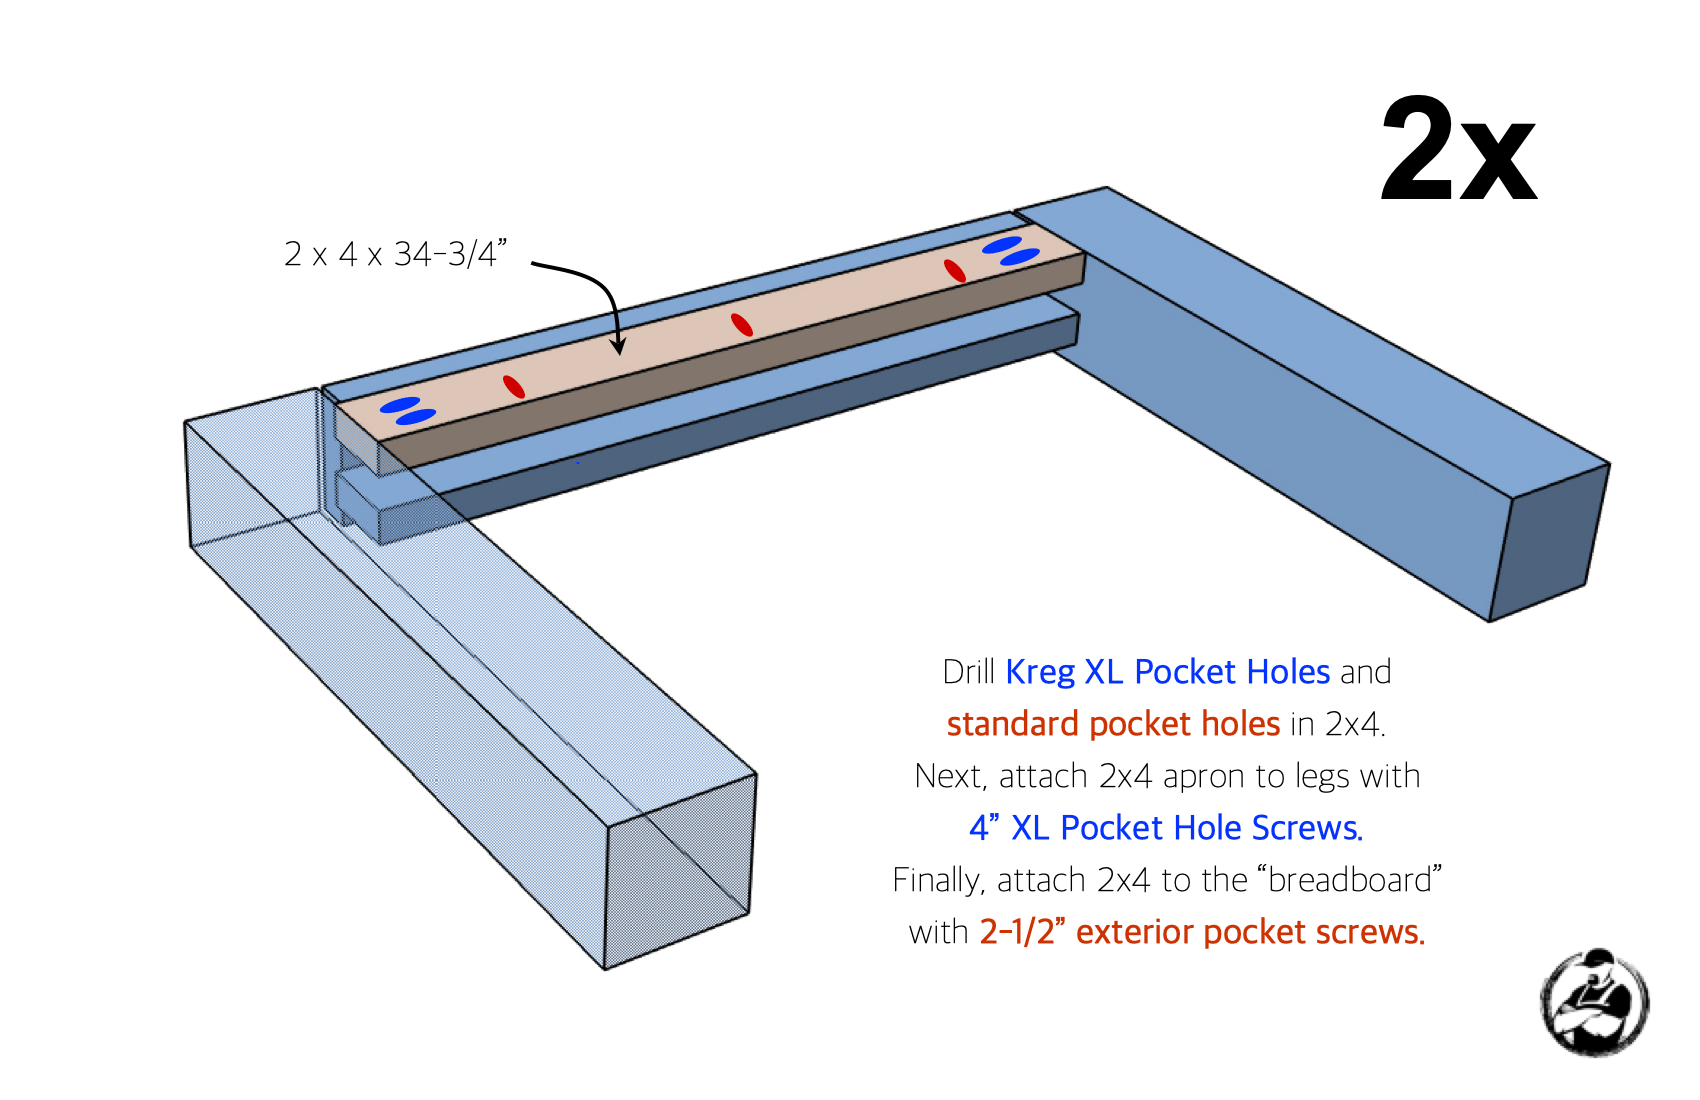
Add the second 2×4 × 34¾″ to each end assembly: XL pocket holes into the legs with 4″ screws, then tie it to the breadboard with 2½″ exterior pocket screws.
Attach Aprons to Legs
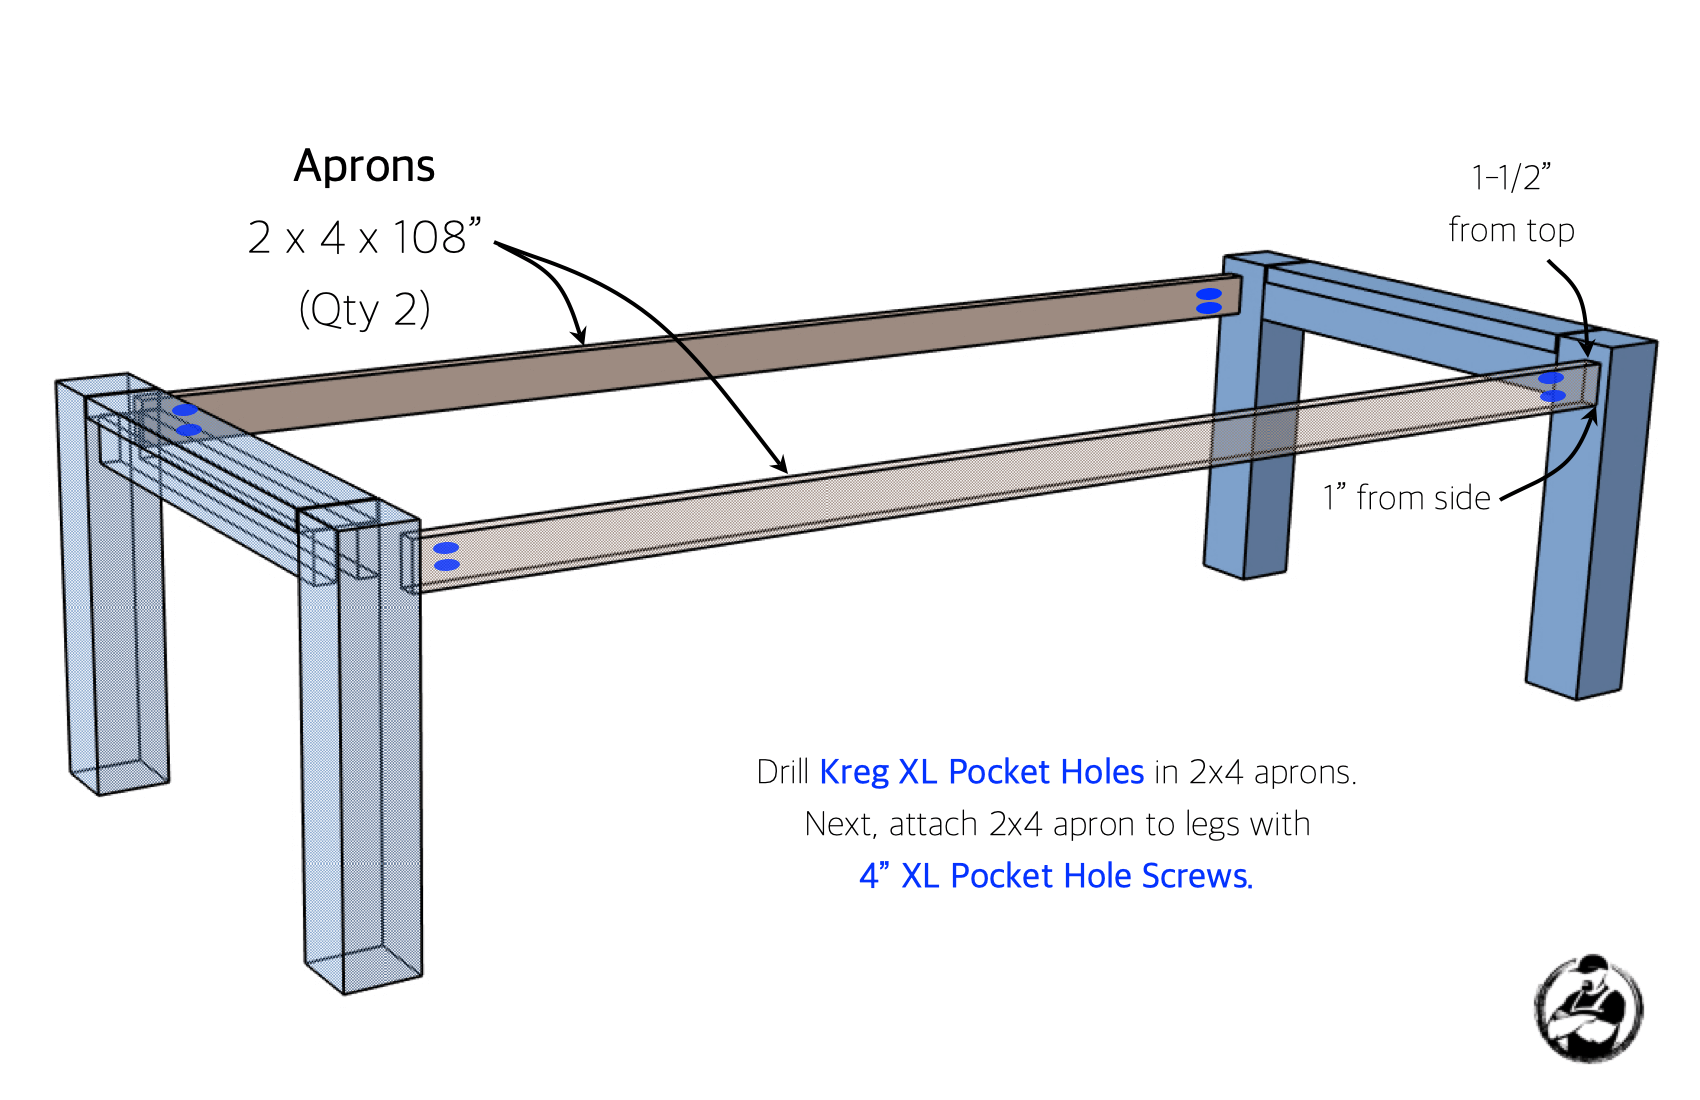
The two long 2×4 × 108″ aprons connect the end assemblies with Kreg XL pocket holes, 4″ XL screws, set 1½″ down from the top and 1″ in from the side of each leg.
Prepare Supports
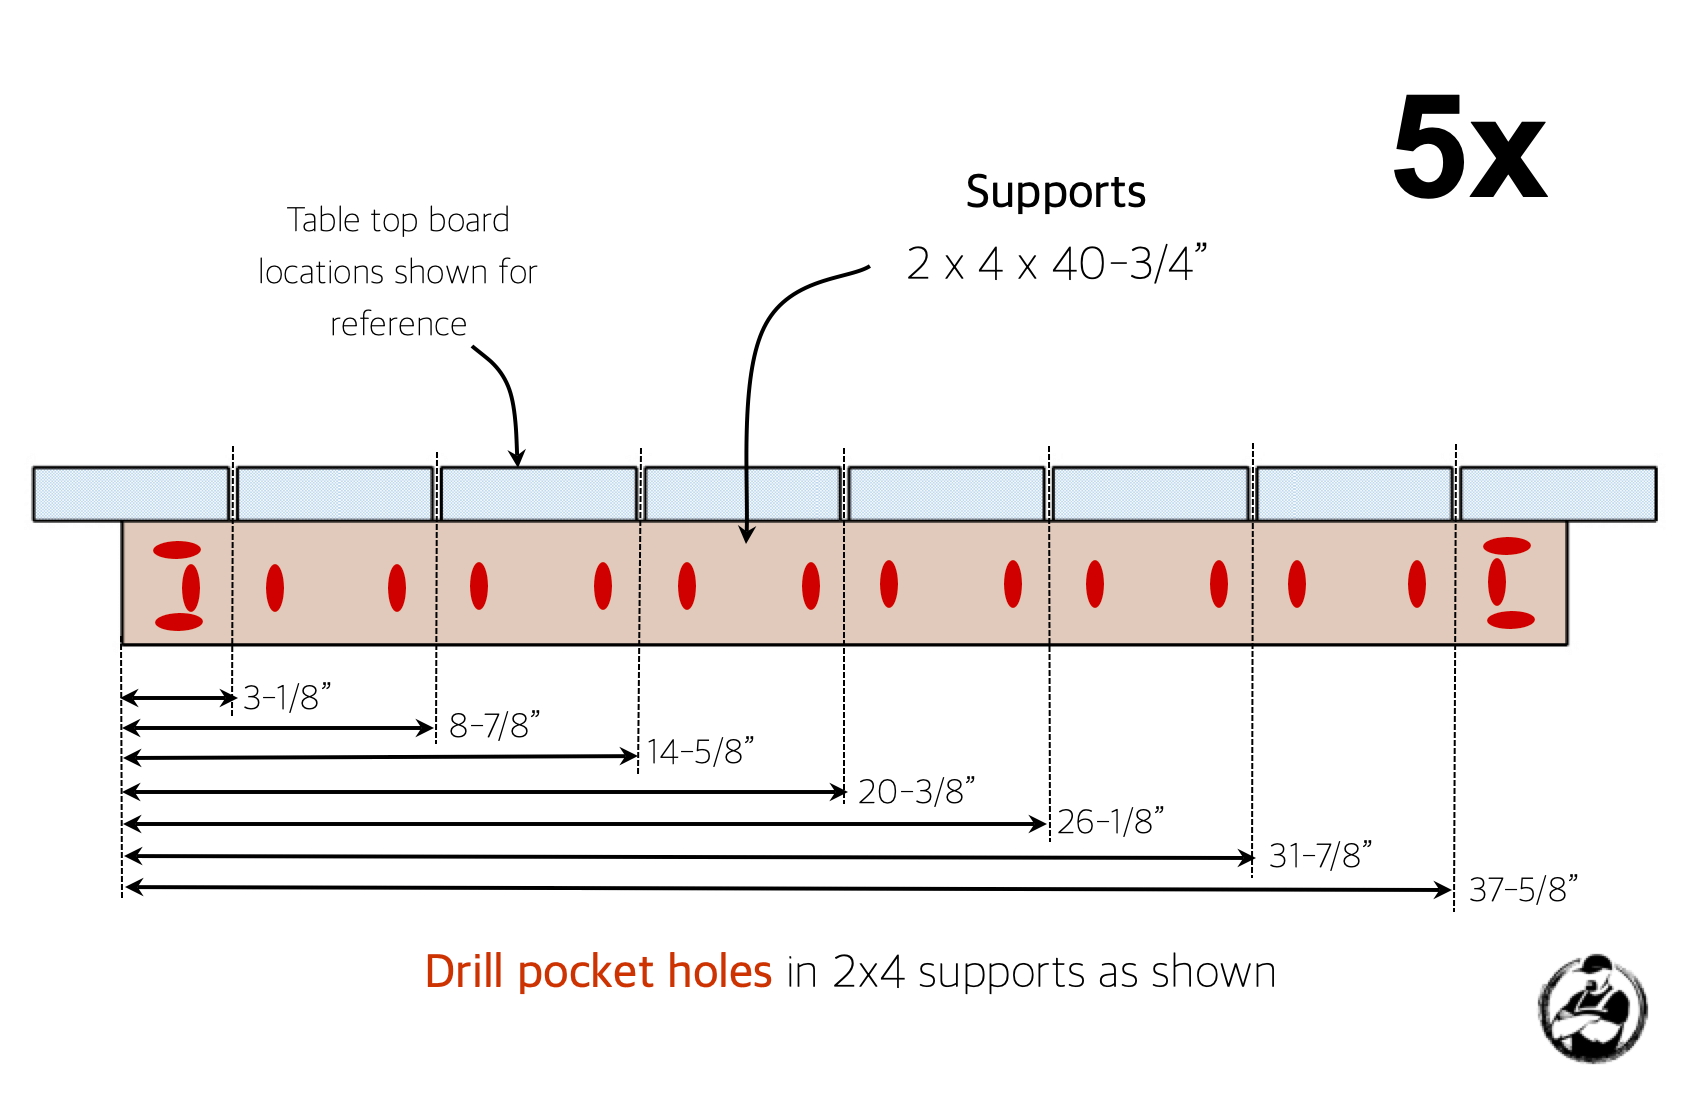
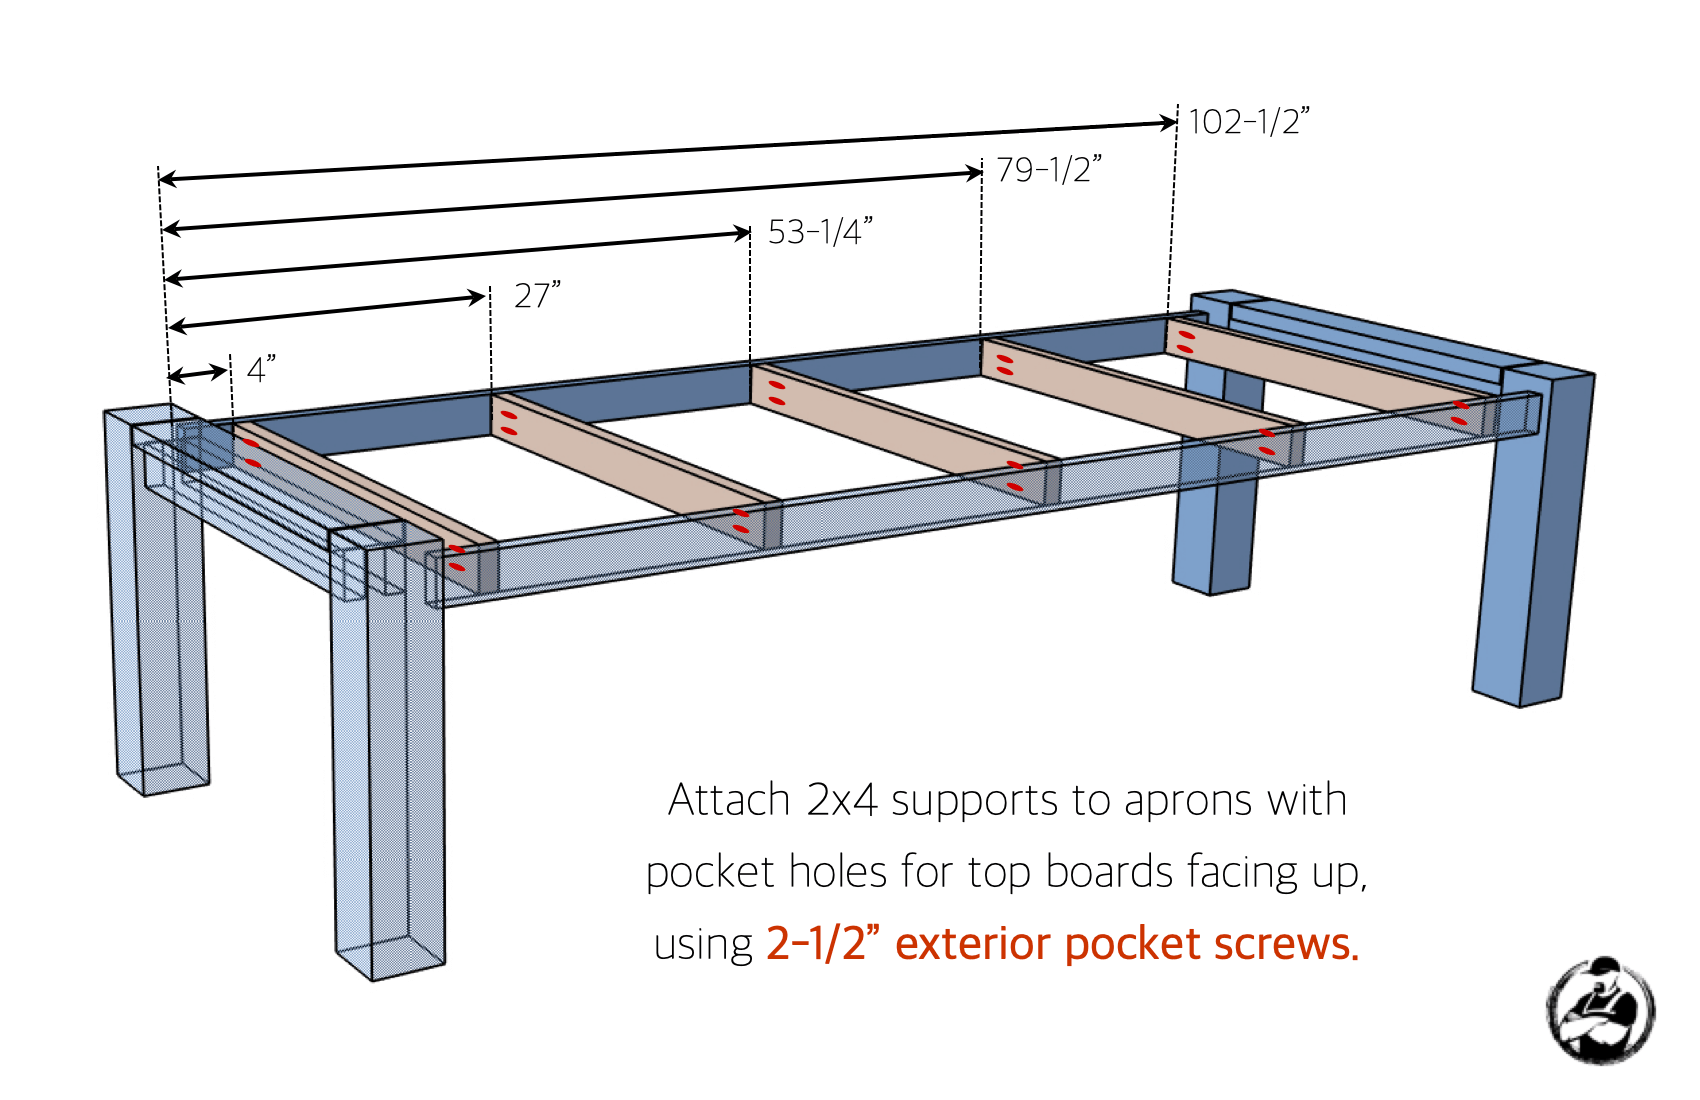
Drill pocket holes in the five 2×4 × 40¾″ supports as shown. The layout dimensions position them so every top board lands on solid backing.
Attach Supports
Screw the supports to the aprons with 2½″ exterior pocket screws, pocket holes for the top boards facing up, spaced per the diagram.
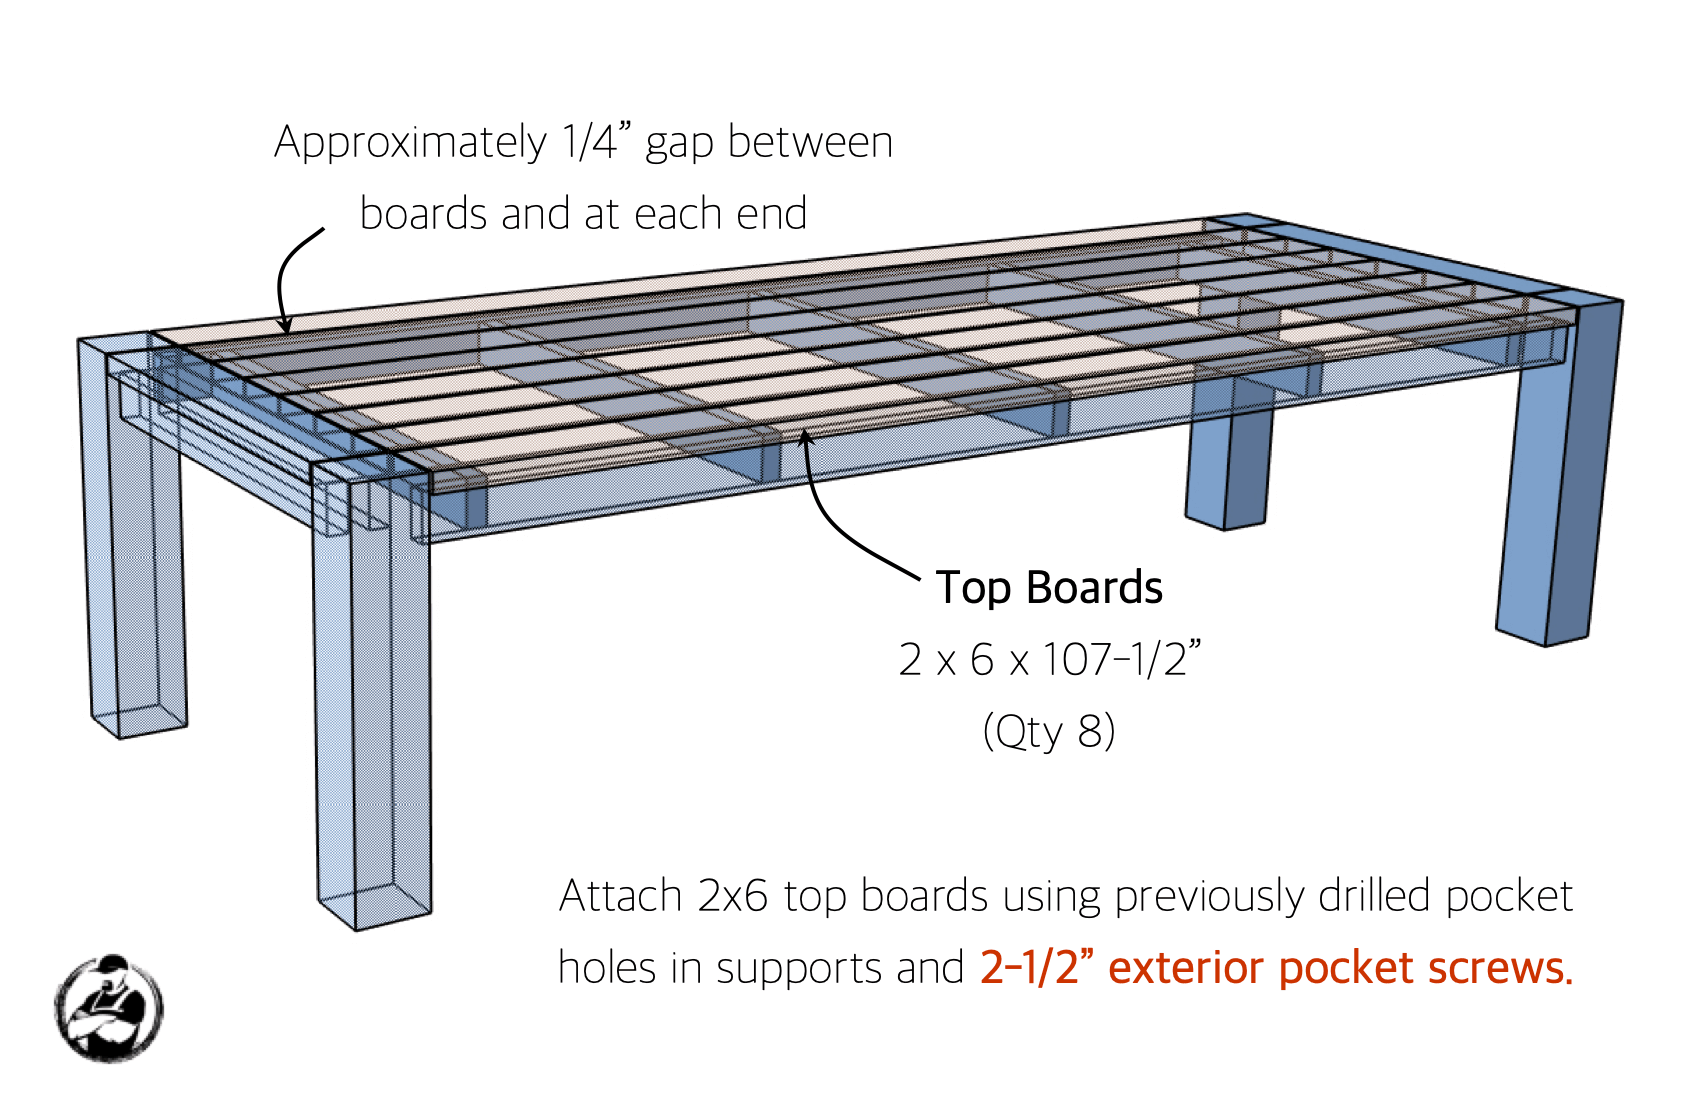
Attach Top
The top is eight 2×6 × 107½″ boards fastened from below through the support pocket holes with 2½″ exterior pocket screws, leaving about a ¼″ gap between boards and at each end for drainage.
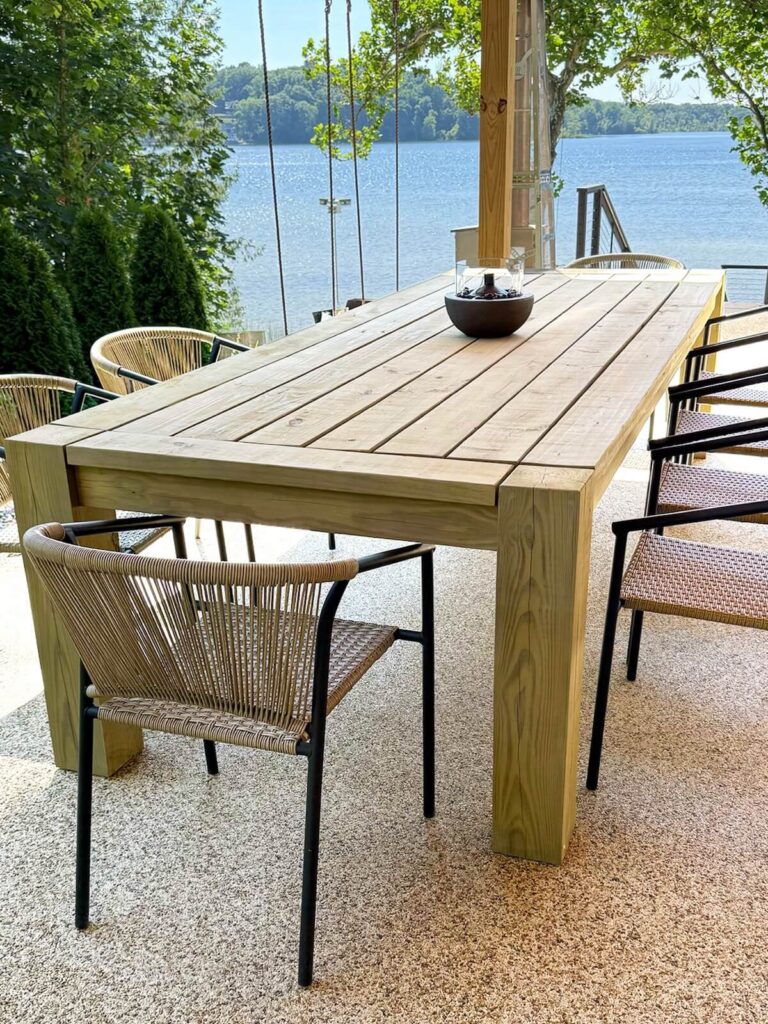
Six steps, one day, and dinner outside for ten. The video at the top of the page walks every cut.
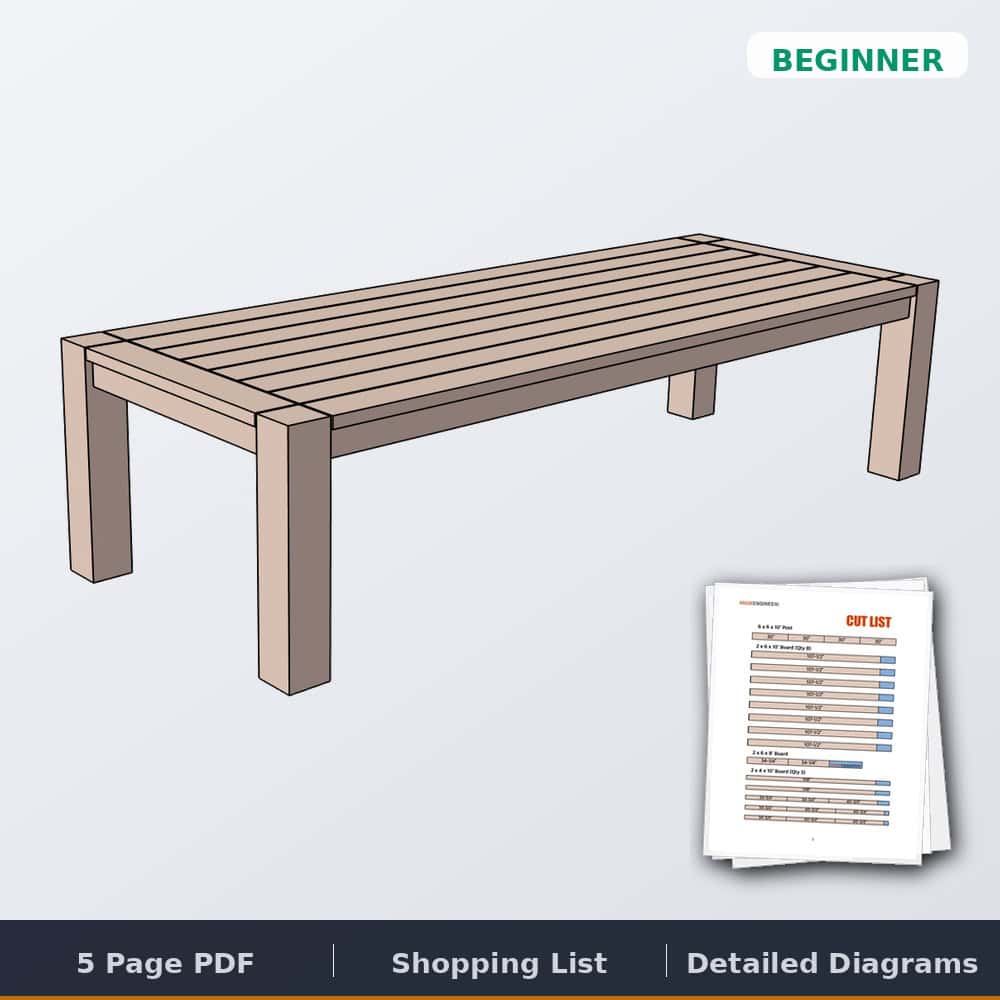
Outdoor Table Plans
The complete printable PDF in 16 variations: 6-, 8- and 10-person lengths plus a square 4-person table, platter or narrow width, imperial and metric, with a full cut list and diagrams for every size.
Printable plans for every table
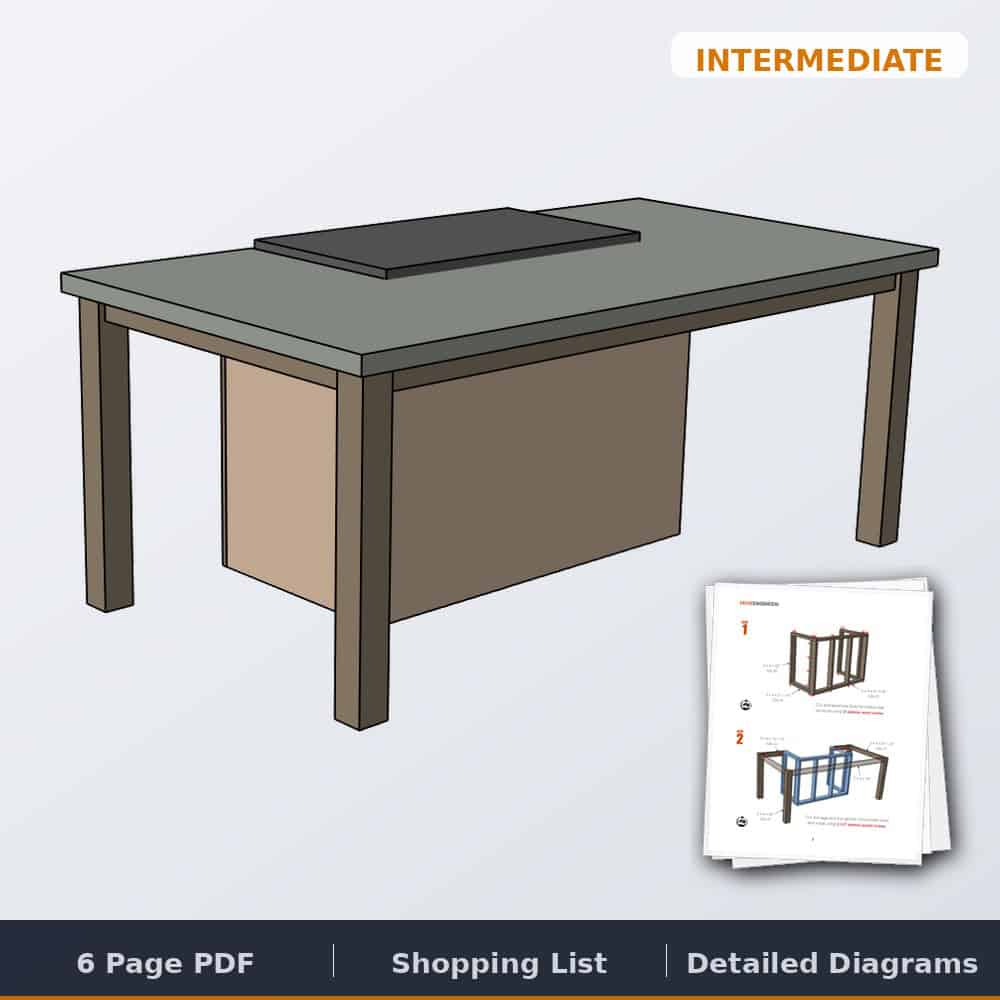
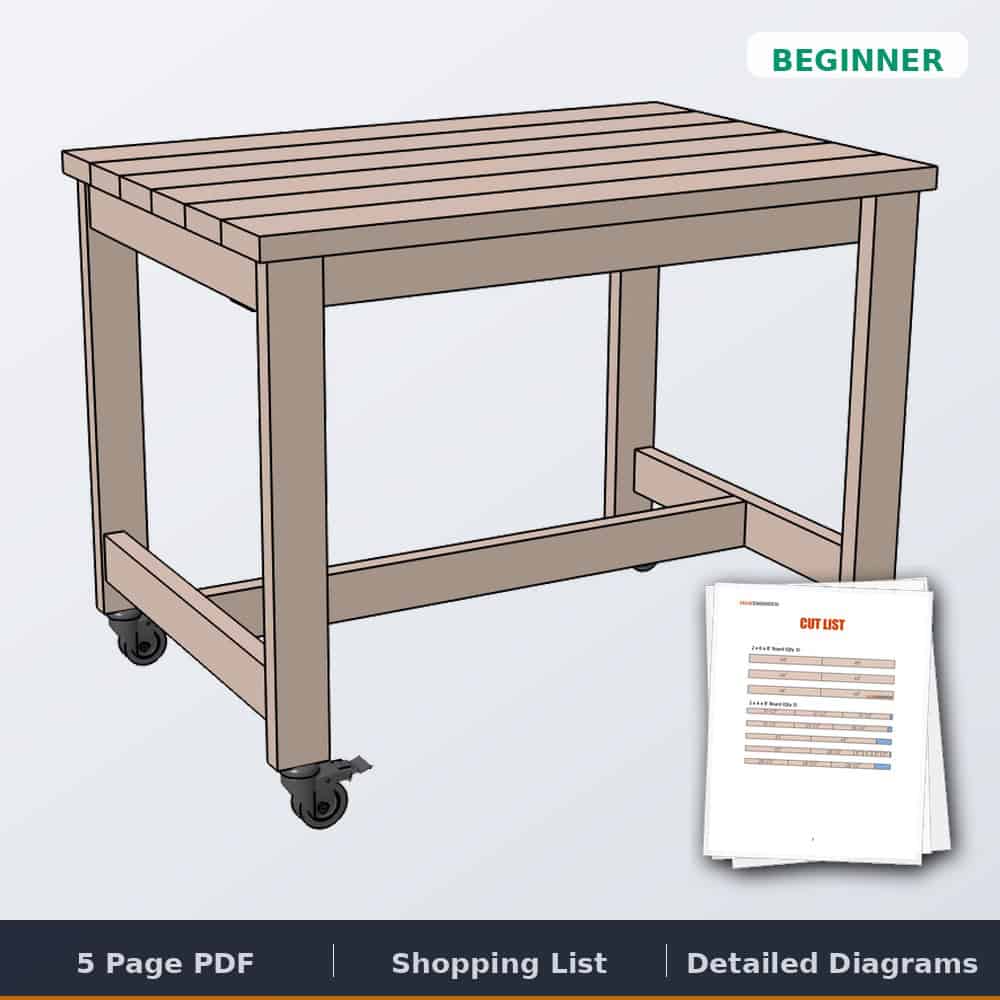
Each PDF has the full cut list, dimensioned diagrams, and a shopping list, so you can leave the laptop inside. The Outdoor Table plans go further: 16 variations covering 6-, 8- and 10-person lengths plus a square 4-person table, platter or narrow widths, in imperial and metric.
Outdoor table questions, answered
What is the best wood for an outdoor table?
Pressure-treated pine is the budget pick and what this build uses. Let it dry before staining: YellaWood says to drop water on the board, and if it soaks in, it’s ready. Cedar costs more but is naturally rot-resistant and looks better bare; our H-leg dining table is cedar. Either way, keep end grain sealed and the legs off standing water.
How tall should an outdoor table be?
Standard dining height is 29 to 30 inches with seats around 17 to 18 inches. Bar or counter-height tables like our Parson’s console run 40 to 42 inches and pair with stools.
How big should a table be to seat 10 people?
Give each person about 24 inches of edge. A rectangular table around 108 to 120 inches long by 40 to 46 inches wide seats ten comfortably, and this build is 119 by 45¾ inches.
Do I need to seal a pressure-treated table?
Not for rot protection, but yes for looks and food-adjacent smoothness: let PT lumber dry out, sand the top, and apply an exterior-rated sealer or stain, refreshing every couple of years.
Questions? Comments?
As always, if you have any questions don’t hesitate to comment below, and don’t forget to post pictures of your finished tables in the comments! Which one are you building?
Be safe and happy building.
Jamison