
Metal Jack-O-Lanterns
Fall has arrived, which means the beginning of endless holiday decor! With a couple of metal buckets, a Dremel, and some spray paint we created these awesome metal pumpkin lanterns for the porch. This is a quick and simple project that can add some Halloween flair to your home. For more Halloween decor be sure to check out our potion bottles, lighted bats, tombstones, and halloween candy stand.
Don’t forget to subscribe on YouTube and for sneak peeks of our upcoming projects be sure to check out Our DIY Life on YouTube, follow us on Facebook and Instagram. Also, follow me on Pinterest to get tons of projects plans from all around the web!
Required Tools
Materials
Disclosure: The links provided in the “materials” and “required tools” sections are affiliate links. If you would like to support our site and help keep our content free come find out more about how we can make money with no extra cost to you.
How to make Metal Jack-O-Lanterns
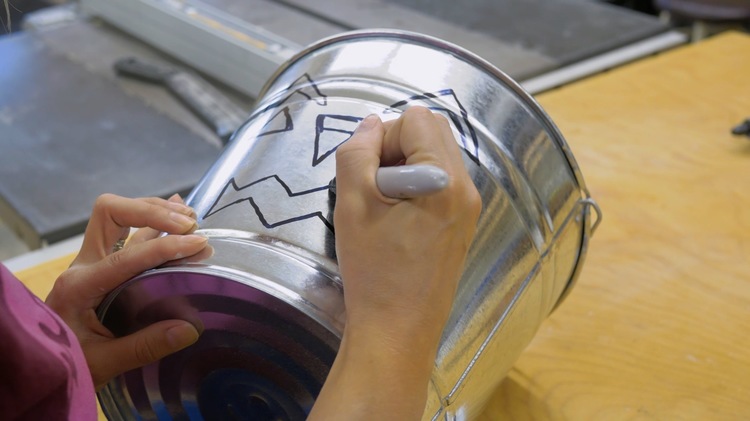
Step 1: Design
The first step is simple, using a sharpie draw out the jack-o-lantern face. This step doesn’t have to be perfect and remember to draw shapes that will be easily cut out using the Dremel metal-cutting wheel.
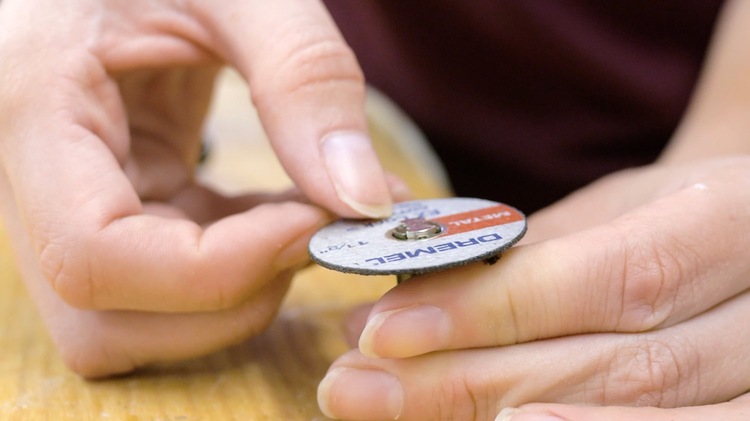
Step 2: Prepare
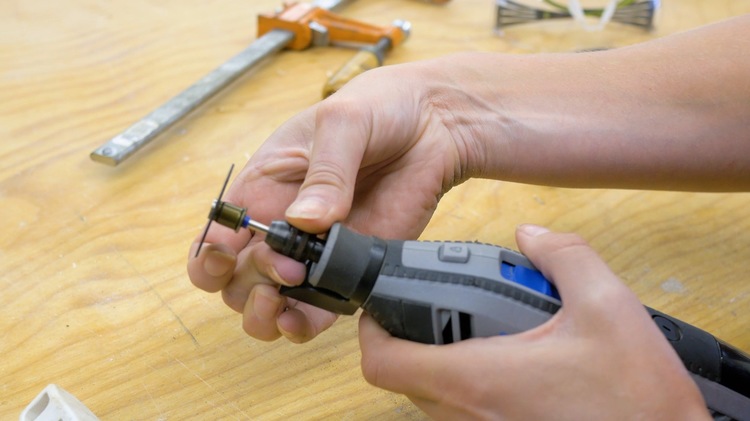
Attach the metal cutoff wheel to your Dremel. Using the EZ lock blade and mandrel, simple pull down on the tip of the mandrel and set blade and twist to lock the wheel into potion.
Once the wheel was attached to the mandrel, insert into the mandrel into the Dremel and twist to lock into potion.
Remember to clamp the bucket down before you begin cutting.
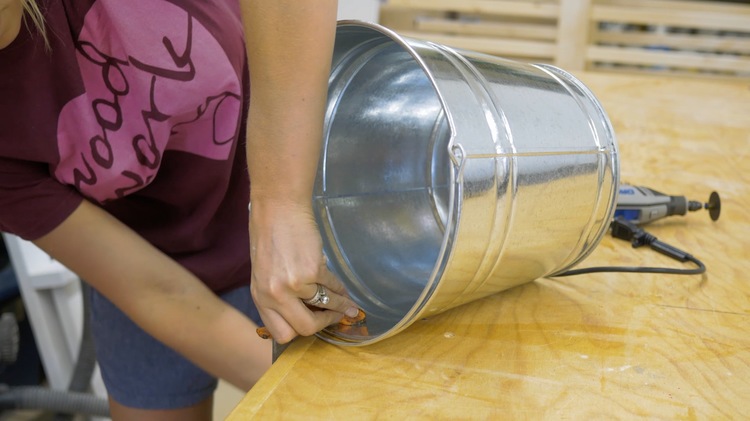
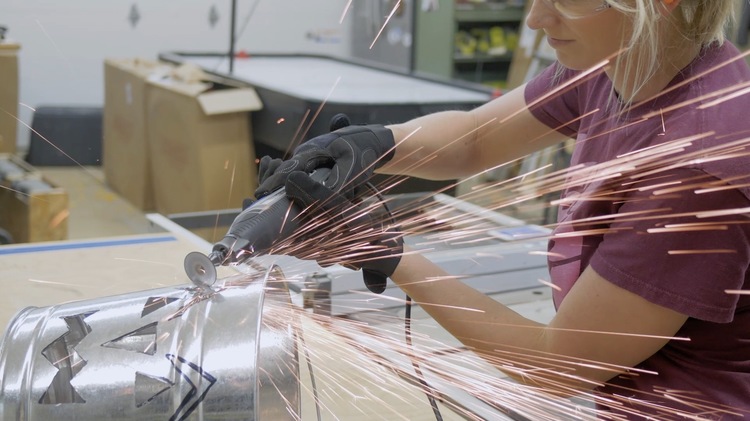
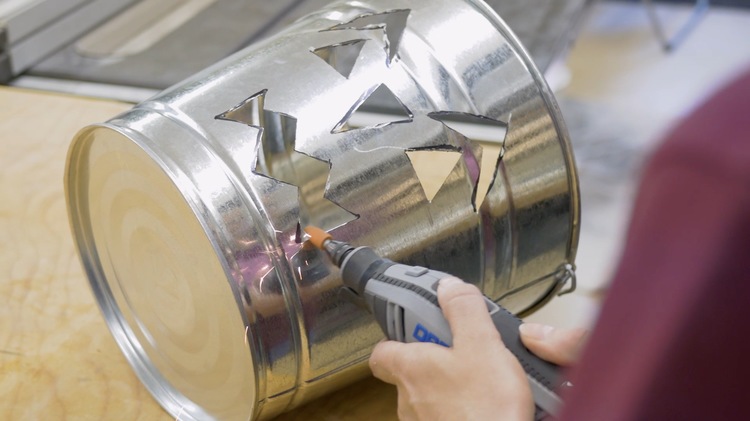
Step 3: Cut
Now the bucket is clamped and the Dremel is locked and loaded we can start cutting some metal! Be sure to wear your safety glasses, gloves, and hearing protection because sparks will be flying.
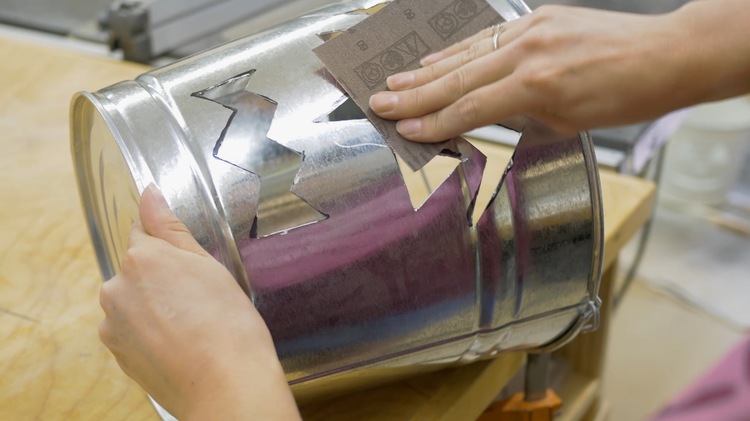
Step 4: Sand
Using the Dremel drum sander, smooth down any sharp edges of the metal.
Then using an 80 grit sand paper, I went over the top surface to make sure things were all smoothed over.
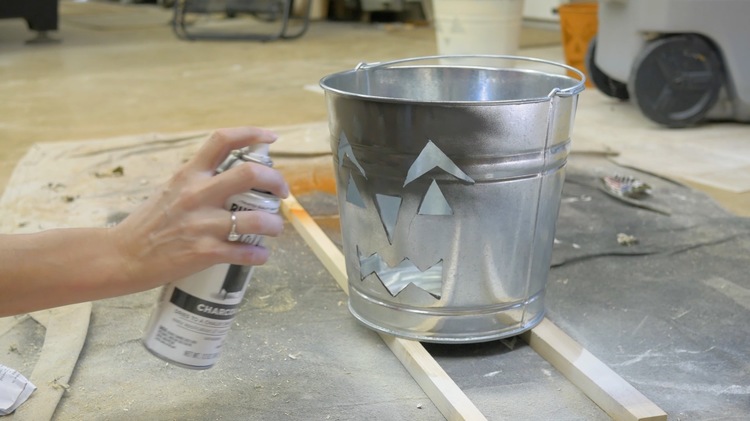
Step 5: Paint
Spray your buckets with whatever color you wish. I went with Rust-Oleum Chalked spray paint in Charcoal, Rust-Oleum Chalked spray paint in Chiffon Cream, and Rust-Oluem burnt orange spray paint.
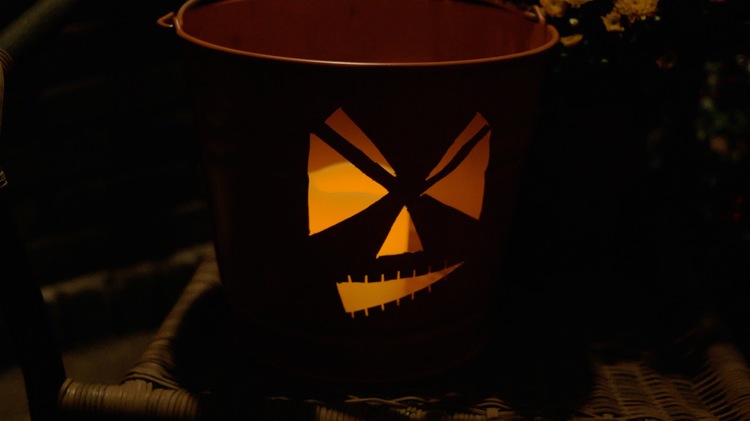
Step 6: Light it Up!
It’s as simple as dropping a candle in the bucket. A few tea lights will work well but we went with some LED candles we found on Amazon, they even have a timer so we don’t forget to turn them off!
More Halloween fun with a Dremel
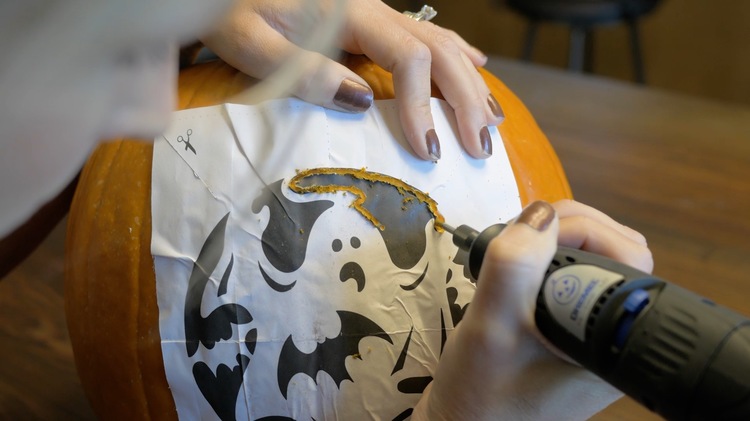
I’ve been dying to try out the Dremel Pumpkin Carving Kit, and I will say it was SO much better than carving a pumpkin with that orange cheap little saw blade that constantly breaks! Plus you can get far more detailed with your design!
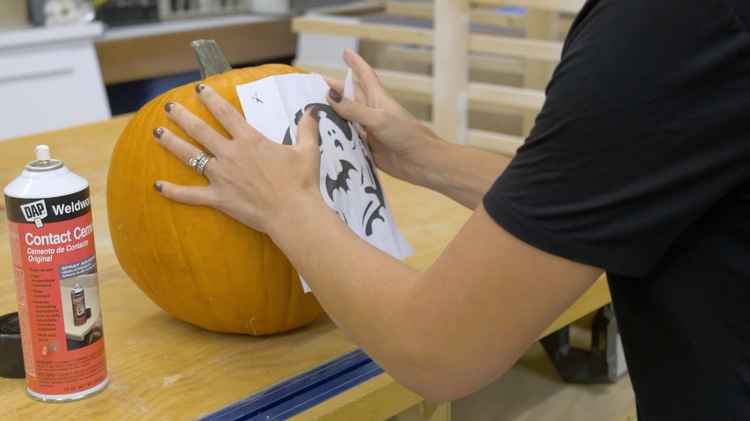
The kit comes with designs that you just cut out and attach to your pumpkin using some spray adhesive. I started with a more simple design to get the hang of it, but I found it was really easy to use and quite therapeutic… mostly because my children were at school and I was just quietly carving a pumpkin without worry!
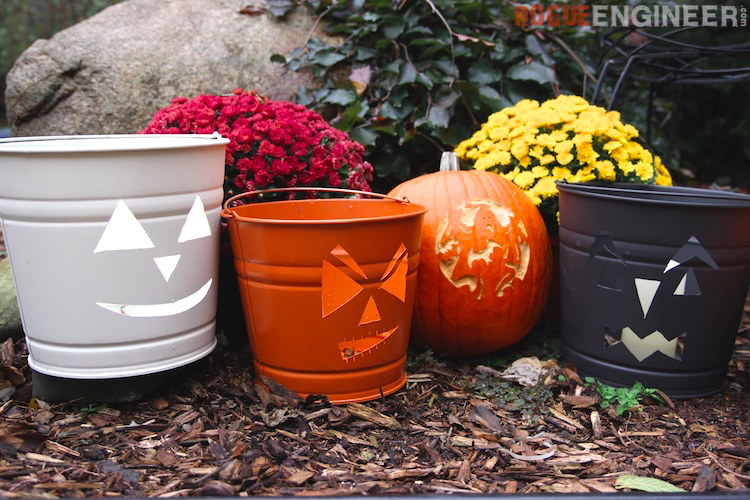
This was a quick and easy project to add some Halloween decor to your doorstep. They look great during the day, but even better at night when they are all lit up! 
Questions? Comments?
As always, if you have any questions don’t hesitate to comment below and especially don’t forget to post pictures of your finished products in the comments! ENJOY!