
Boxwood Candle Holders
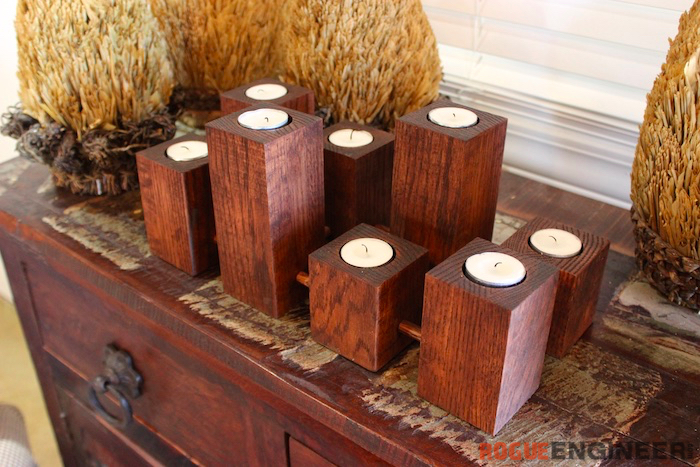
Once again I was inspired by one of my favorite little downtown shops in Dexter, Mi. BoxWood Cottage and Home of has the cutest home decor and I couldn’t help but be inspired when I saw this awesome candle holder.In case you missed my Boxwood Lanterns be sure you check them out. So here is my DIY version of the boxwood candle holder.
For sneak peeks of our upcoming projects be sure to follow me on Facebook and Instagram. Also, follow me on Pinterest to get tons of projects plans from all around the web!
Required Tools
Materials
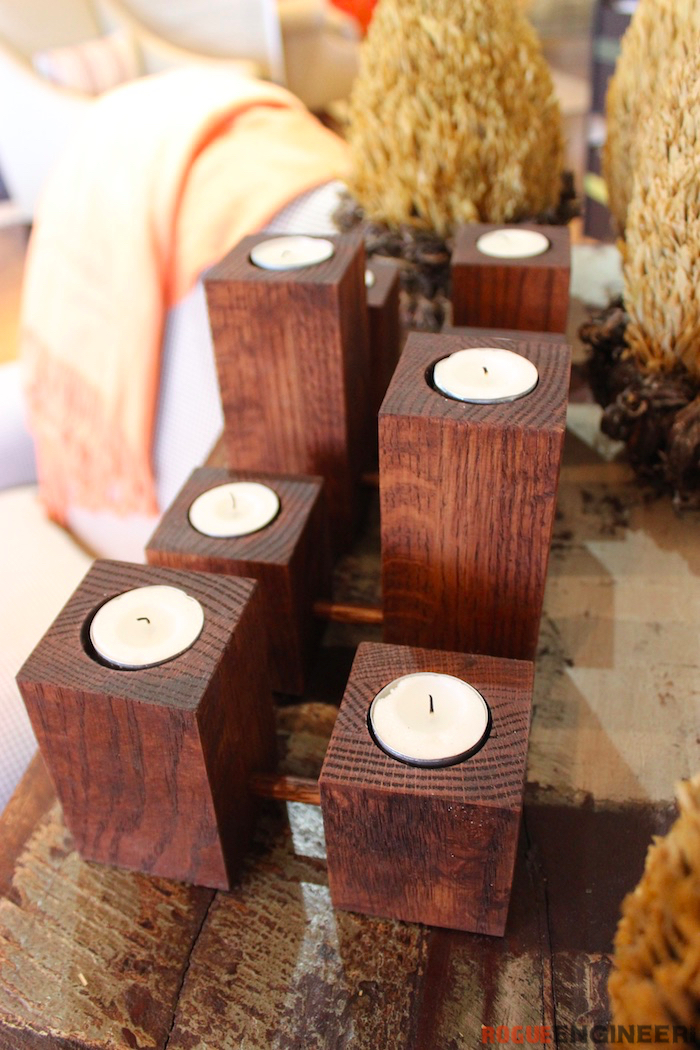
- Tea Light Candles
- Qty 1 – Oak 3×3″ hobby board
- Qty 1 – 3/8″ wood dowel
- Wood Glue
Disclosure: The links provided in the “materials” and “required tools” sections are affiliate links. If you would like to support our site and help keep our content free come find out more about how we can make money with no extra cost to you.
How to build the boxwood candle holder
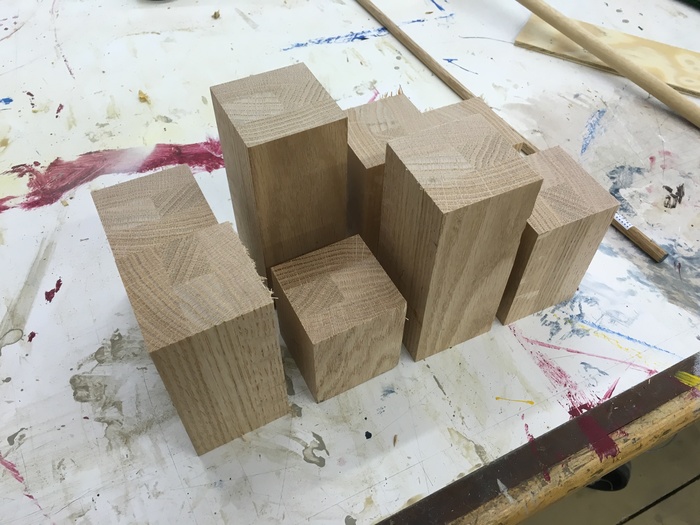
Step 1: Cut Wood
Using the miter saw, I cut the 3×3″ hobby board in various sizes between 3″ – 7″. I cut 2 at 3″, 3 at 4″, 1 at 5″, 1 at 6″, and 1 at 7″. Then cut 10 dowel pieces at 2″.
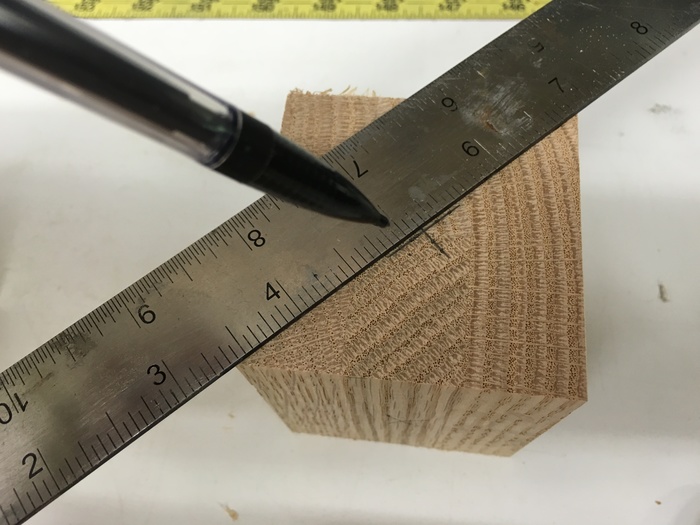
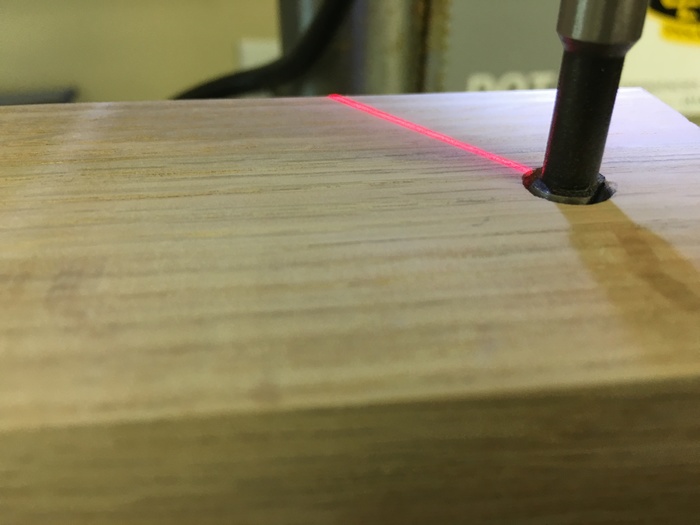
Step 2: Drill Candle Holes
Before you being, be sure to mark the center. Mark the diagonal of the board to find center.
We used the drill press, however you can use a drill and clamp down the board. Drill using the 1 5/8″ forester bit down to the top of the bit. It should be about 3/4″.

Step 3: Drill holes for dowels
Before you start drilling be sure to layout our pattern for your boards. I used an X to mark the sides that needed to be drilled. You should have 4 boards with 3 holes and 4 outside boards with only 2 holes. Then mark 1″ up and 1 1/4″ in on each side of the board that will need a hole drilled. Using the 3/4″ drill bit, drill down to the top of the bit.
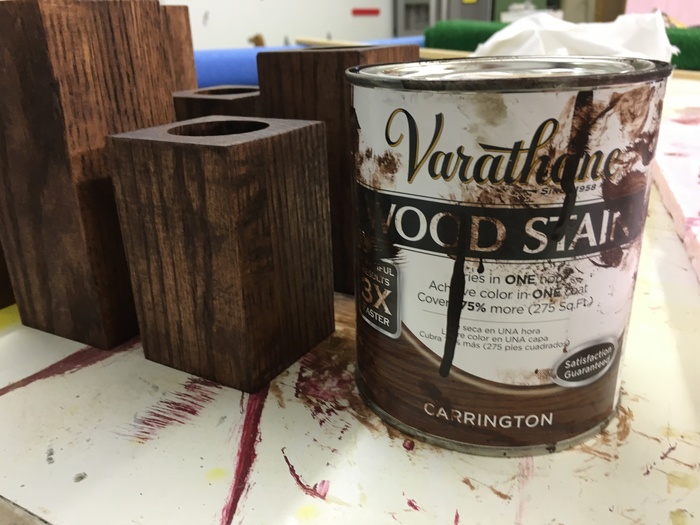
Step 3: Sand and Finish
Using 150 grit paper sand the sharp edges and tops of the boards. Then stain boards and dowels. I used Varathane Carrington.
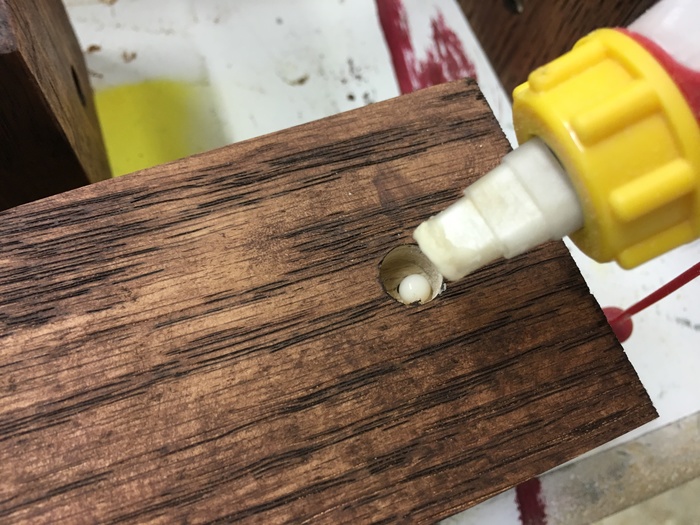
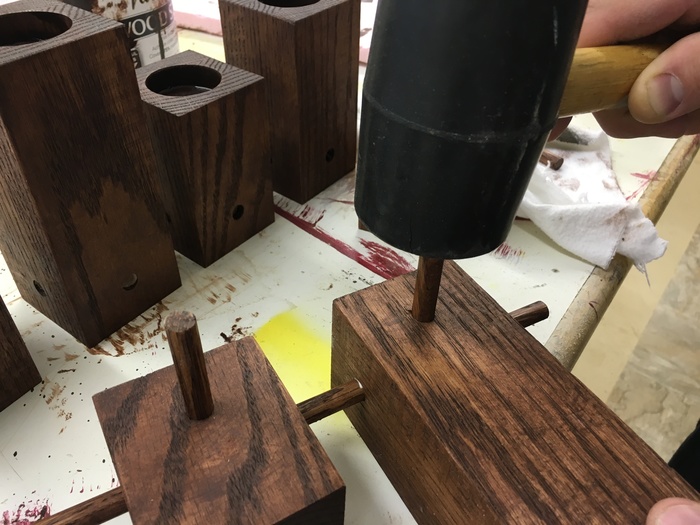
Step 4: Glue Dowels into place
Place a small drop of wood glue into the holes and place dowels.
I used a mallet to hit dowel into place, but once when candle holder is tougher you can push them into place easily.
I love being inspired by local stores on the projects I create. We love how this one tuned out. It was a simple build that will make a great centerpiece on any table. Enjoy!

Questions? Comments?
As always, if you have any questions don’t hesitate to comment below and especially don’t forget to post pictures of your finished products in the comments! ENJOY!
I just bought my drill press a few days ago and this was the very first project I made as I wanted to start using up all my scrap, the only difference is adding the dowel. My only question is how is it fire retardant?
The tea light candles are self contained. Which keeps the fire from burning through the wood.
I love these! I’m having a hard time drilling into the end grain of the wood with a 2″ bit. Smaller bits work but the 2″ just gets caught and stops. I’m new to this. Do you have any tips? Thanks in advance!