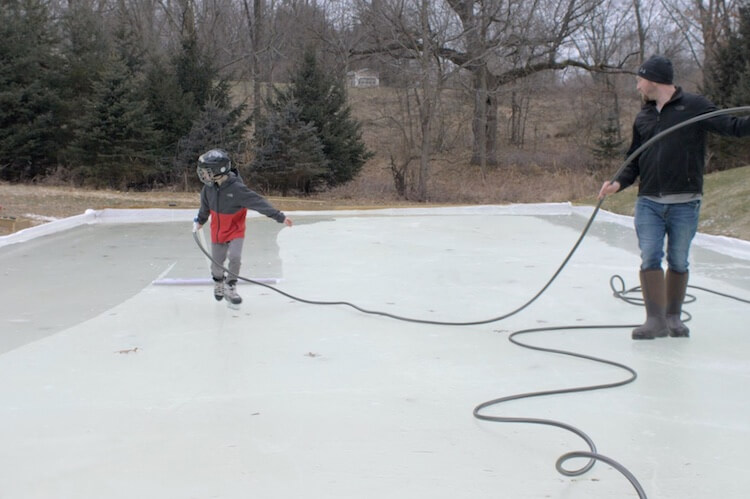
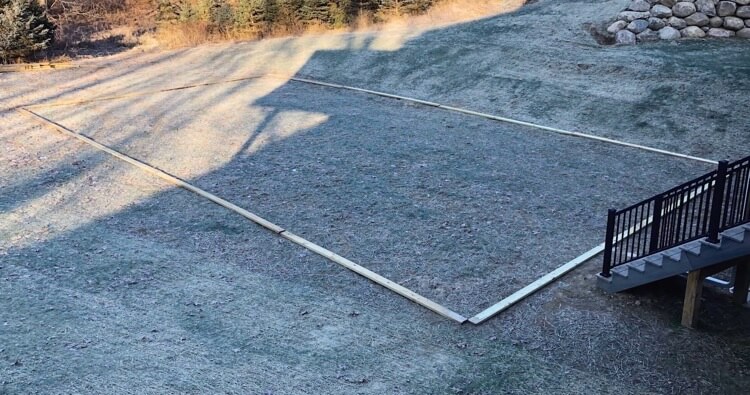
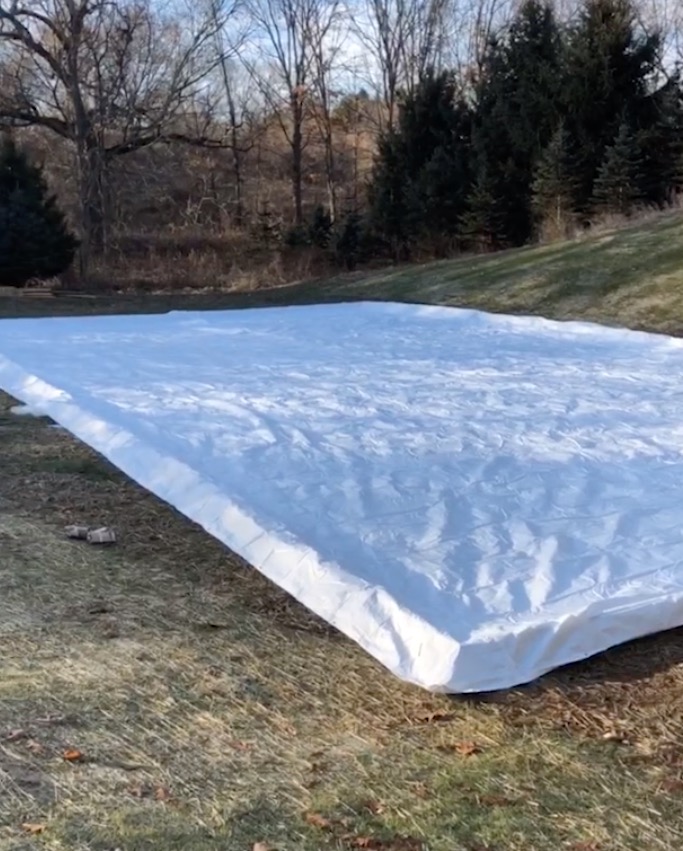
If you’ve been following along in our Instagram stories then you probably noticed we built an ice rink in our backyard. After building the rink and some cool accessories to go with it, I thought it was a good idea to share my experiences and detail the construction of all of it for you! Be sure to check out the video below and details on building your own backyard rink, ice skating trainer aid, pond hockey goal, and ice resurfacer.
But first, don’t forget to subscribe on YouTube and for sneak peeks of our upcoming projects be sure to check out Our DIY Life on YouTube, follow us on Facebook and Instagram. Also, follow me on Pinterest to get tons of projects plans from all around the web!
Watch the Video!
How to Build a Backyard Ice Rink
First things first, you’re going to need long cold winters (Sorry Florida). But really, if you enjoy winter sports, and ice skating or hockey makes that list, then an ice rink can be a blast to have in your backyard.
Finding a good spot
There are a few things to consider before you begin building your rink. You’ll need to find a near flat area that is:
- Accessible (you’ll use it more if it’s easy to get to)
- Close to a water source (filling and resurfacing)
- Has decent lighting (night skating is fun!)
- Not over a septic drain field
- Big enough to have some fun
- Clear any snow from this area before starting
Once you have selected a spot it is a good idea to figure out how much slope you have and where your high and low spots are. The easiest way to do this is with a self leveling rotary laser and story pole. If you don’t have access you can rent one from Home Depot.
The Border
With the location and size picked out it’s time to start on the border. Know where your high spots are and know that you’ll want 4 inches of ice on top of that. Then translate that height out to your border to make sure your waterline is below the top of the border. This is when that laser comes in hand. If you can’t get your hands on a laser just make sure that your side boards are plenty high.
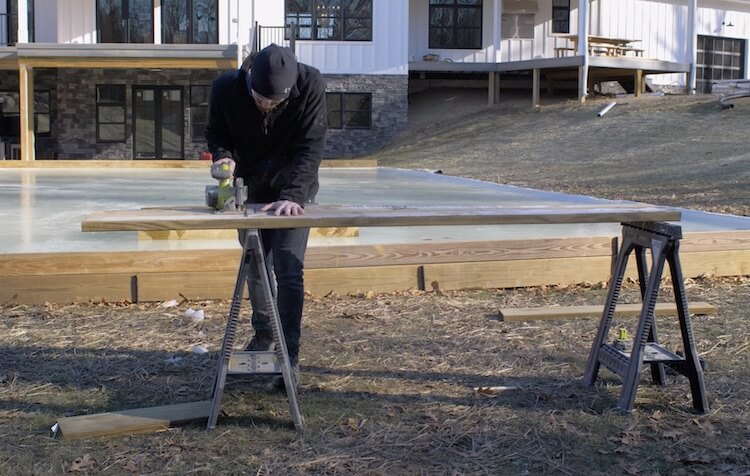
Start by laying out the lumber for your border. Once you get it roughly laid out you can refine it with a long tape measure. To make sure it is square, adjust the layout so that the diagonal measurements from corner to corner are the same. Another way to make sure it is square is to lay out a 3-4-5 right triangle (or a multiple of that).
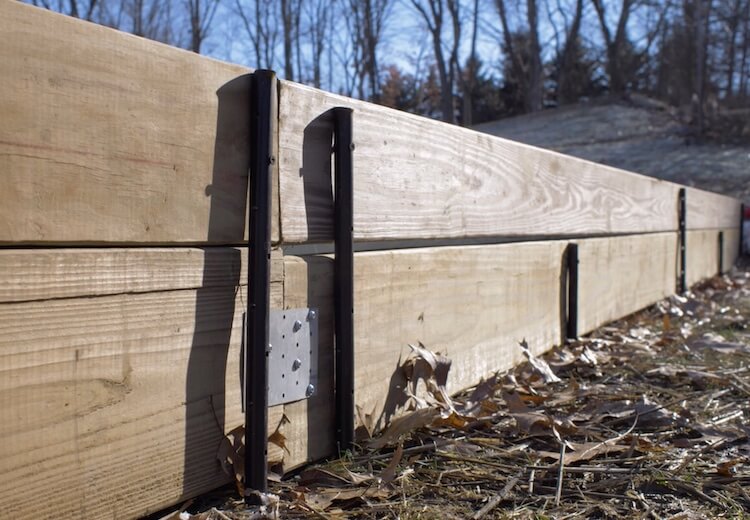
The border is made up of:
- Concrete Form Stakes with 2″ Exterior Wood Screws
- Pressure Treated Lumber
- Simpson Strong-Tie Tie Plate installed with 1-1/2″ Connector Screws
The concrete form stakes are nice because they are steel. they have a point at one end, and the top has pre-drilled holes to secure the border to. We used a 4lb sledge-hammer to pound the stakes into the ground.
The Simpson Strong-Tie Tie Plates are used to join the board ends together and keep the joints nice and tight. If they are not tight, the ice could cause the joint to flex and possibly damage your liner which could mean a premature end to your season.
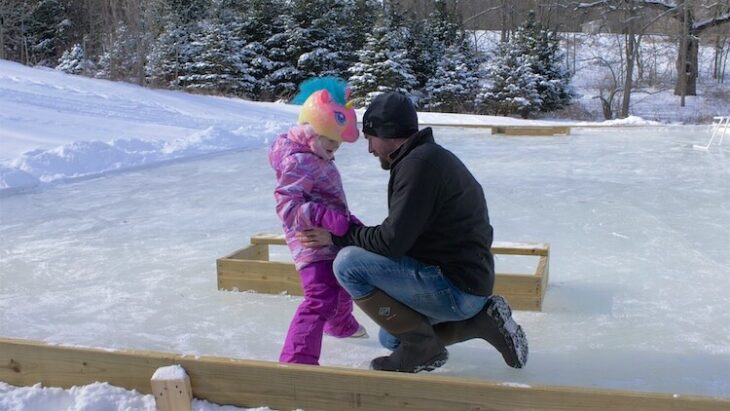
Some people use a plywood border and make it much taller so there is no issue with border height. However, I used 2x6s and 2x8s as a boarder and it worked out great. Plus the 1-1/2″ thick board gives the screws more holding power and less of a chance of a screw puncturing the liner. The sides have about 2-3 inches of the boarder exposed so they are easy to shovel the snow off but still keep the puck in just fine. I did however need to add a second row to the ends (behind the goals) to help keep the puck in a little better.
Laying the Liner
Now it is time to lay down that big beautiful tarp. Here are some tips when buying your liner:
- White is best to help reflect the sunlight and extend the season
- Don’t try seaming multiple sheets together
- Use 6-mil or thicker
- 20ft wide rolls are available at The Home Depot (buy online and pickup in store to support the site)
- We found the best deal for larger liners to be through this seller on Ebay. Free and fast shipping too!
- Make sure your liner is 5ft or more in length and width than your rink
- Plan on purchasing a new liner each year.
Be careful when not to use a knife when unpacking your liner and only unroll and lay the liner when is time to fill.
Filling the Rink
With cold temps in the forecast you can start to fill your rink. Ideally the daytime temps shouldn’t get much above freezing and nighttime temps should be 20 degrees or below. In about 4 days or so you should be able to start using the rink. You can fill with a standard garden hose, but be patient, it could take a while.
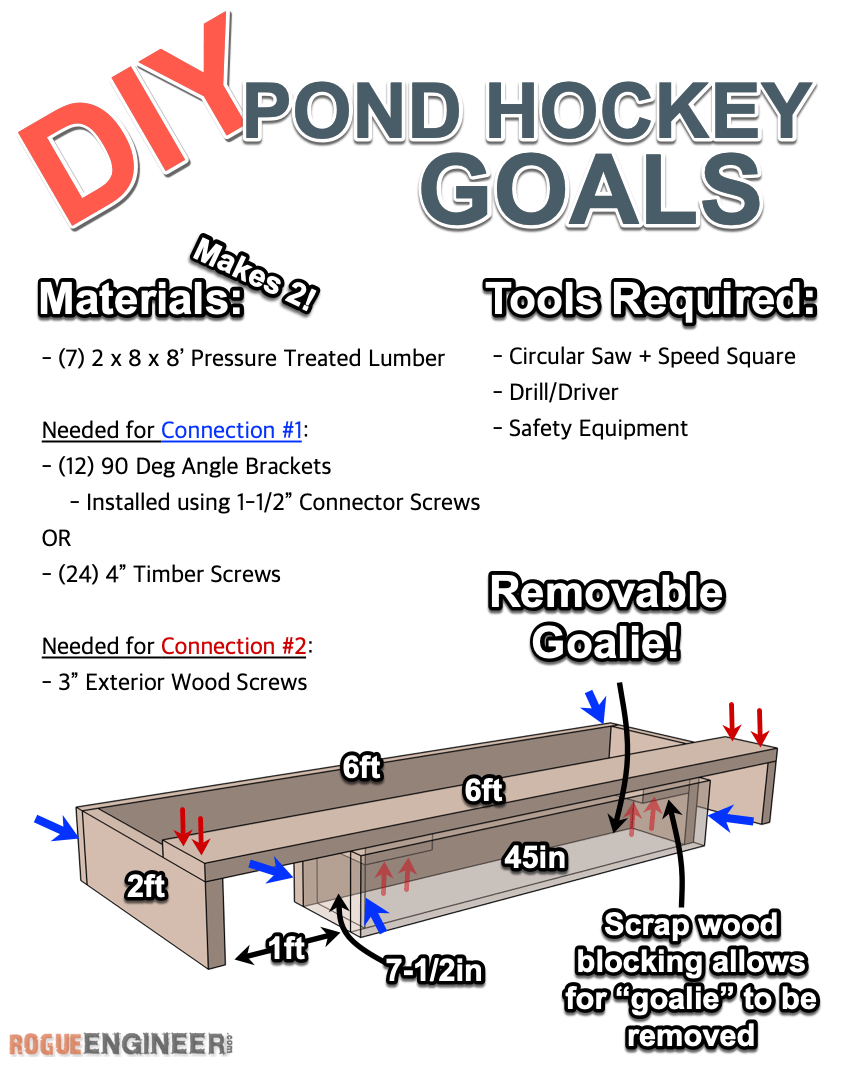
How to Build a Pond Hockey Goal w/ Removable Goalie
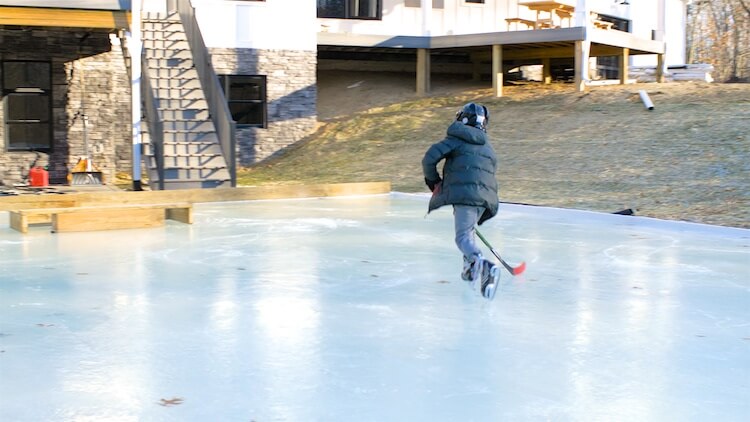
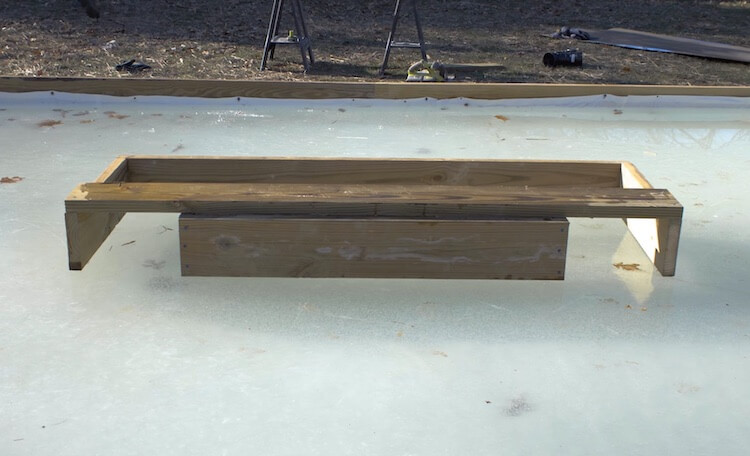
One of the main reasons we built an ice rink in our backyard is due to the fact that my son loves playing hockey. That being said, we knew we had to build some goals. Without full boards around the outside we knew a standard hockey goal would result in pucks flying around and out of the rink. So I did a quick search and found that there is an official pond hockey goal made to encourage keeping the puck on the ice and has a built-in “goalie”.
Now, my son has enjoyed playing goalie occasionally and got some pads for Christmas, so he wanted to make sure that the fake goalie was removable so he could step in when he wanted. So that is what we did.
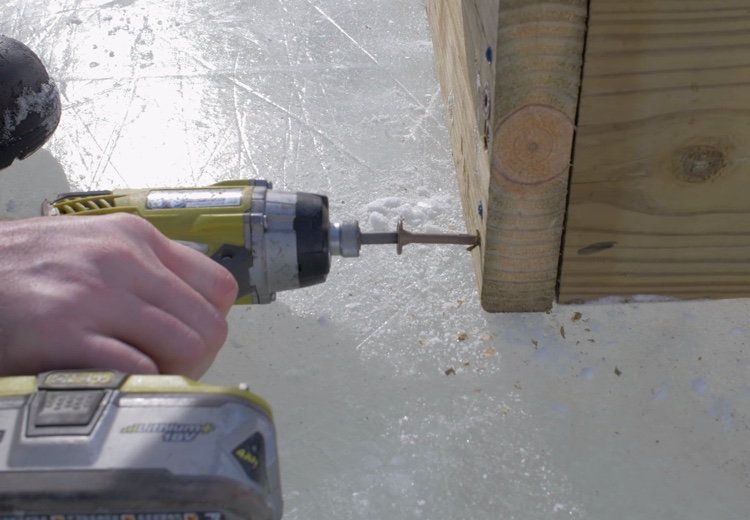
At first we assembled the goals with 2-1/2″ wood screws. Then after some use we quickly realized that the back was not attached well enough. The problem is that screwing into the end grain of a board greatly reduces the holding power of that screw. We had some 4″ Timber Screws from Simpson Strong-Tie lying around and they gave us a ton of additional holding power which worked fine.
However, you could also purchase 90 degree angle brackets which will allow you to screw into the sides of the board resulting in a stronger connection.
So here is how it turned out! It actually is a lot of fun and having the fake goalie adds just the right amount of difficulty and keeps the game interesting. Plus, when our son wants to hop in the goal the fake goalie can be removed very easily.
All the details on the construction of the build can be found below.
How to Build an Ice Skating Trainer Aid
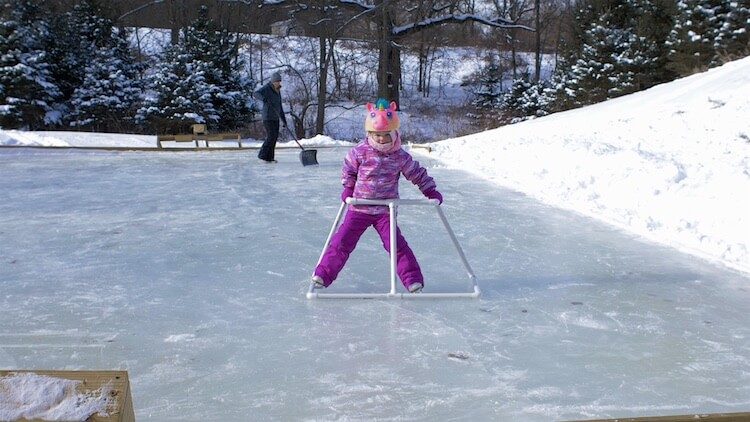
While our son loves hockey and is good at it, our daughter on the other hand is still trying to learn. That meant we were going to need a trainer. Most rinks have walkers available to help inexperienced skaters but I always felt they were to narrow.
After scouring the web I found a design that I liked on Popular Mechanics that had a wider base. They suggested 2″ PVC but I ended up using 1″ and it was just fine.
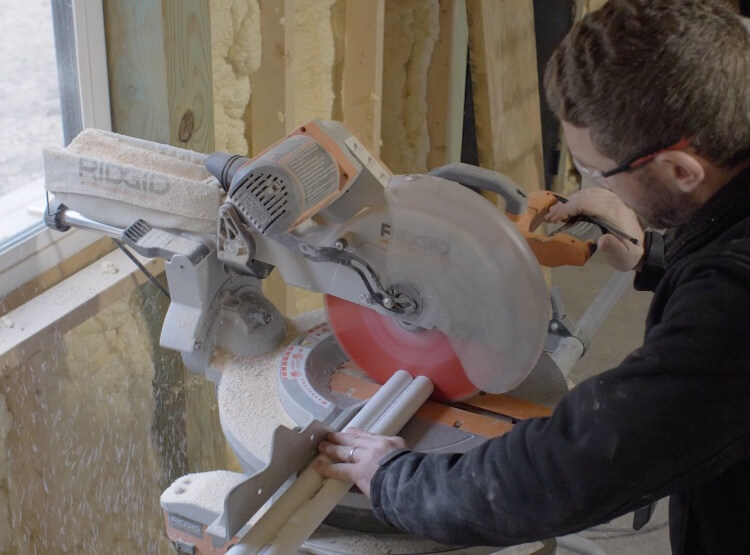
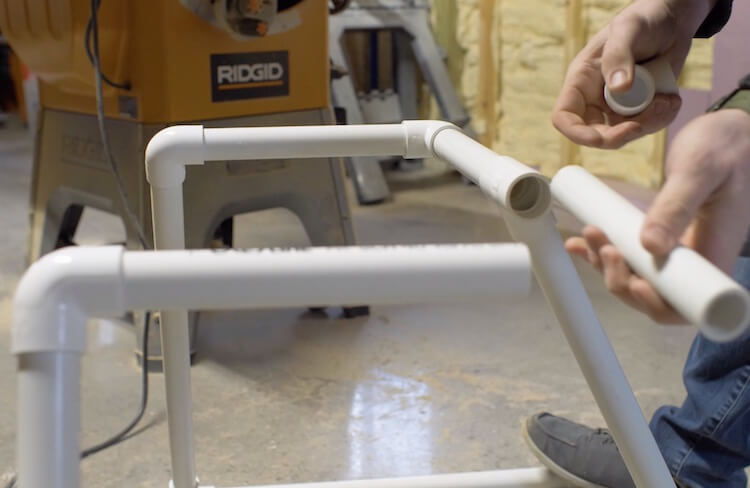
After cutting all the pieces I dry fit the trainer together and made adjustments as necessary. Then, I marked a line at each joint to know how to properly reassemble it with glue. With PVC cleaner and cement I took each piece out, cleaned and added cement to the joint, one-by-one, realigning based on the marks I made earlier.
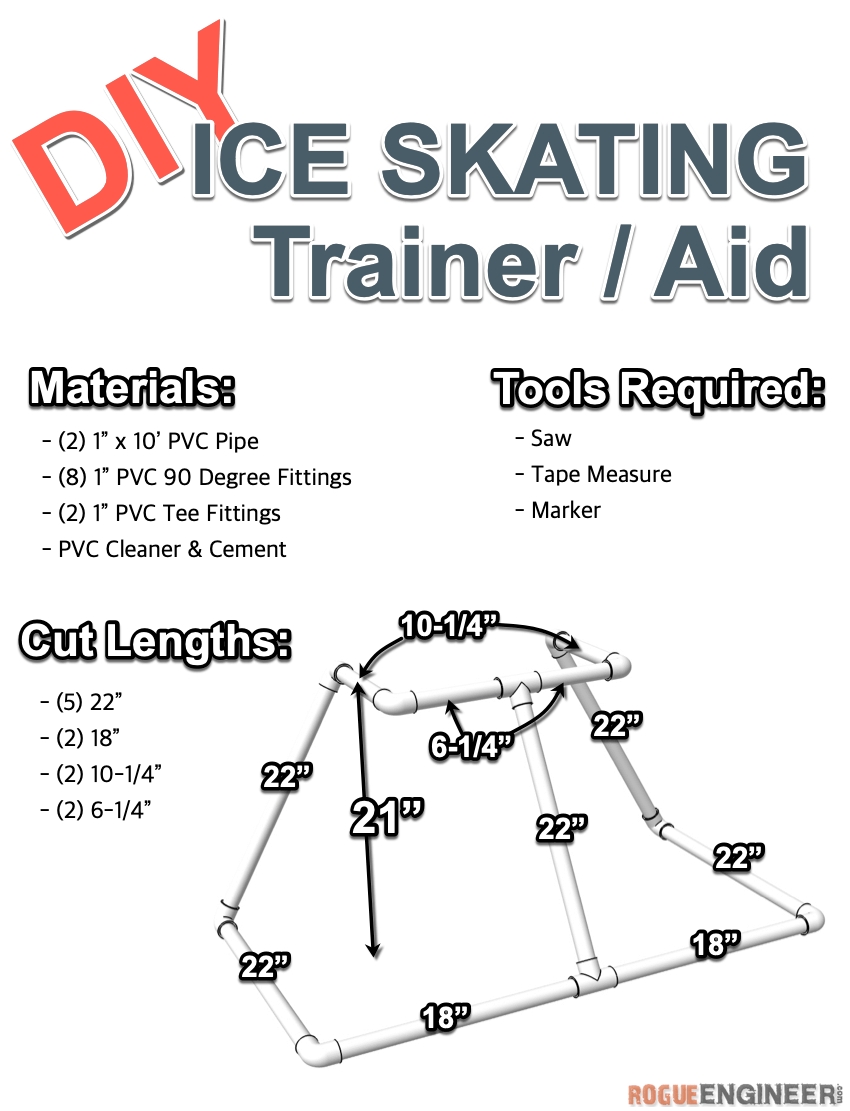
All the details on the construction of the ice skating trainer aid are listed in the photo below.
How to Build an Ice Resurfacer
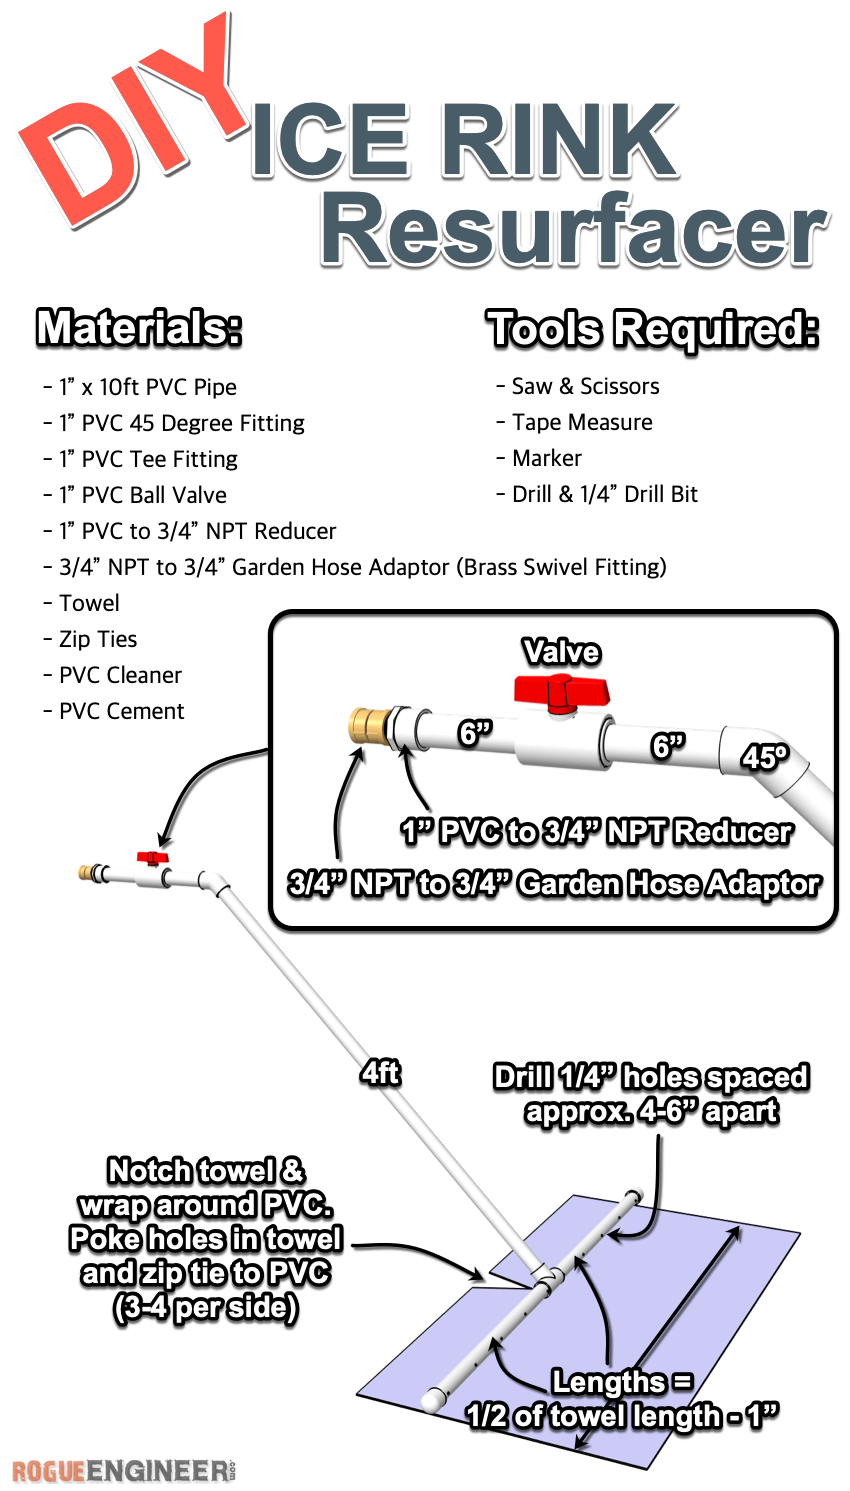
With everyone having so much fun out on the ice we knew we would need to resurface the ice occasionally to make it clean and fast again. I looked up a lot of different designs on the web and ultimately went with the simple design I found here. While they suggested 3/4″ PVC I went with 1″ because I had some of that left over from the trainer and I figured the added strength would be nice to have.
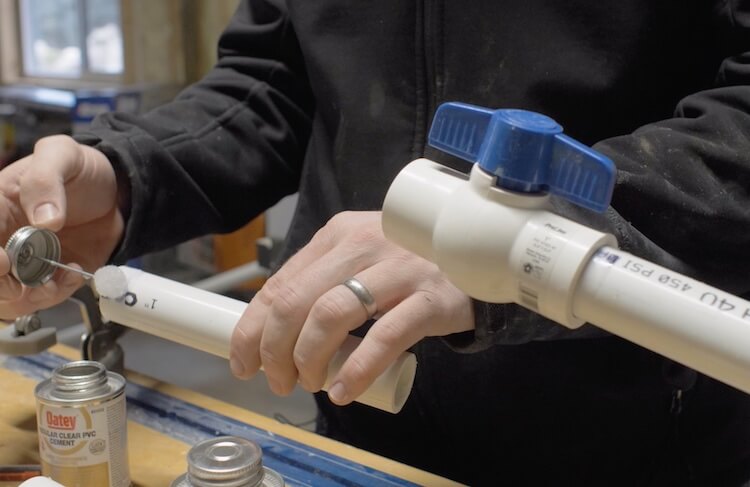
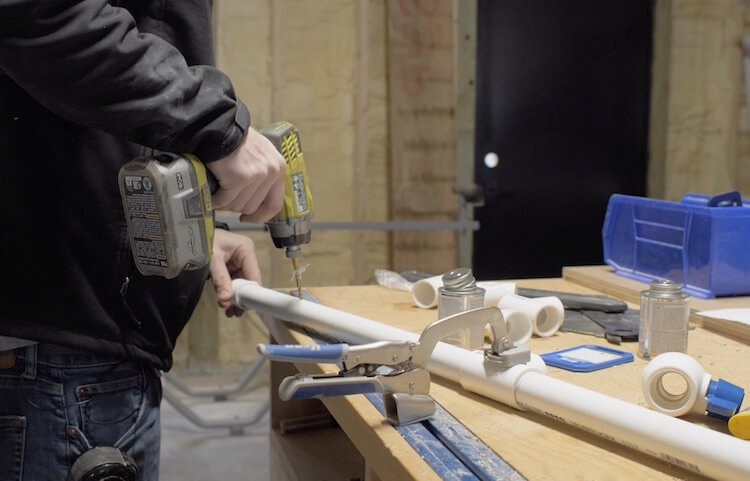
This simple design consists of a large PVC “T” that has holes drilled in the horizontal part to allow the water to flow out evenly on the ice. A ball valve at the top help control the water pressure.
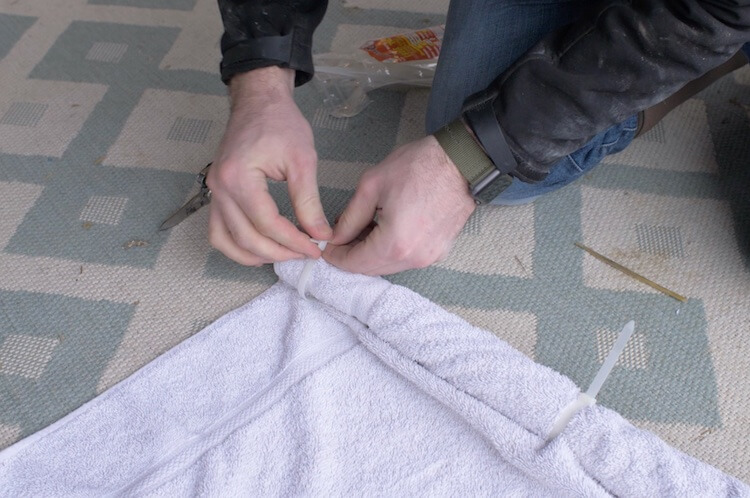
Then a towel gets zip-tied onto the horizontal part (part with holes in it) to more evenly coat the ice as we drag it across.
With a garden hose adaptor on the end we can connect it to the garden hose and get a constant source of water. We attached the other end of the hose to the hot water heater which I find helps knock down any bumps and creates a better finish.
The key to resurfacing is to apply a thin layer of water to the ice. I’ve tried just flooding the ice with a hose but ended up putting too much water on to make sure the entire rink was covered. This meant we weren’t able to use the rink until the top layer froze again. Which, depending on the temperature, could be a while.
The ball valve on this resurfacer allows you to adjust the pressure so just enough water comes out to wet the entire towel. Then you add that new layer of ice quicker, more evenly, and with less water, which means you can get right back out on the ice soon after resurfacing.
Tips for Resurfacing
- Shovel/scrape the snow off first
- Hot water helps knock down small bumps
- Adjust the water pressure to apply as thin of a layer as possible
- The more water you use the longer it will take to re-freeze.
- Drill holes such that the towel is evenly wetted
- Drain and store hoses and resurfacer where it will not freeze
Questions? Comments?
As always, if you have any questions don’t hesitate to comment below and especially don’t forget to post pictures of your backyard ice rink in the comments! ENJOY!

