

DIY Farmhouse Bench Plans
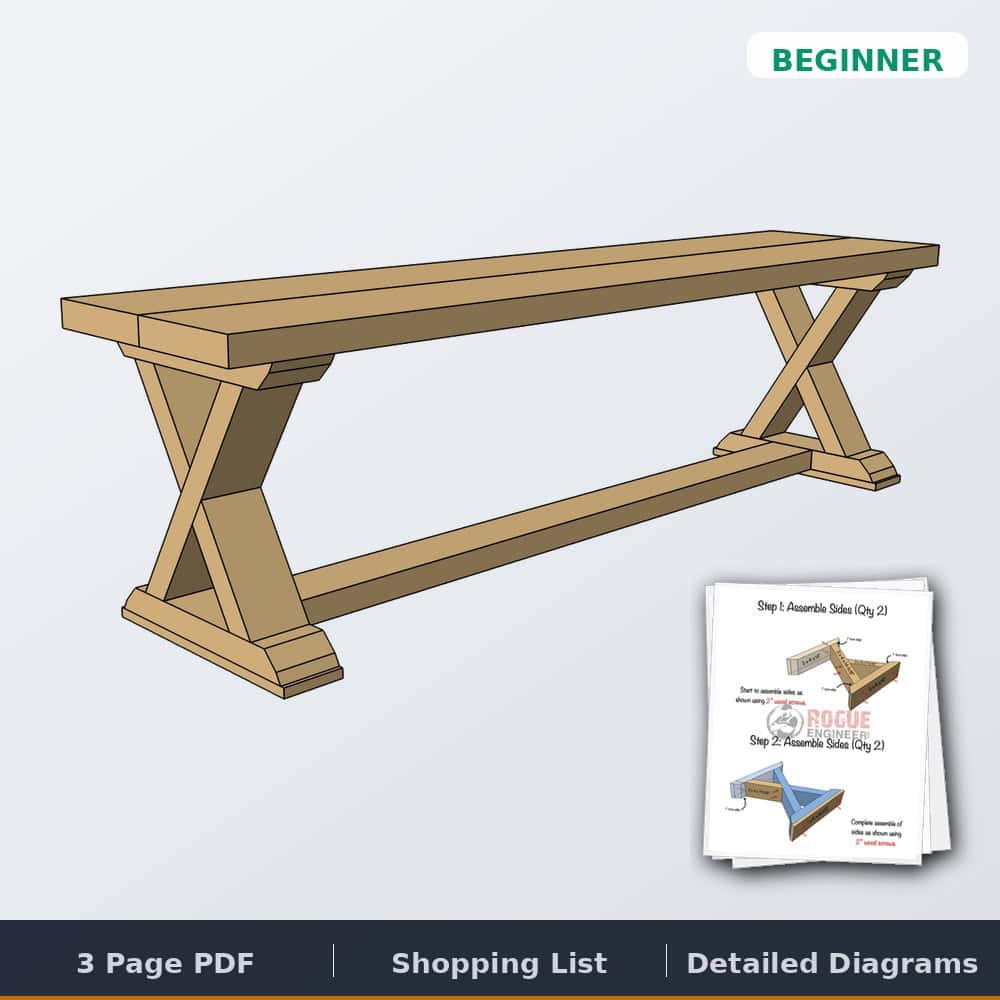
Quick answer: This farmhouse bench is the classic dining-table companion — a 2×6 seat on a 2×3 trestle base, pocket-hole joinery, built from three or four boards. It’s the indoor sibling of our outdoor bench lineup. Free tutorial below; the printable plans are $5.
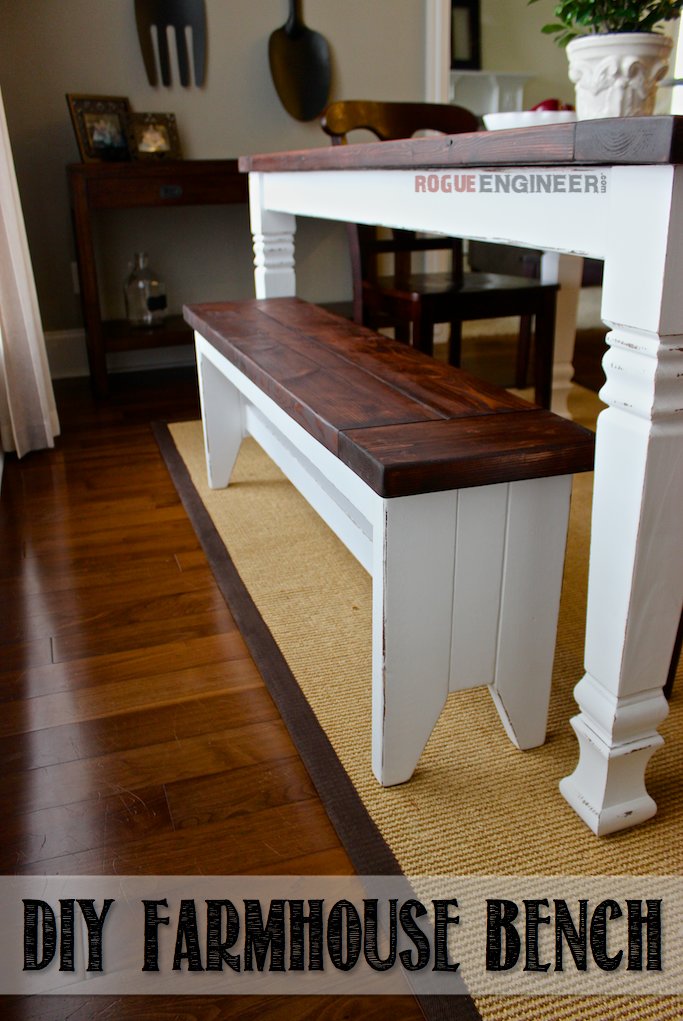
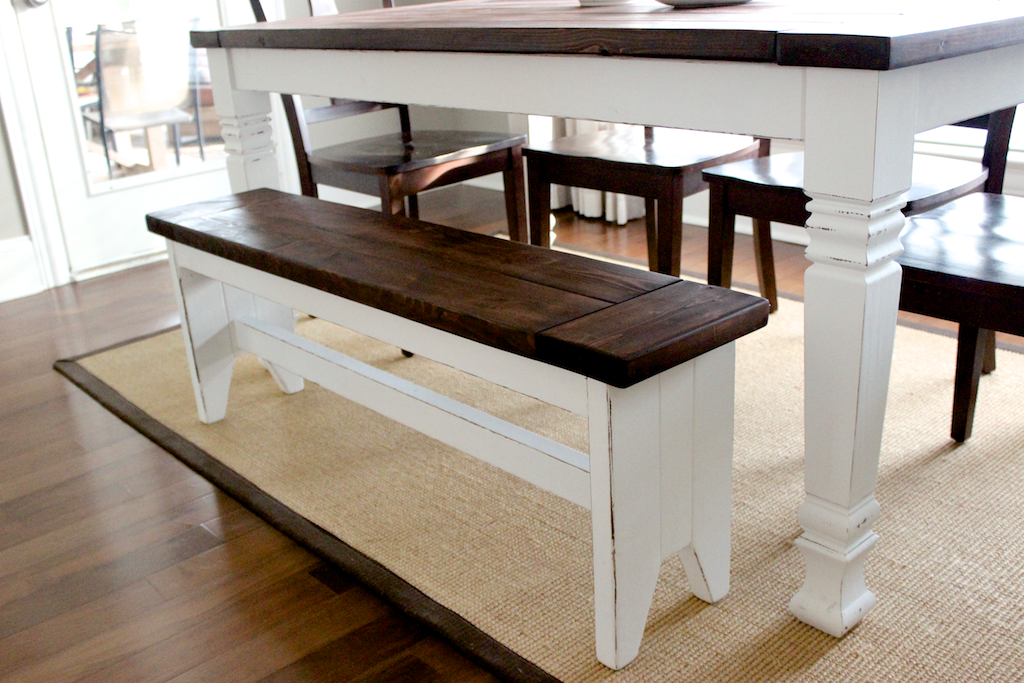
The farmhouse bench is the piece that makes a farmhouse table work — kids slide in, guests squeeze together, and nobody counts chairs. Ours pairs a Rust-Oleum Carrington–stained base with a flat white top (four coats), the same combo from our farmhouse table builds.
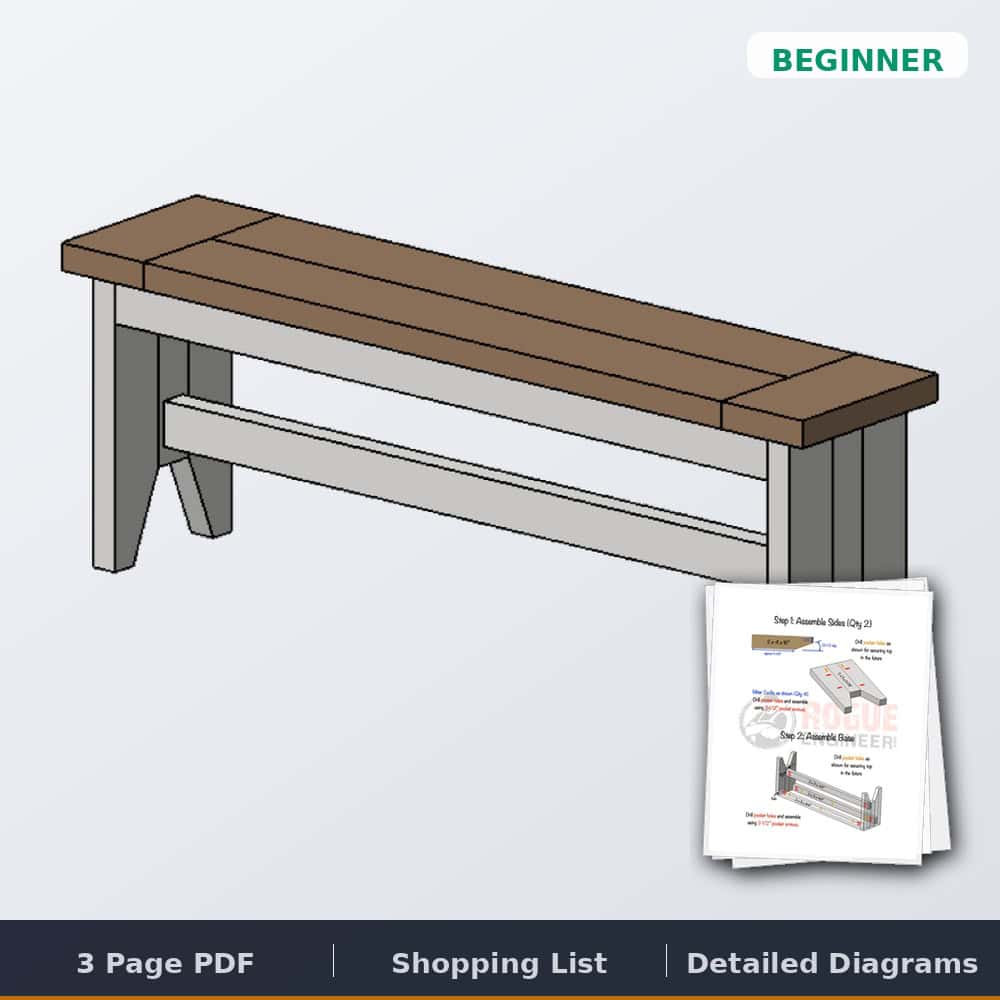
Farmhouse Bench Plans
The complete printable PDF — full cut list, dimensioned diagrams, and every assembly step.
Tools & materials
Dimensions

Cut list

The build, step by step
Step 1

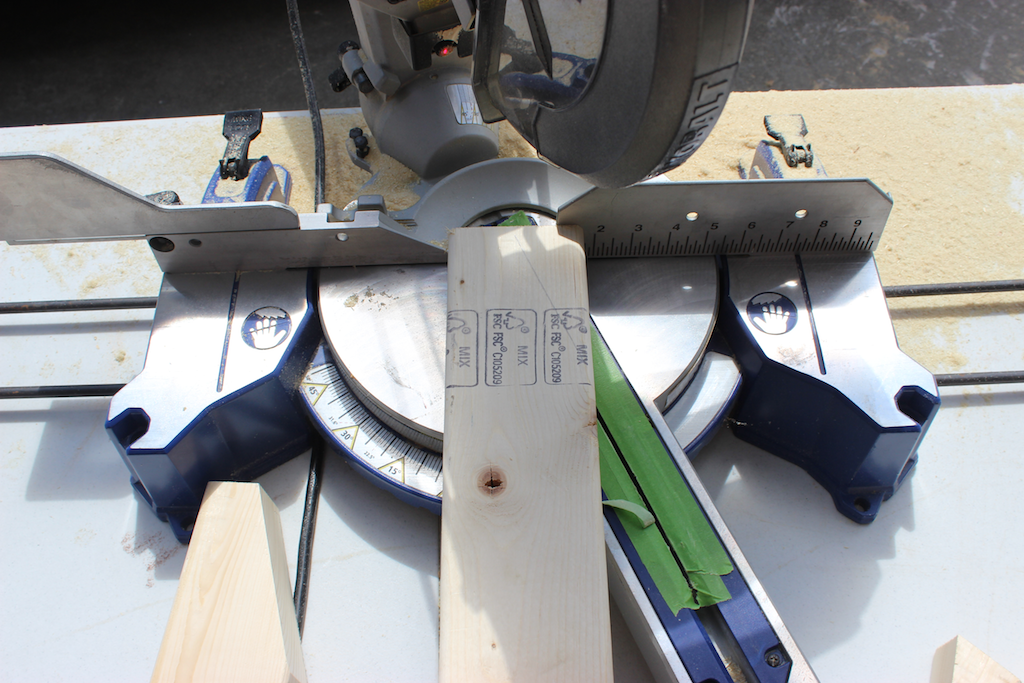
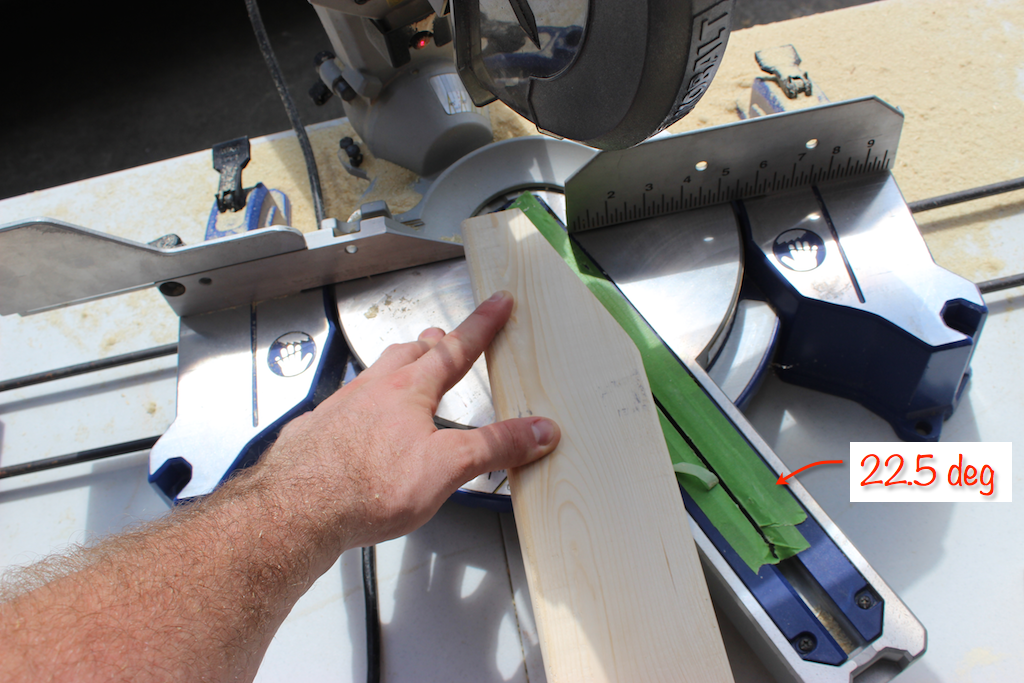
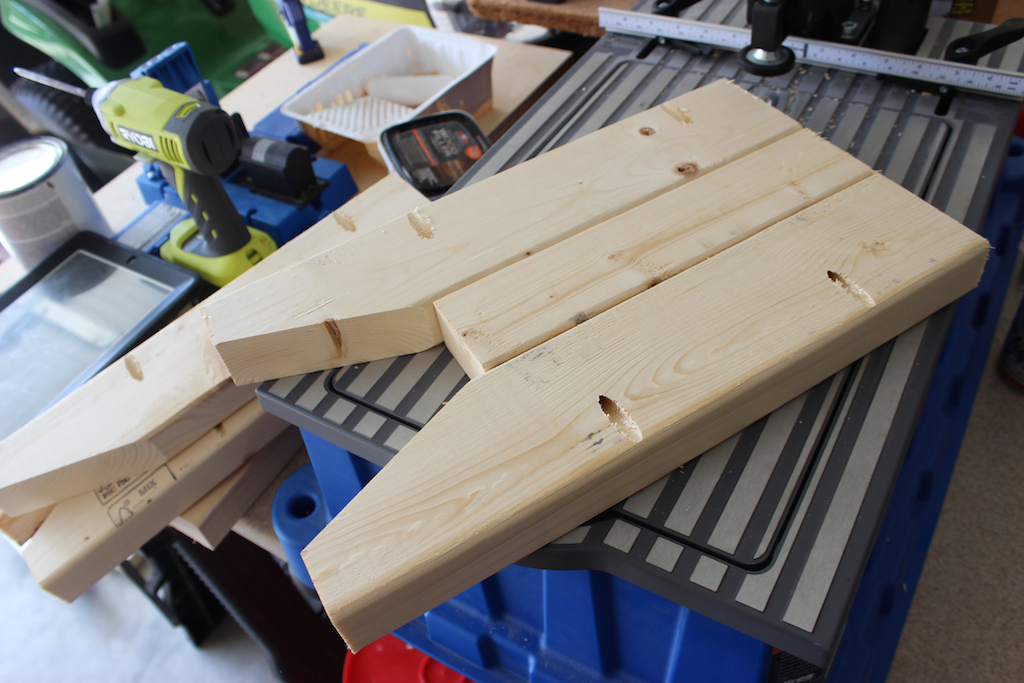
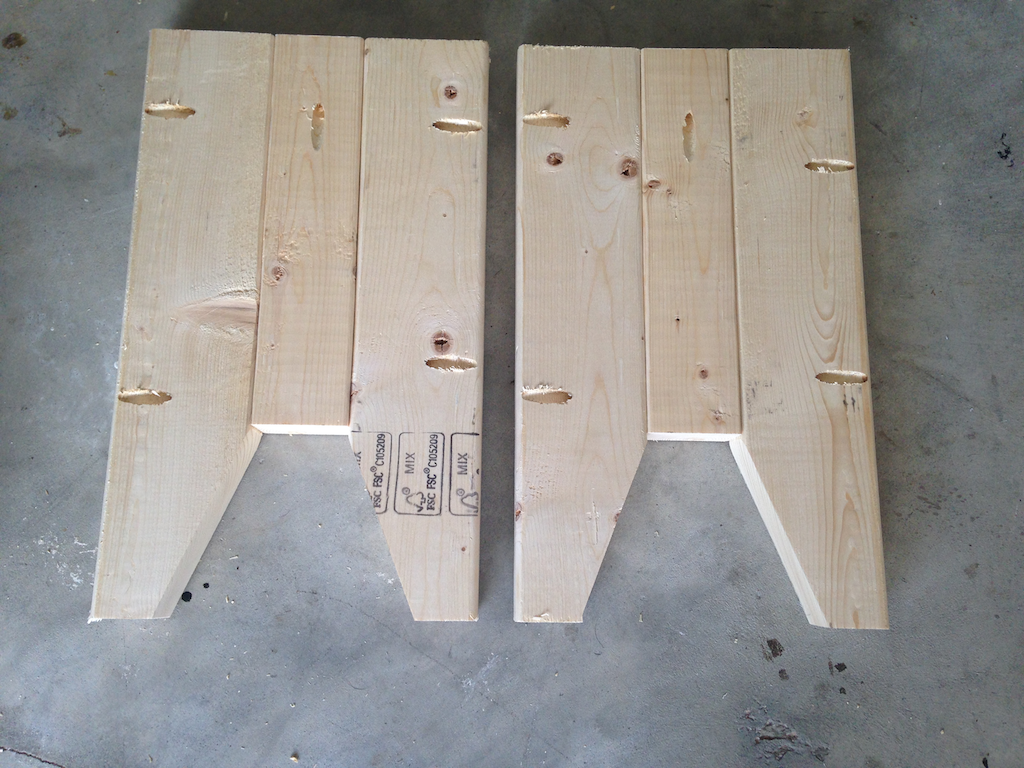
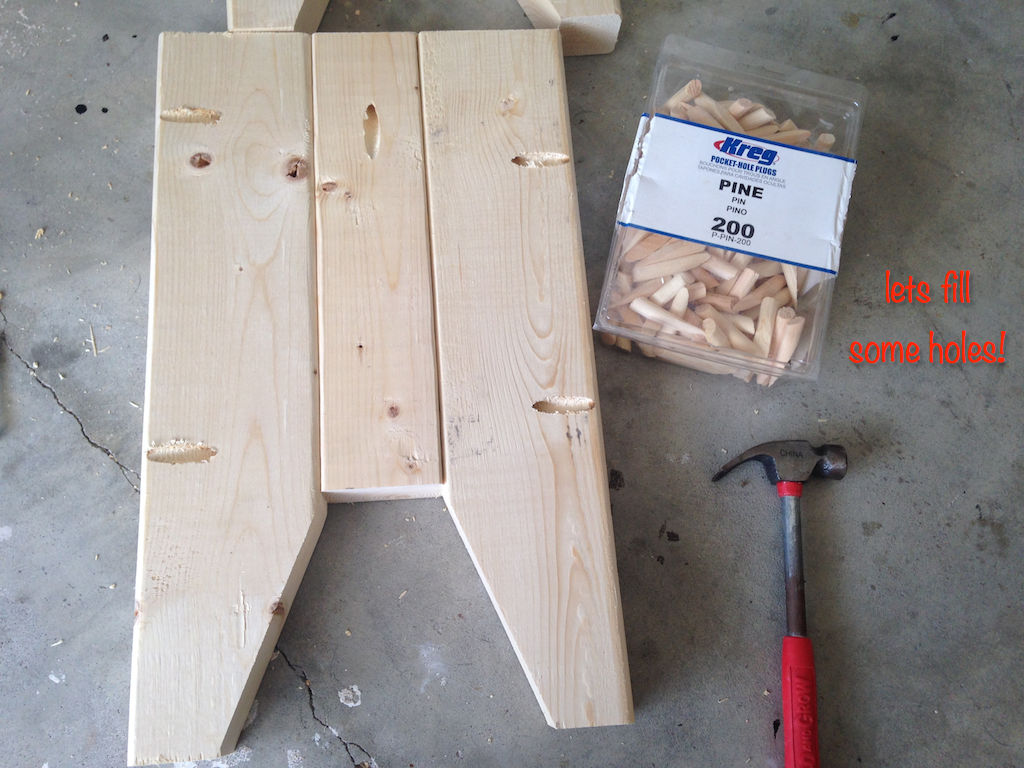
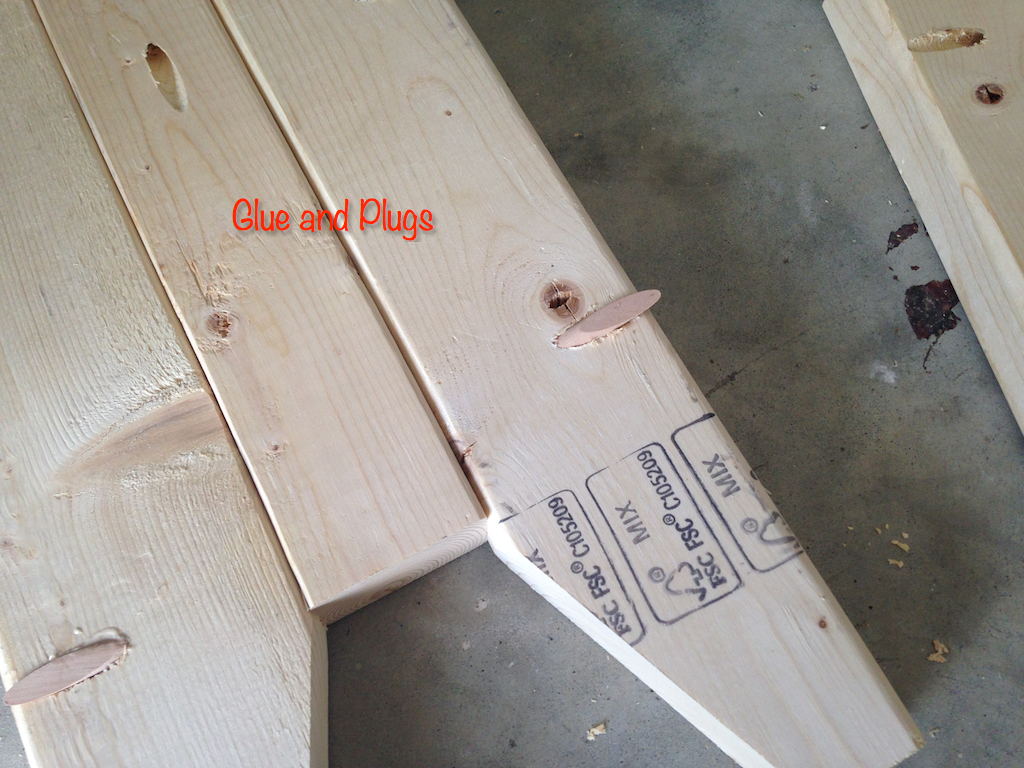
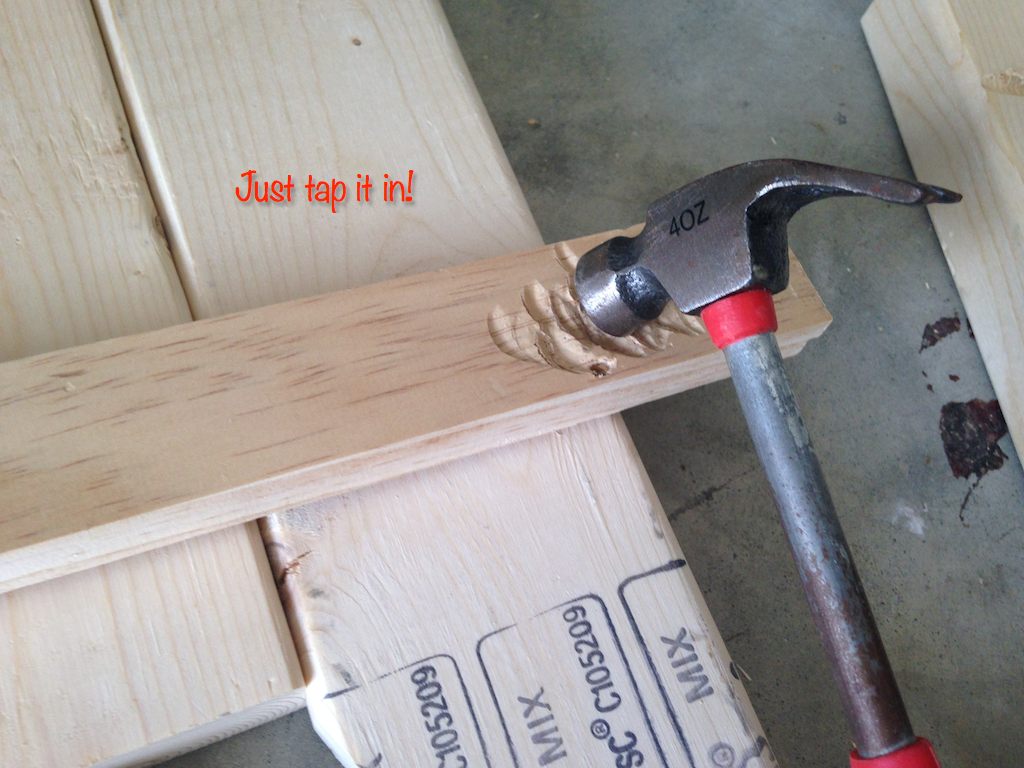
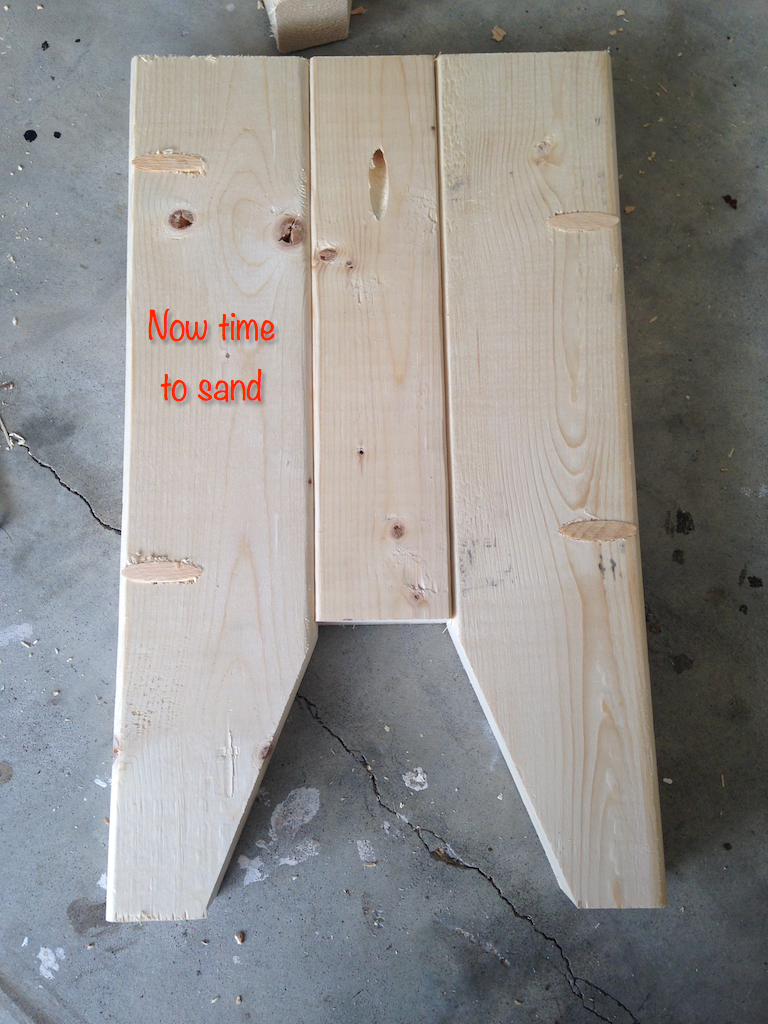
Step 2
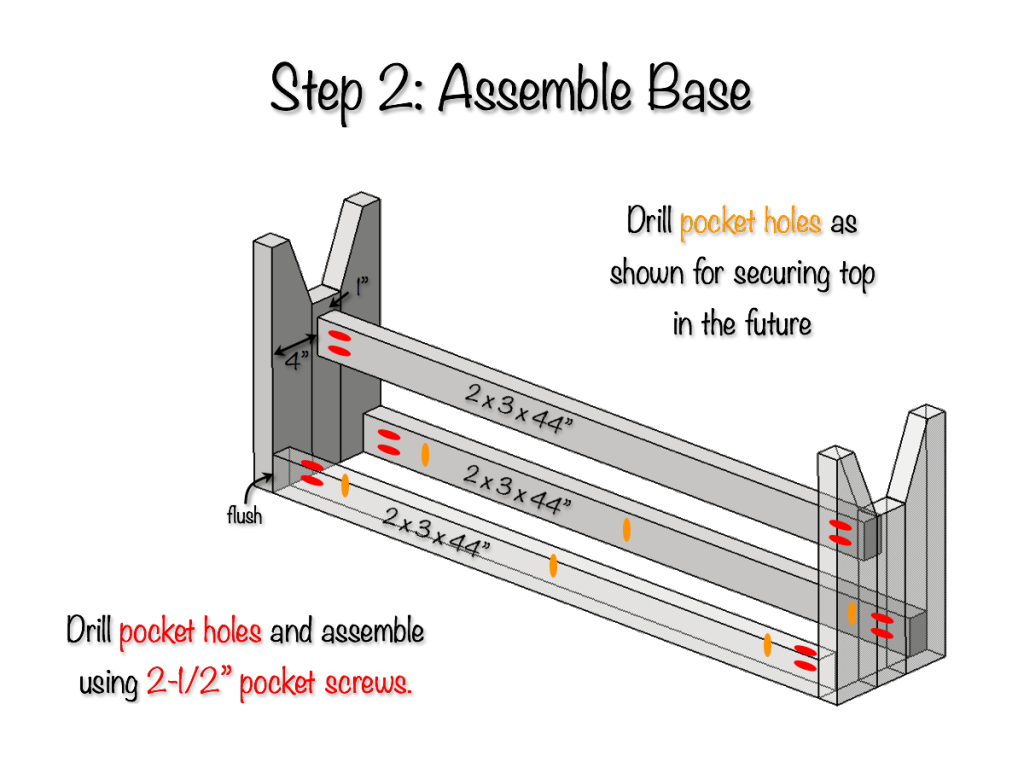
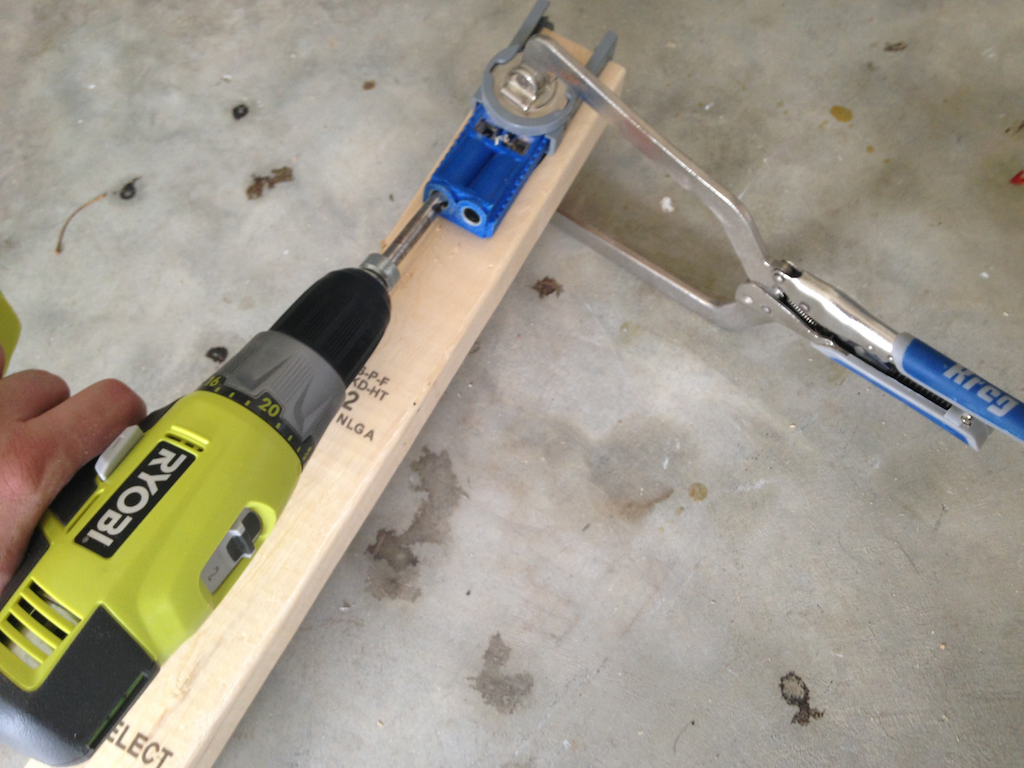
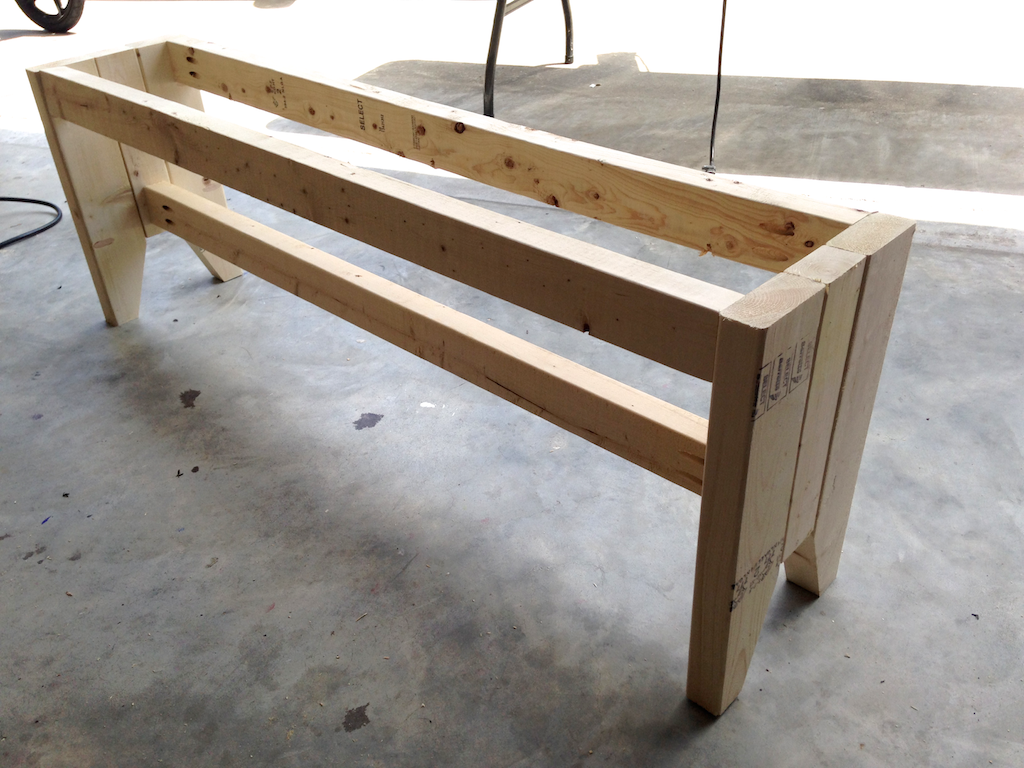
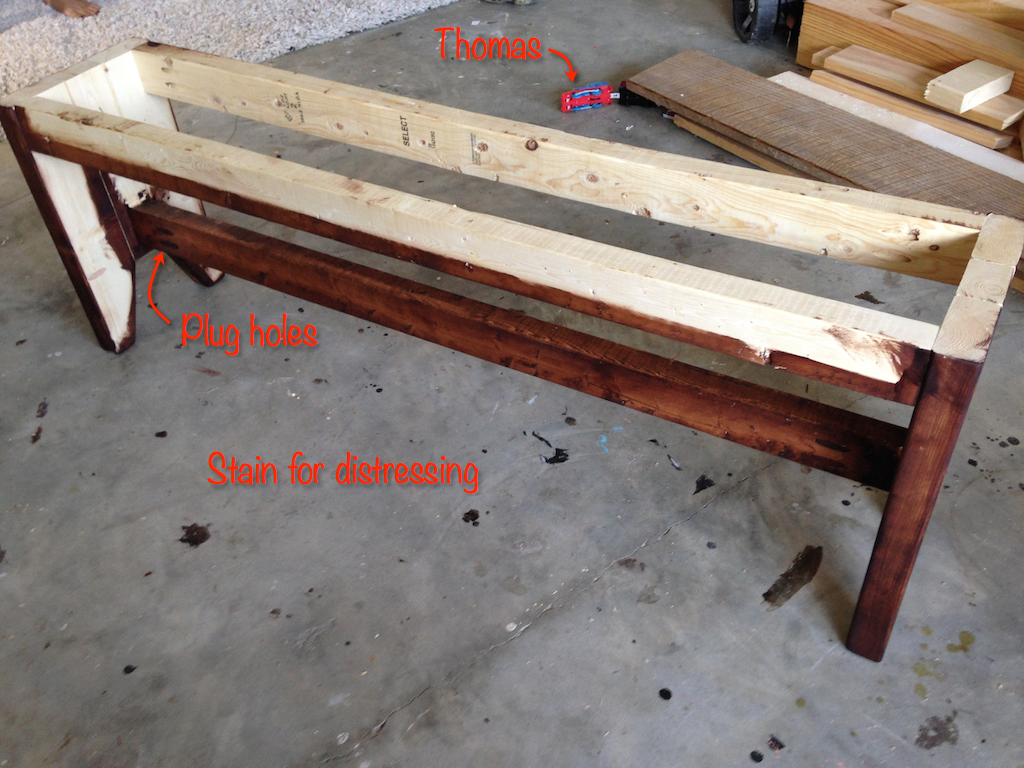
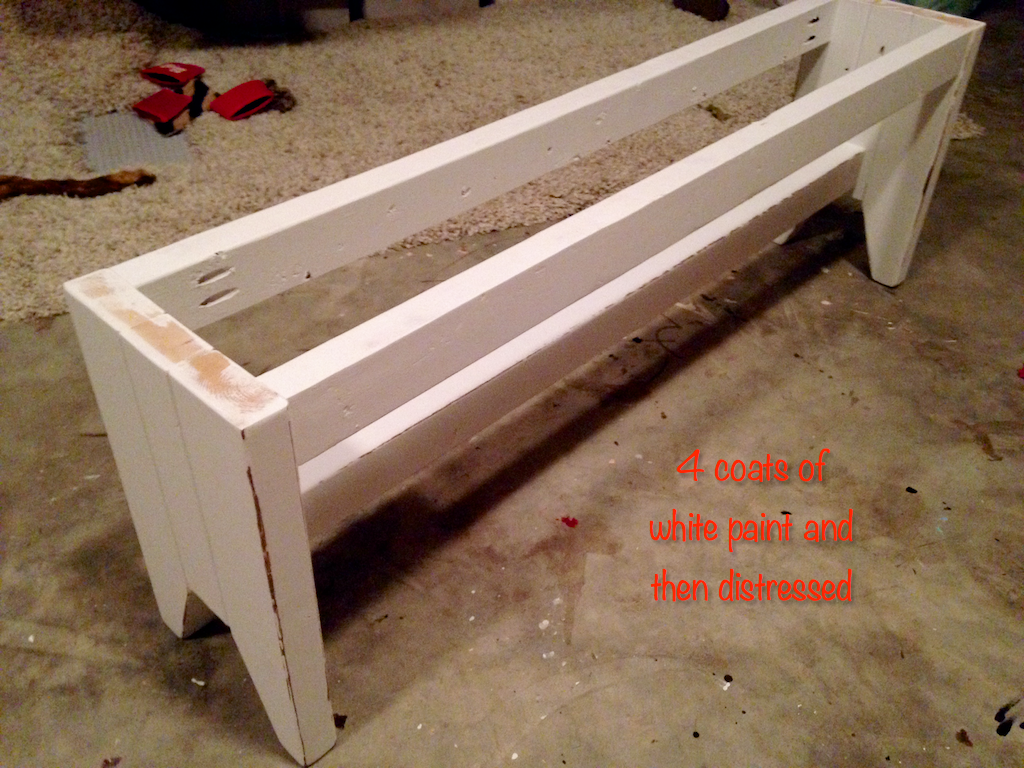
Step 3

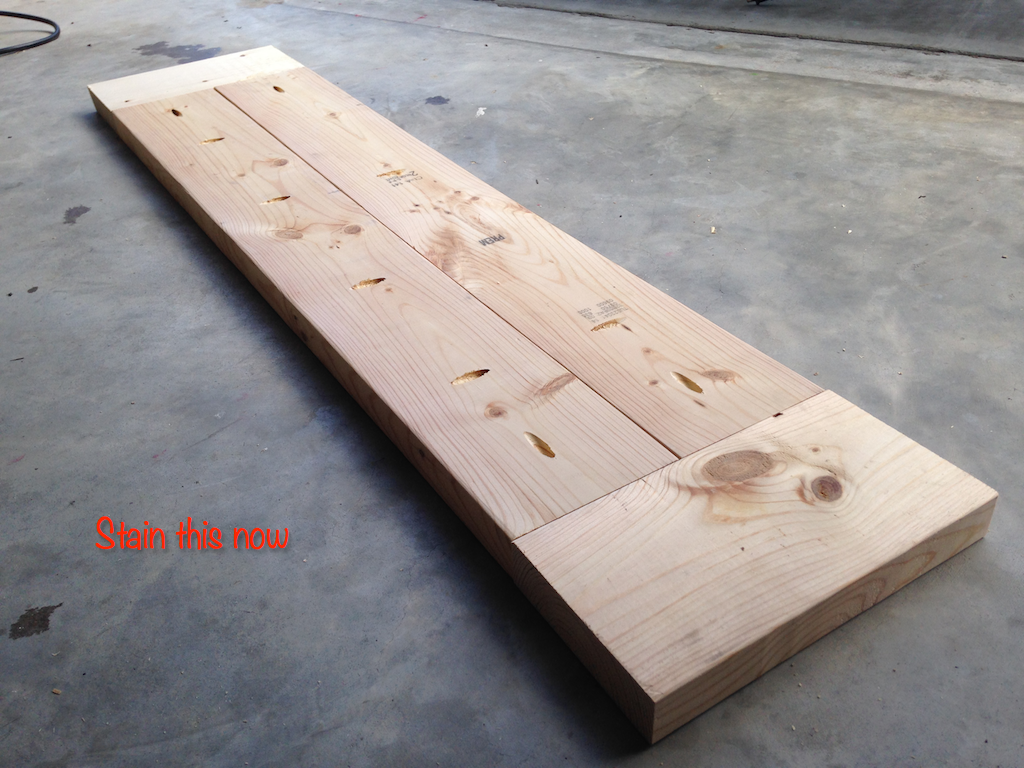
Step 4
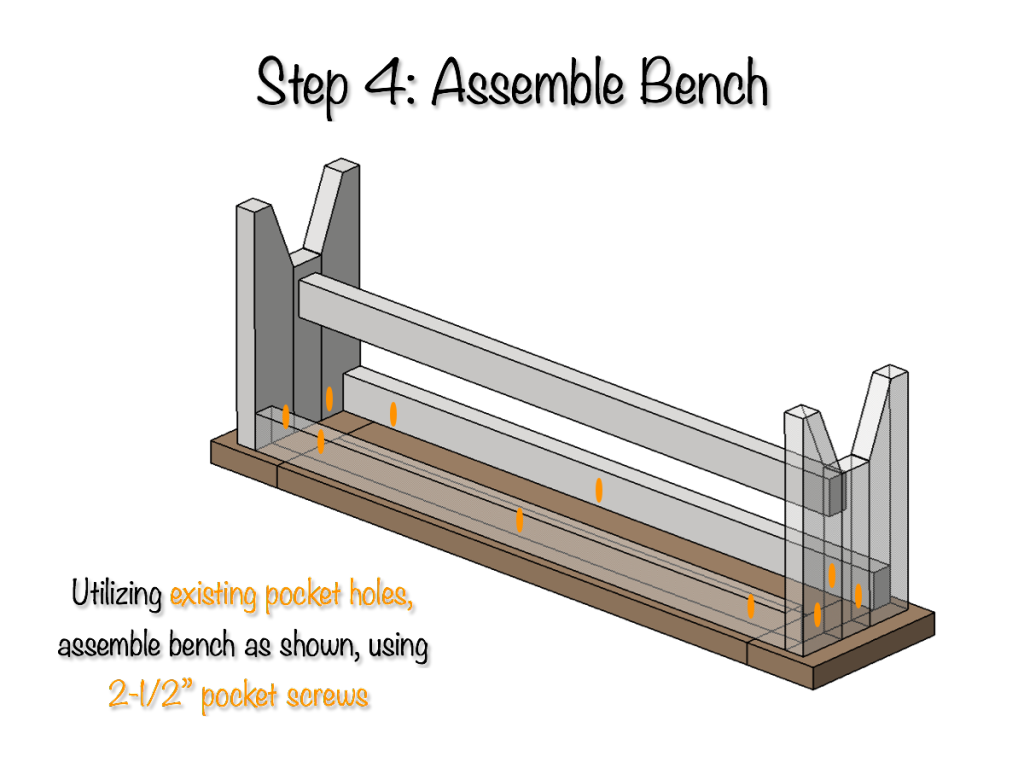
Every dimension, the full cut list, and the printable diagrams for each step are in the plans above.
Finishing
Base: Rust-Oleum Carrington wood stain. Top: flat white paint, four coats. Durable, wipeable, and it hides the inevitable fork dings.
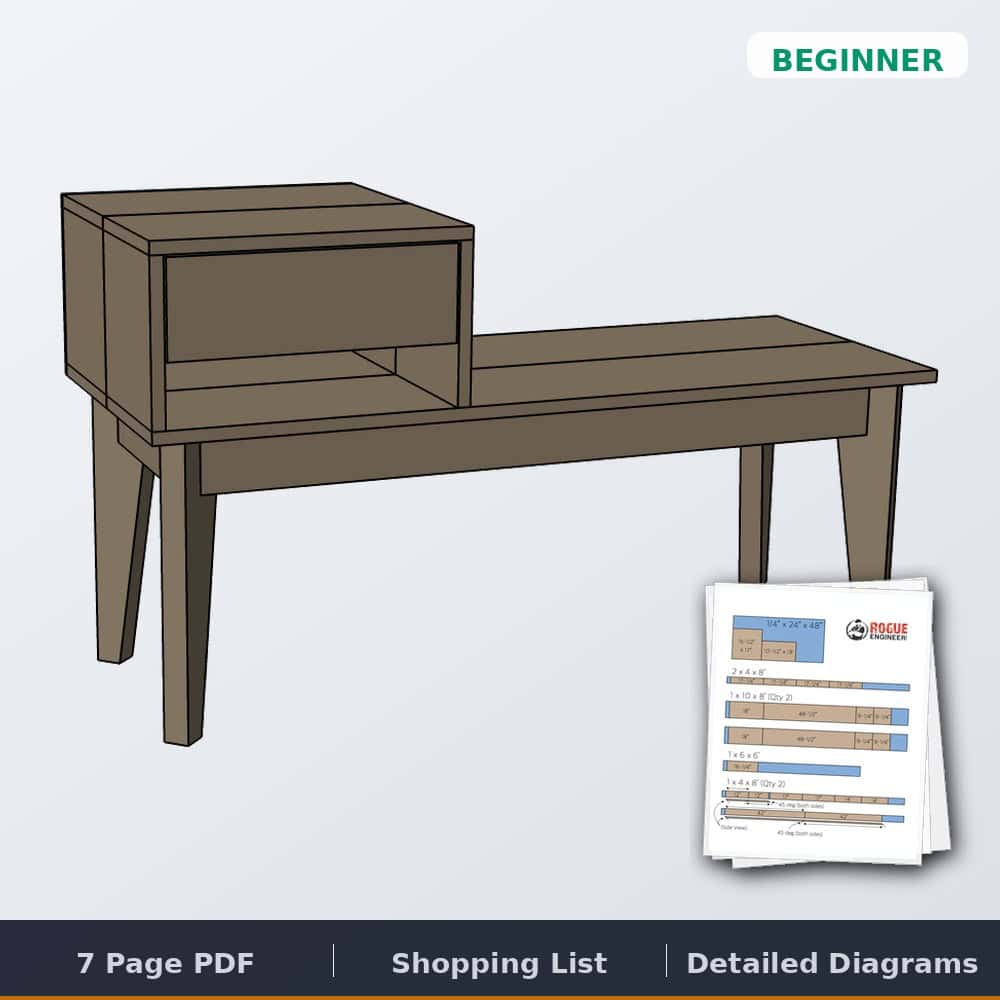
Farmhouse Bench Plans
The complete printable PDF — full cut list, dimensioned diagrams, and every assembly step.
Questions? Comments?
As always, if you have any questions don’t hesitate to comment below — and don’t forget to post pictures of your finished benches in the comments! ENJOY!
I’m just beginning work working and seeing ANOTHER use for pocket jig makes me put in on my want list AGAIN. Thanks for clear and concise directions.
Pocket hole jigs definitely make things a lot easier! And no problem. I’m glad I could help!
On the 1-1/2″ setting, my pocket hole jig would be at the depth to begin drilling before reaching the 2×3. Did you use a smaller setting, and shorter screws?
Hey Will, yes the hole does start before the edge of the board which results in a partial hole on the bottom side of the apron. Since this is on the bottom side and on the inside of the bottom I wasn’t too worried about it since it would never be seen.
If I make this 84 inches long instead of 50 do you recommend a third side piece in the middle for support? Also does using 2X4’s add to its strength versus the 2X3’s?
Thanks,
George
Hey George! I do not think you will need any additional support in the middle. The apron should provide more than enough support for the top across this span.
Thank you for the quick reply Jamison. Love your website and all the work you do.
Cheers,
George
I just found your website and I think It’s great ! My question is regarding the flat white paint, is this just a standard latex interior wall paint? I ask because in the past we have tried to apply the distressed look to a painted surface and it just gummed up when we sanded. Even though we waited several days for it to dry it ended up just looking like a really bad paint job. Six months later we tried sanding some more but never really got to the point of exposing any of the water-based stain underneath. Any tips or product names you can give us, we would be grateful. Thanks.
Mary, I don’t know how we missed your comment from a year ago. I apologize for that! I would recommend using Rust-Oleums Chalked paint in linen white. It won’t gum up on you when you try to sand it for the distressed look. Also, if you want to add more of a distressed finish before painting apply vaseline along the edges you want to distress, then paint, once the paint dries you will simply be able wipe away the distressed areas. Hope that helps even though I’m a year late answering!
Oh my, I need to pay better attention. I just reread and noticed that you had a link for the Vaseline trick when distressing.
Mary, for distressing my wife usually does the Vaseline. It allows you more of the paint to come off without removing the stain underneath. For this project we used basic interior latex paint. However, Rust-Oleum makes a chalked paint which works great for distressing.
Okay this is a pretty cool bench ! I’m wondering about the rustoleum carrington stain, is that oil or water based ? I thought Rustoleum were oil-based and I didn’t know you could put a water-based/latex paint over an oil-base. So should I assume and look for a Rustoleum water-base product or doesn’t it matter ?
Thanks.
The stain I used is oil based. I know that is a general rule of thumb but I’ve never had any problems.
Hello, do you make and sell any of the farm tables? I love the white one with the dark wood top with the benches. It’s beautiful. I would be interested in buying one.
Unfortunately, I don’t. Sorry about that. Try these folks https://www.facebook.com/Soulful-Haven-437224009744809/
We build one of these as a bench at the end of the bed, white/mahogany color. We left out the bottom 2×4 as it didnt need it and we like it as is.
That looks great Cor! Thanks for sharing.
This was an easy and cheap ($8 after building table) project! I had a lot of fun, and it looks great.
They look amazing Michael! Thanks for sharing
I knew I wanted a sofa table. I knew it needed to be smaller than average to be used behind my loveseat and fit in the odd shape of my room. I had to make it myself because retail was either just too big or not my style. Thanks to the basic guidelines of this farm style bench by Rogue Engineer I was able to figure out a simple and effective way to make the base.
I used scrap pine boards that I had to make it. It’s not meant to support someone sitting on it so I didn’t need to use 2X4s. 🙂 I finished it with the Minwax Polyshades Satin in Espresso to match the hue of my coffee table.
I’m as happy as a kid on Christmas morning right now LOL. Thank you so much!!! I will be using some of your other plans to finish up my living room. I am so excited.
This turned out great! It’s awesome you turned bench plans into a small table to fit your space. Can’t wait to see more stuff you build.
That’s a good looking bench, Brian! Thanks for sharing the photo.
Thanks for the plans Jamison!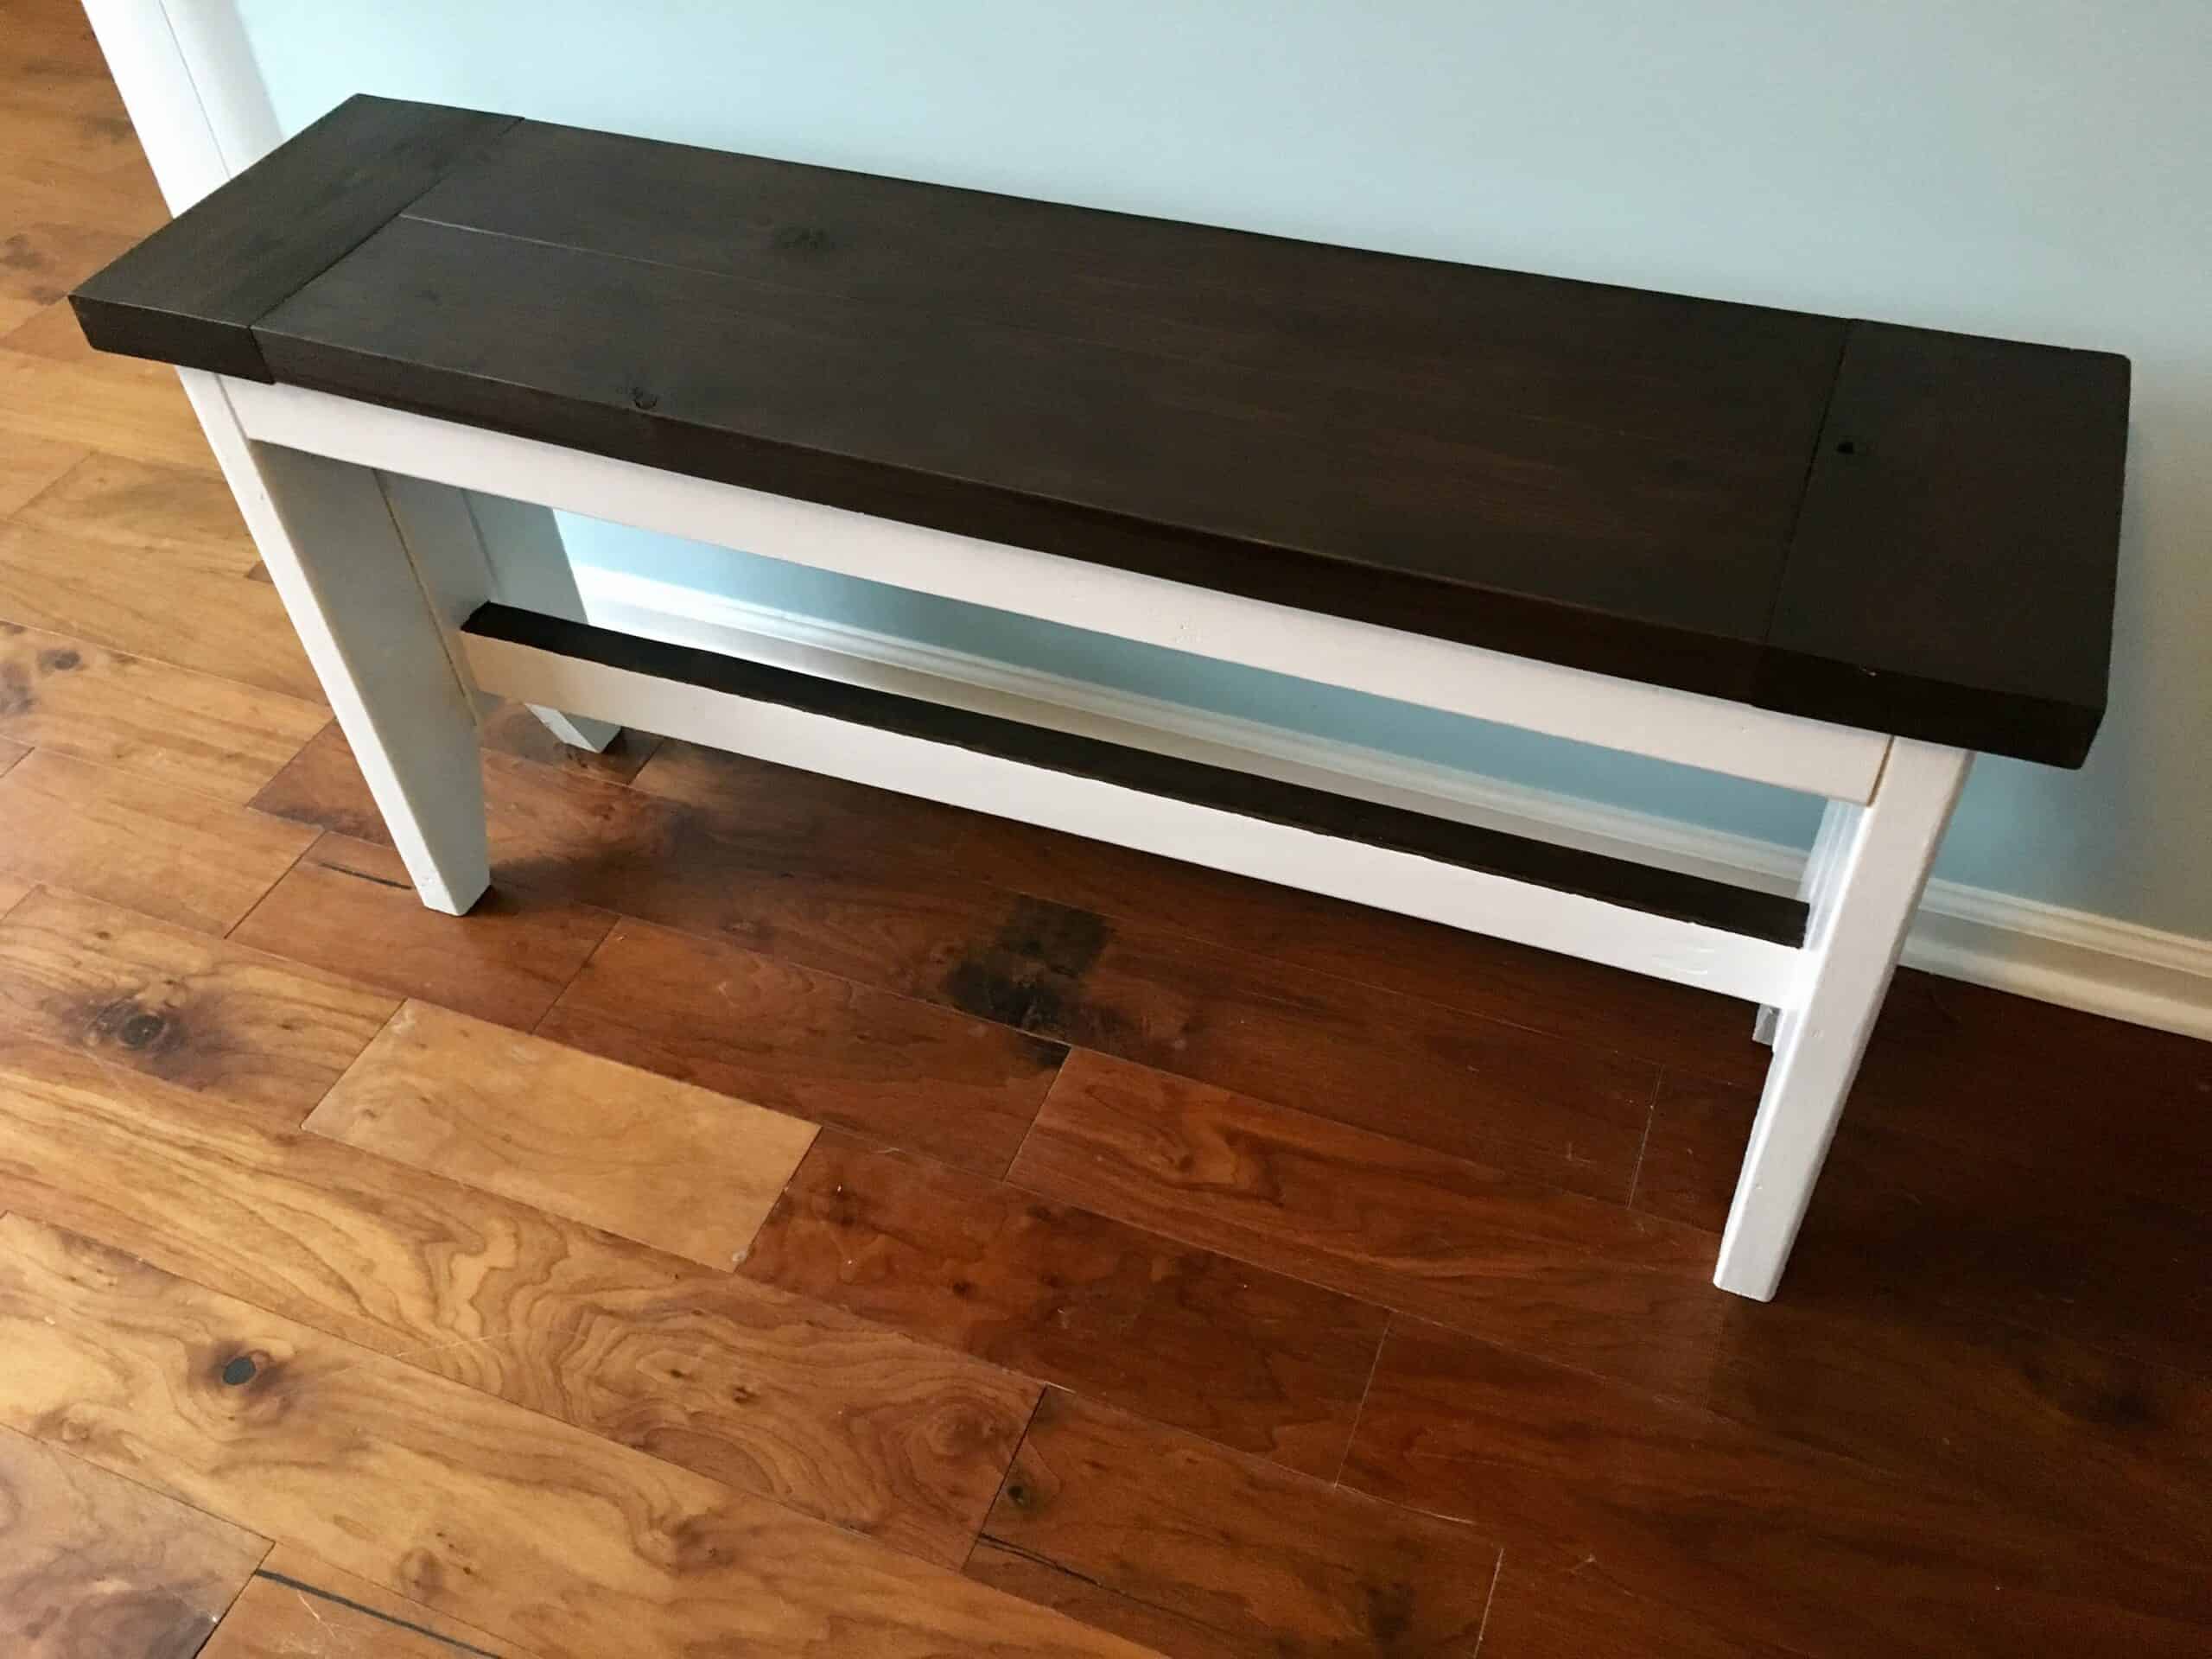
Hey Jamison,
I love the look of this bench but my concern for my family is that it is not quite wide enough to be comfortable for long periods of chatting at the dinner table. 11″ wide is kinda narrow. Sure would love to see it about 18″ wide for those of us who linger after a meal, and therefore have ample butts. HAHA. Thanks for you great designs and plan. I plan to try to modify you basic plan to be wider and longer. Wish me luck.
Go to WoodPrix page if you want to learn how to build it yourself
Thanks for the plans, Jamison. Well laid out. I reclaimed some old interior doors from my house to create a pair of the benches (Christmas gifts?)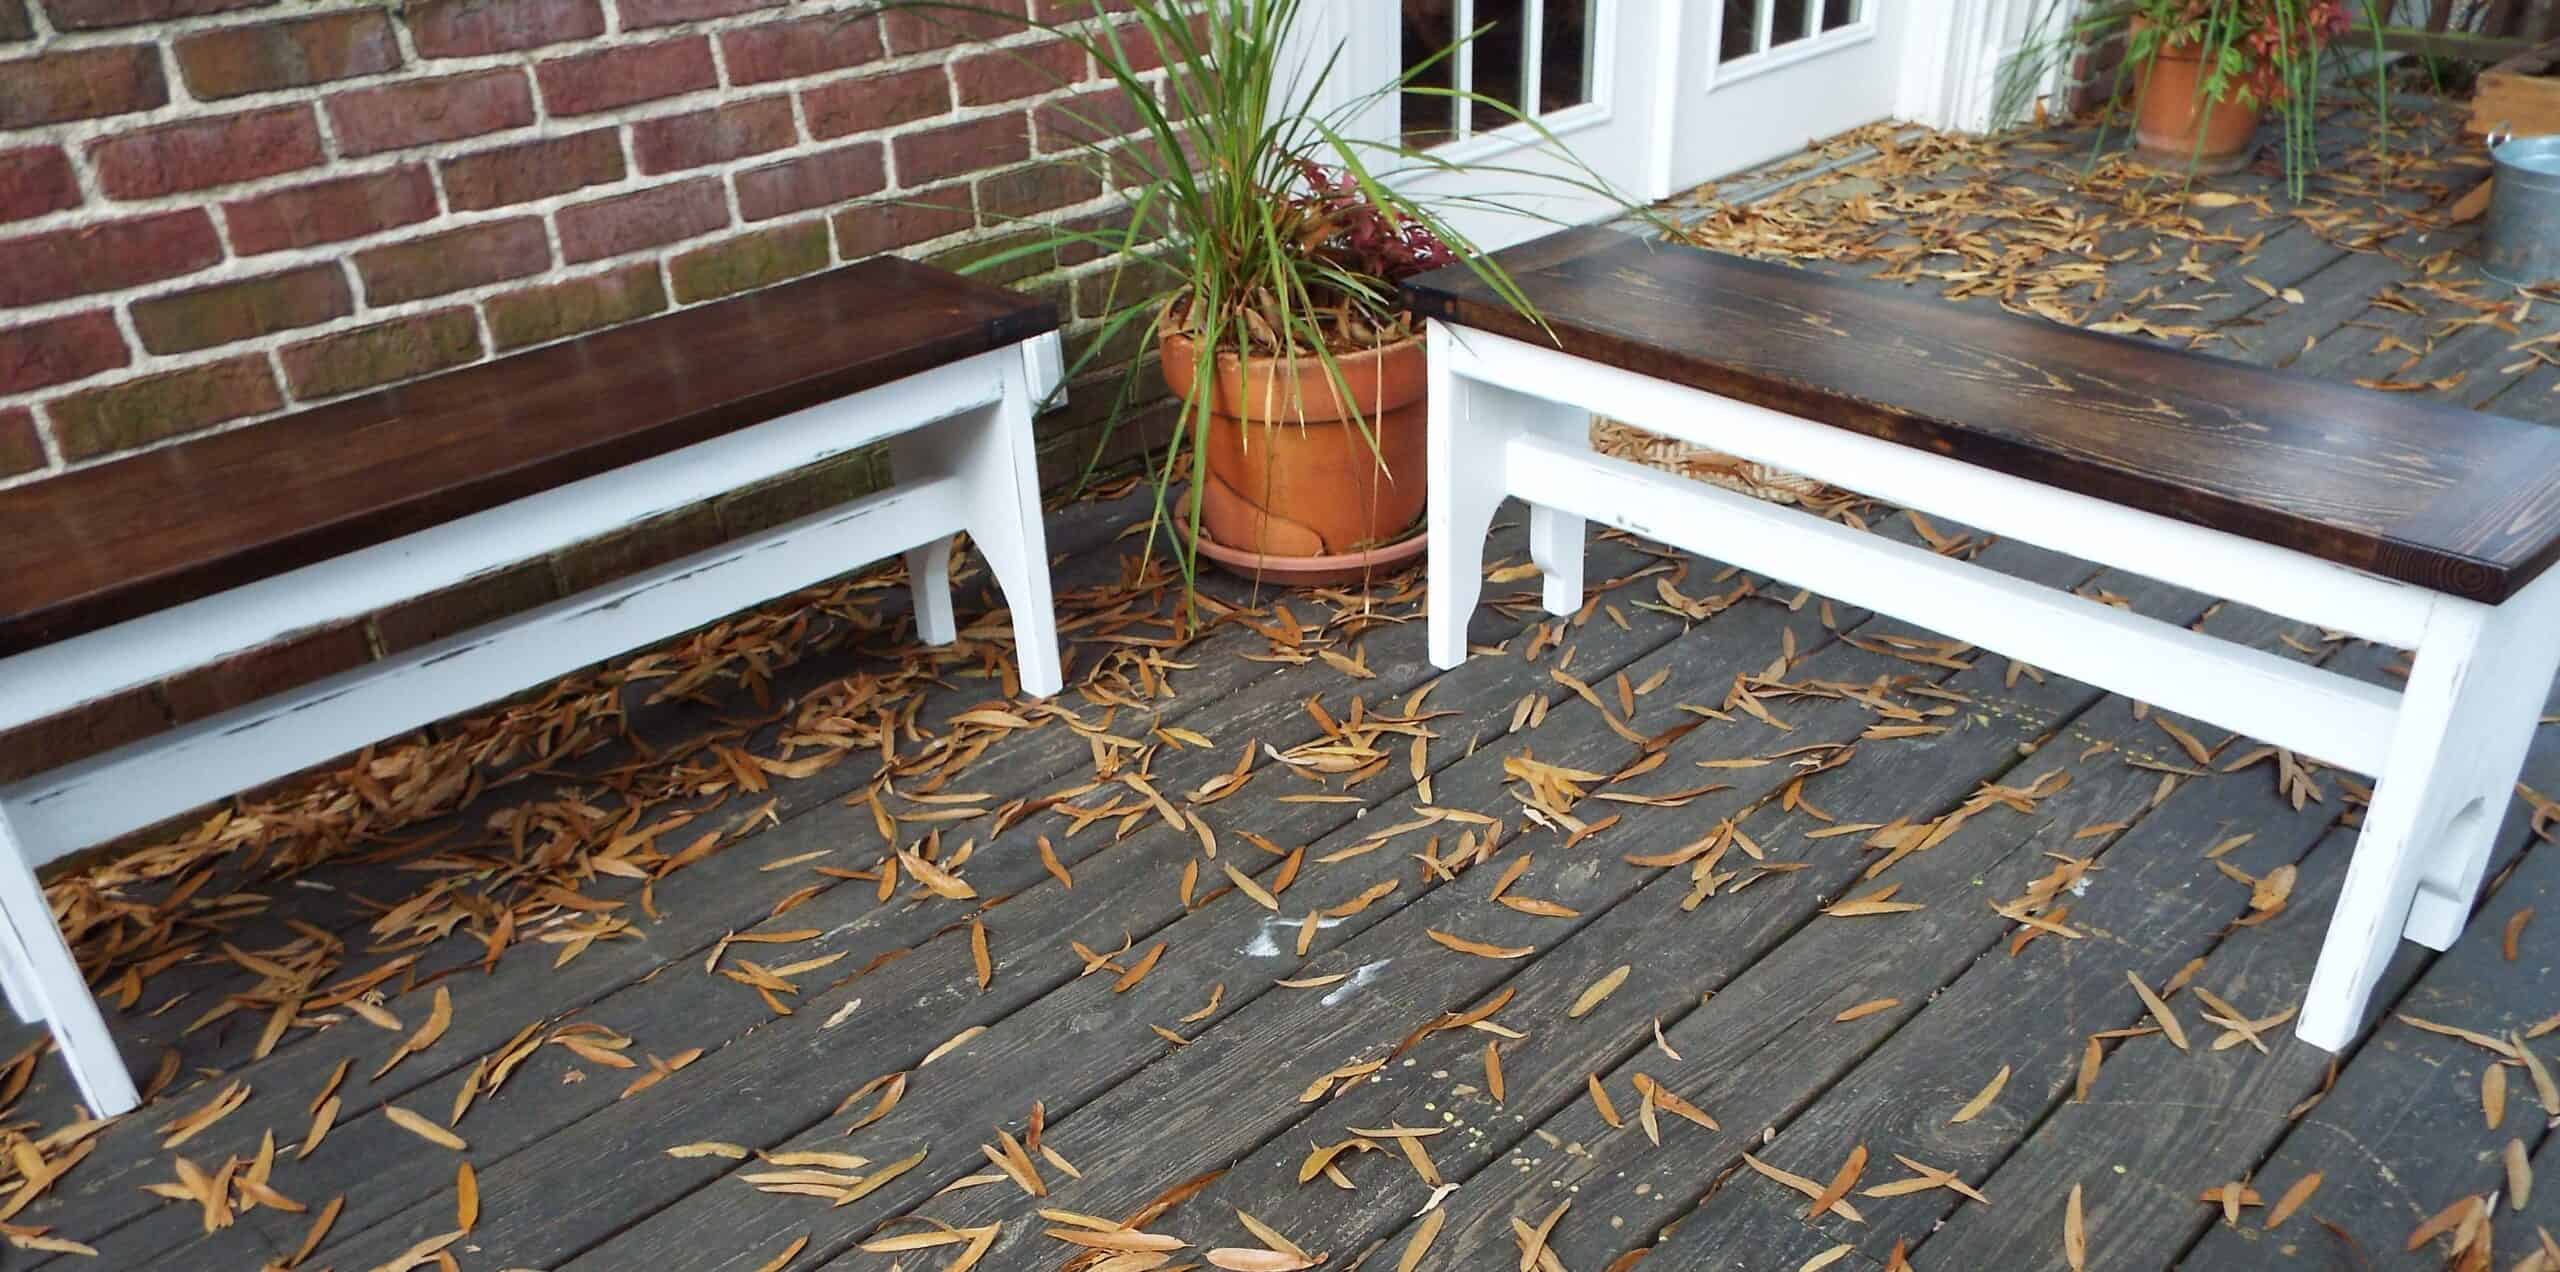
loved this project, going to stain this week. i ended up using dowels and glue as i didn’t have enough pocket screws and hundreds of dowels
Love the bench, but can you tell me what type and color are your floors? I’m in the process of installing my own floors and love yours.