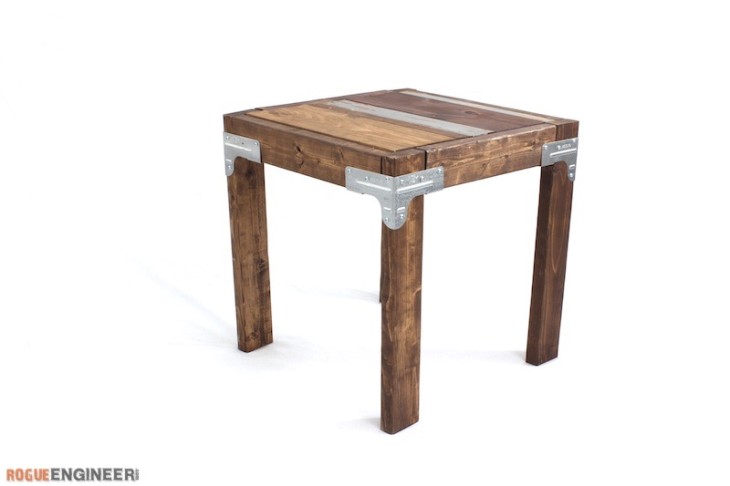
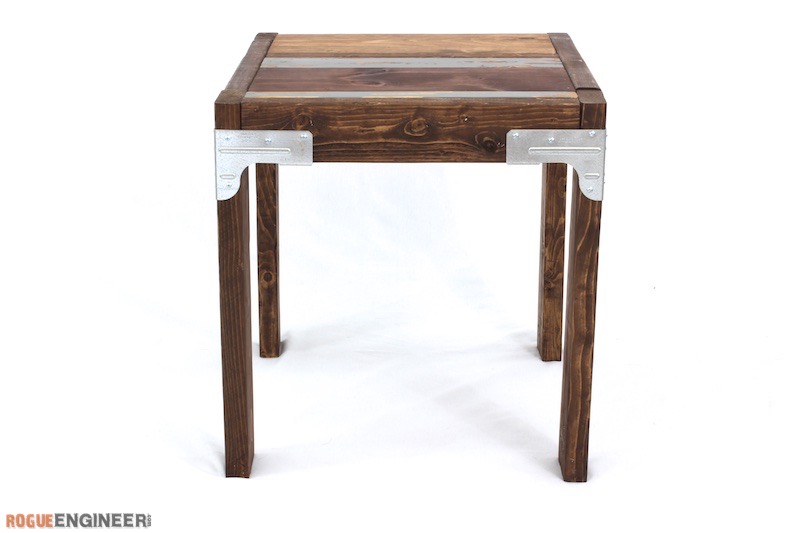
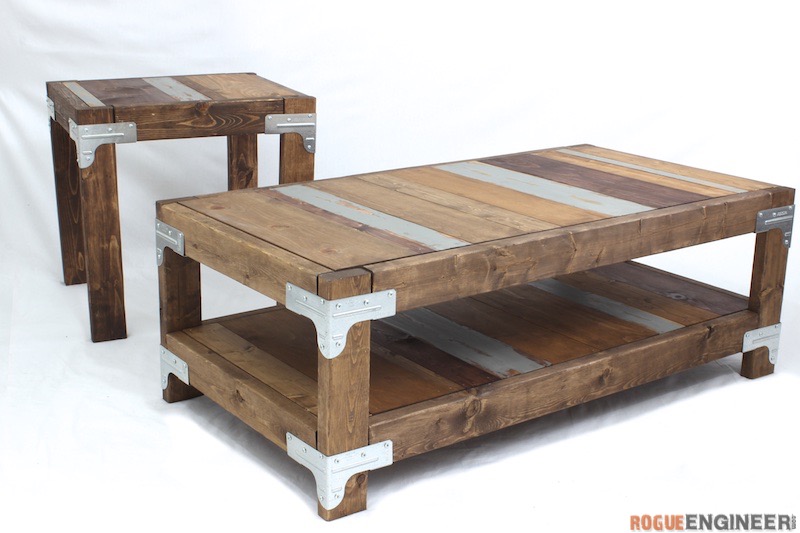
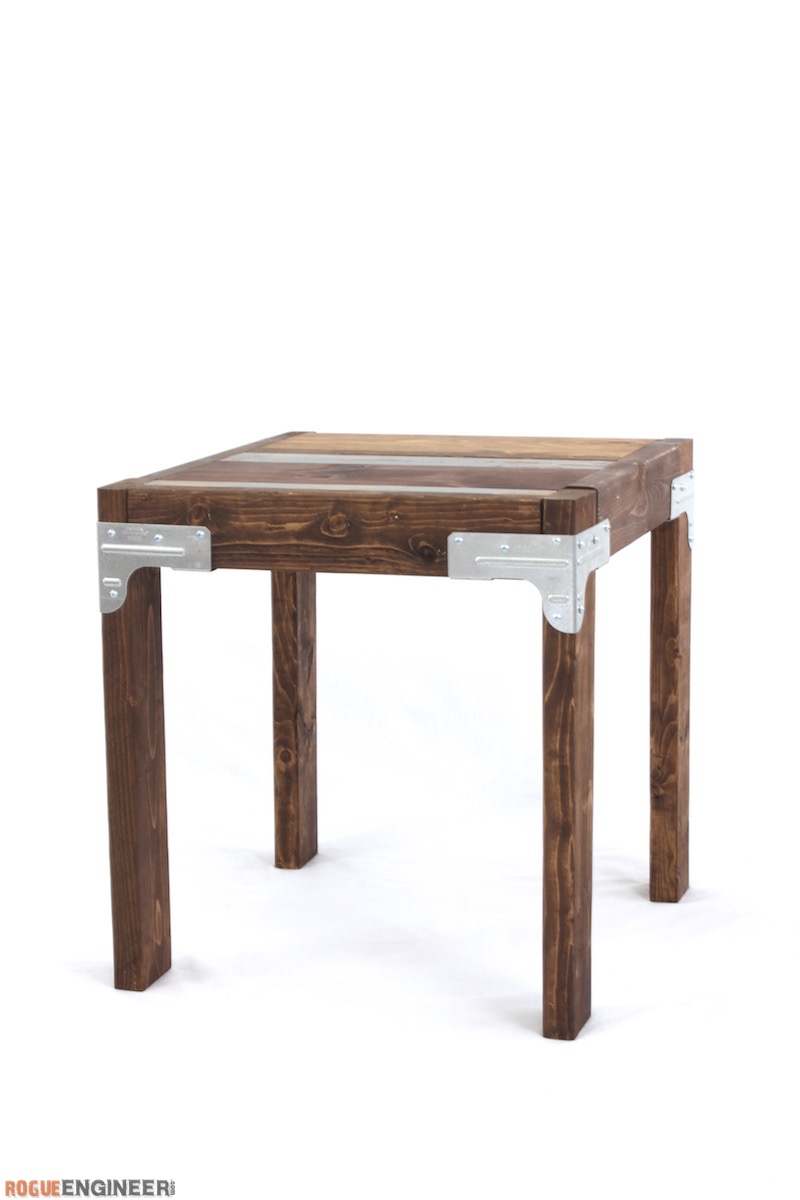
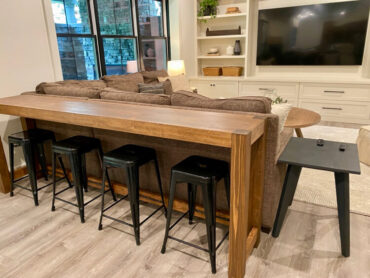
So we recently built this awesome industrial coffee table and loved the way it turned out. With the scrap wood left over from that project and four Rigid Tie Connectors I was able to put together this matching side table in no time. Enjoy!
For sneak peeks of our upcoming projects be sure to follow me on Facebook and Instagram. Also, follow me on Pinterest to get tons of projects plans from all around the web!
Required Tools
Materials
- 2 x 4 scrap
- 1 x 8 scrap
- 1 x 4 scrap
- 1 x 2 scrap
- 3/4″ square dowel
- Qty 4: Rigid Tie Connector
- Wood Glue
- 1-1/4″ Brad Nails
- 1-1/4″ Strong-Drive wafer head screws
Disclosure: The links provided in the “materials” and “required tools” sections are affiliate links. If you would like to support our site and help keep our content free come find out more about how we can make money with no extra cost to you.
How to build an Industrial Side Table
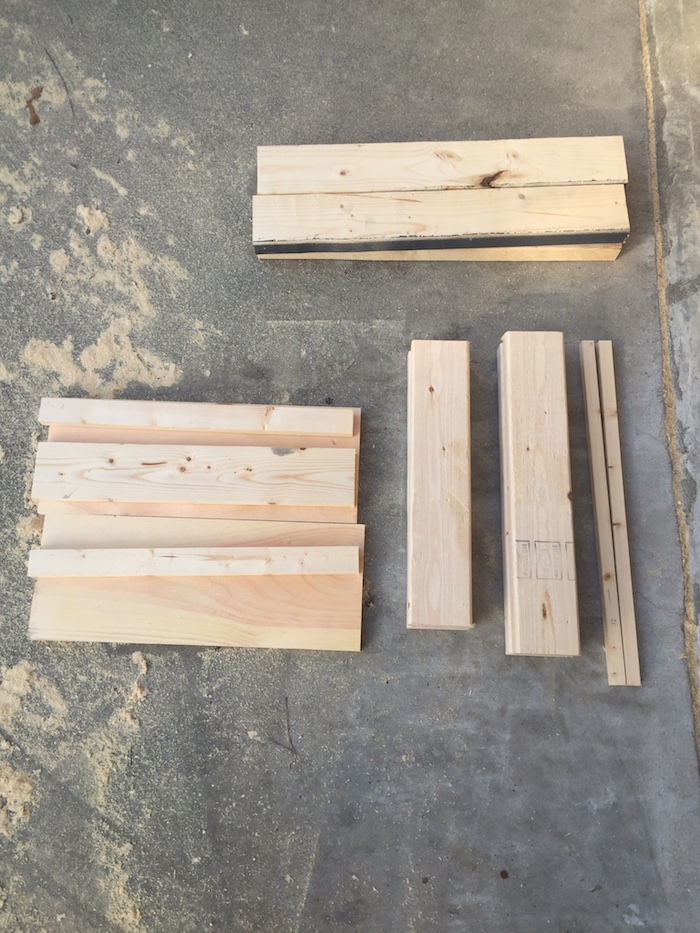
Step 1: Cut Wood
- Qty 2: 1×2’s at 19″
- Qty 2: 1×8’s at 19″
- Qty 1: 1×4 at 19″
- Qty 2: 2×4’s at 19″
- Qty 2: 2×4’s at 17″
- Qty 4: 2×4’s at 23″
- Qty 2: 3/4″ square dowel at 21″
Step 2: Finishing
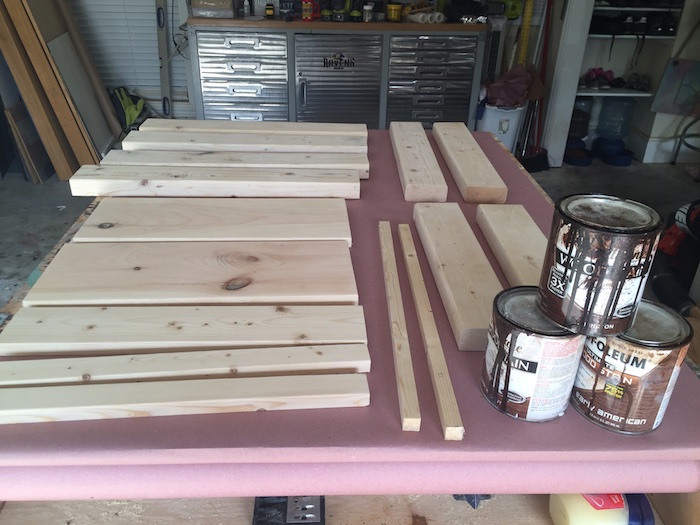
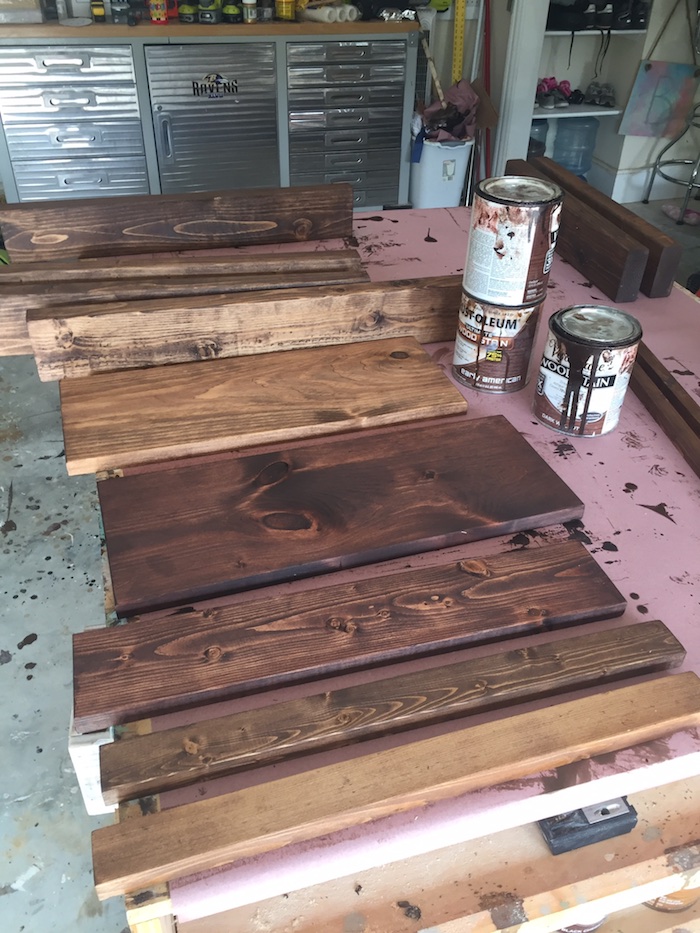
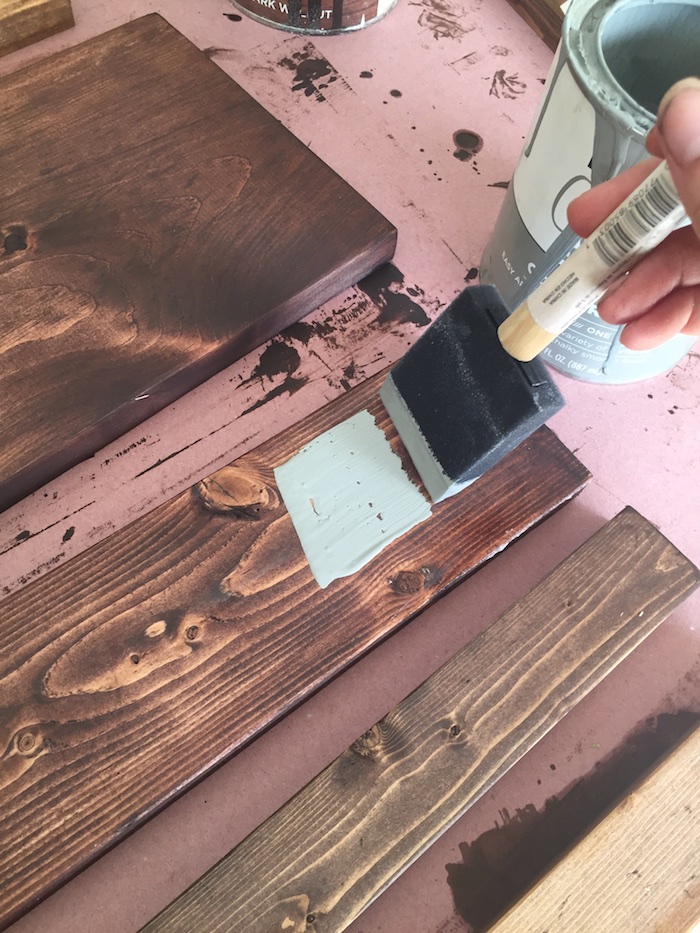
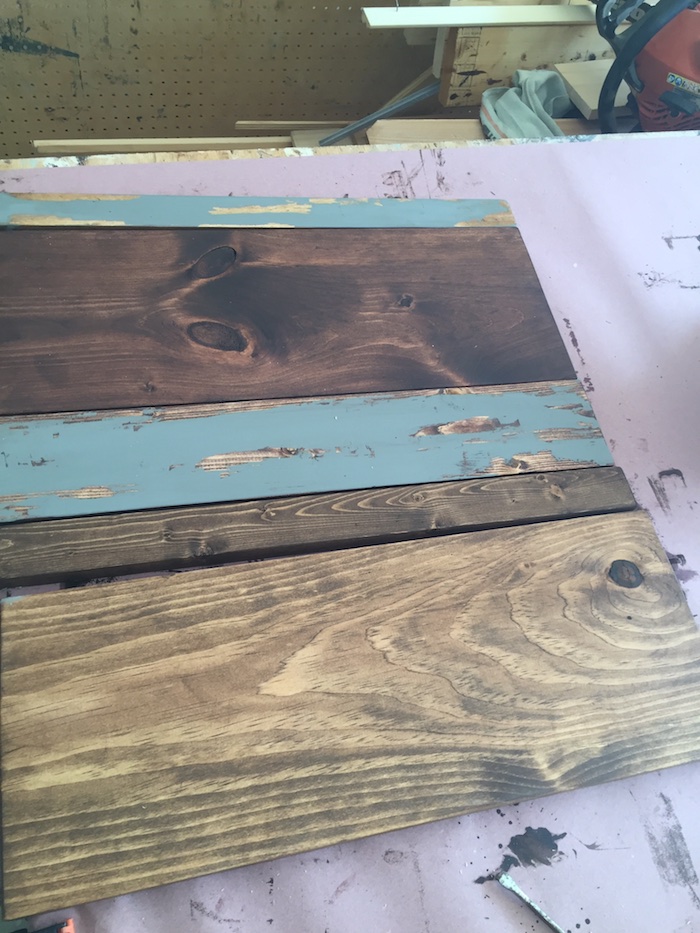
Since I was matching this side table to our awesome coffee table, which used multiple stains and paint, I had to finish each piece of wood individually before assembly.
For this project I used Rust-Oleum Early American, Rust-Oleum Dark Walnut, and Rust-Oleum Carrington.
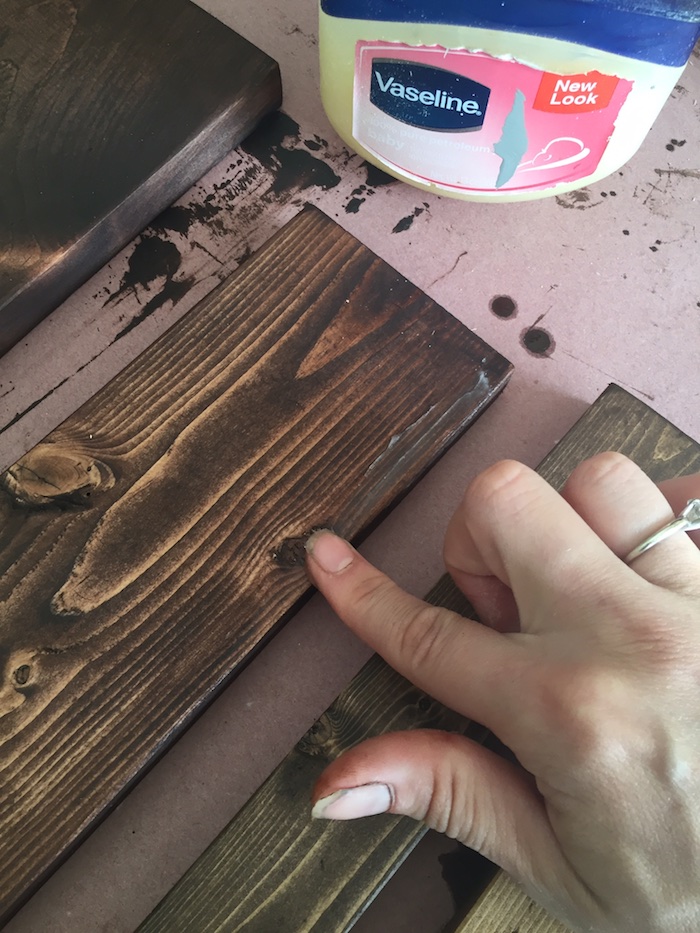
I then distressed 2 of the board that would be used on the table top using Vaseline, see more on this here. I then painted a coat of Rust-Olem chalked paint in county grey using a foam brush.
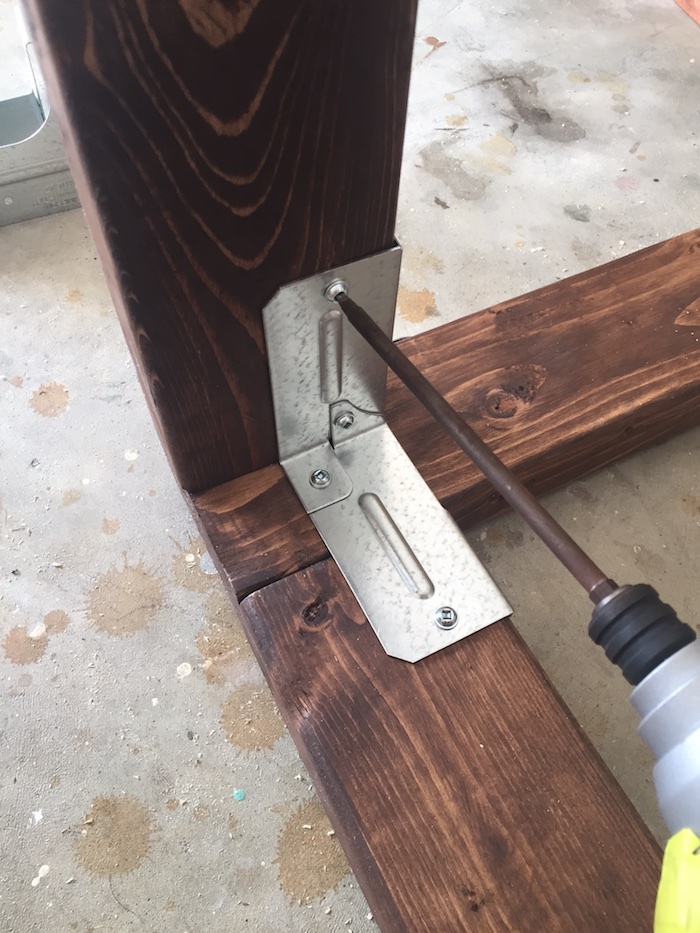
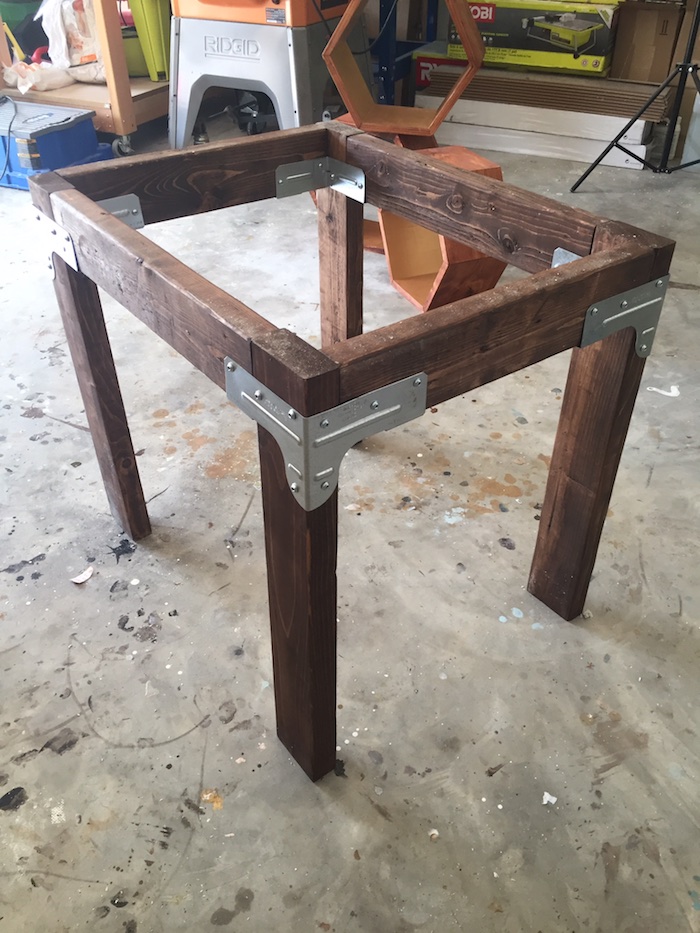
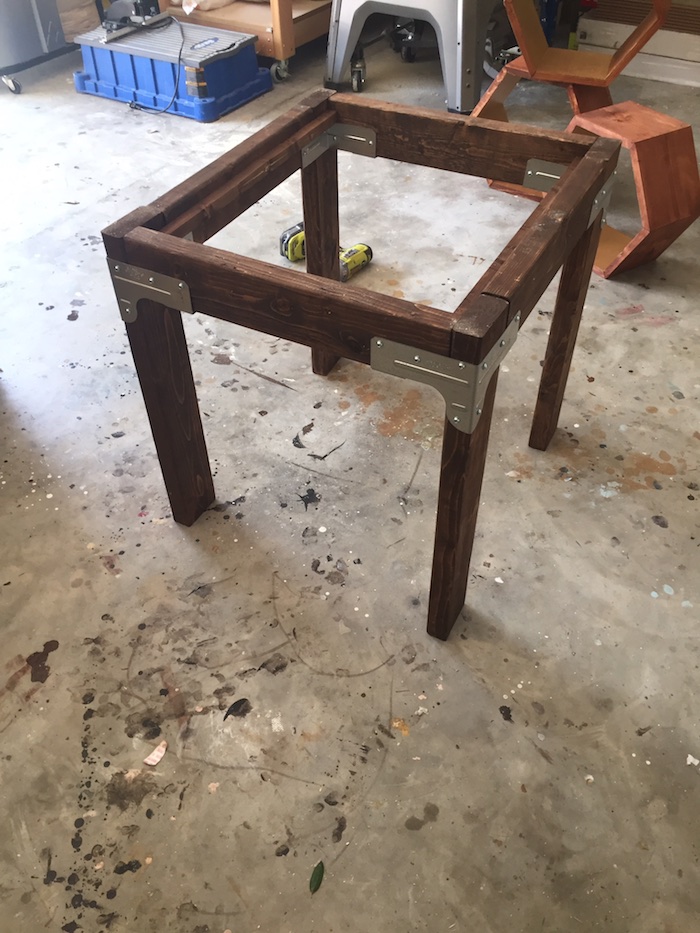
Step 3: Assemble Base with Rigid Tie Connectors
Being putting together the base using the Simpson Strong-Tie Rigid Tie connectors.
Step 4: Assemble Table Top
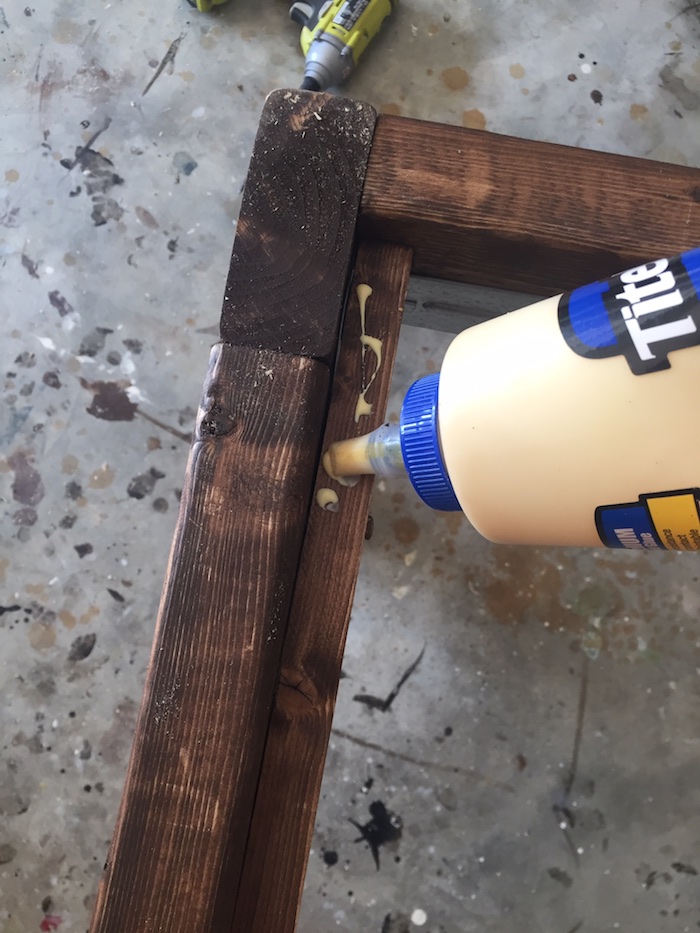
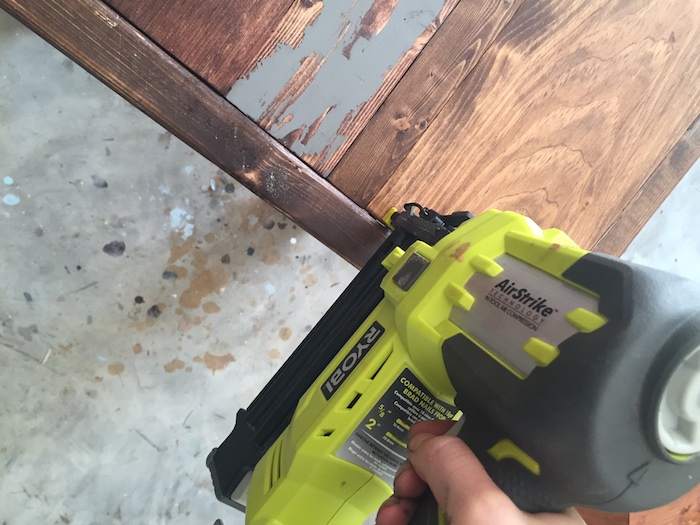
Using the Brad Nailer attach the 3/4″ square wood dowels.
Add wood glue to the top of the 3/4″ dowels and inset the table top. Nail each board into place.
We really love how easy this industrial side was to put together using the Simpson Strong Tie connectors, be sure to check out the matching coffee table.
Questions? Comments?
As always, if you have any questions don’t hesitate to comment below and especially don’t forget to post pictures of your finished products in the comments! ENJOY!

