

Parquet X-Brace Coffee Table
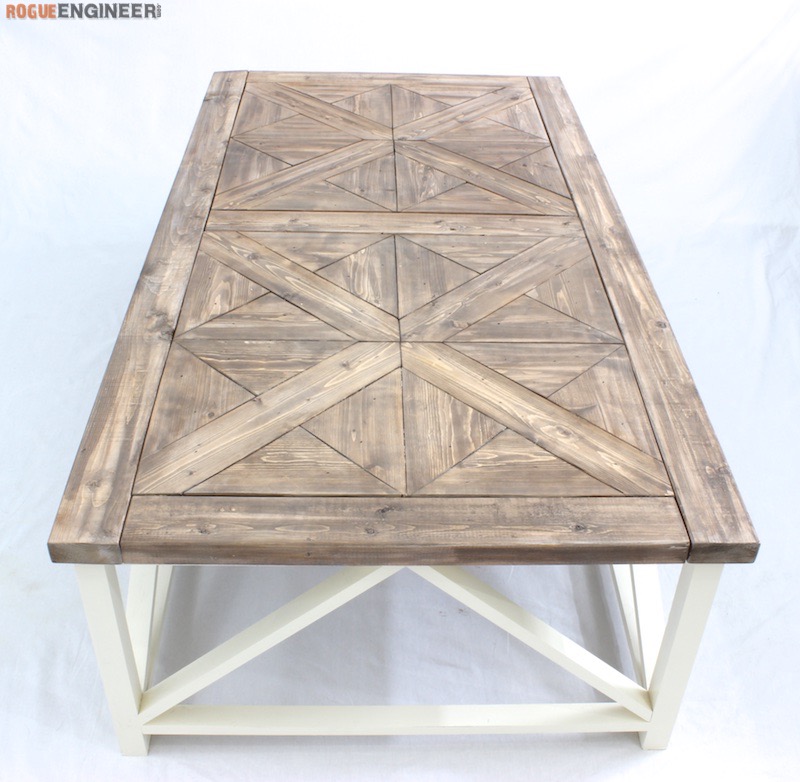
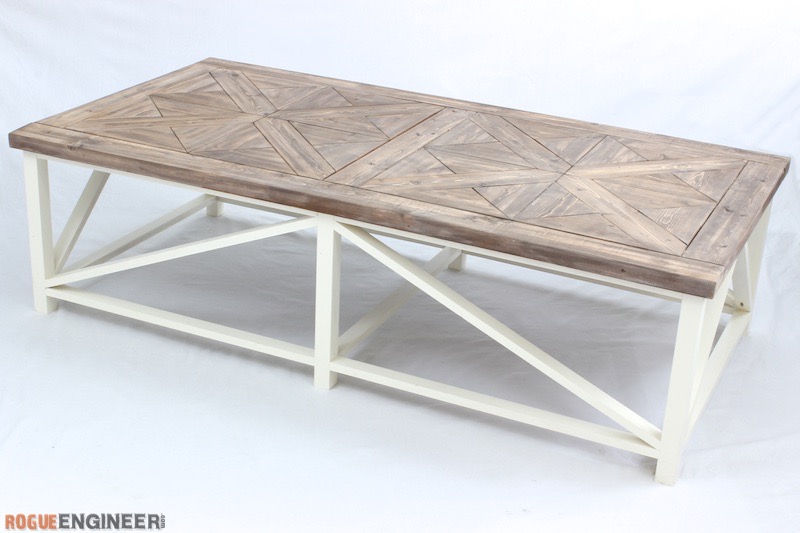
So my first ever DIY furniture project was a coffee table, and boy was it terrible. I kind of “winged it” and of course it didn’t turn out well. So bad in fact, that I refuse to post a picture of it. Nevertheless, it has sat in our formal living room, of all places, haunting me each and every day. The reason for this is that we wanted something awesome for that room and just never came across that special piece. That is until now. When we stumbled upon the amazing Parquet X-Brace coffee table from Restoration Hardware we knew it was the one. Although this was a little more challenging this is definitely one of my favorite DIY projects! I hope you enjoy it as much as I do.
Disclosure: The links provided in the “materials” and “required tools” sections are affiliate links. If you would like to support our site and help keep our content free come find out more about how we can make money with no extra cost to you.
Tools Required
- Pocket Hole Jig
- Recommended: Kreg K5 or Kreg Foreman
- Drill
- Miter Saw
- Brad Nailer
- Tape Measure
- Pencil
- Safety Glasses
- Hearing Protection
Materials
- Qty 1 3/4″ Sheet Plywood
- Note: This can be any type of 3/4″ ply since it won’t be seen. I used some scrap I had.
- Qty 2 1 x 4 x 96″ (Pine; Common Boards)
- Qty 2 1 x 6 x 96″ (Pine; Common Boards)
- Note: If you’re a wasteful cutter get three of the 72″ long boards.
- Qty 3 2 x 4 x 96″ (Pine; Premium Studs)
- Qty 1 2 x 2 x 96″ (Pine; Select/Clear Grade)
- If you don’t have access to these get two 1×2’s and glue and nail together.
- Qty 7 1 x 2 x 96″ (Pine; Select/Clear Grade)
- Qty 2 1 x 2 x 72″ (Pine; Select/Clear Grade)
- 1-1/4″ Pocket Screws
- 2-1/2″ Pocket Screws
- 1-1/4″ Wood Screws
- 1-1/4″ 18 Gauge Brad Nails
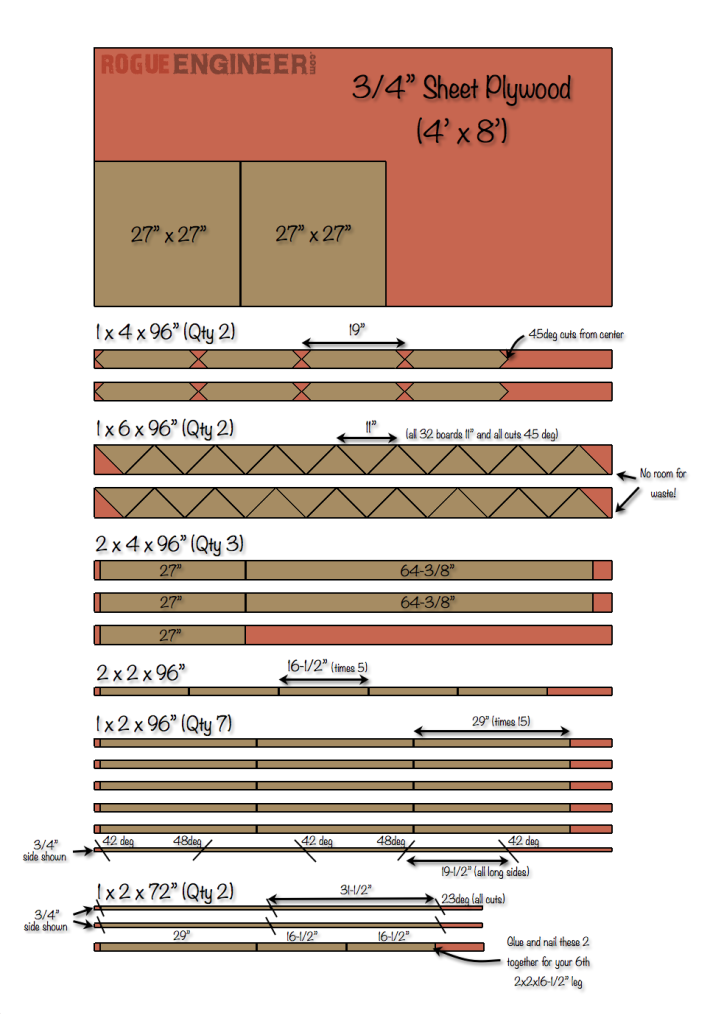
Cut List
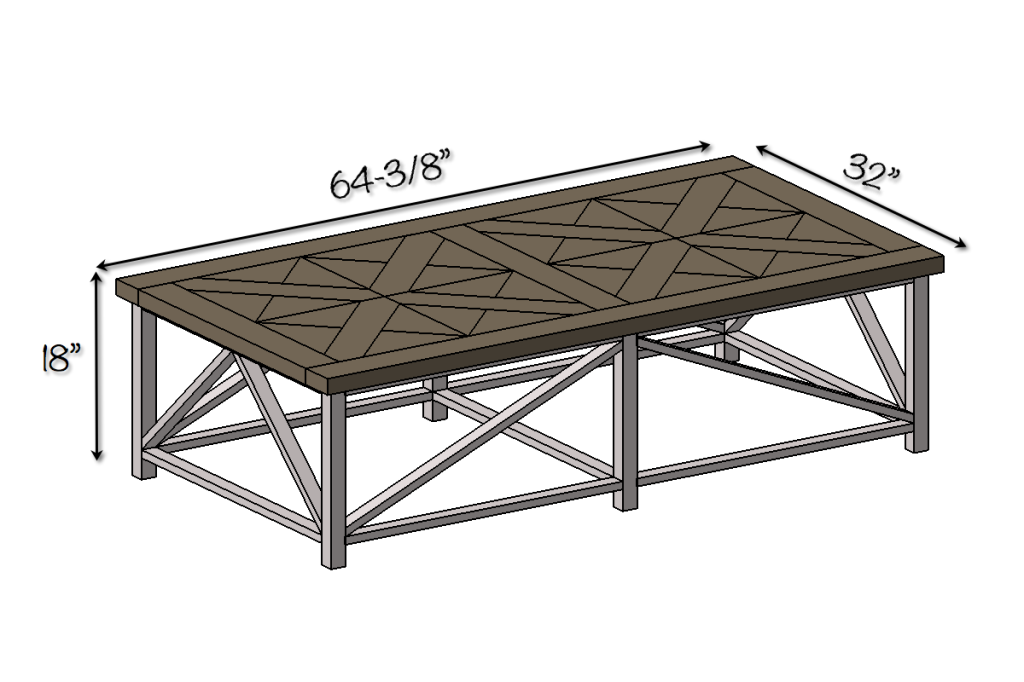
Dimensions
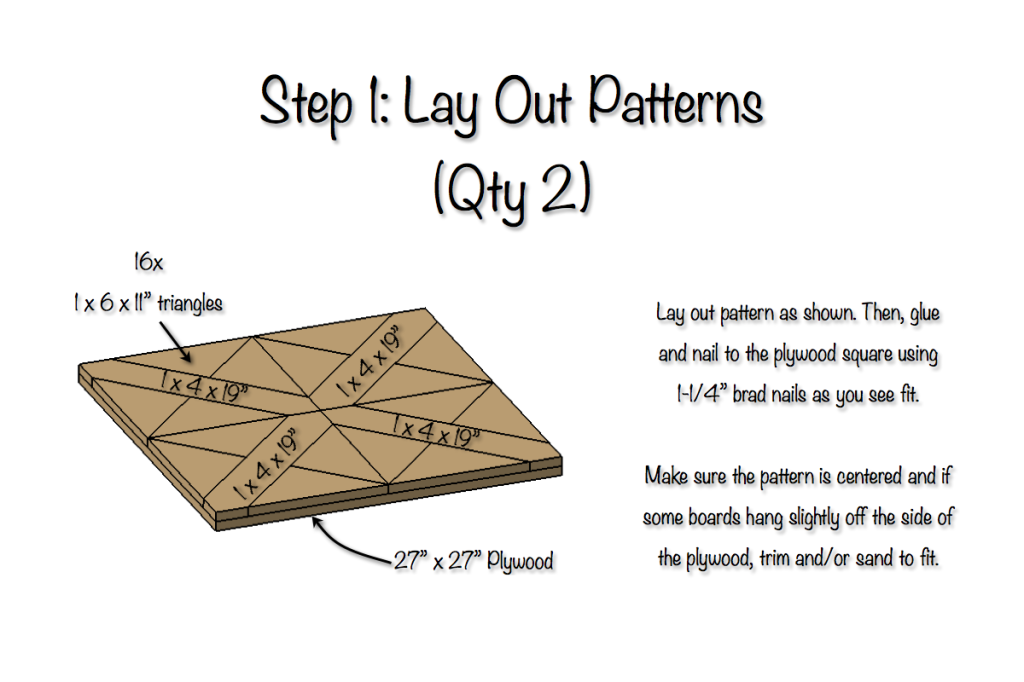
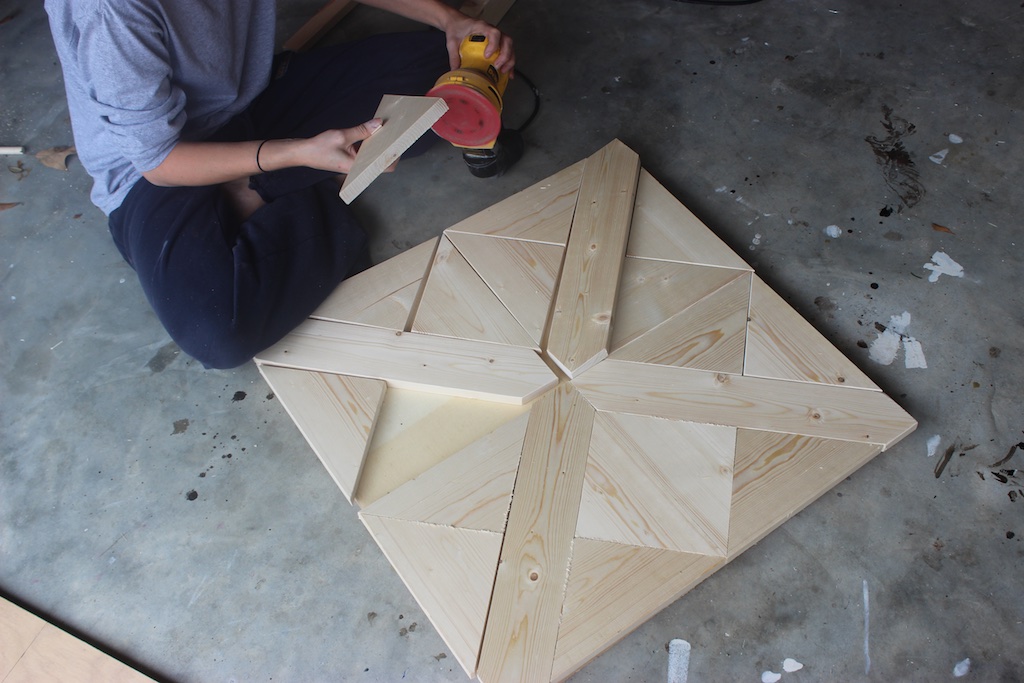
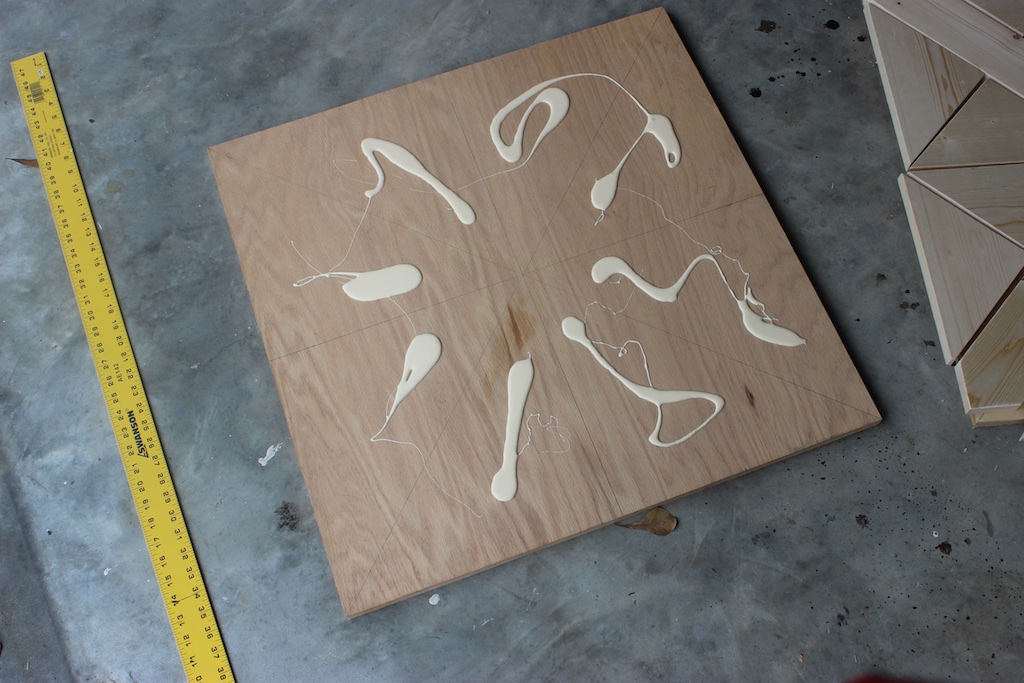
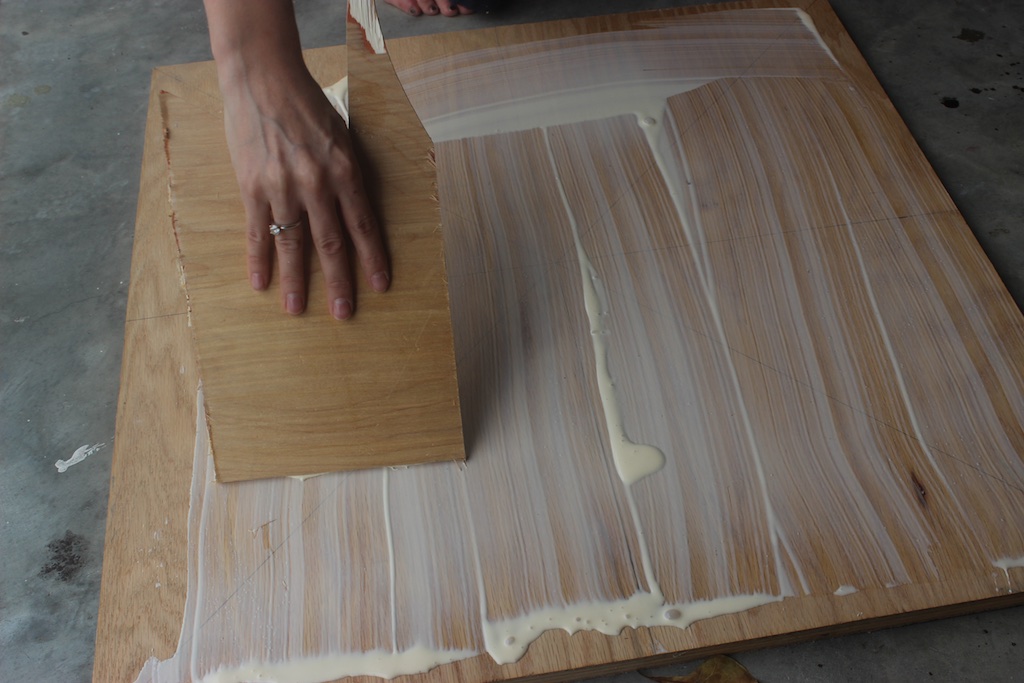
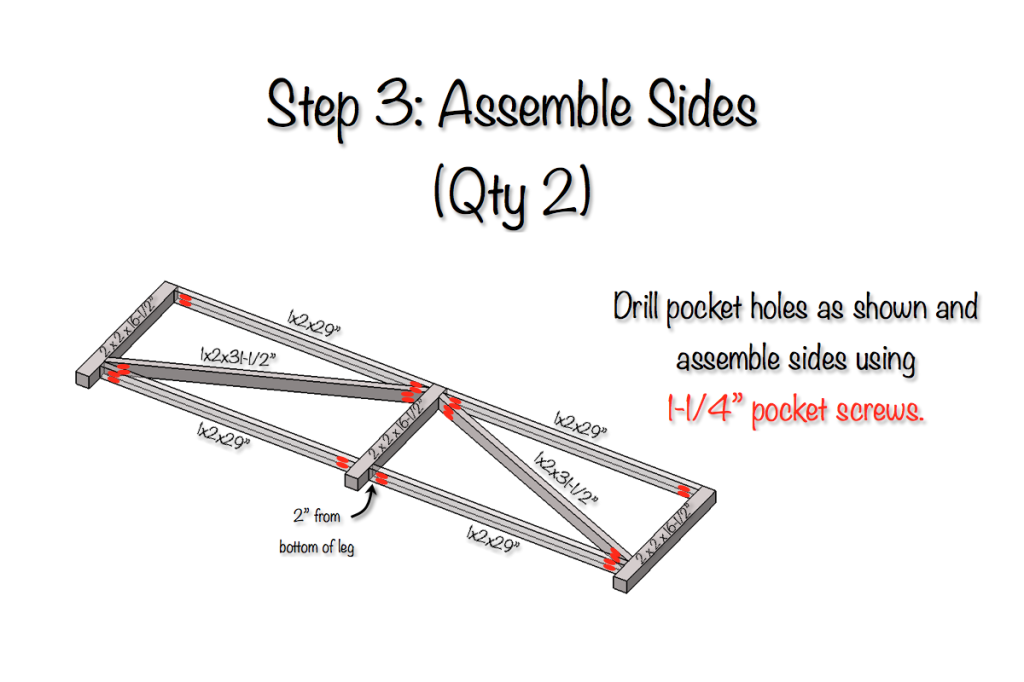
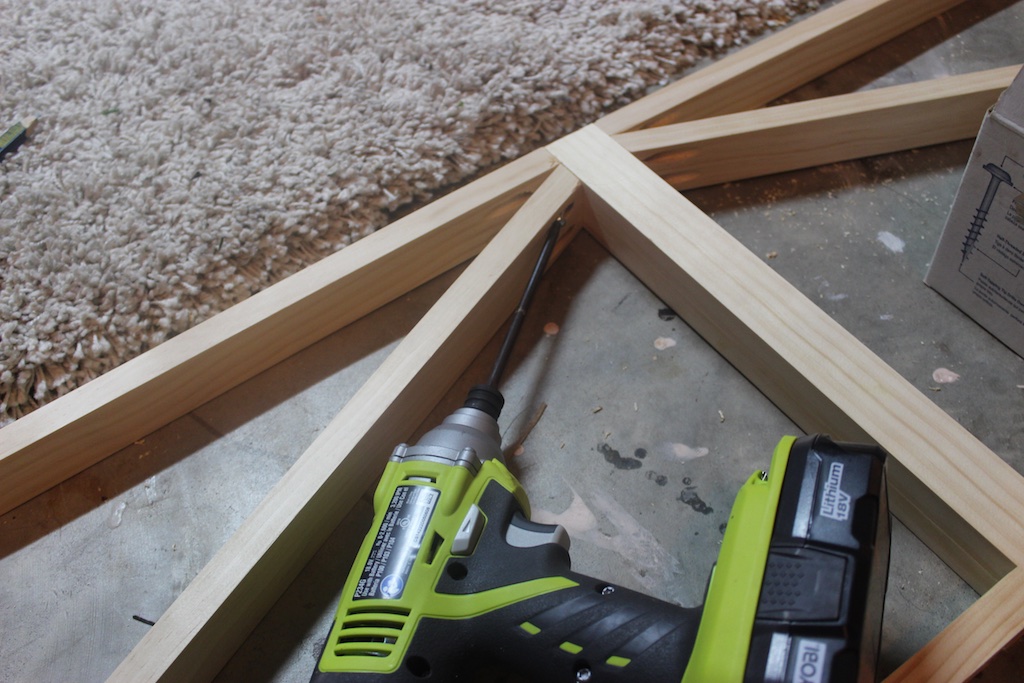
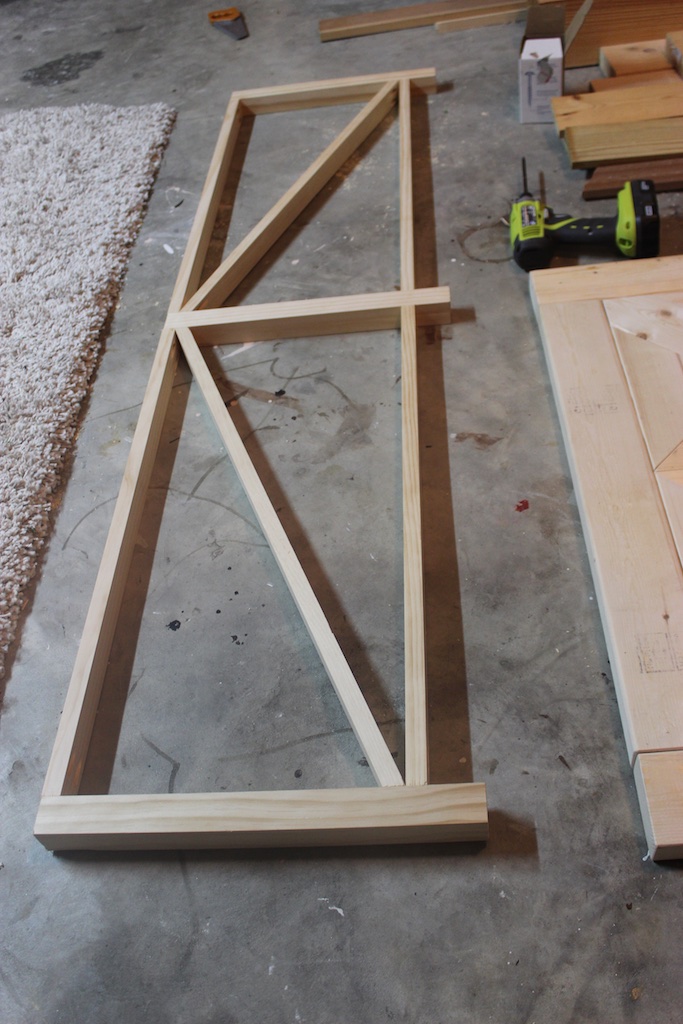
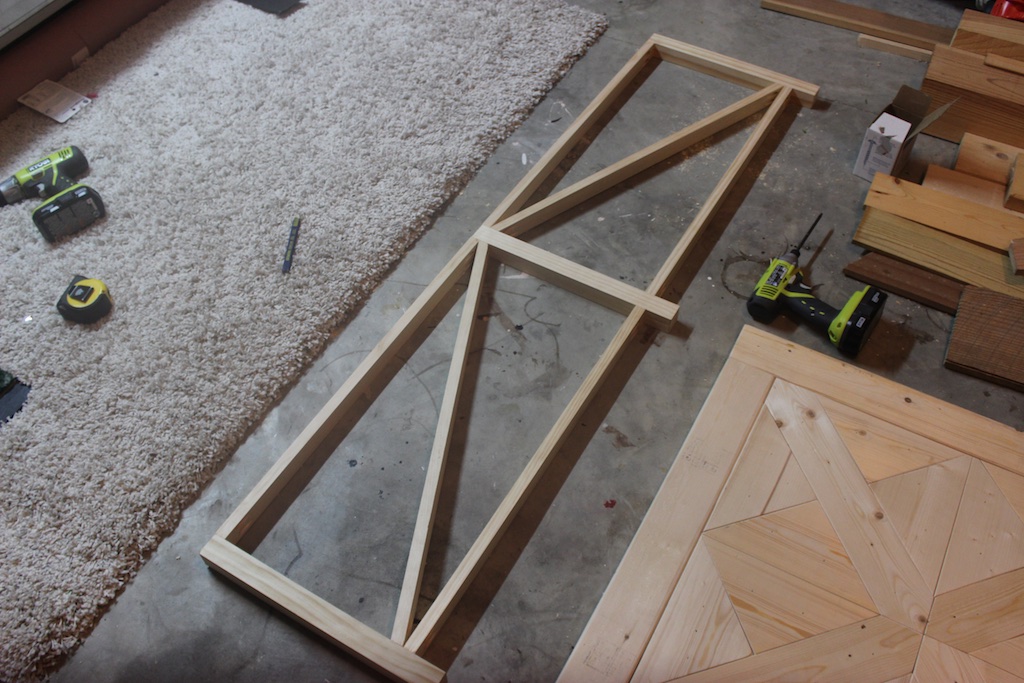
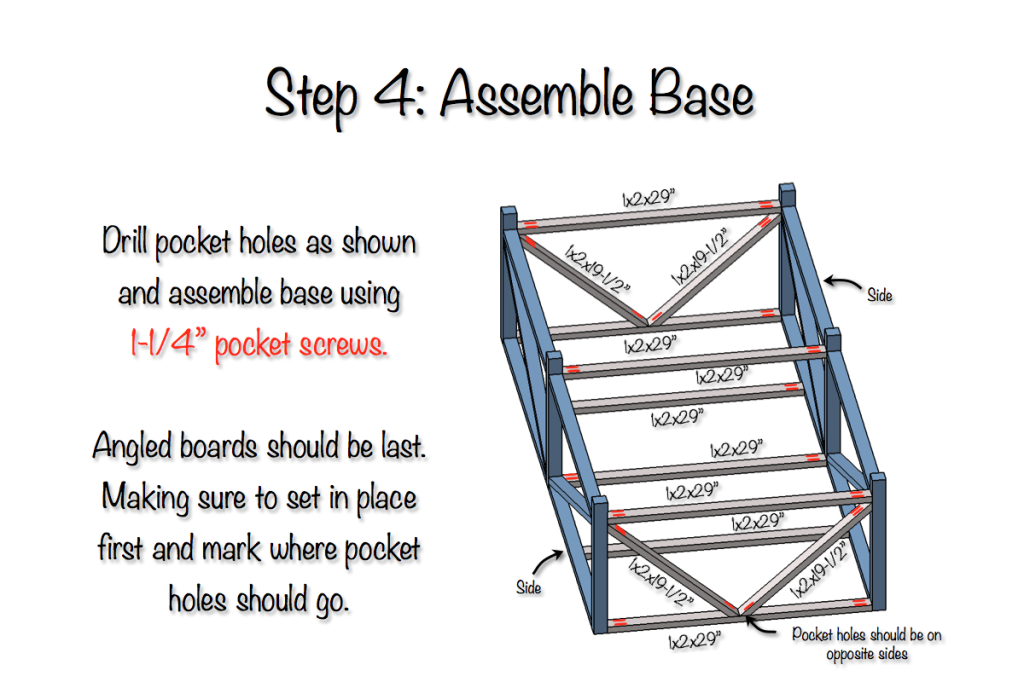
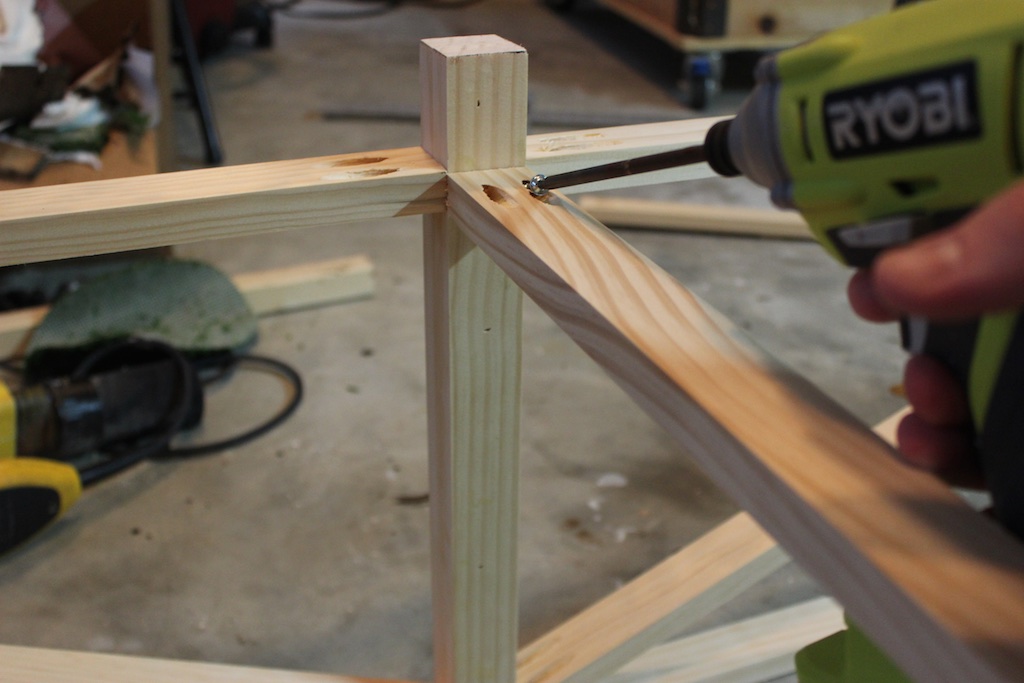
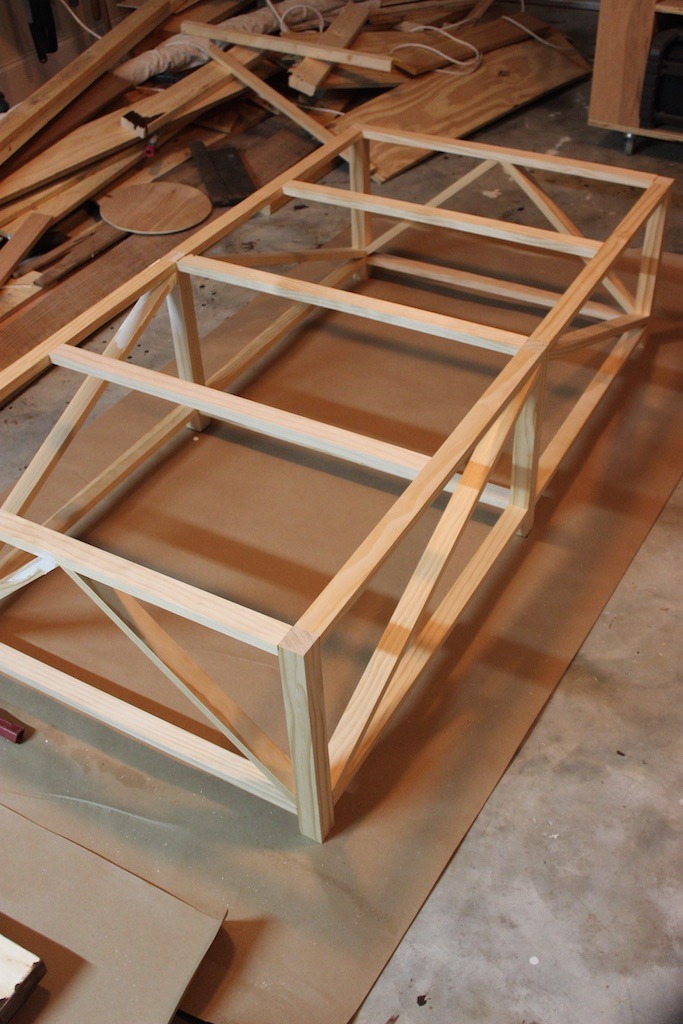
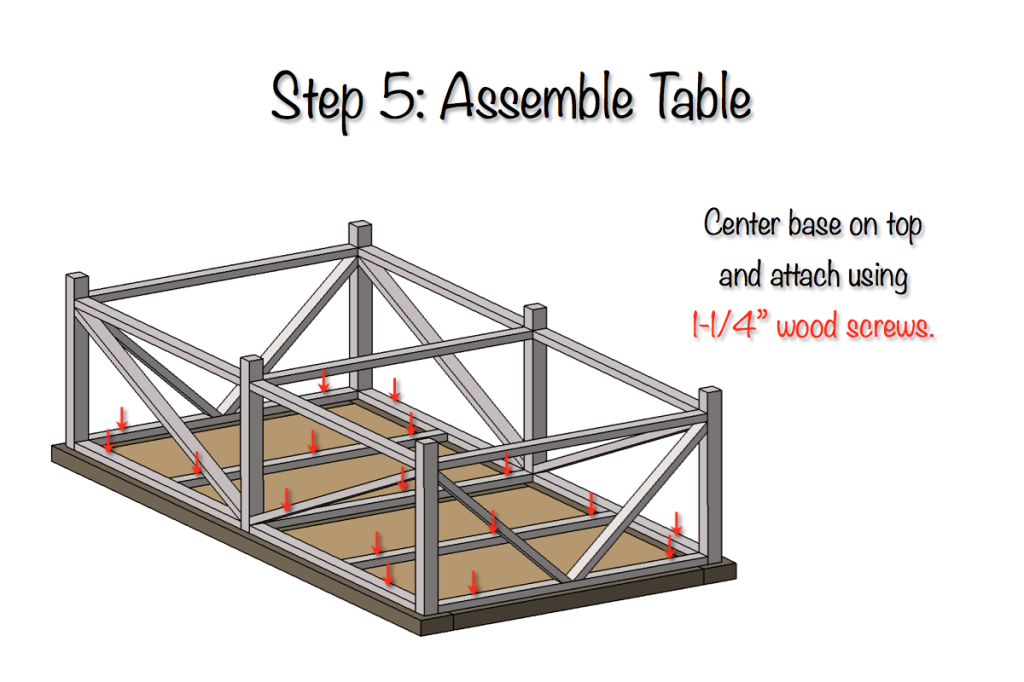
Parquet X-Brace Coffee Table Plans
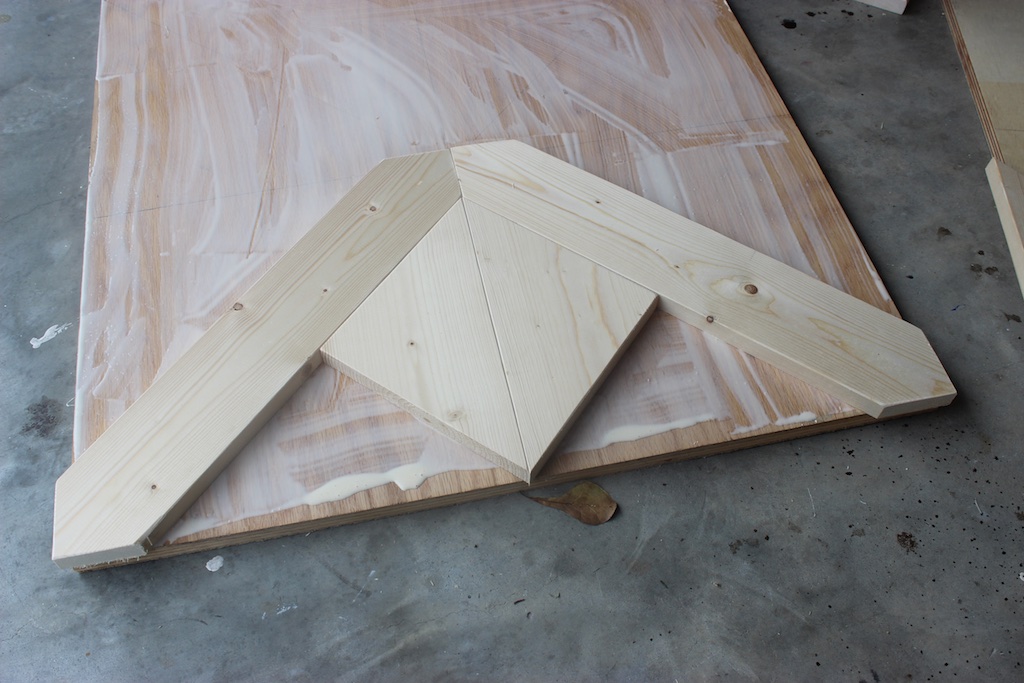
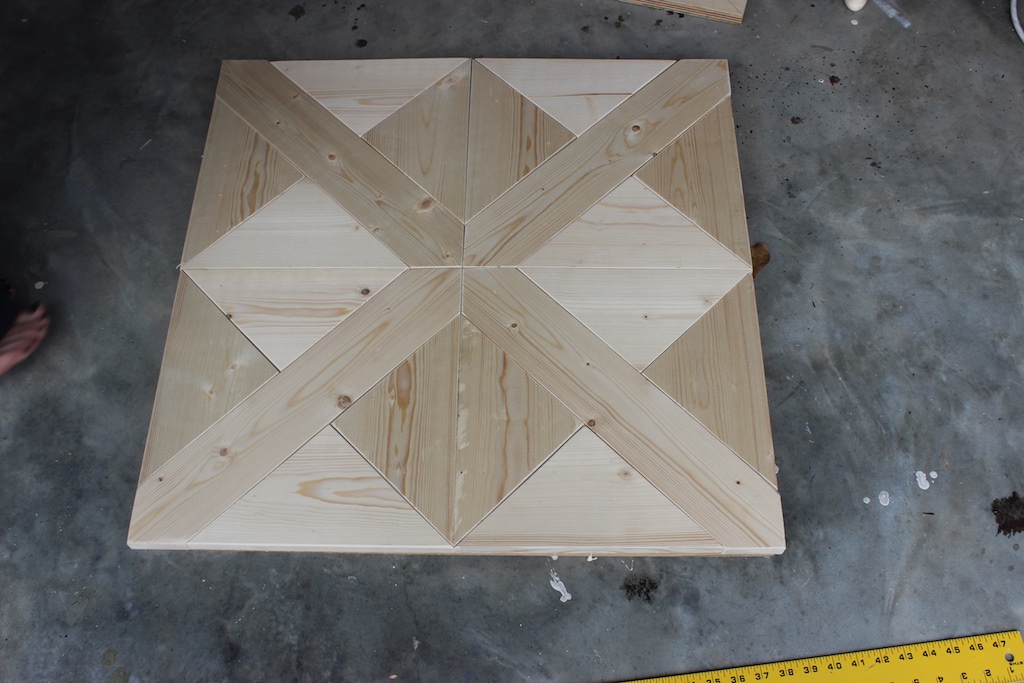
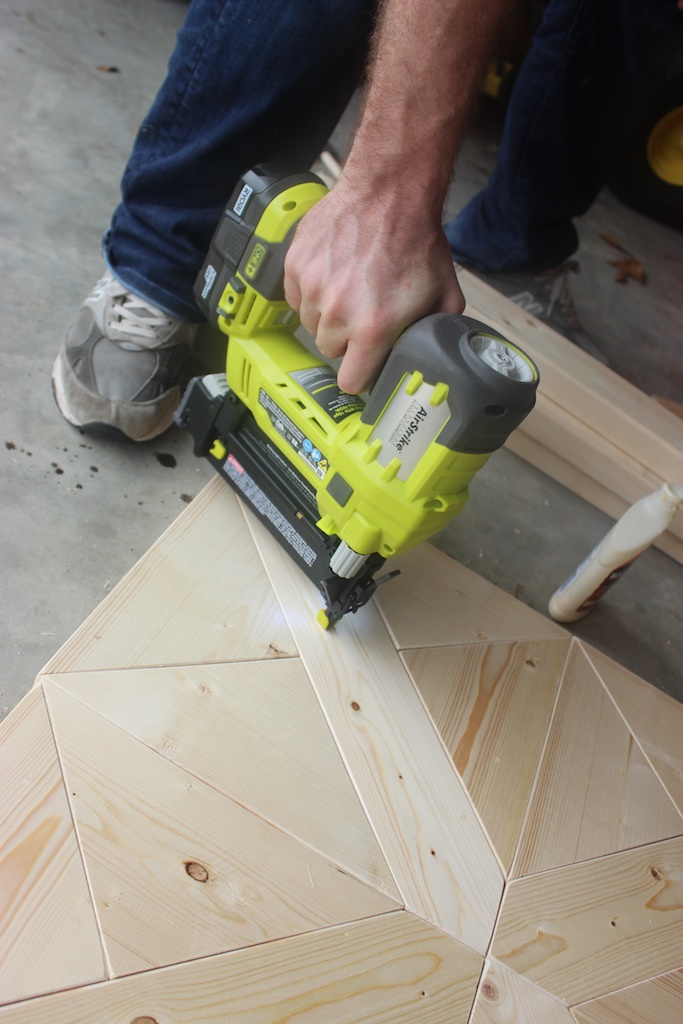
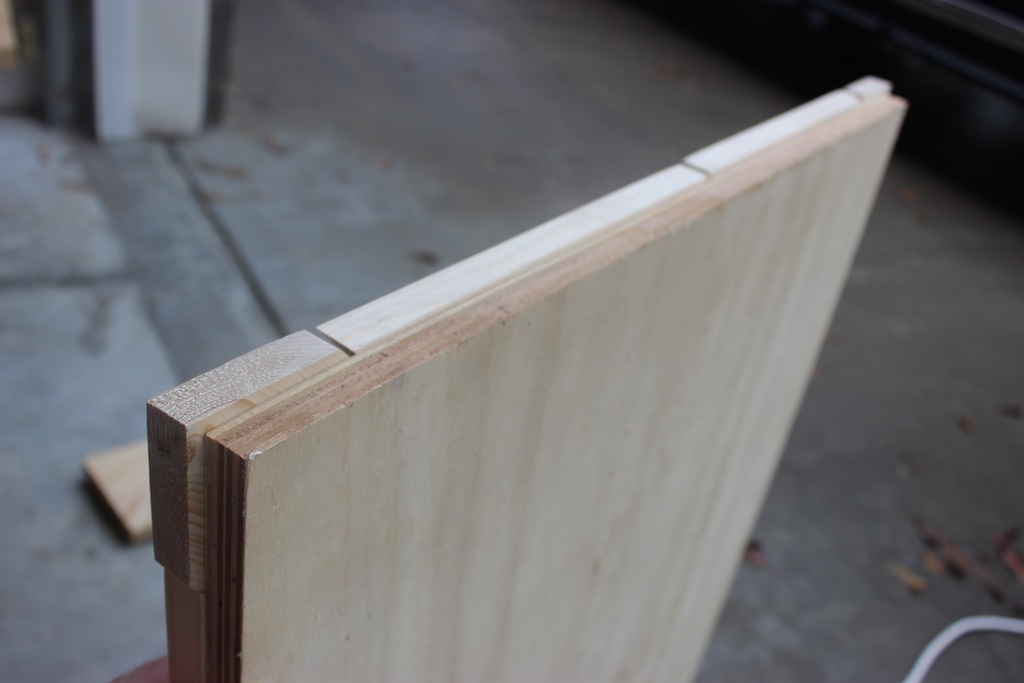
Finishing
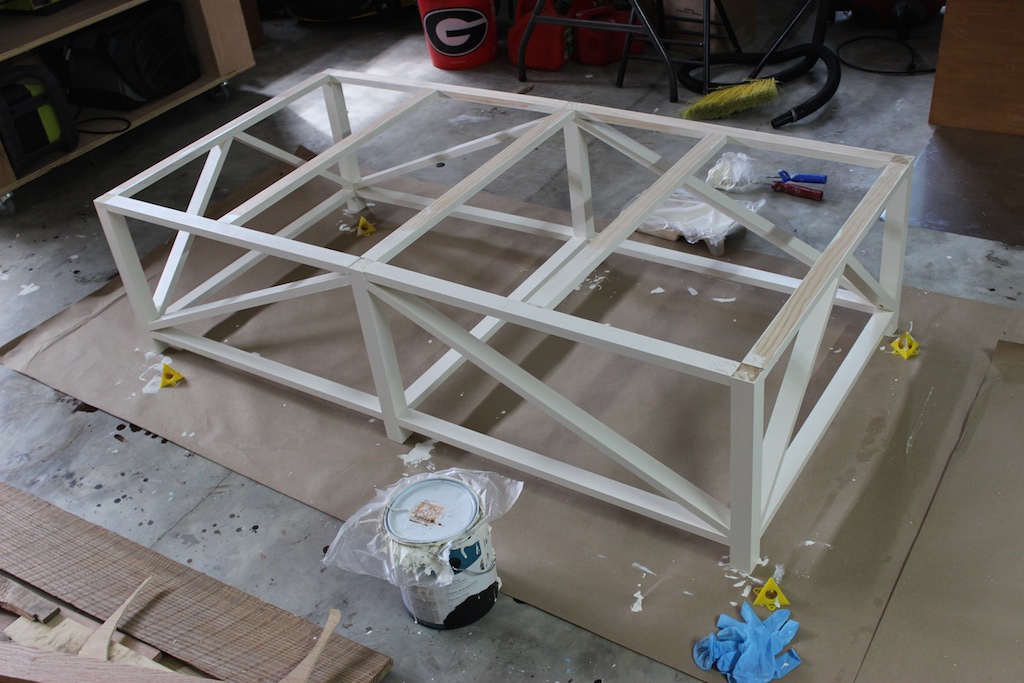
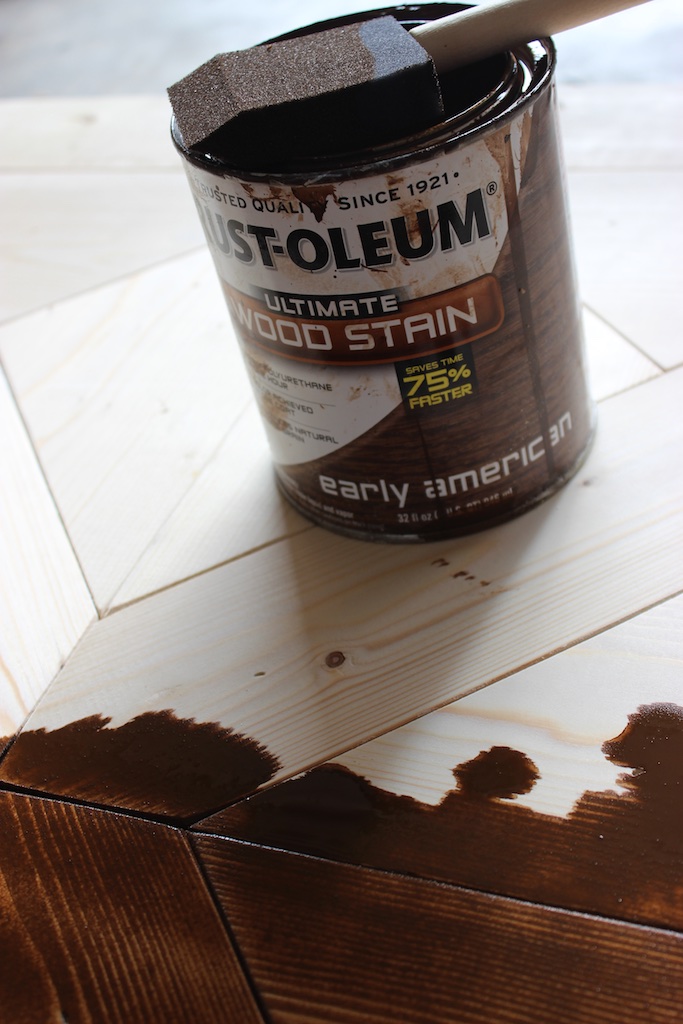
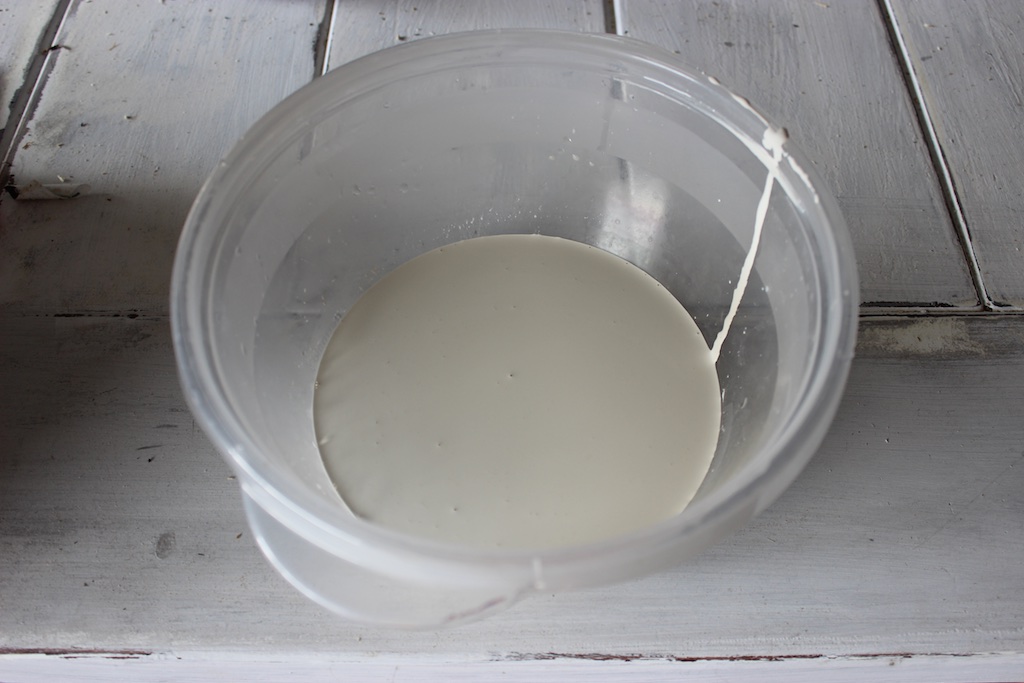
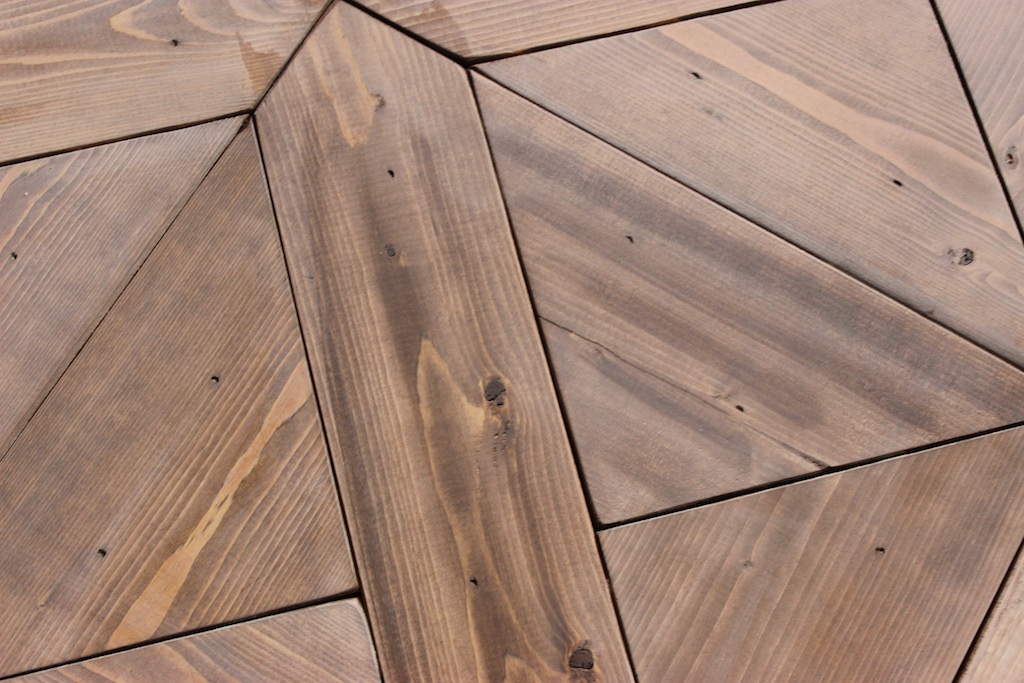
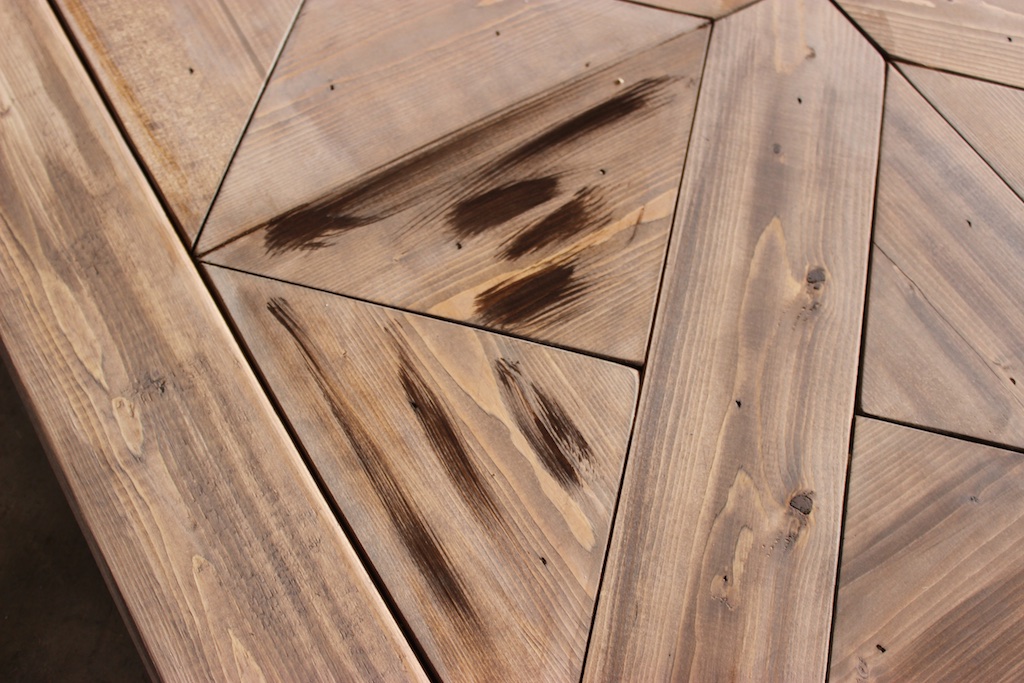
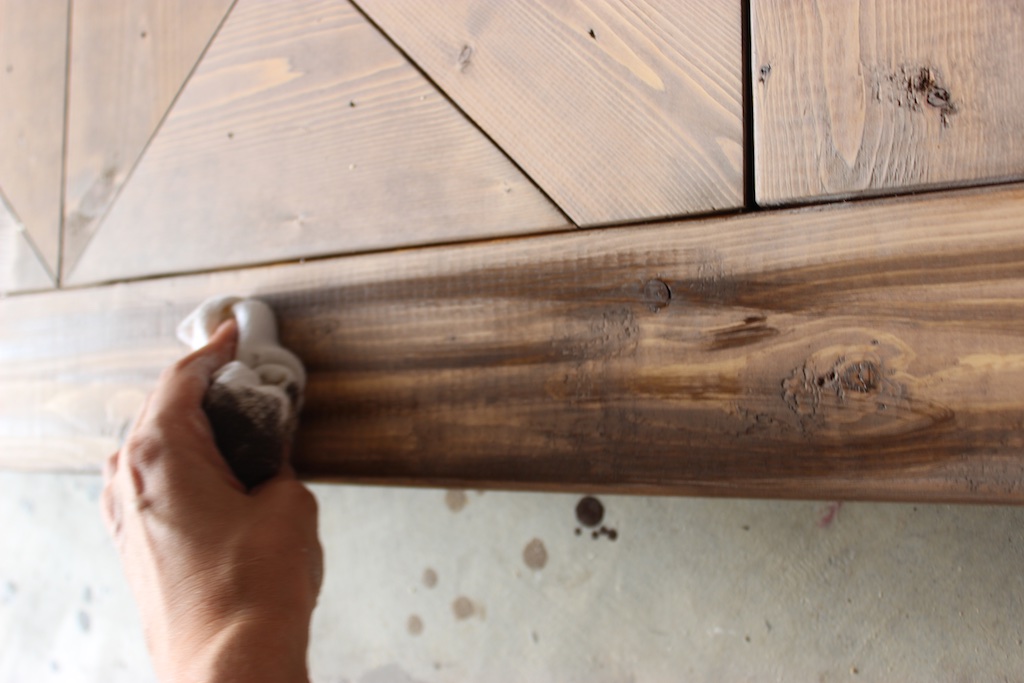
Jamie decided to get all artistic on this one. First she painted the base a nice, simple, flat creamy white color. Then for the top she started with Rust-Oleum’s Early American wood stain. Followed by a whitewash with a 50/50 watered down paint (same as base). Then she finished it off by highlighting the wood grain with the Kona wood stain. Finally, she added clear furniture wax to preserve the finish.
Questions? Comments?
As always, if you have any questions don’t hesitate to comment below and especially don’t forget to post pictures of your finished products in the comments! ENJOY!
Love the coffee table. Did you fill the pocket holes on the base? If not, are they visible when it’s finished?
Thanks Matt. I didn’t fill them. If you knew they were there and got down love enough you could probably see the pocket holes but for the most part they aren’t noticeable.
Can I just say I LOVE THIS. My husband and I actually built this coffee table this past weekend, but scaled it down to where it fit better in our small living room. We also took out the long braces and added a shelf on the bottom. It also makes an amazing end table if you cut it in half (we did this too). We are actually going to use the same plans and upscale 1/2 of it to make a square dining table since our living/dining is part of the same room. Thank you for the amazing plans!
That’s awesome Alix! Thanks for sharing. If theres anyway you could share picture here, I’d love to see how it turned out!
Coffee Table (2 Pictures) and End Table. I’ll put the dining table in a separate comment.
Trying again…
That looks amazing Alix! I like the dark finish. Thanks for sharing you’re results!
I LOVE this and would love to make this my desk! Now, to figure out how to add a drawer or two and measurements for the height. But I think It would need something more substantial for the legs.
Thanks Jacqueline! That would be awesome and I think the base is more than substantial. This thing is actually very stiff when assembled.
Hello Jamison! 🙂
We have made these tables! Thank you for the tutorial!
WOW! Those look amazing! Excellent work on these.
I like the side table that Elena Sobovaya made. Is it possible to get the measurements for it?
The side table she made is great! I believe she kept the same design 27×27 center piece and added the 2×4’s along the edge. 2 2×4’s at 27″ and 2 2×4 at 34″, the rest of the base should be pretty straight forward from there.
Love this table; think I might start with the end table version and see how I go. Is it necessary to nail the parquetry in place or could I get away with just glue..provided I wait for it to cure.
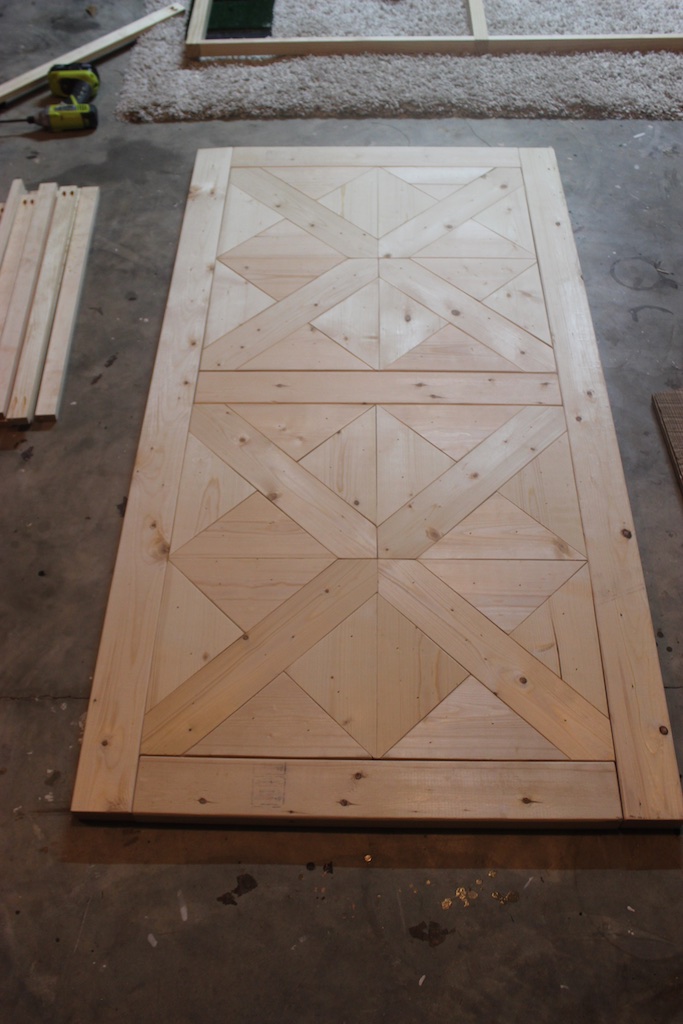
Glue would probably be sufficient. We just didn’t want the pattern moving around while trying to place the pieces.
Just made this table and am in the process of whitewashing now. Did you do one coat of the 50:50 mix or more? How long did you let dry? Just curious since I’m interested in getting the finish you achieved. Thanks for the great diy!
Did you ever think of sealing it with epoxy resin. This looks like the perfect design as a table top for a storage solution for my front entrance https://uploads.disquscdn.com/images/bc121e54192253b4635c155e1a0ba2fa76612e5a4d4e1645af8148774e9c5170.jpg
size 4 ft long and 2ft depth. something like this chest of drawer but cabinets where big drawers are.
your table top has . The WOW Factor to it. Thanks PW. Thats why i ask about the epoxy to seal the top.,