
How to Build a Paver Patio
Quick answer: Building a paver patio is a 15-step DIY project that takes a long weekend with the right prep. Excavate 8–10 inches of soil, lay a 4–6 inch base of 3/4" clean gravel compacted in lifts with landscape fabric, screed a 1 inch top coat of 1/4" or 3/8" clean chip stone pitched 1/8" per foot for drainage, then lay your pavers, edge with plastic or concrete, sweep polymeric sand into the joints, and vibrate it in with a compactor. Skip the play sand — use a clean chip-stone base + poly sand for a patio that won't wash out.
On our barn/workshop we have a covered porch that gets used quite a bit. The covered area is a place to store the grill and transport material into the workshop, but it had also become a place to store bikes and other things — leaving us little space to entertain outside. To expand that area for storage and a new Pit Boss grill, we decided to build a paver patio.
I learned a ton through the process of researching and completing this project, and I thought it was important to put together a thorough guide for others. Read on to see exactly how it all came together — and the modern open-grade base method that lets water drain instead of trapping it.
Tools & materials for a paver patio

How to build a paver patio: step-by-step
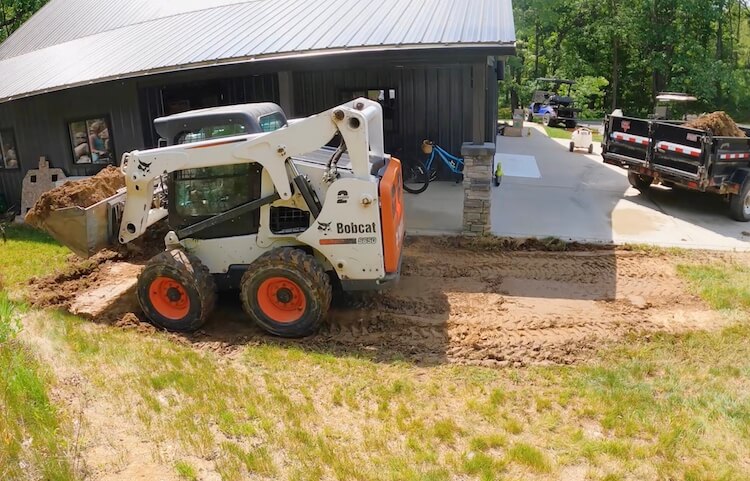
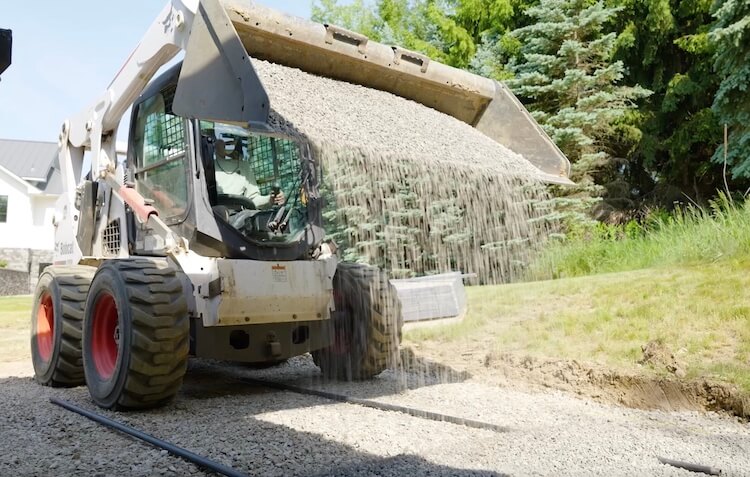
Excavate the patio area
This is honestly the hardest part. Remove about 8–10 inches of soil below the desired height of the patio for the prep work. That depth comes from the math: 4–6 inch base coat + 1 inch top coat + 2-3/4 inch paver = 7-3/4 to 9-3/4 inches.
We tried doing it the old-fashioned way but could tell from the start it was going to take forever. Luckily, my father-in-law has a skid steer that made quick work of it. For most cases, I’d recommend renting a mini skid steer from Home Depot to save your back.
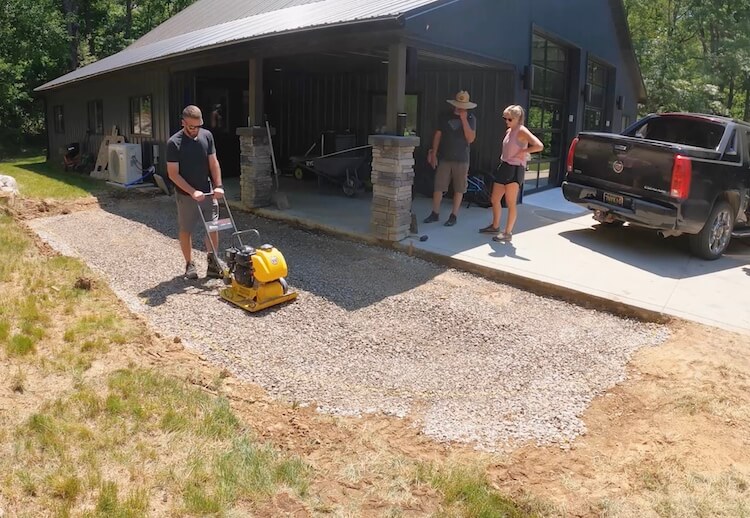
Lay and compact the first lift of gravel base
For the base coat we're going to put down 4–6 inches of 3/4" clean gravel. Clean gravel doesn't have the fines and dust in it, so water can drain through.
Put down about 1–2 inches of gravel first to flatten the area, then compact it into the existing soil using a plate compactor (also a rental at Home Depot).
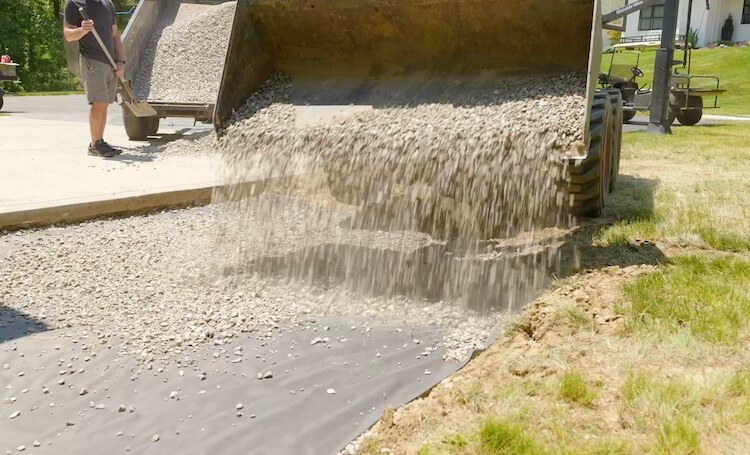
Add landscape fabric and finish the base
After the first compacted lift, lay down commercial-grade landscape fabric to help lock the layers in place and minimize settling. Then finish out the rest of the base coat in lifts, compacting each one.
The final grade of the base should be pitched 1/8 inch per foot for drainage, and at a height of (1 inch + thickness of paver) below your finished height.
Set up screed rails for the top coat
The top coat is 1/4 inch or 3/8 inch clean chip stone. For many years people used sand for the top coat — the problem is sand washes away into the gravel below and traps moisture. Clean chip stone gives you the same tight pack under the pavers, but with an open-grade base water can flow through.
The top coat must be screeded and pitched properly — 1/8 inch per foot, or just make sure the edge of the bubble on the level is touching the line on the high side. Lay 3/4" steel pipes and use a 6-foot level to dial in the grade. The top of the steel pipes should sit exactly at the level of the bottom of where you want your pavers.
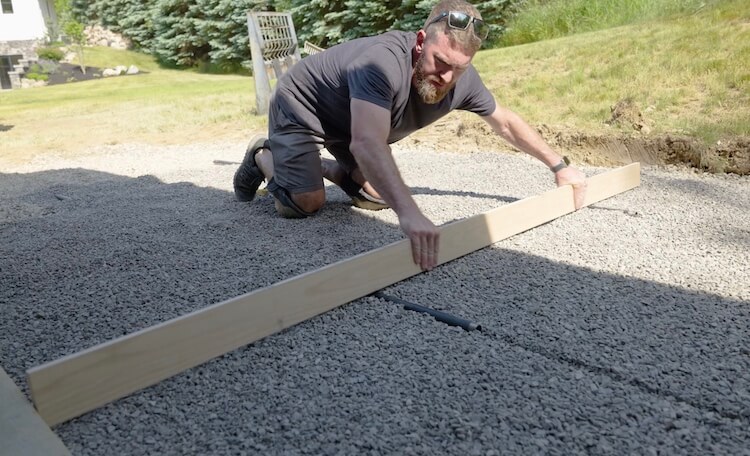
Screed the chip-stone top coat
Add chip stone a little at a time and screed it to the steel pipes with a long straight edge. Make sure not to walk on or disturb the chip stone after it's screeded. When you reach the end of your pipes, slide them down and screed the next section. Don't worry about the troughs the pipes leave behind — you'll fill those as you lay your pavers.
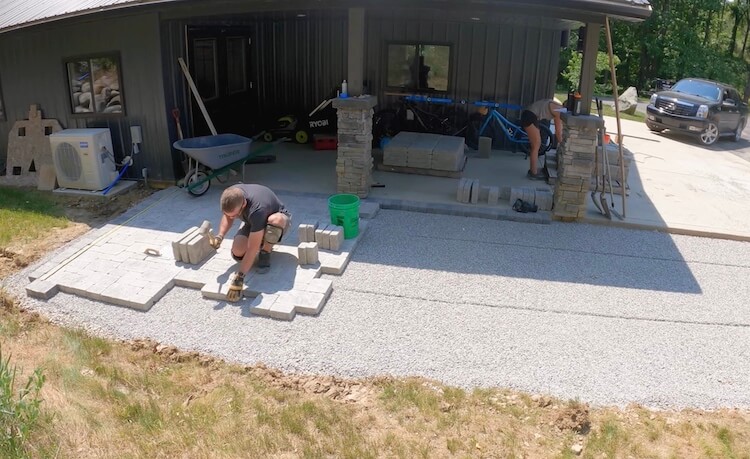
Lay the field pavers
For the main section of the patio I went with Unilock Brussels Block pavers in Limestone (random pattern "W"), with a perpendicular soldier course of 1/2 stones in Dark Charcoal around the perimeter. This pattern is a little time-consuming but the random look is worth it.
Use a rubber mallet to set pavers that are riding a little proud. I recommend having an extra hand around — my wife was a huge help shuffling pavers for me to lay.
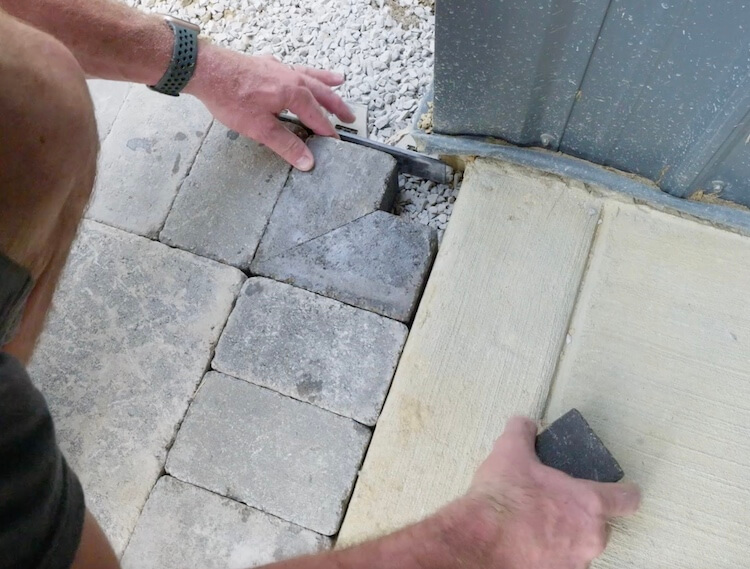
Cut the soldier-course corners
For the corners of the soldier course, I cut two pavers on a 45 and one small square using a wet saw with a diamond blade. It adds a nice finished touch — way better than ending the soldier course on a clean butt joint.
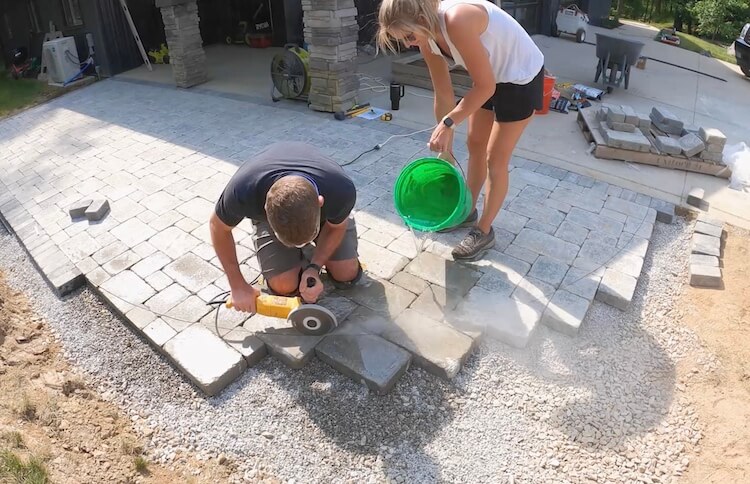
Cut a curve in your paver patio
First mark the curve. For me it was a radius — I figured out the length of the radius, stuck a pin at the pivot point, then used a string and pencil to mark the line.
To cut patio pavers cleanly, you really want a wet saw with a diamond blade. The water keeps the blade from heating up and keeps the dust down. You can rent these saws — but I had a large angle grinder and was able to complete the cuts by keeping the cutting surface wet while I worked. Score the curve lightly first, then make deeper passes. If needed, pull the paver and cut all the way through off-site.
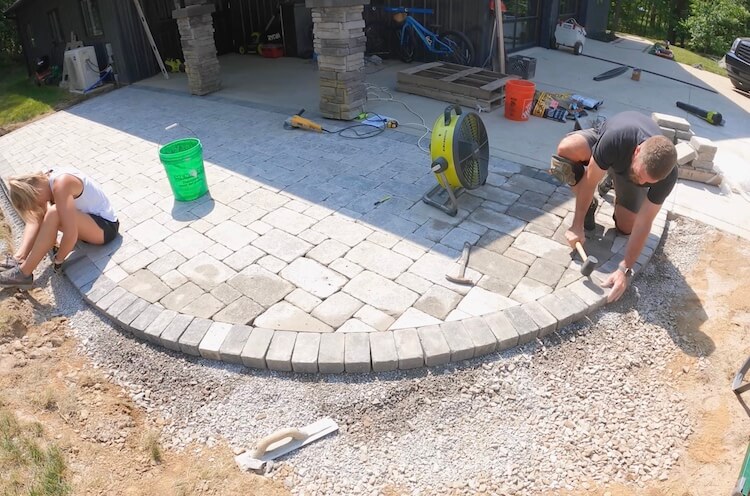
Finish the soldier course around the curve
After cutting the radius, I followed up with the soldier course tracing the curve.
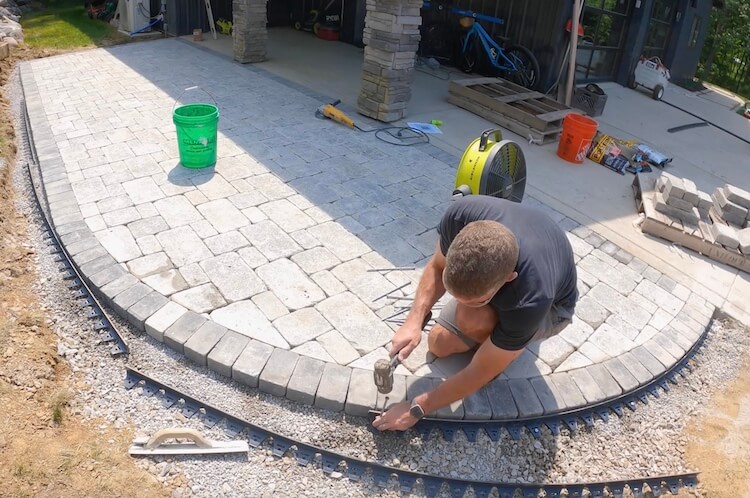
Install paver edging
For the edging I used plastic paver edging hammered in place with 10 inch galvanized spikes. In my research I did see a lot of folks who prefer concrete as a means of retaining the pavers vs. plastic edging — both work, so pick whichever fits your budget and look.
Backfill around the patio
Using some of the leftover topsoil from the excavation, we were able to backfill around the patio.
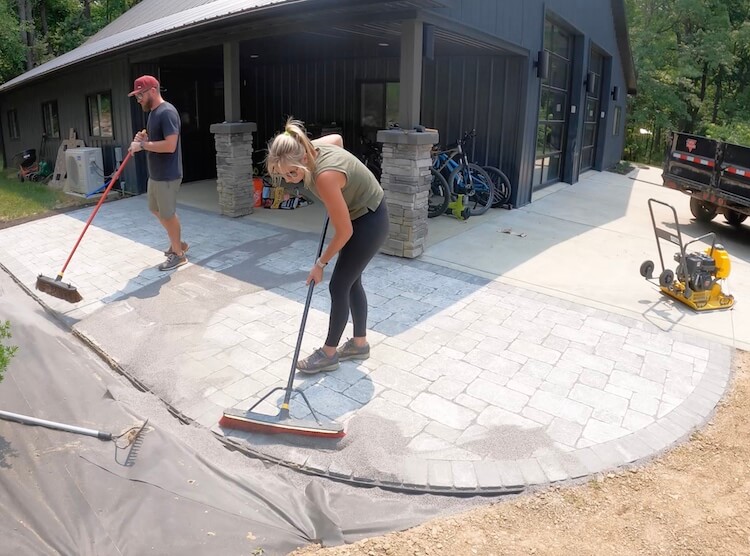
Sweep poly sand into the joints
To fill all the joints in a paver patio and lock it together, we used G2 Polybind polymeric sand. Sweep it into all the joints and leave the excess sitting on top.
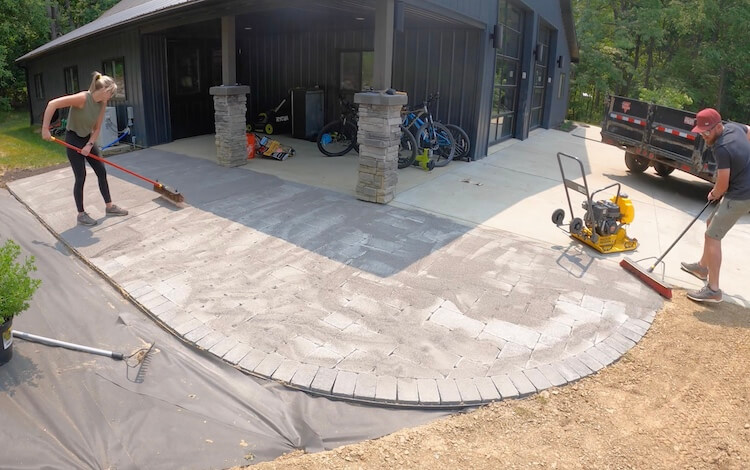
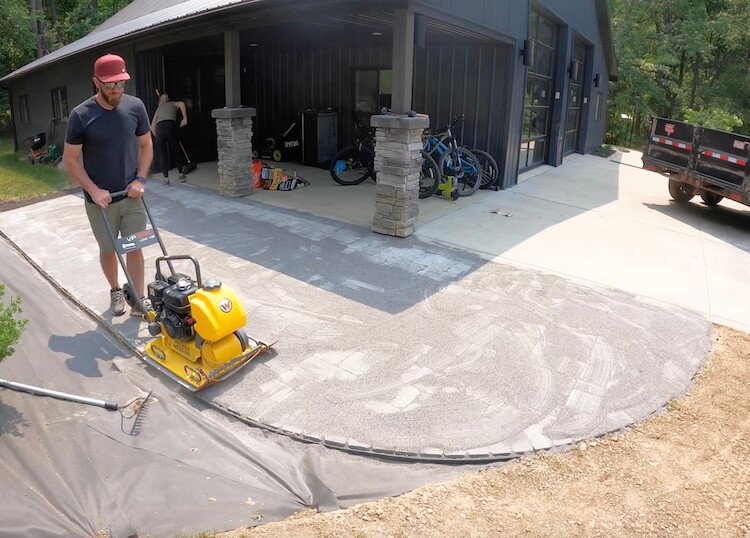
Vibrate the sand into the joints
Vibrate the sand down into the joints with the plate compactor. Be sure to use a pad under the compactor so you don't scratch your new pavers — we used a scrap piece of carpet.
Sweep clean and wet to activate
Sweep off all the excess poly sand, then wet the surface until it starts to repel the water. The polymer in the sand activates with moisture and locks everything in place.
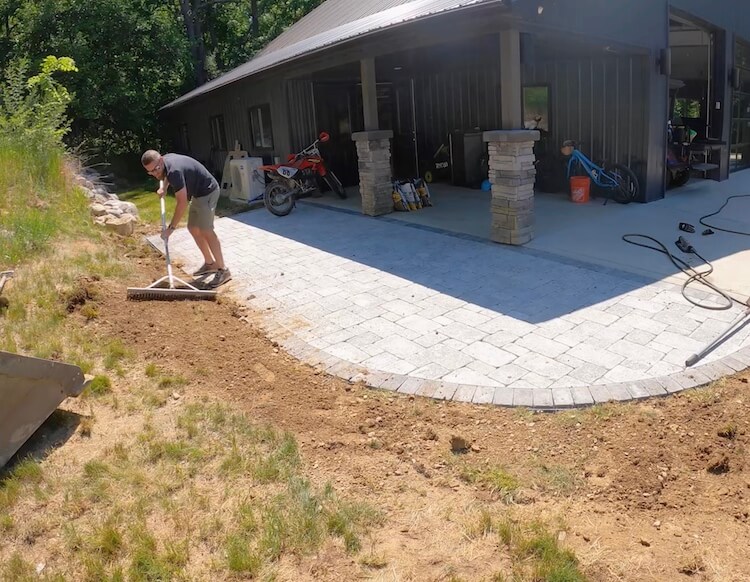
Enjoy your finished patio
Polymeric sand is honestly amazing. It locks in place and you'll never have to worry about it washing out like traditional play sand.
We couldn't be happier with how it turned out — and even decided to build a little composite privacy fence to help hide the AC unit. If you'd like to see how that came together you can check out that tutorial too.

The finished patio


Paver patio FAQ
How long does a paver patio last?
A properly installed paver patio with an open-grade base and polymeric sand joints will easily last 25+ years. Pavers themselves are rated for 50+ years of freeze-thaw cycles, so the lifespan really comes down to your prep — base depth, compaction, drainage pitch, and edging.
What’s the best base for a paver patio?
Modern best practice is an open-grade base: 4–6 inches of 3/4" clean gravel (no fines), separated by commercial-grade landscape fabric, with a 1 inch top coat of 1/4" or 3/8" clean chip stone. This drains water rather than holding it, which prevents heaving in cold climates.
How thick should a paver patio base be?
For pedestrian patios, plan on 4–6 inches of compacted base plus a 1 inch top coat. In freeze-thaw climates, lean toward 6 inches. Add another 2 inches for driveways or anywhere a vehicle might roll.
What slope does a paver patio need?
Pitch the patio 1/8 inch per foot away from any structure for drainage. A long bubble level works — when the bubble's edge just touches the high line, you're at 1/8" per foot.
Sand or chip stone for the top coat?
Use chip stone, not sand. Sand washes down into the base over time and traps moisture. 1/4" or 3/8" clean chip stone gives you the same tight pack under the pavers but lets water keep flowing through your open-grade base.
Do I need a permit to build a paver patio?
Permit requirements vary by city. Most areas don't require a permit for ground-level patios, but they do for anything attached to the house, taller than ~30 inches, or near a property line. Always call your local building department before you dig.
Can I lay pavers over an existing concrete slab?
You can — but you have to handle drainage. Most installers add a 1 inch chip-stone screed coat over the slab, then the pavers, with weep holes drilled through the slab. The cleaner solution is to break up the slab and start with a proper open-grade base.
How much polymeric sand do I need?
Coverage depends on paver thickness and joint width, but a good rule of thumb is one bag covers 80–100 sq ft with 2-3/4" pavers and 1/8" joints. Buy a little extra — running short mid-sweep is a pain.
