

How to Refinish Hardwood Floors (What We Learned Doing It Ourselves)
Quick build: Here’s how to refinish hardwood floors: strip any old coverings and adhesive down to bare wood, then sand in three passes with a rented drum sander and edger: 36 grit to reach bare wood, 60 to take out those marks, and 100 to smooth it. Screen the whole floor with a square buffer and a 120-grit screen, water-pop it if you’re going dark, stain, and finish with two coats of a thick floor poly. Our 800 square feet of oak took about a week, start to finish. Documented by Jamison Rantz, October 2026.
Prefer to watch? The whole project is on YouTube.
When we pulled the carpet out of a house we’d just bought to renovate, we found the original oak floors underneath, still intact. The catch was that most of the rooms had them buried under several layers of linoleum and mastic. I was ready to lay new flooring right over the top. Jamie wasn’t having it, and she was right.
It was our first time refinishing a floor, so everything below is what we actually did, including the tips the rental desk and a floor pro gave us that made the difference. If you’ve found hardwood under carpet or old vinyl, this is the whole process, from the glue on top to the last coat of finish.
How to Refinish Hardwood Floors, Step by Step
Pull the carpet and scrape up the old flooring
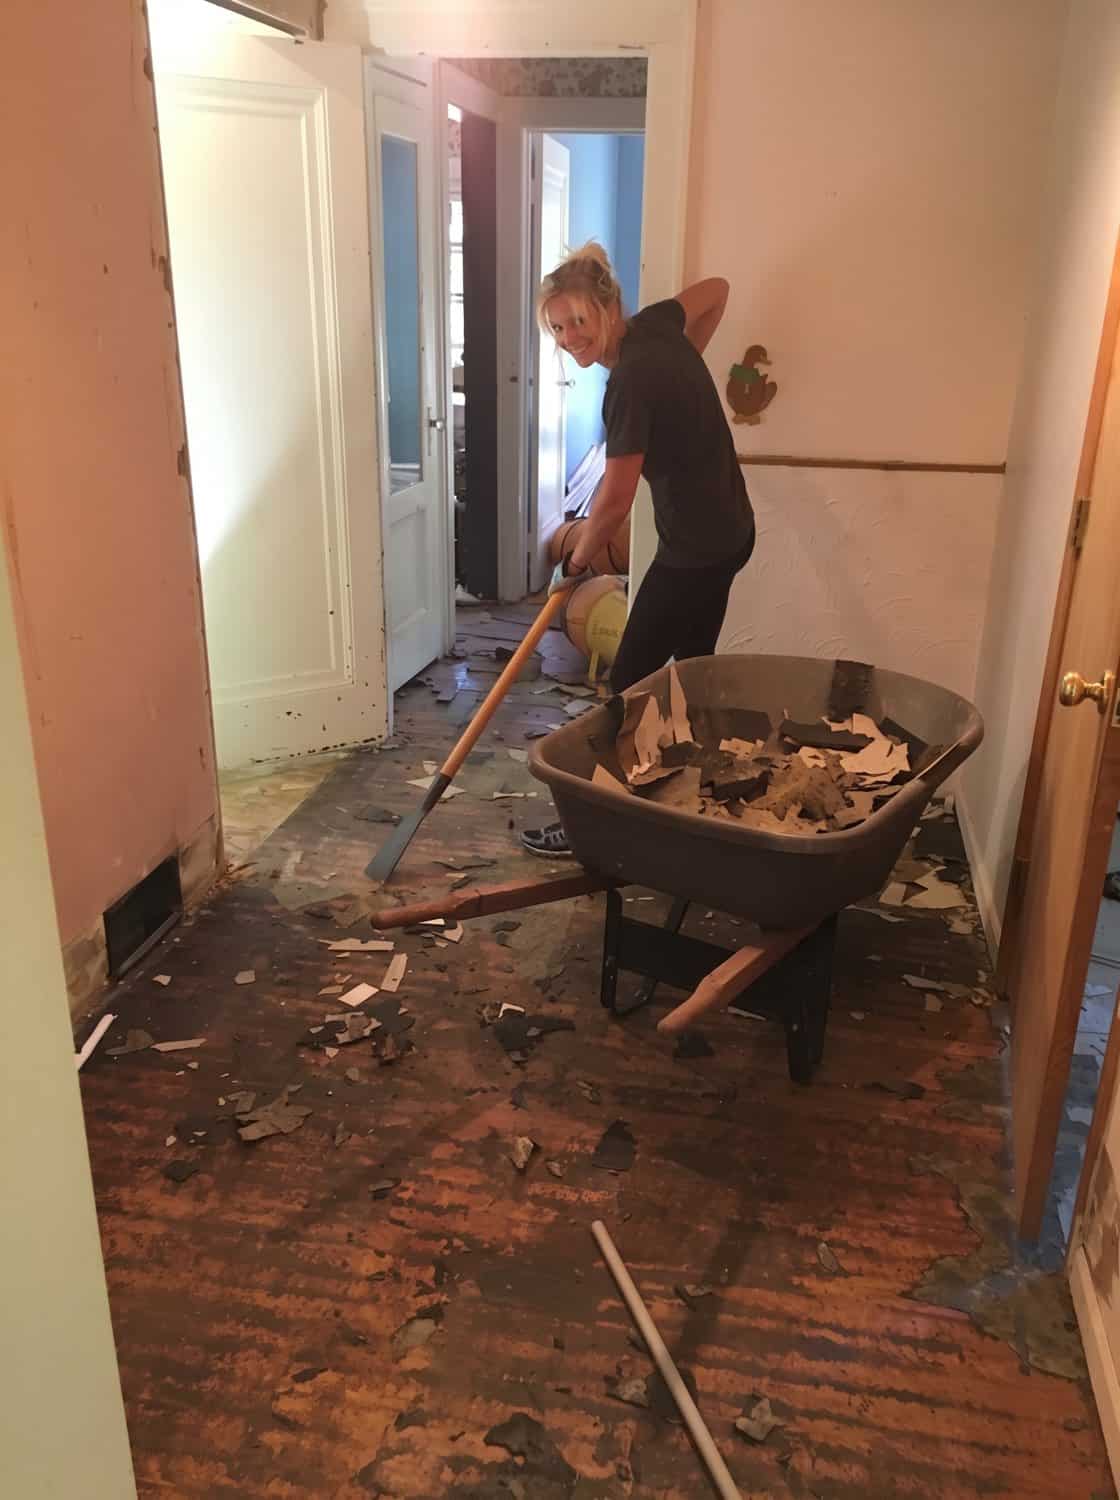
Carpet, pad, tack strip and staples come out first. Then scrape up as much of the linoleum, vinyl tile and paper backing as you can by hand. We used a flooring scraper, or honestly, anything that worked.
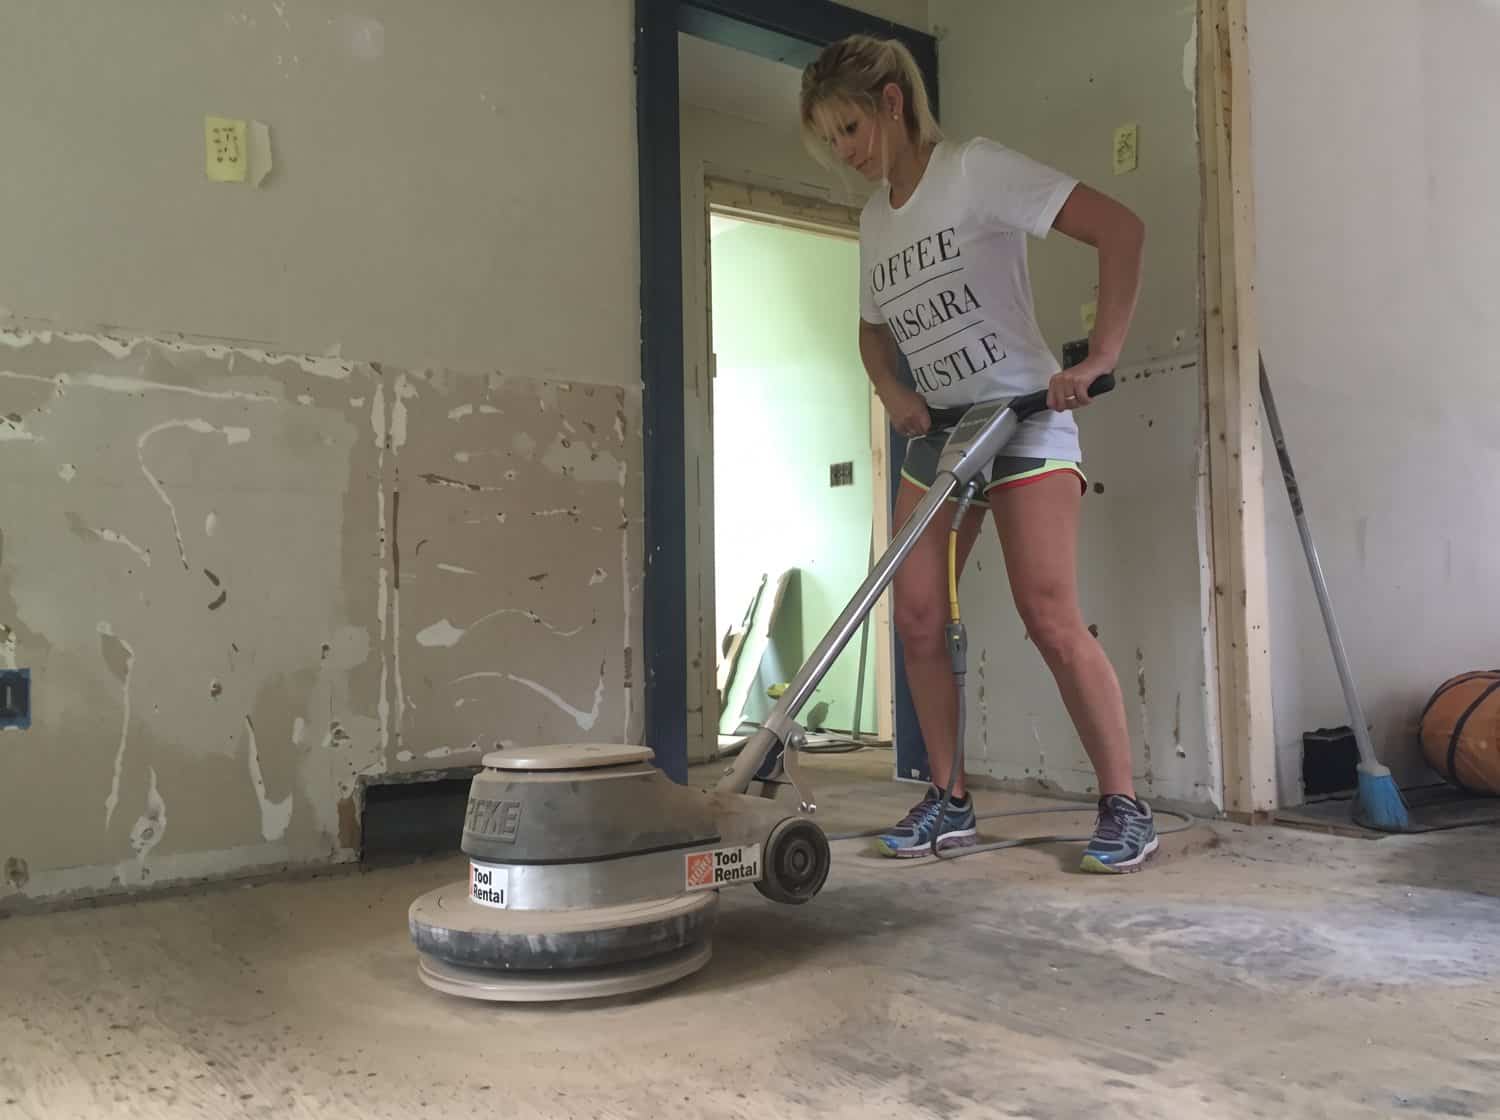
Remove the adhesive with a floor polisher
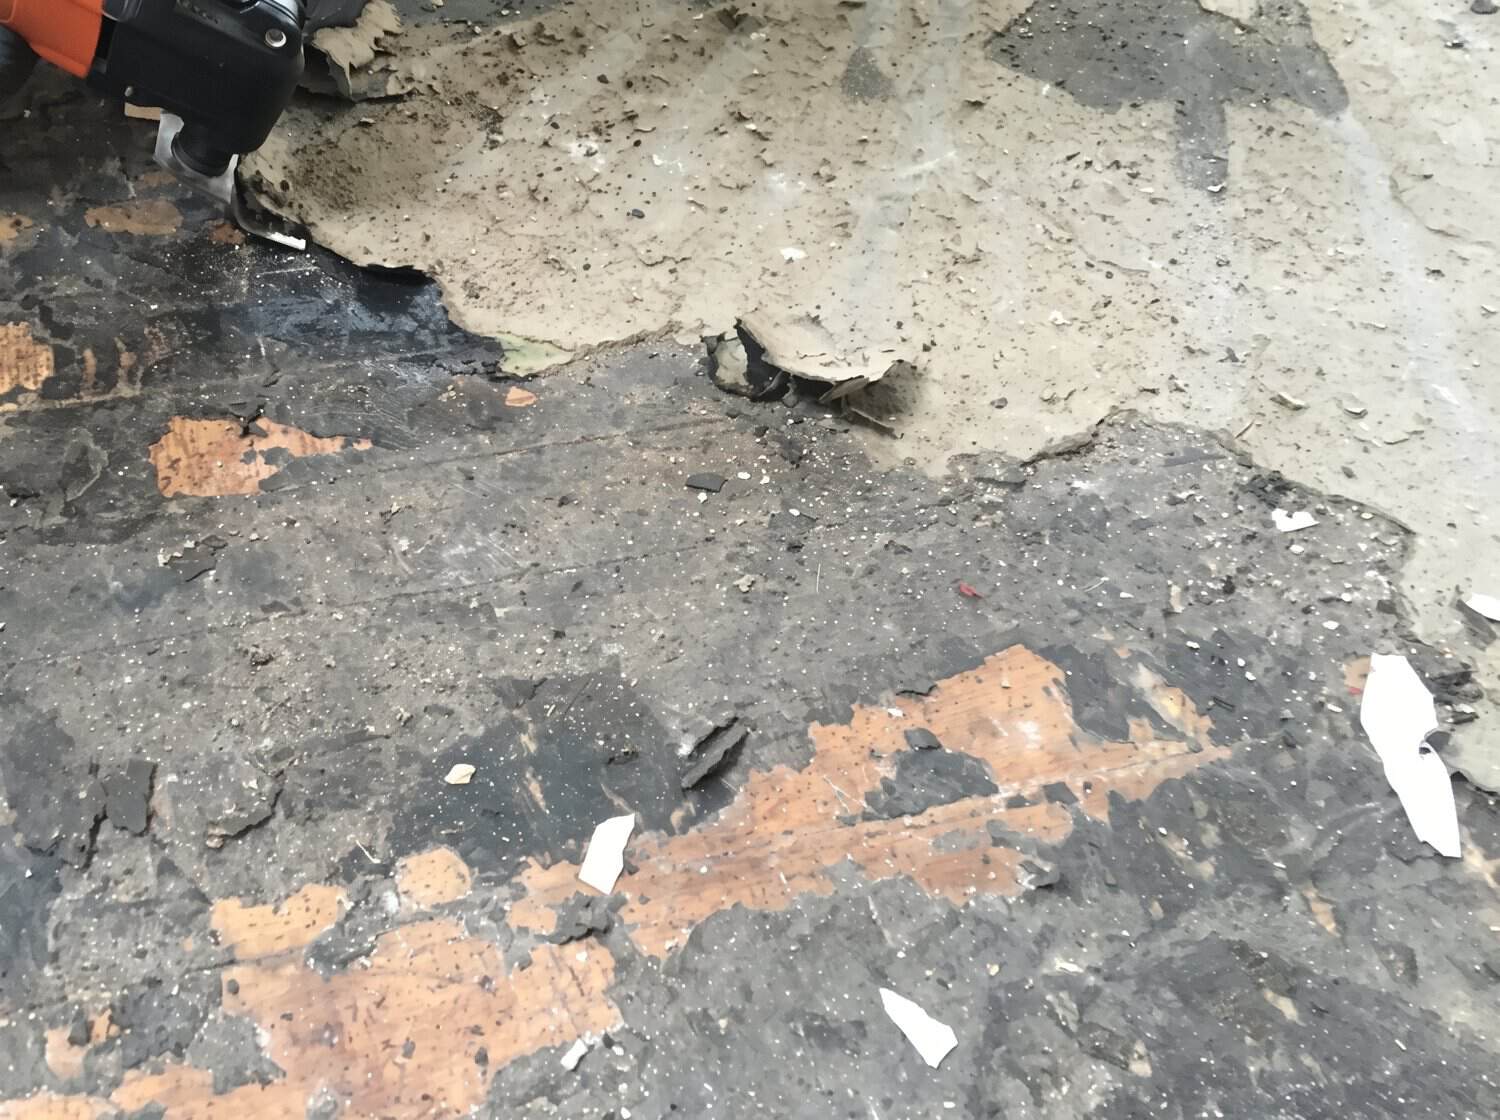
Once the loose stuff is gone, rent a floor polisher with a wood tool attachment. The orbital polisher with the wood tool chews through gummy coatings and mastic and gets you down to bare wood. Don’t try to sand through adhesive: it melts, caramelizes and clogs the paper almost immediately.
Patch any damaged or missing boards
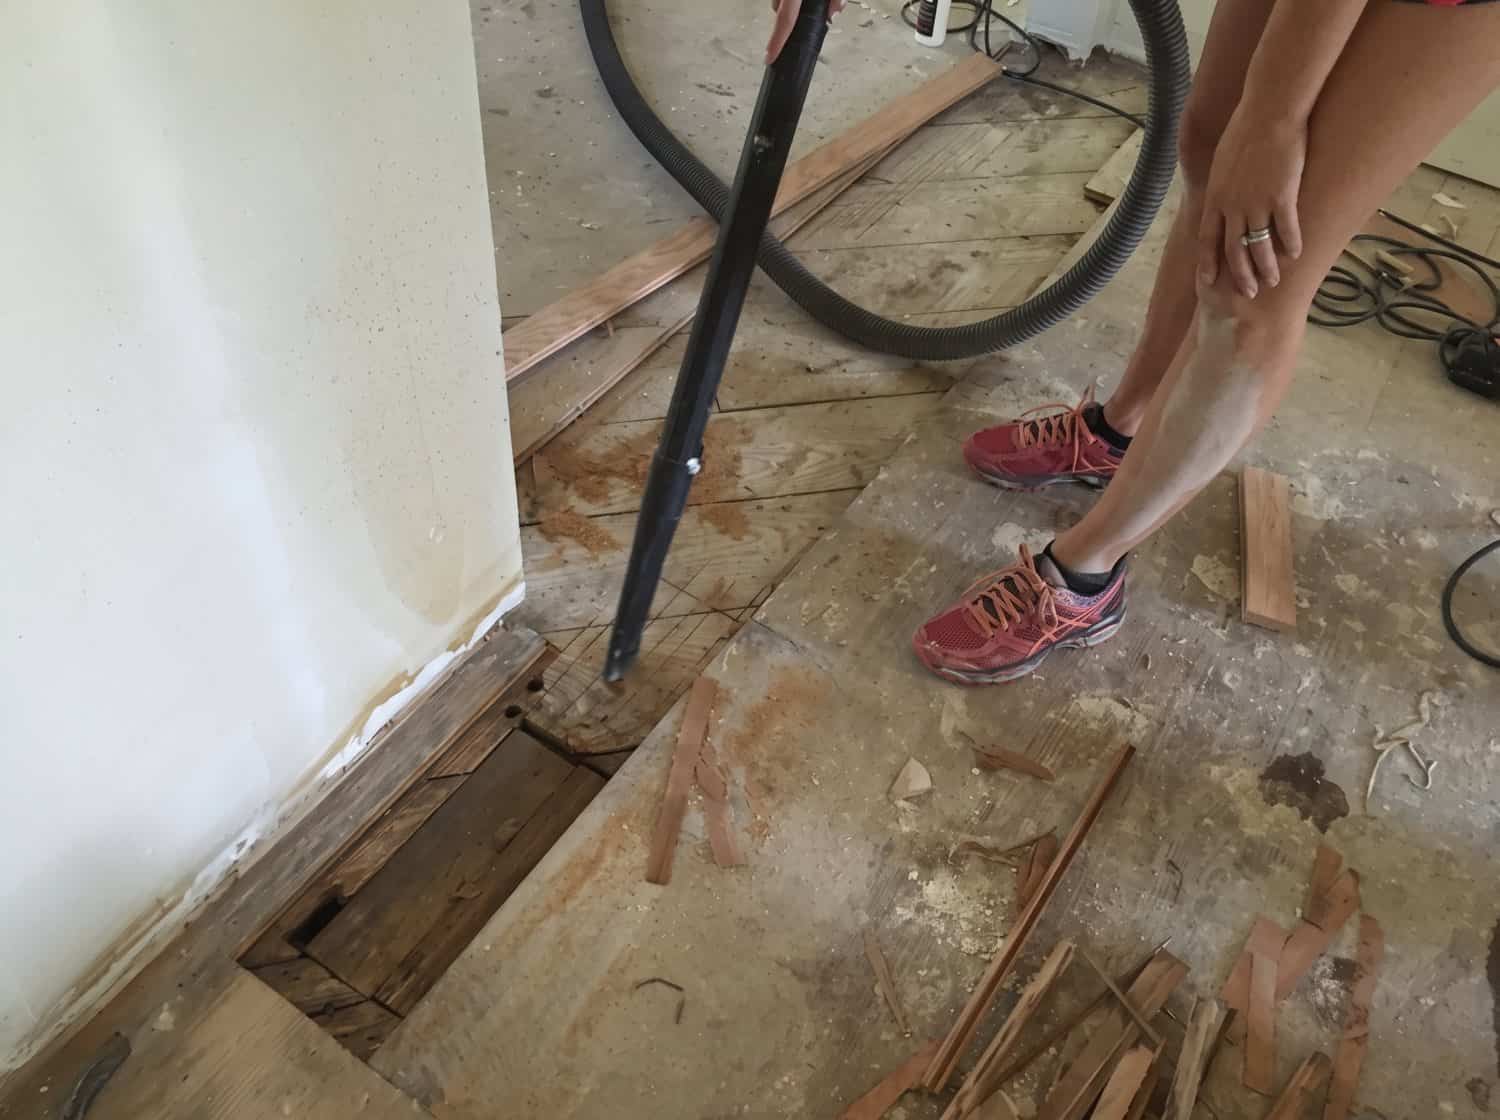
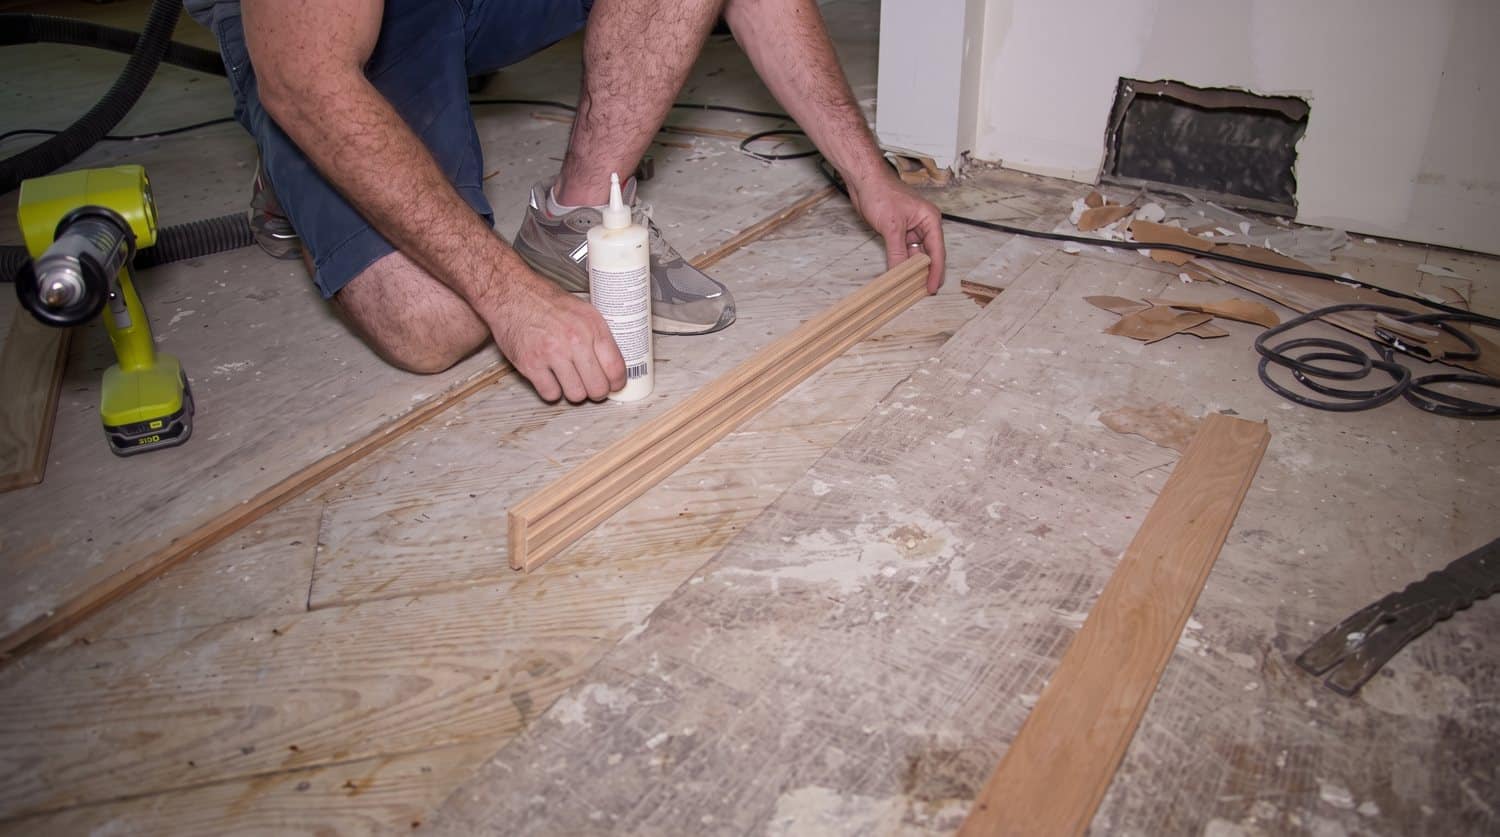
We had a couple of spots where walls had been taken out. Set a circular saw to the thickness of the boards, cut out the damaged ones, and break them out with a pry bar. Clean up the opening, cut new boards to fit, and set them with construction adhesive underneath and tongue-and-groove glue on the joints. Ours went in late at night with no lights in the house yet, but it got done.
First pass at 36 grit
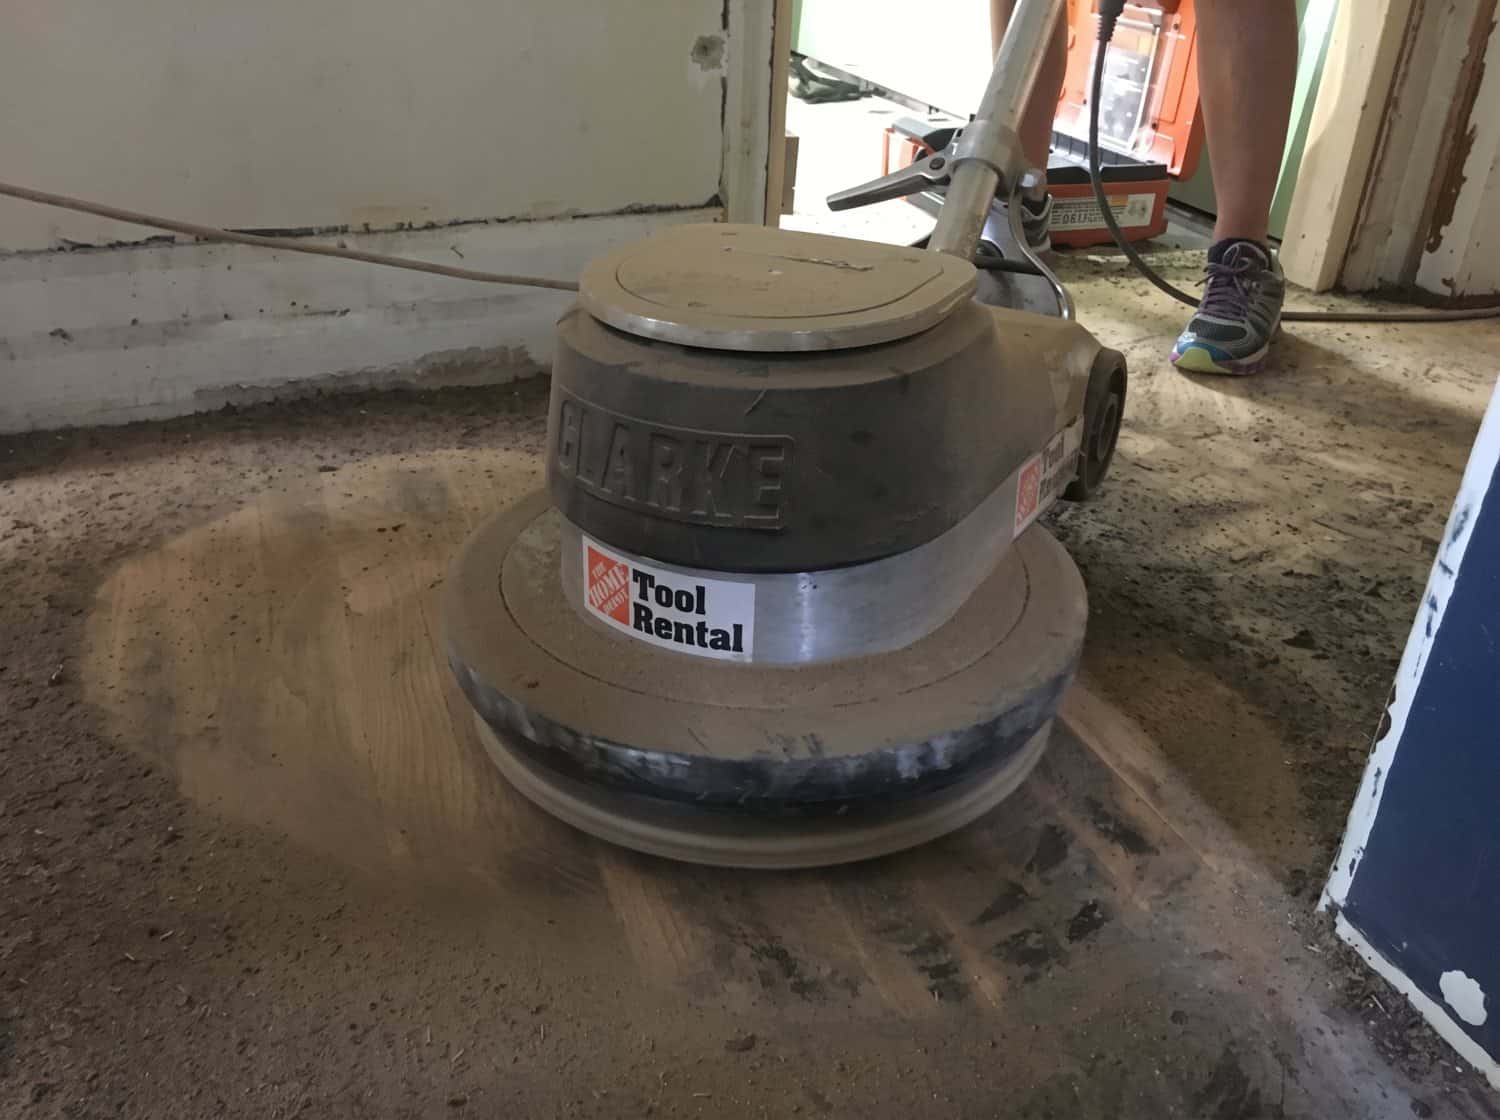
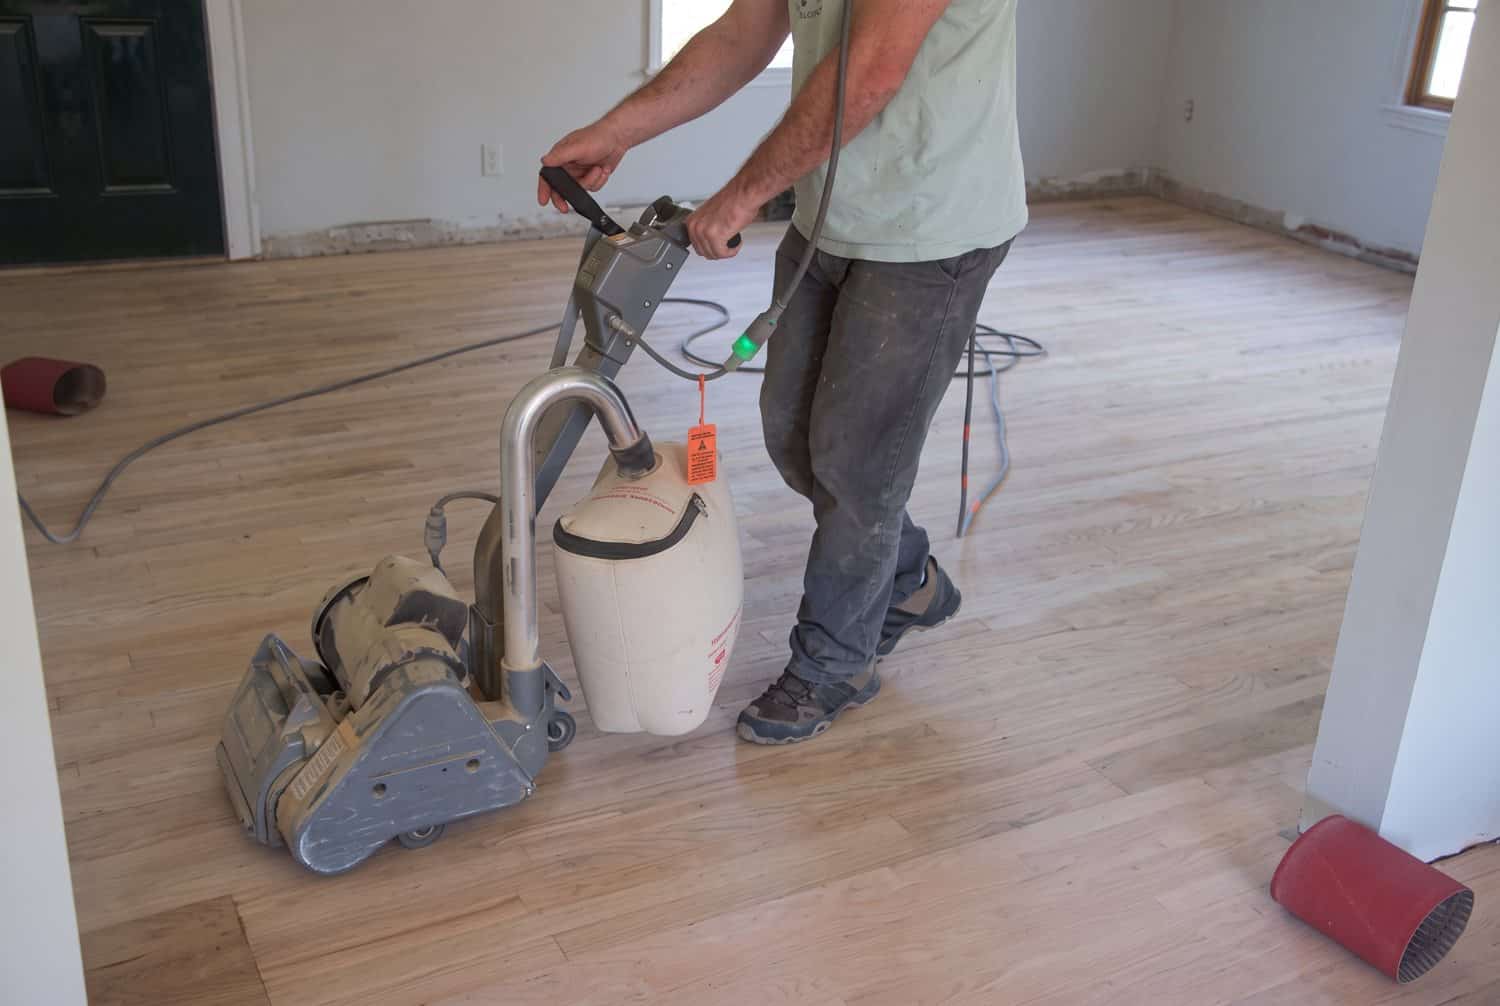
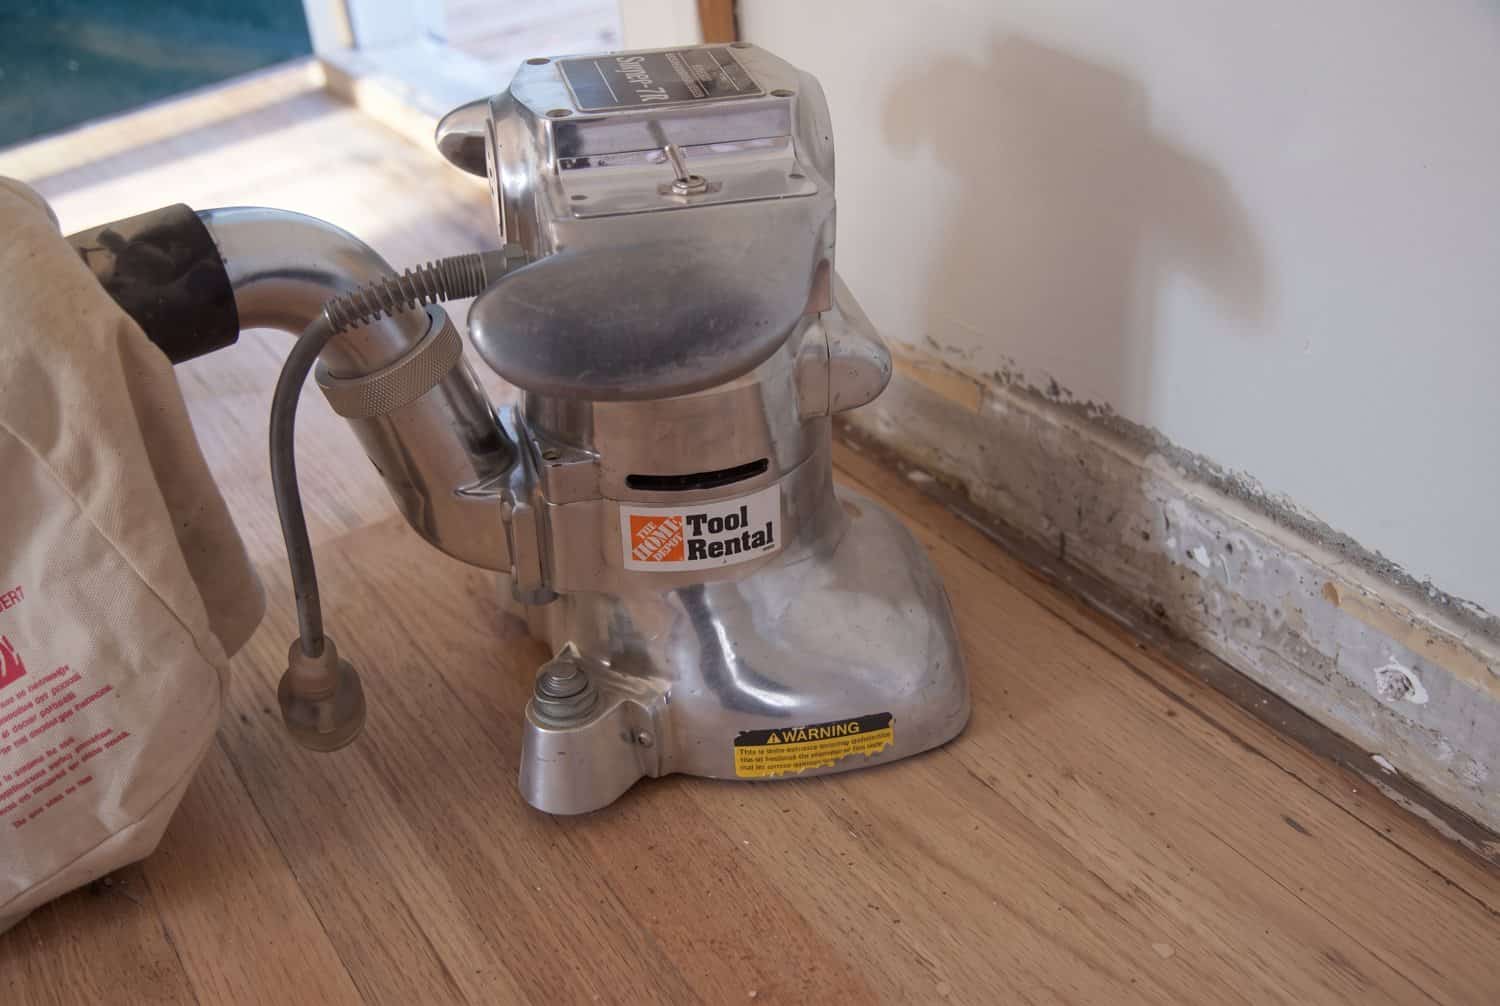
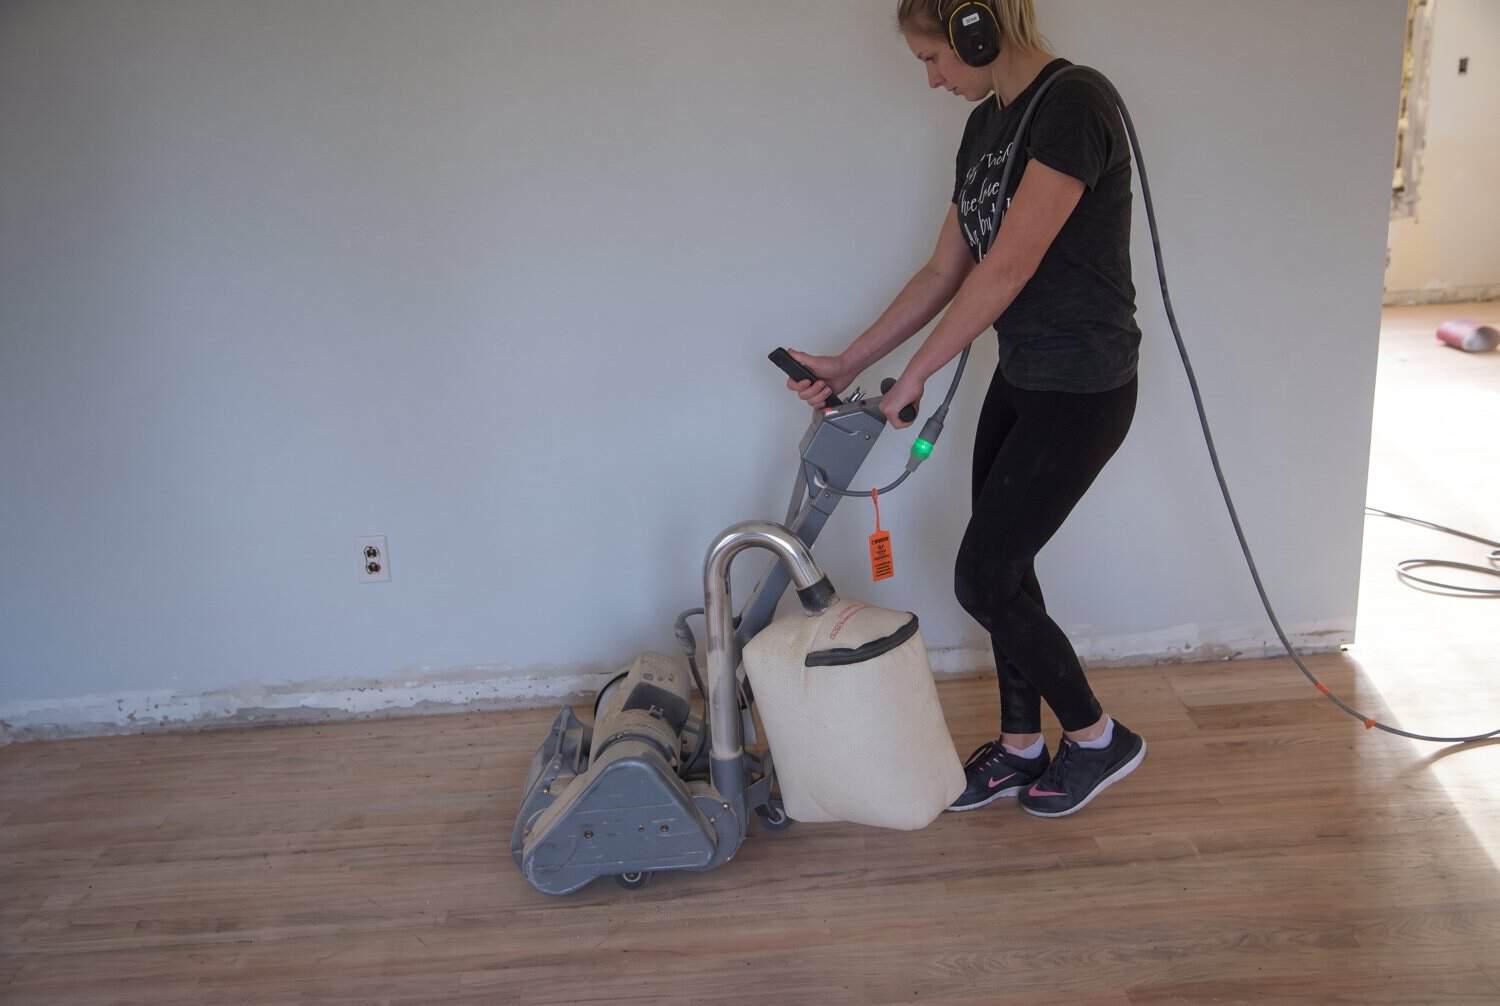
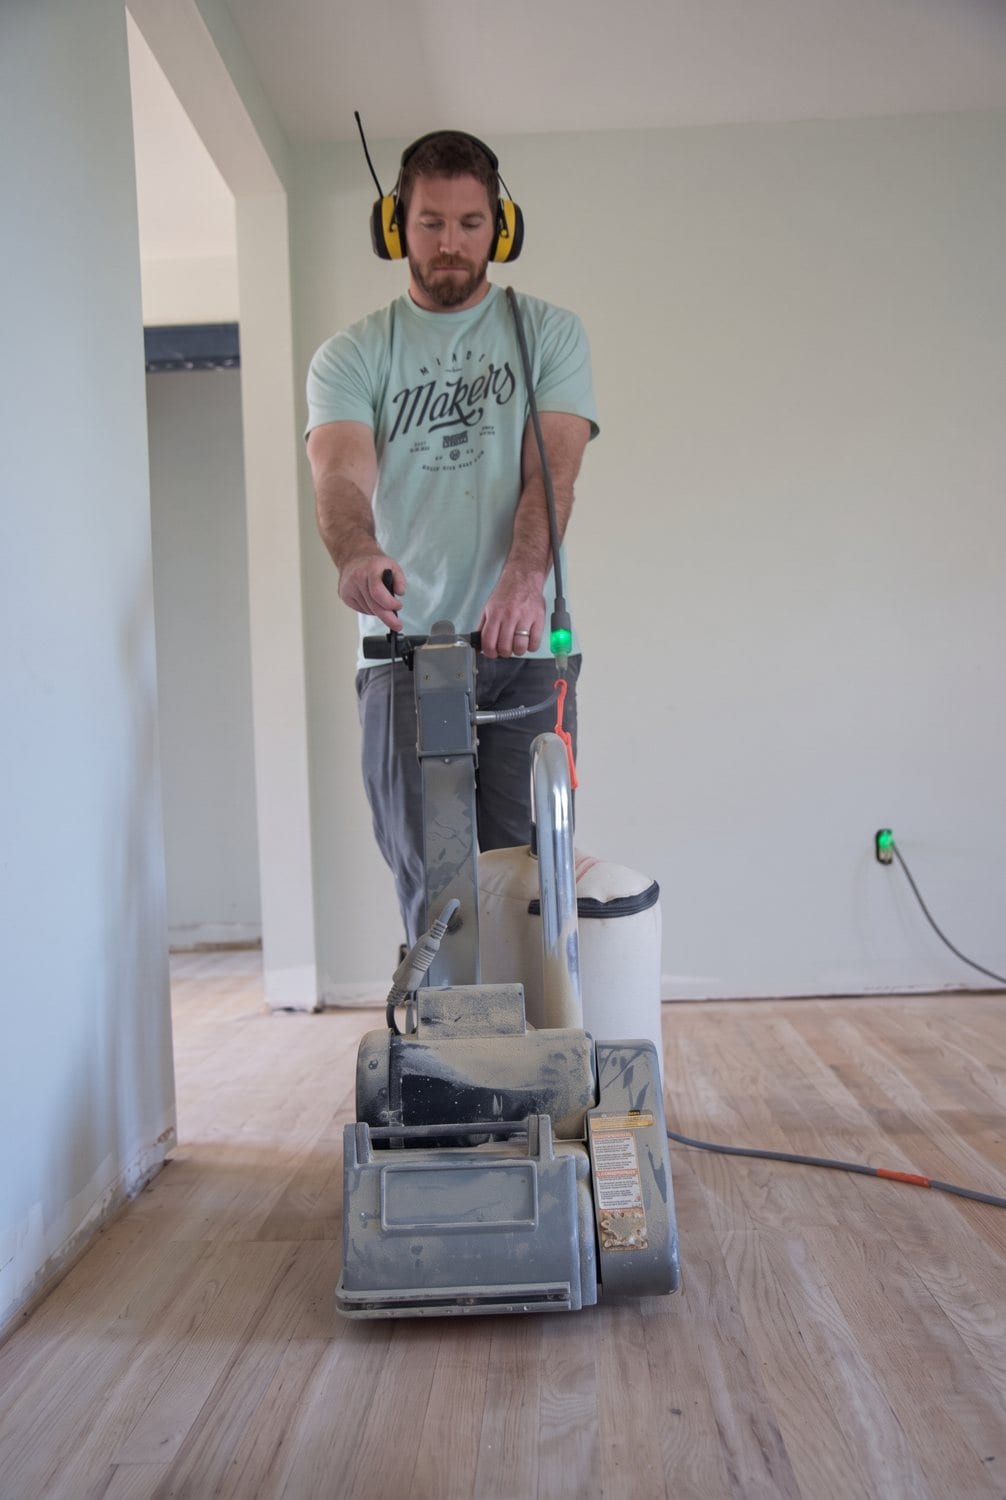
I’d never run a drum sander or an edger, so the rental desk walked me through both, and the tips were gold. Raise and lower the drum while the machine is moving so it never digs in one spot. Raise it before you change direction. If you sand a room in halves, vary where you stop in the middle so there’s no line. And plan on about one drum sleeve per 100 square feet. The sleeve just slips over the drum with nothing holding it on; it fans out and tightens once it spins.
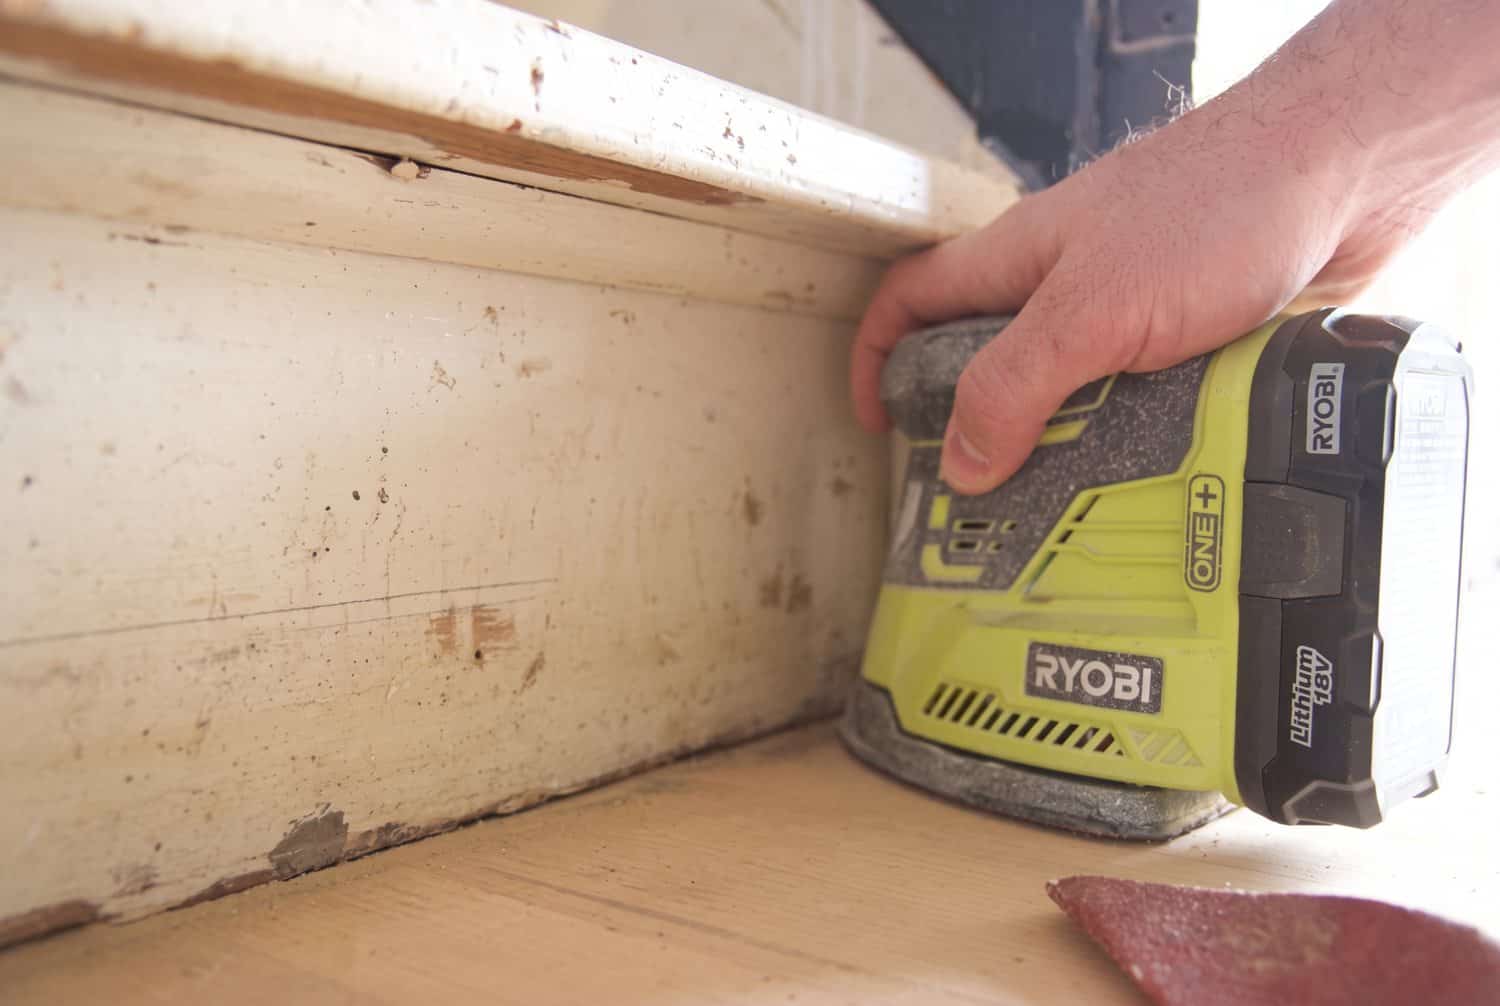
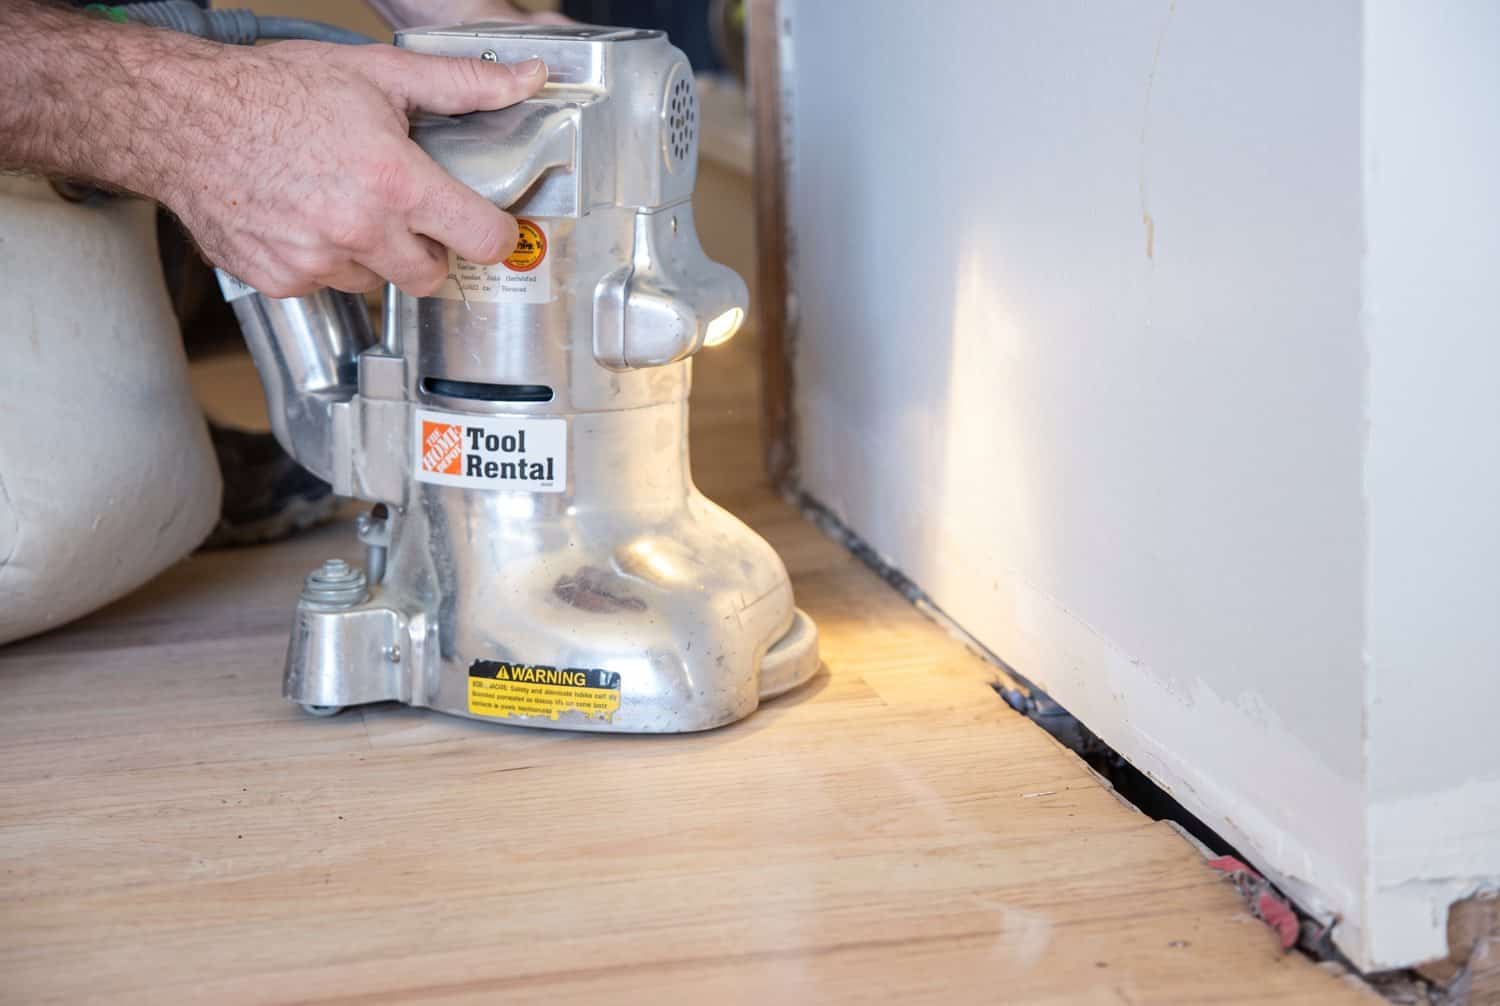
The goal of the first pass is bare wood everywhere. Go with the grain, because coarse paper leaves marks across it. The drum does the field of the room. Then run the edger at 36 grit around the walls, working it front to back instead of side to side so it doesn’t leave lines (it rides on two back wheels and the disc). Finish the corners with a mouse sander.
Second pass at 60 grit
Repeat everything from the first pass with 60 grit: drum, edger, corners. This pass is about taking out the lines and marks the 36 grit left behind. Vacuum before you switch grits.
Third pass at 100 grit
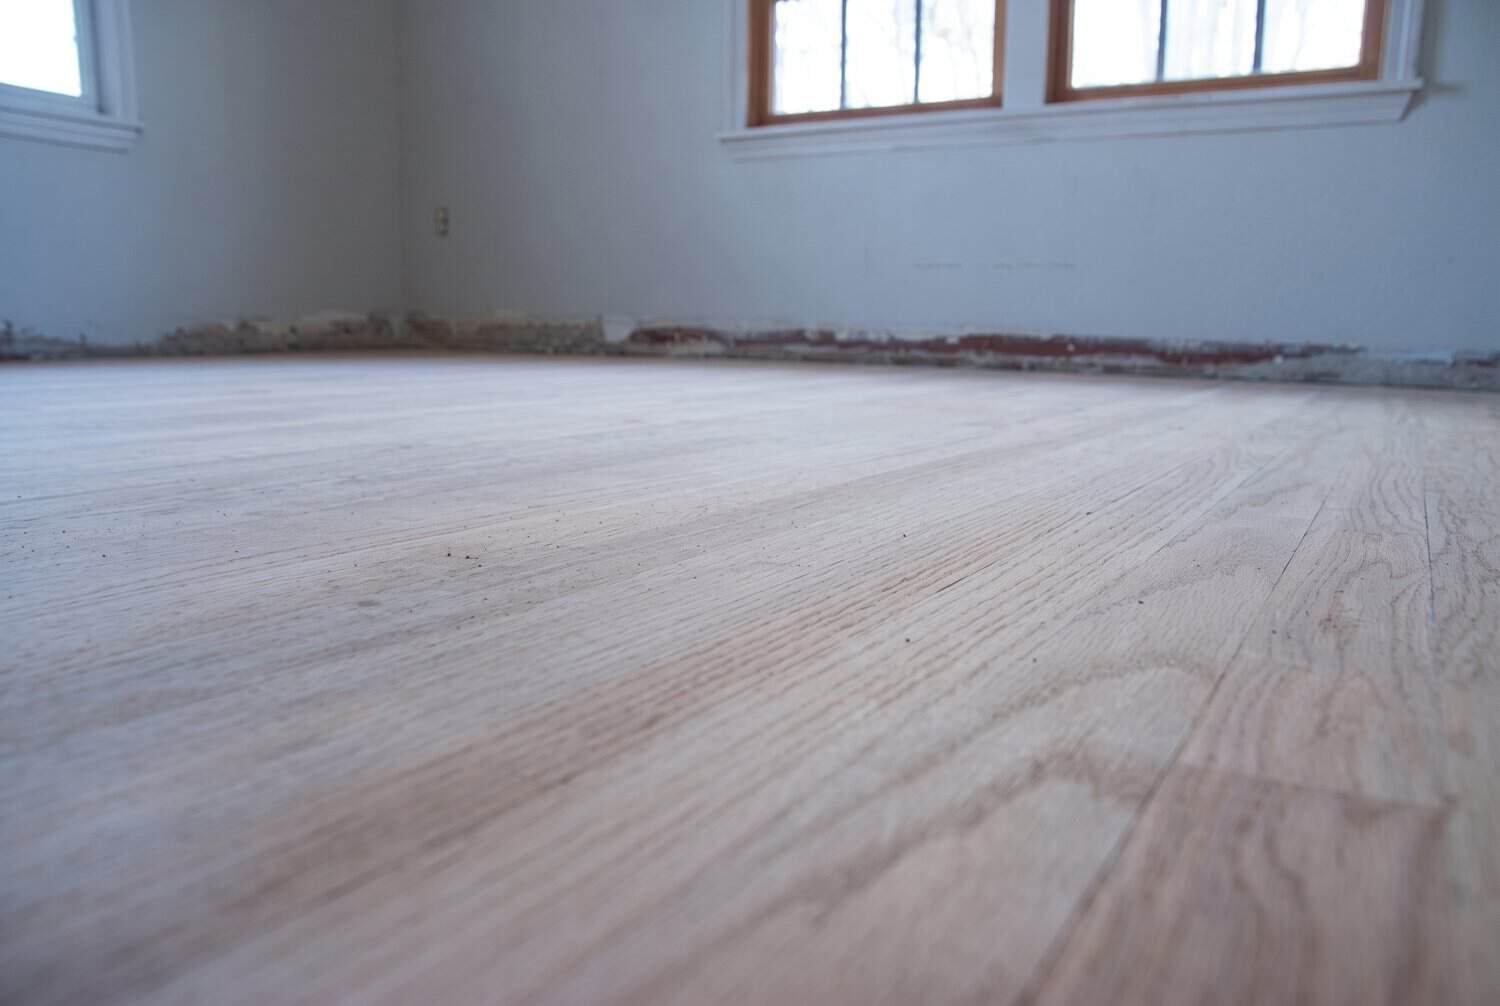
Same routine at 100 grit with the drum, edge and corner sanders. Now you’re getting the floor smooth and even and ready for stain.
Screen the floor at 120 grit
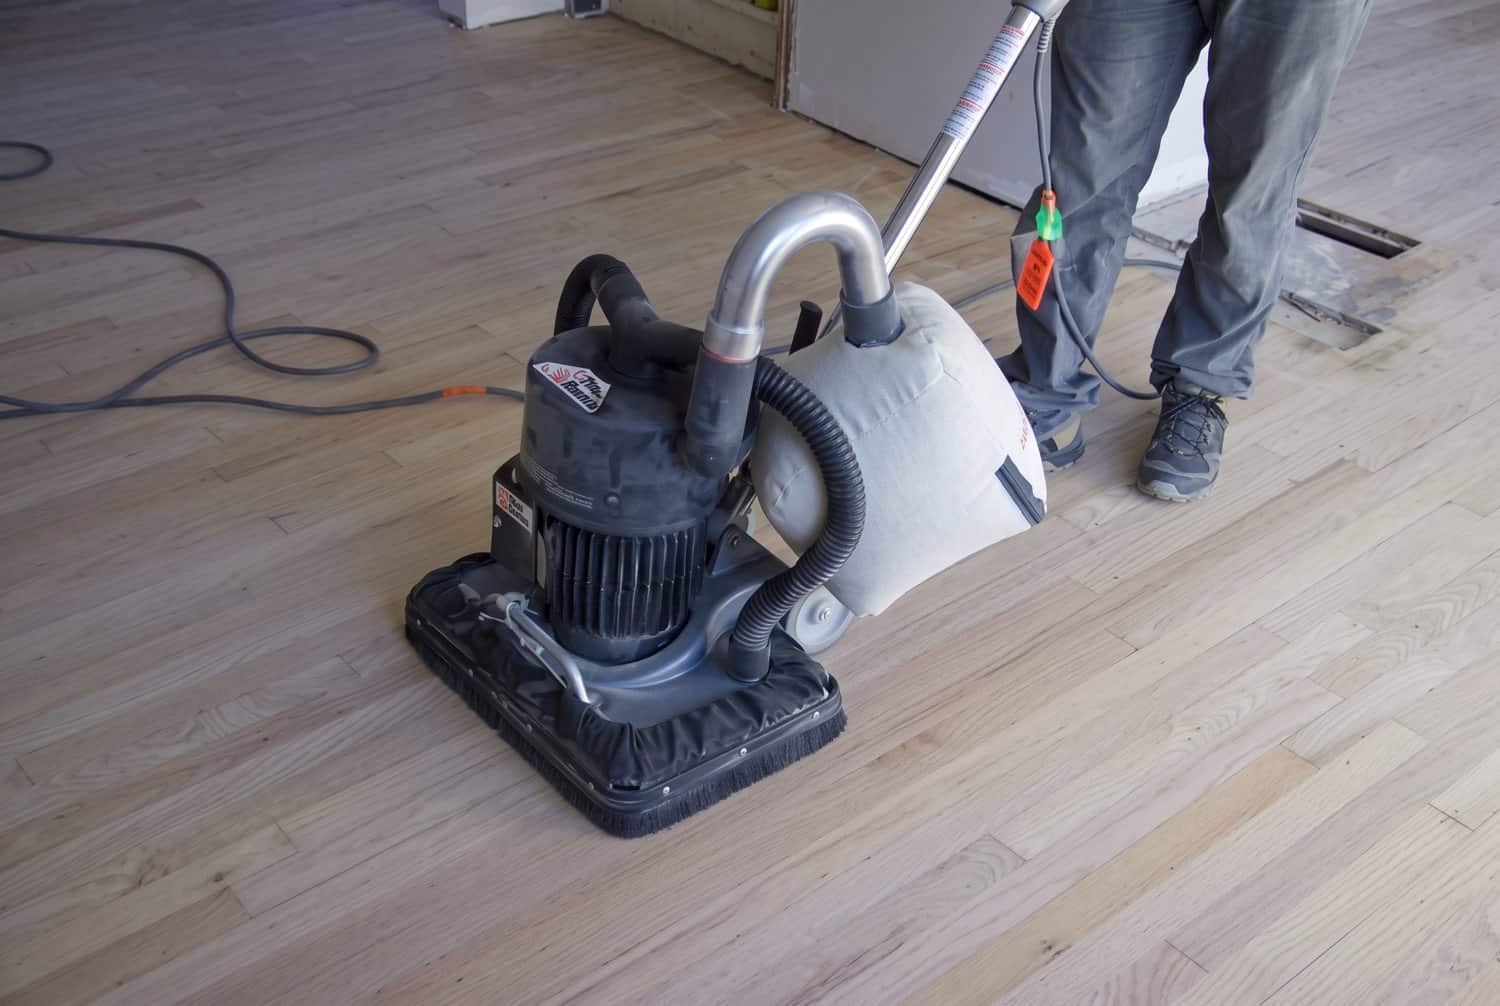
This is the step a floor pro told us most DIYers skip, and the one that can make or break the job. Return the sanders and rent a square buff floor sander with a 120-grit screen. Make one pass across the grain, then one with it. The square buffer doesn’t spin in one direction like the drum and edger, so it blends all their marks into one even scratch pattern, which is what lets the stain go on evenly.
Water-pop the floor
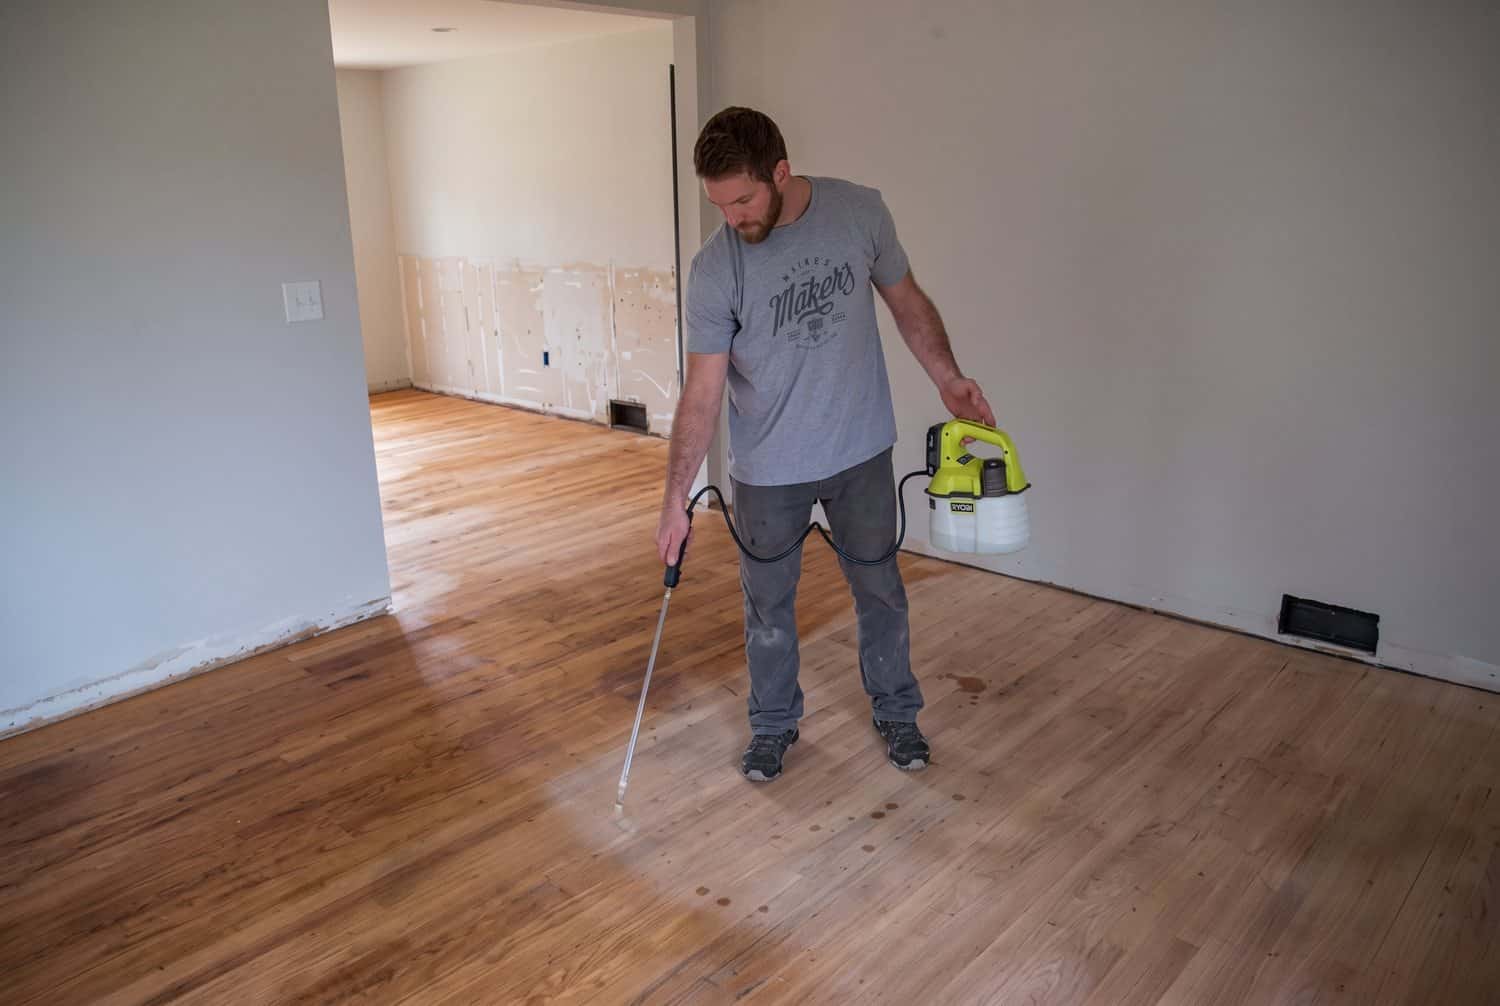
We went with a dark stain, so we water-popped first to keep it from going blotchy. Spray an even coat of water over the whole floor (we used a pump sprayer; a mop works) without flooding any spots. It raises and opens the grain so the stain takes evenly. Let it dry completely; we gave it overnight.
Stain
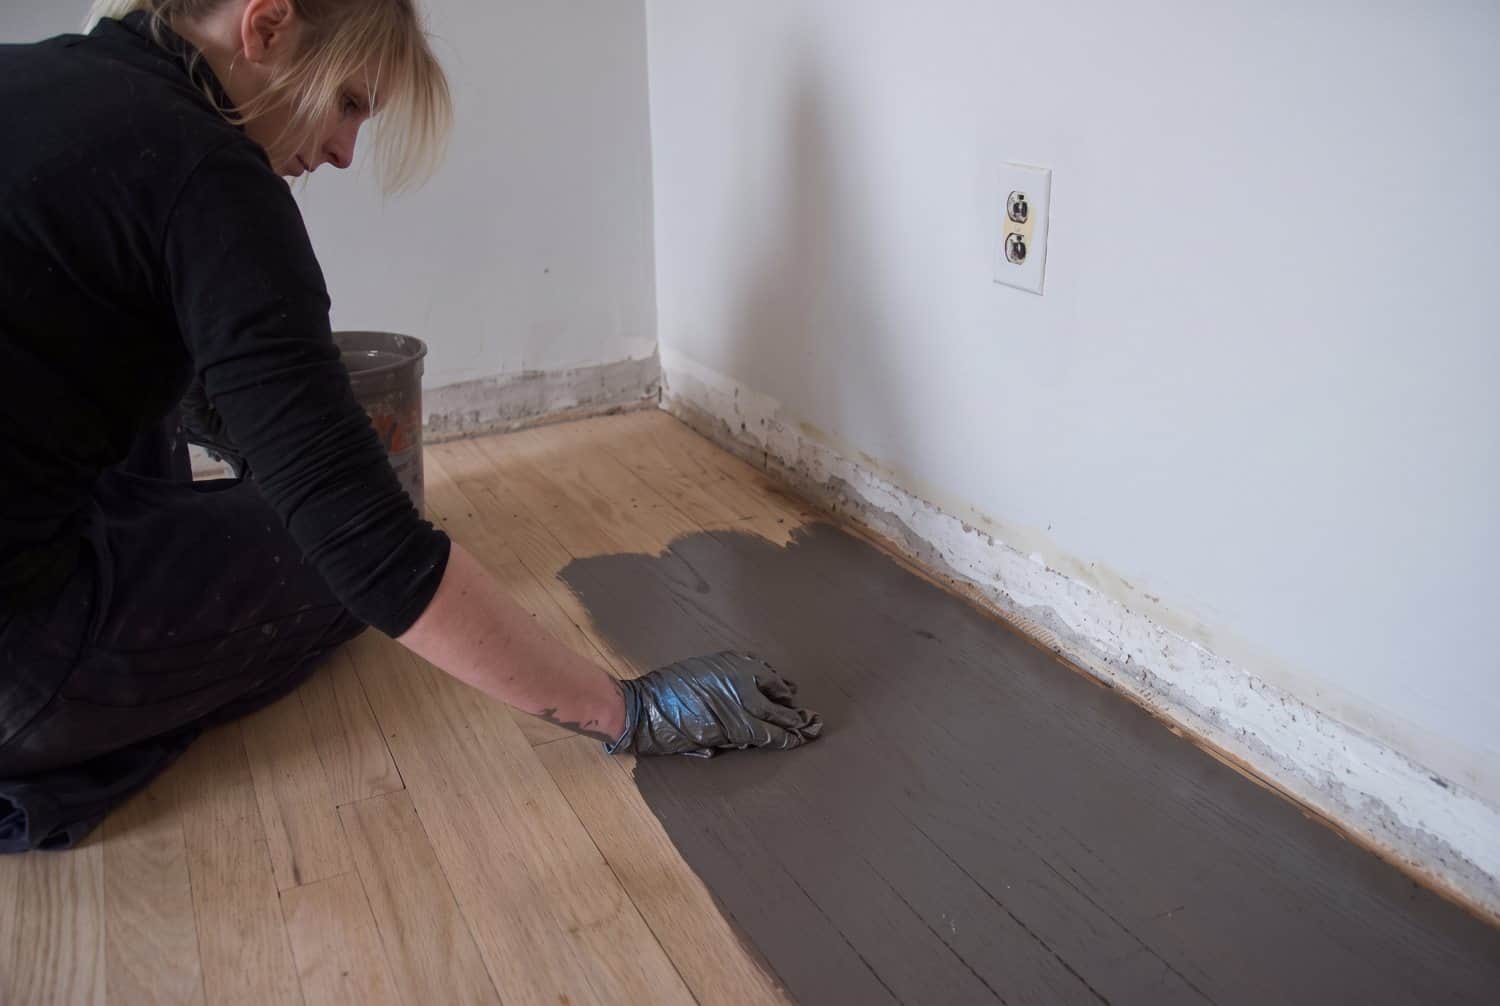
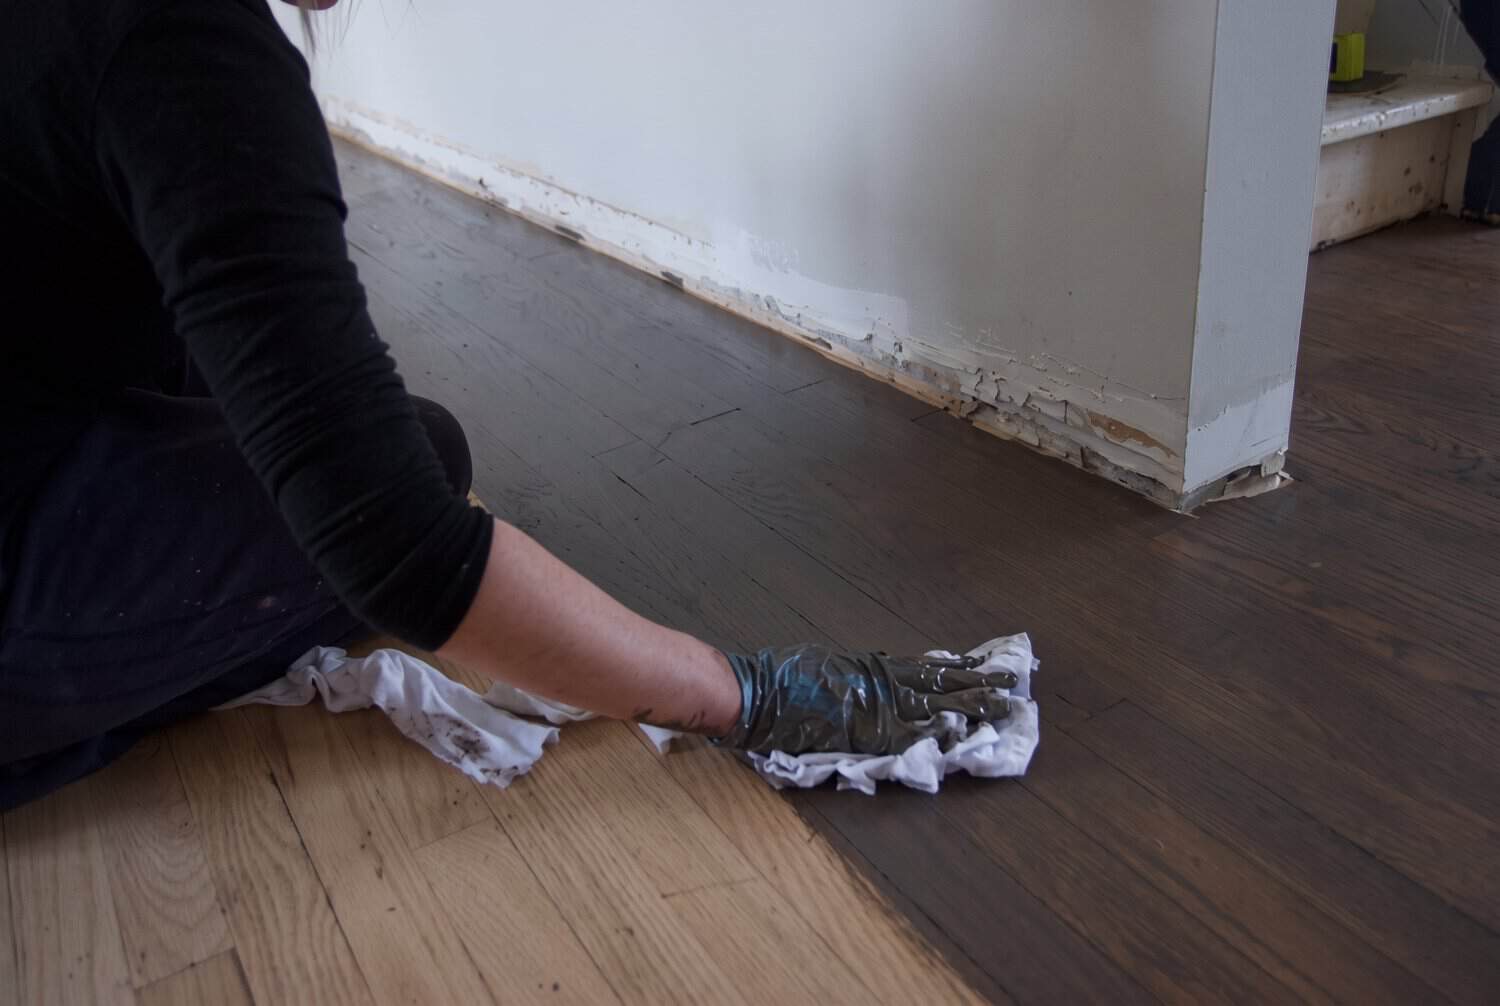
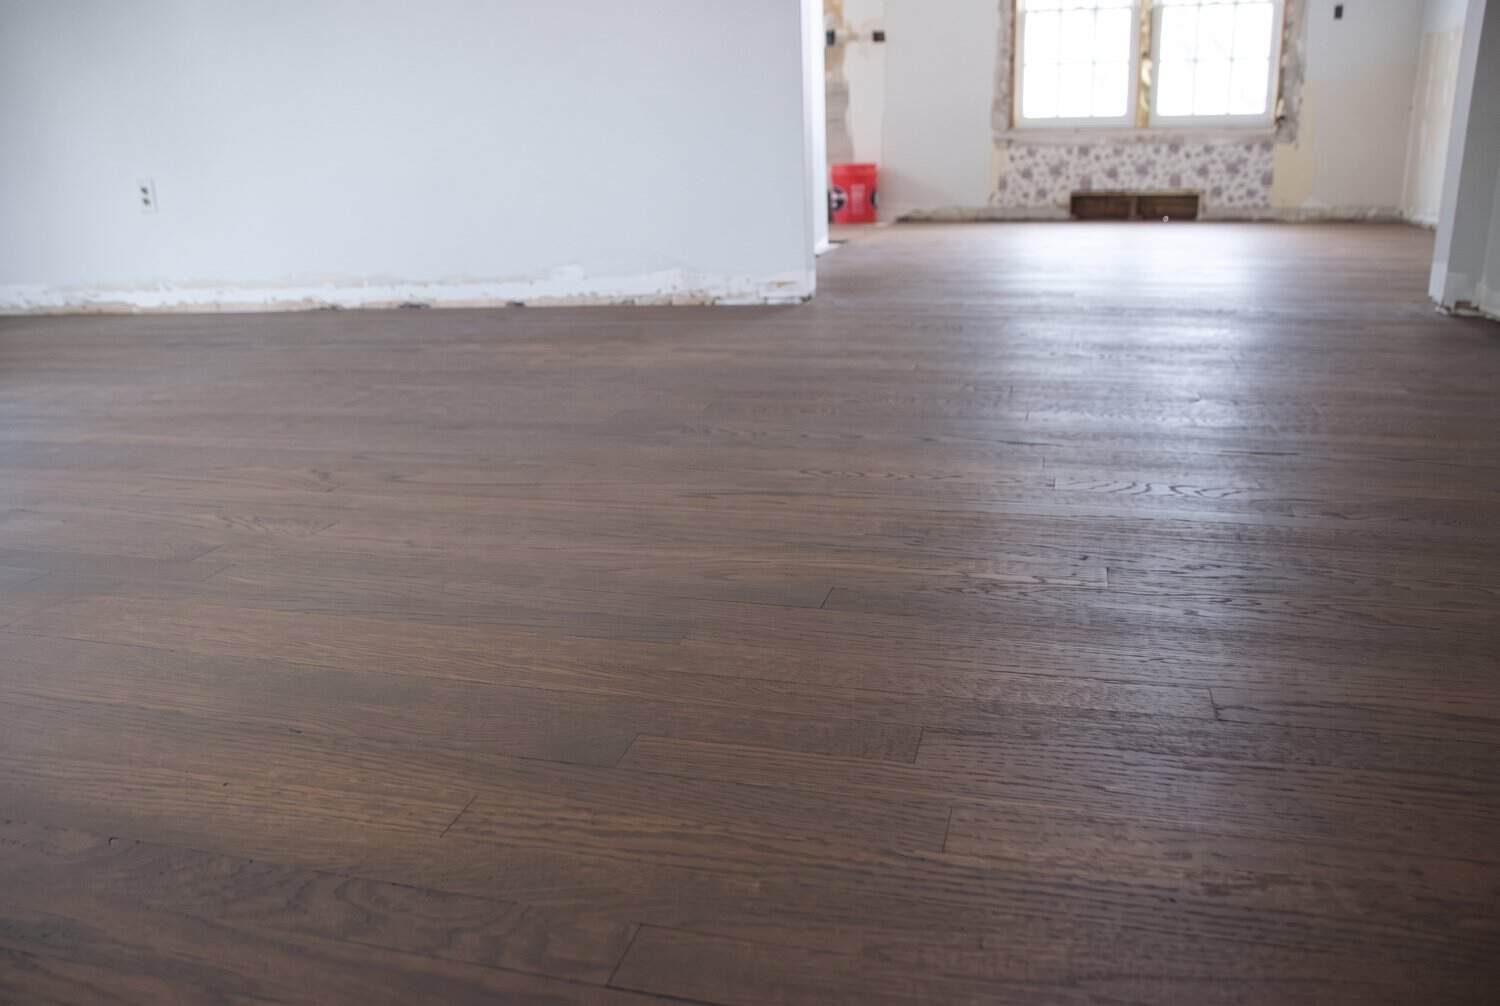
Sweep and vacuum everything first. Mix all your stain together so the color is the same across the whole floor, and plan your route so you work out of the house, not into a corner. Jamie put the stain down on an area no bigger than we could easily reach and I followed behind wiping it off, switching to clean rags often so I didn’t leave streaks. We used Varathane in Briarsmoke, a dark brown with a hint of gray.
Two coats of floor finish
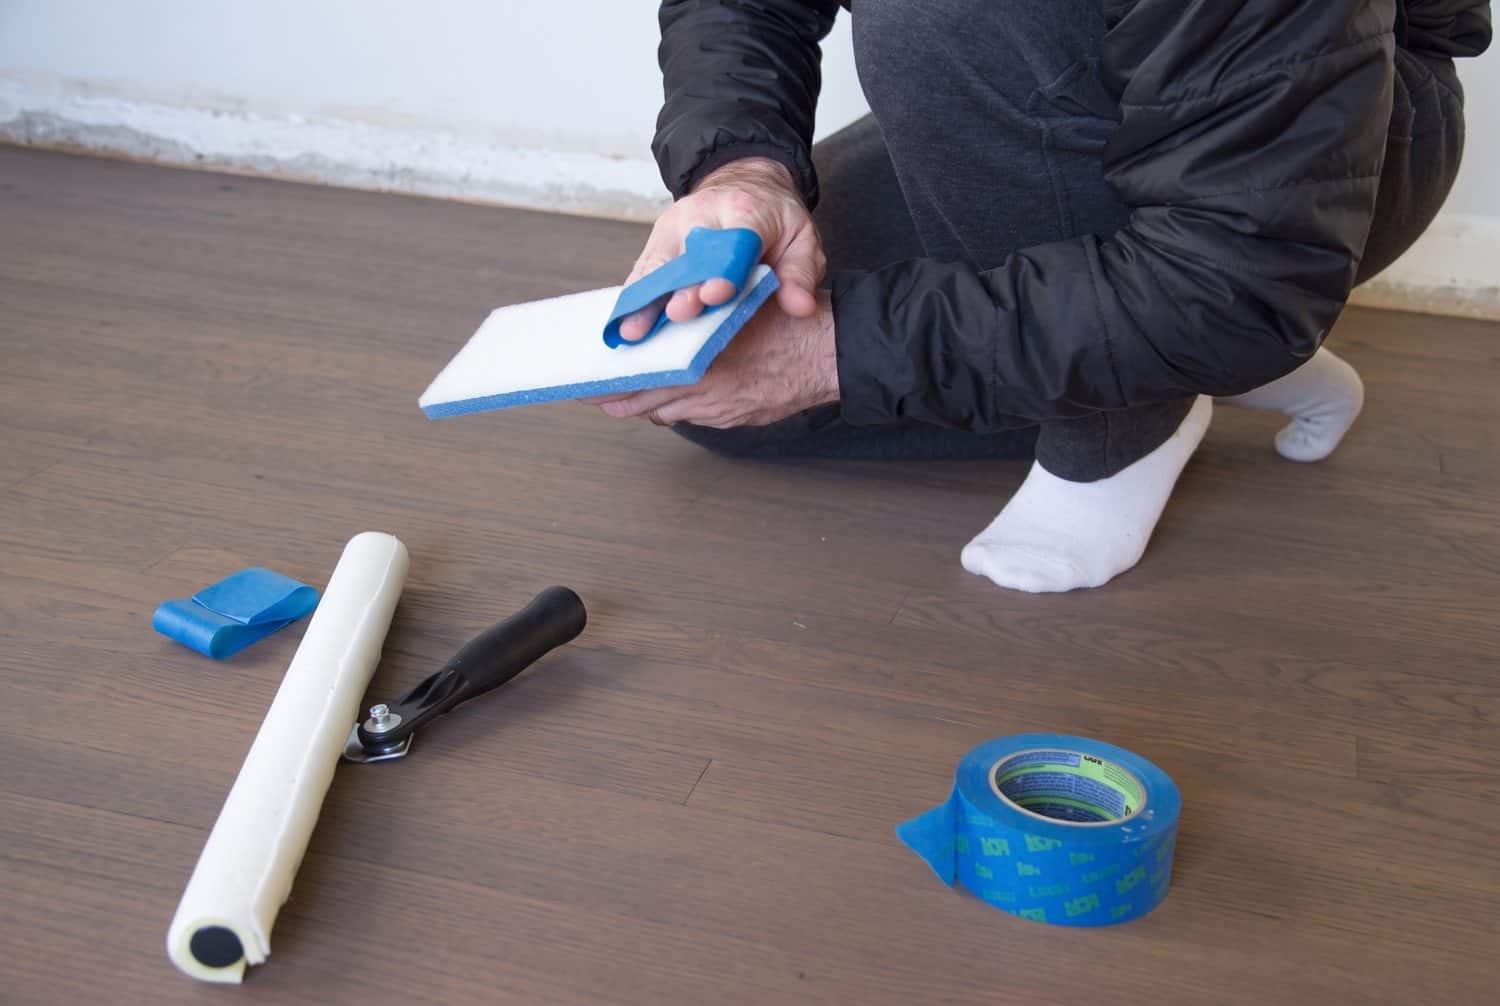
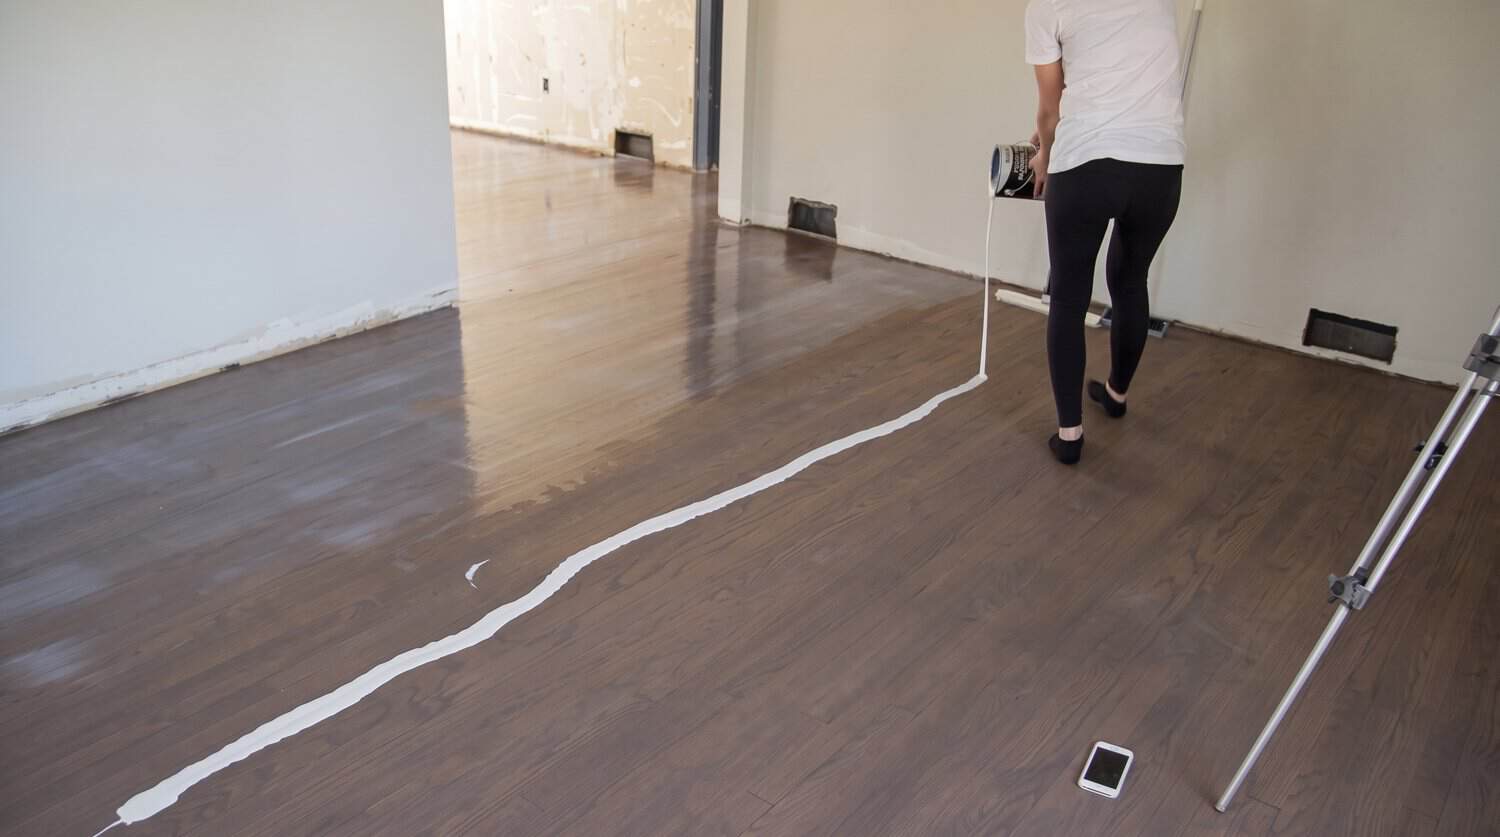
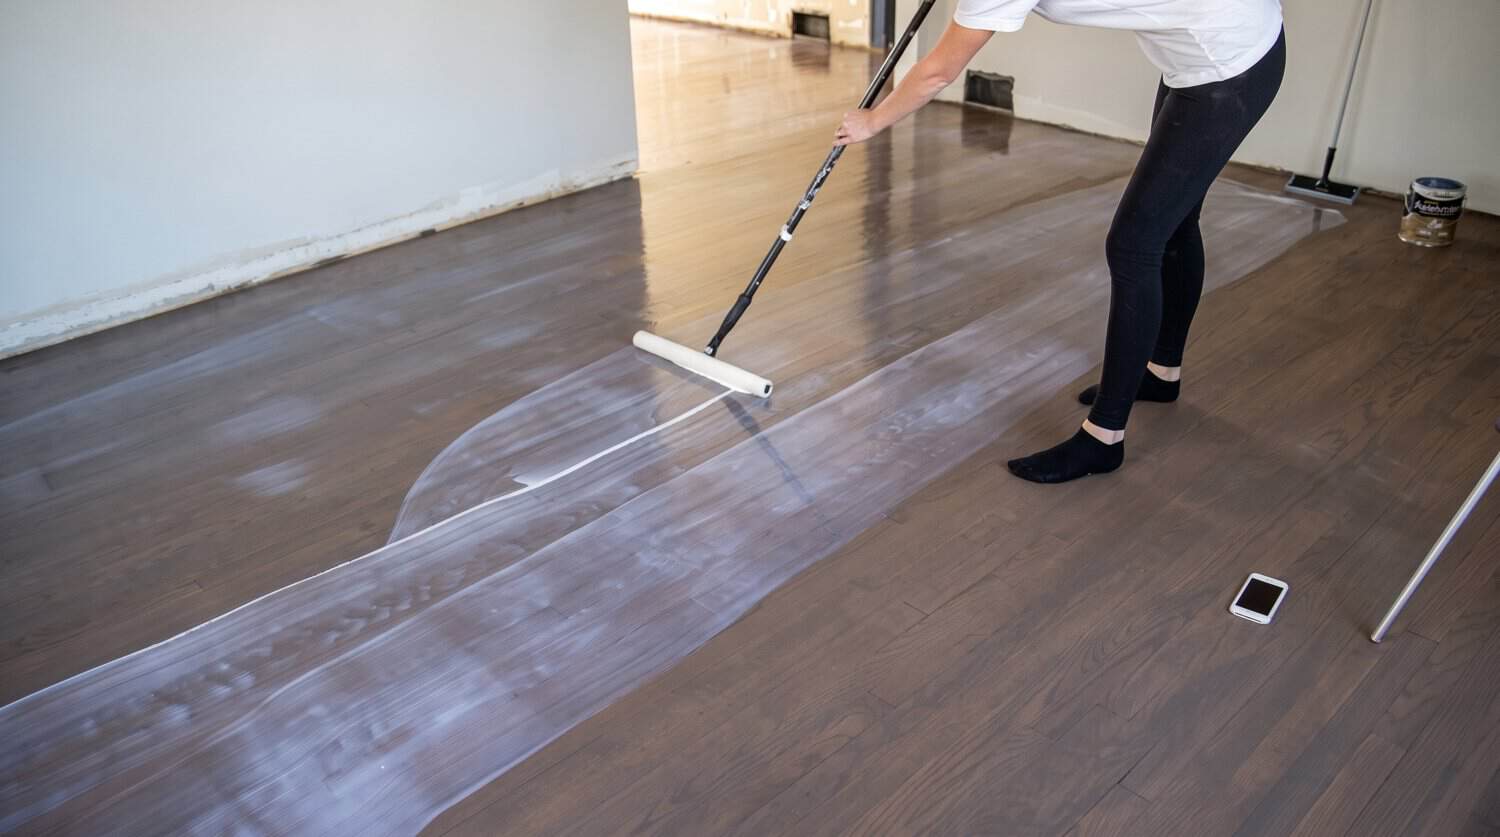
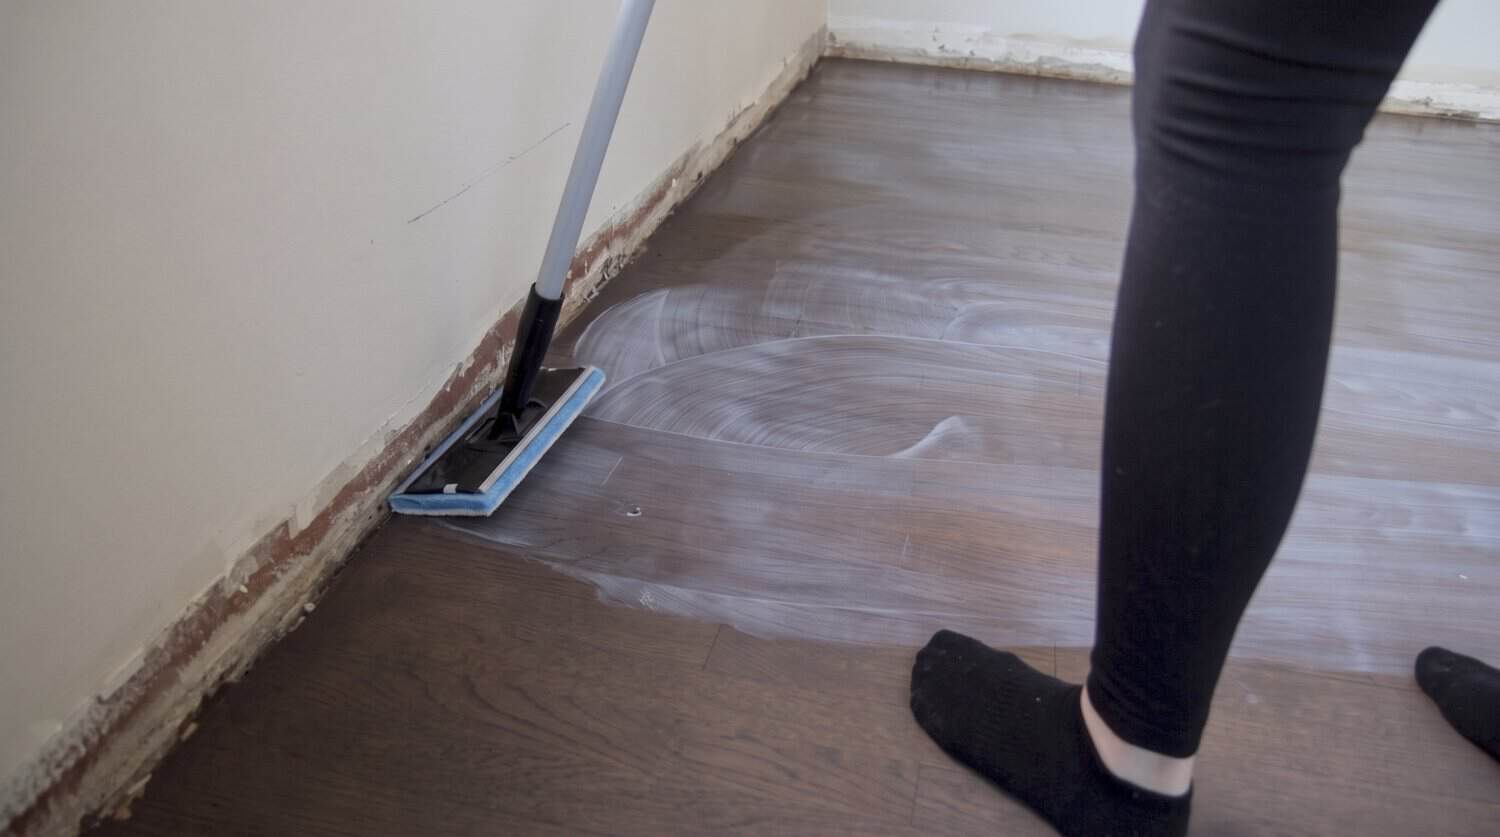
Once the stain is dry, clean the floor again. Before you start, wrap painter’s tape around your hand and pat the T-bar and edger pad to pull off any loose fibers. Stir the finish, don’t shake it, or you’ll trap bubbles. Pour a ribbon about 2 to 3 inches thick across the room, spread it into an even coat with the T-bar, and use the edger pad along the walls. We used Varathane’s ultra thick floor finish, which only needs two coats. We let the first coat dry overnight and did the second the next day.
Final Result
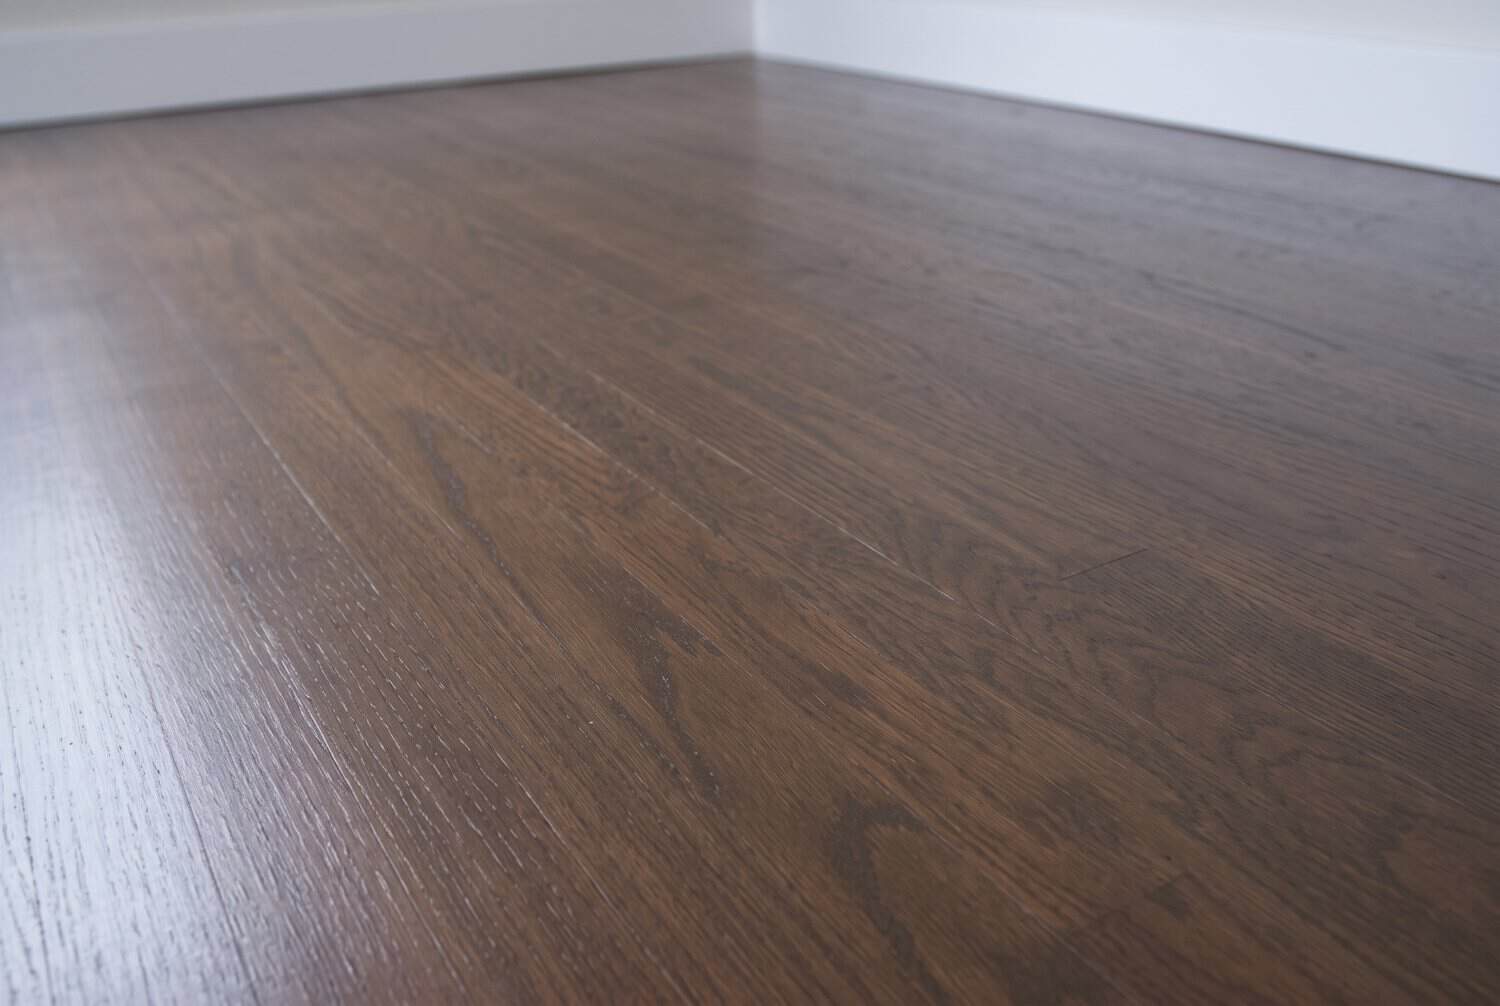
Once the second coat dried, the baseboards went back on and it was done. It was our first floor, and there are a few imperfections only we can see, but we’re really happy with how it turned out.
FAQ
How much does it cost to refinish hardwood floors yourself?
We didn’t keep the receipts from this one, so here’s a 2026 estimate for about 800 square feet. Rentals: a drum sander and edger for the two sanding days run about $75 and $51 a day at Home Depot ([Bob Vila](https://www.bobvila.com/articles/cost-to-rent-a-floor-sander/)), so about $250, plus about $75 for a day on the square buffer and whatever your store charges for the polisher. Drum sleeves: about 24 of them across three grits at roughly $10 each, so around $240. Finish: two coats over 800 square feet is 1,600 square feet of coverage, and the ultra thick finish covers 260 to 320 square feet a gallon, so plan on 5 to 6 gallons, around $400 to $485.
Add three quarts of stain, edger discs and the screen and you’re at roughly $1,100 to $1,300. The finish is the biggest line on the list.
Is it worth refinishing hardwood floors?
For us it was an easy yes. We found original oak under carpet and linoleum in a house we were renovating, and refinishing it kept a solid hardwood floor instead of covering it with something new.
Do you seal a wood floor after sanding or just stain?
Stain is color, finish is protection. We stained with Briarsmoke and then put two coats of floor finish over it. Stain on its own doesn’t protect the floor, so you always finish, whether you stain first or not.
Do I need to water-pop before staining?
If you’re going dark, it’s worth it. We water-popped to avoid blotchiness: an even coat of water, no puddles, and a full overnight dry before the stain.
How do you get linoleum glue off hardwood floors?
Scrape up everything you can by hand, then rent a floor polisher with a wood tool attachment to take the mastic down to bare wood. Sandpaper alone gums up on adhesive.
How long does it take to refinish hardwood floors?
Ours took about a week for roughly 800 square feet: a day of tear-out, two days of sanding, then the water pop, stain and two coats of finish, each with time to dry before the next step.
Your Move
If you’ve got carpet in your house, go pull up a corner in a closet and look. There’s a good chance something worth saving is under there. And if this is your first renovation, check out how we tackled our first house flip and fixing sagging floor joists.
I like the care that you took with sanding and that you sanded the corners. I paid someone to do my house and they scraped all of the corners. One guy was amazing. The other guy wasn’t and now I have spots that are very noticeably gouged.
There are a couple of things I wanted to comment on. One, there was a noticeable gap where you replaced some planks. What happened with that? Also, why did you glue them down and not nail them? You didn’t mention any fill. Did you not fill the gaps? The guys who did my house said that they always fill because it keeps the finish from pulling up dirt that didn’t get picked up by the vacuum.
Thanks! Yes, there was a lot of gaps in this floor. It is an old floor and rather than trying to make it a prefect, new looking floor, we decided to embrace it and leave a lot of the original patchwork. We didn’t fill the floor gaps because it is the middle of winter here and the house was very dry. Any fill work could cause problems when the wood expands in the spring. Plus , while we still wanted to, we were advise by professionals not to.