
Cityscape Wall Art
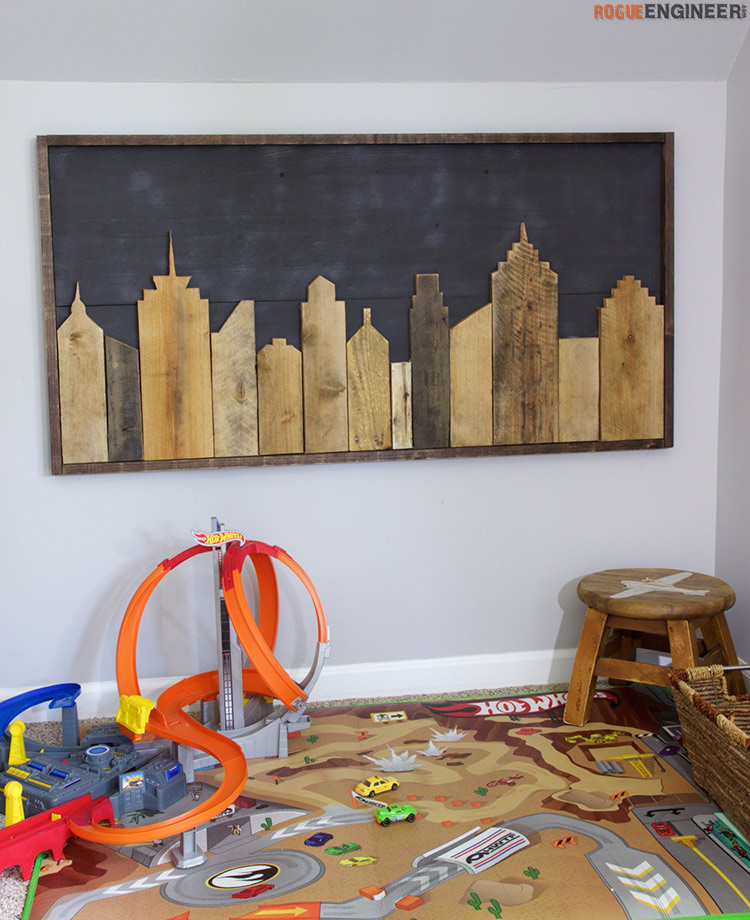
I refuse to let a good pallet go to waste, so when this one was starring at me in the driveway I had to create something. I built this simple cityscape wall art, and I honestly think it might be my son’s favorite thing we’ve built thus far. And we have built him some awesome stuff…DIY LEGO Table, Airplane Play Structure, Toddler Bed Rail, Vintage Parsons Play Table, Bulk Bins | Pottery Barn Knock-off, Bookcase with Toy Storage, Chalkboard Town. You get the point! Enjoy!
For sneak peeks of our upcoming projects be sure to follow me on Facebook and Instagram. Also, follow me on Pinterest to get tons of projects plans from all around the web!
Required Tools
Materials
- Qty 2 – 1 x 2 x 8′
- Qty 1 – 1 x 12 x 8′ OR 2 x4″ sheet of plywood
- Pallet wood
- 1-1/4″ Kreg Pocket Hole Screws
- 1-1/4″ Brad Nails
- Wood Glue
Disclosure: The links provided in the “materials” and “required tools” sections are affiliate links. If you would like to support our site and help keep our content free come find out more about how we can make money with no extra cost to you.
How to build a Cityscape
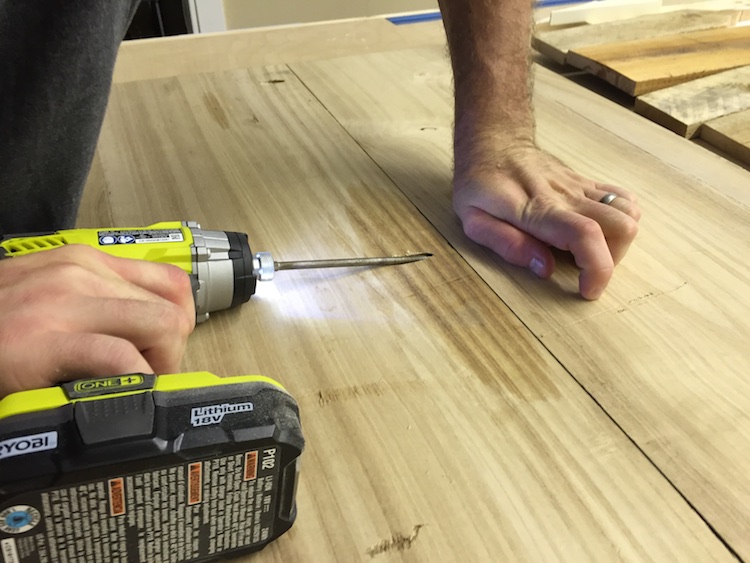
Step 1: Cut and Assemble Backboard
Cut two 1x12s to 4ft. Then, drill 3 pockets hole in the back of the boards and assemble with 1-1/4″ screws… or make things a lot easier and use a 2’x4′ sheet of plywood!
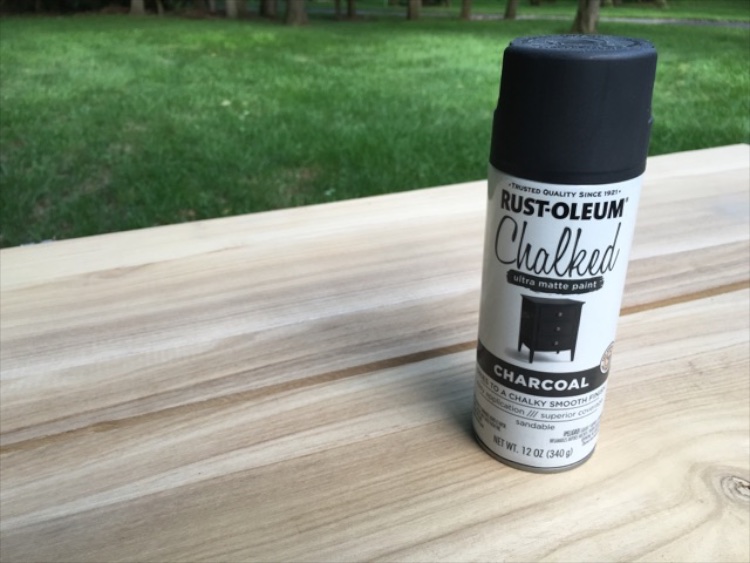
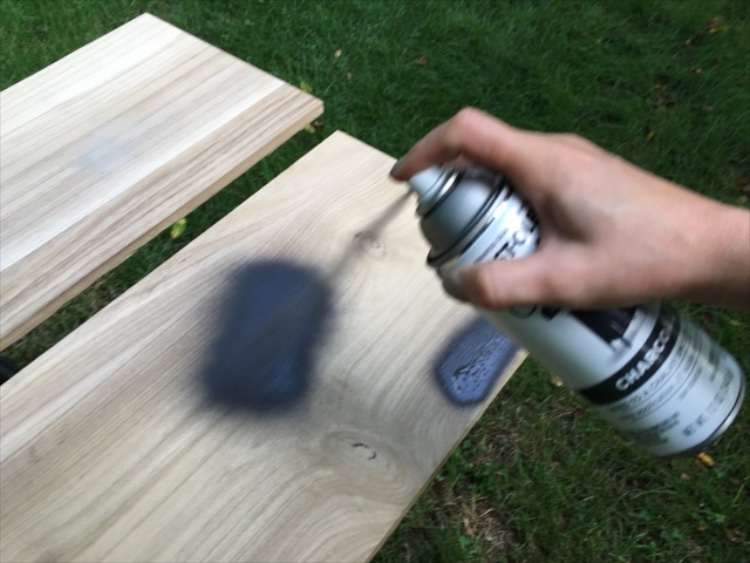
You will want to finish the backboard before you assemble the project, I painted mine using Rust-Oleum Chalked spray paint in Charcoal.
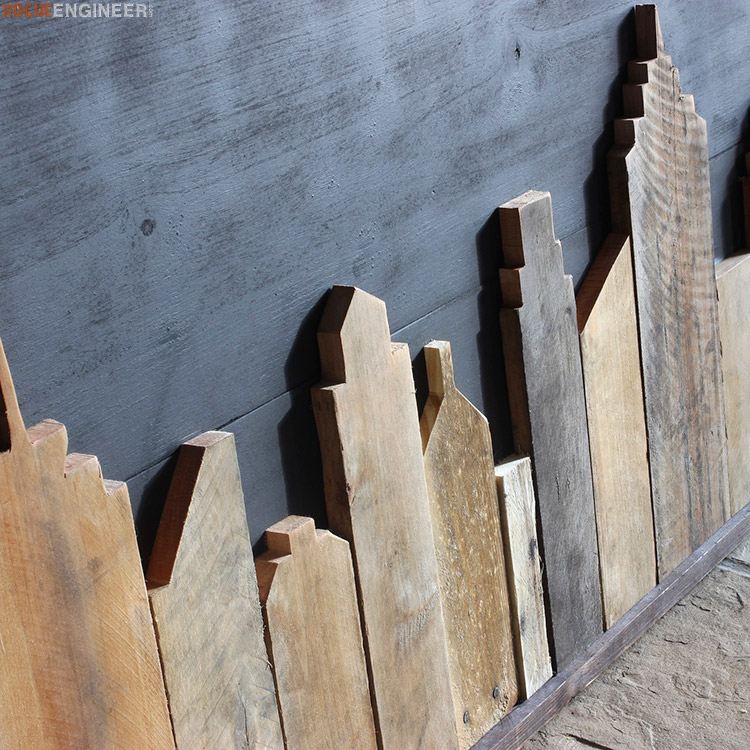
Step 2: Cut and Assemble Cityscape
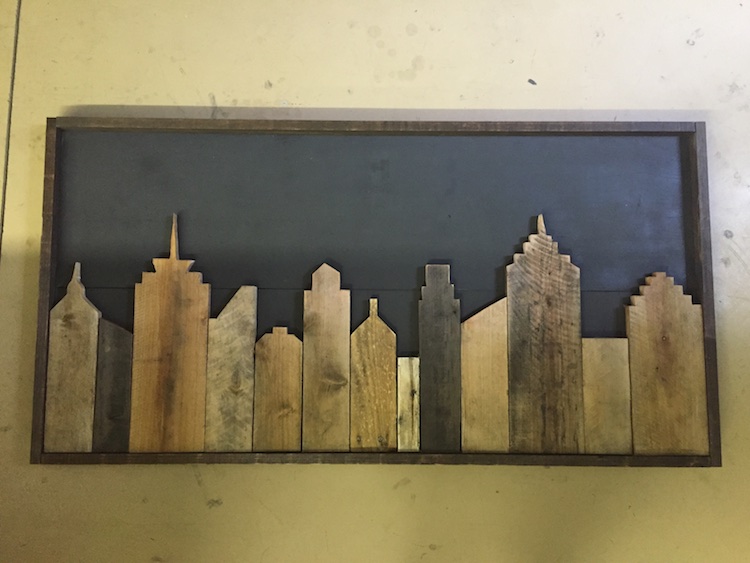
Here is where you can get creative, I picked different size pallet pieces to create my cityscape. Once I arrange my boards to fit on my 2×4′ surface, I traced out my city.
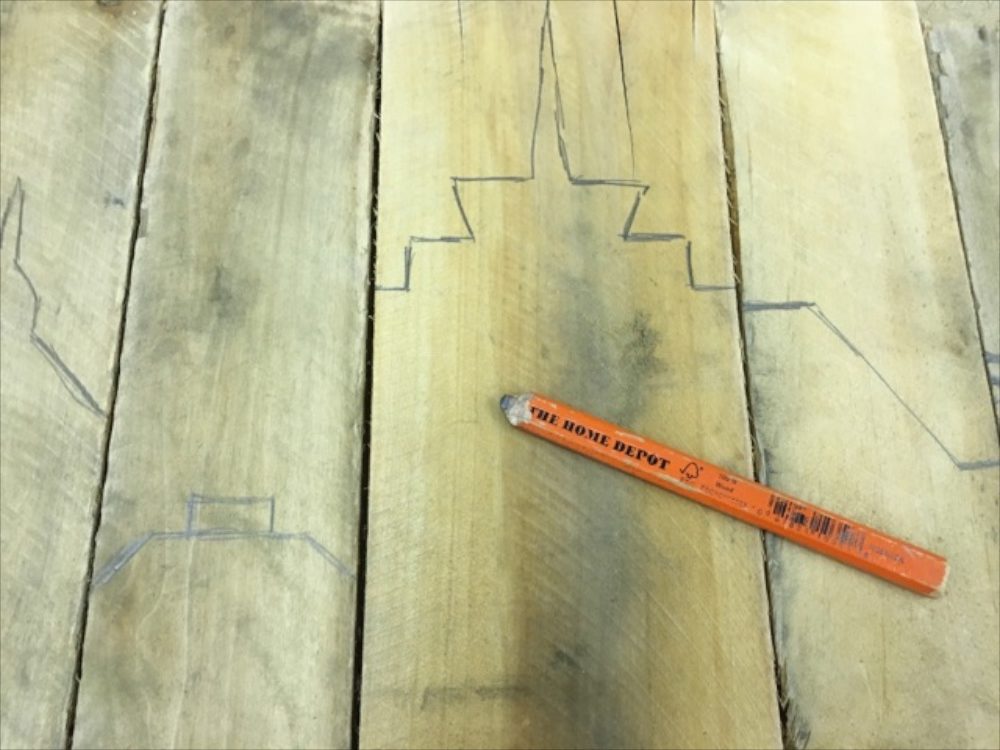
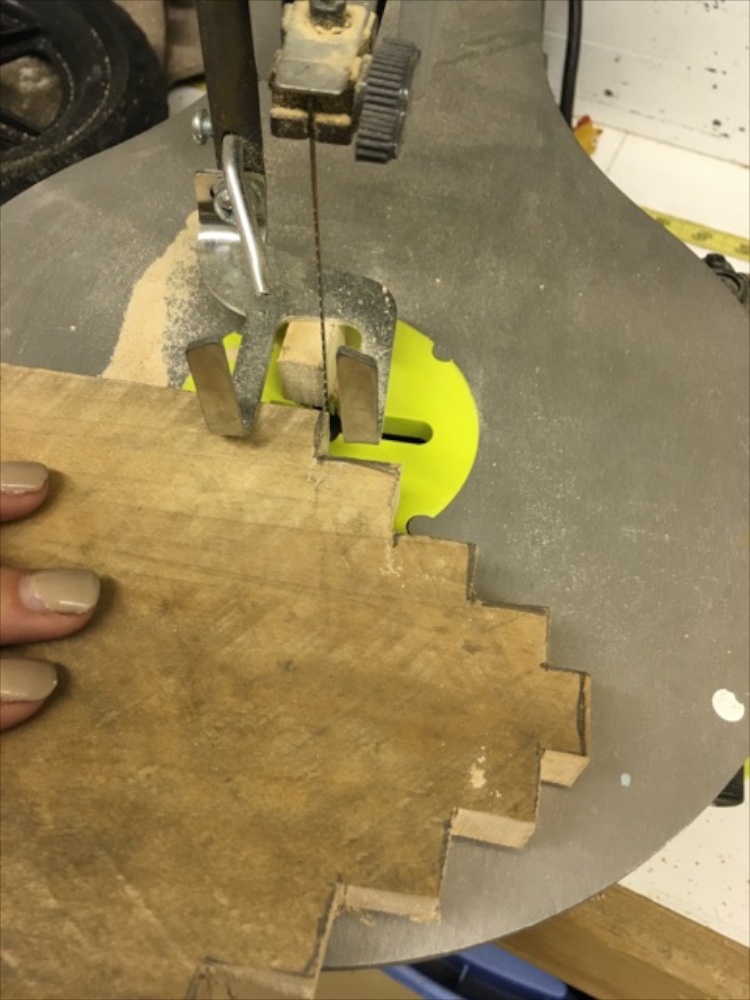
I really just did whatever, my outlines weren’t perfect, but that is kinda what made this project so fun! Im sure my free spirit on this project was slowly killing my engineer of a husband! But once you have your building outlined cut out your design using a scroll saw or a jig saw.
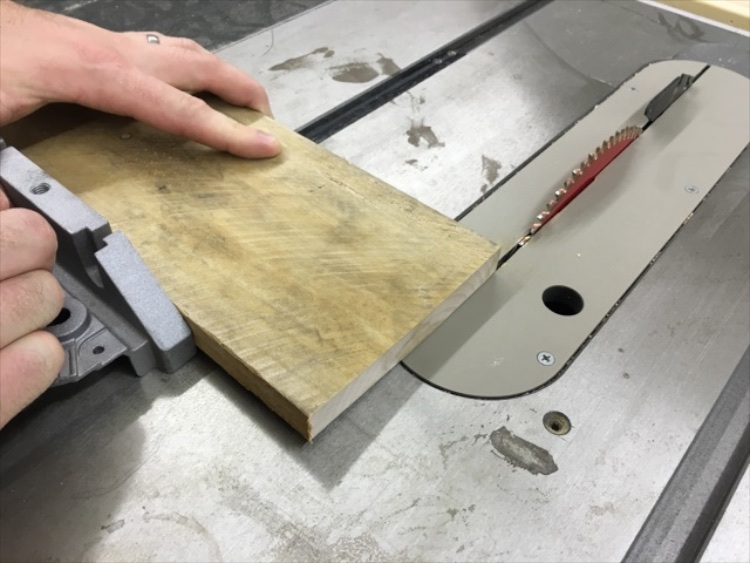
Once I had the cityscape cut out I trimmed the bottoms to make them straight, also so I could change up the heights of the buildings a bit.
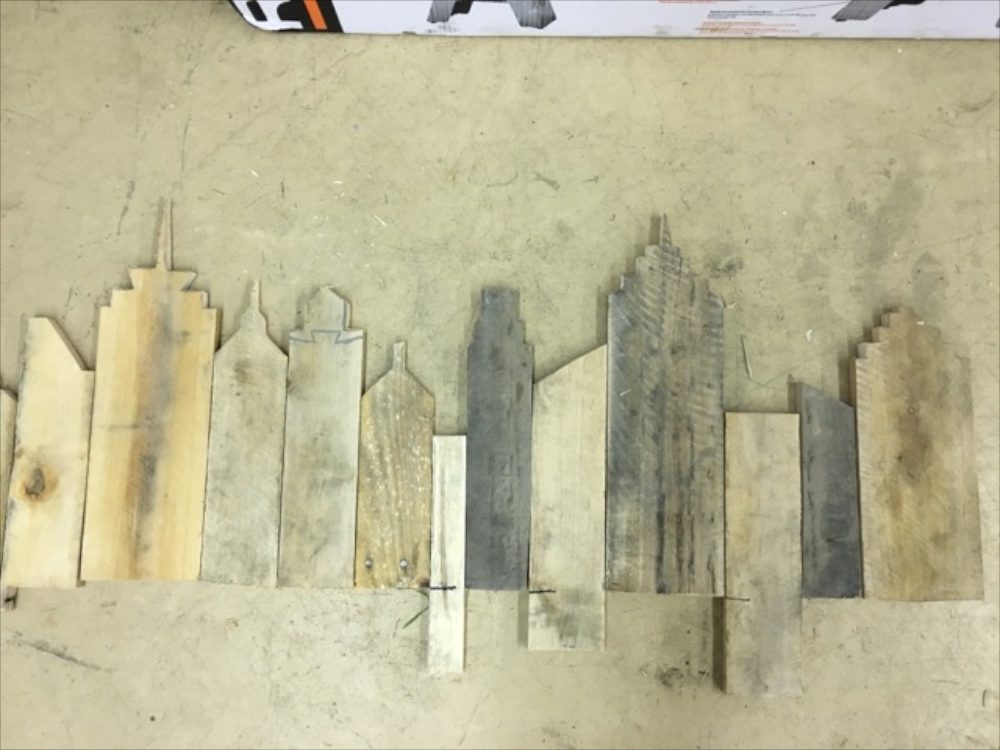
Once again having all our tools at the job site, we ended up using the table saw but a miter saw would work just as well.
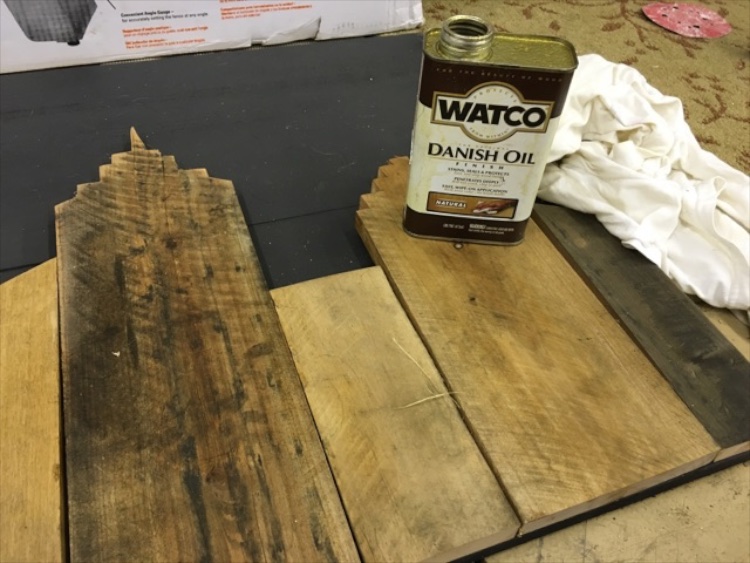
I roughly sanded my building and coated them with danish oil.
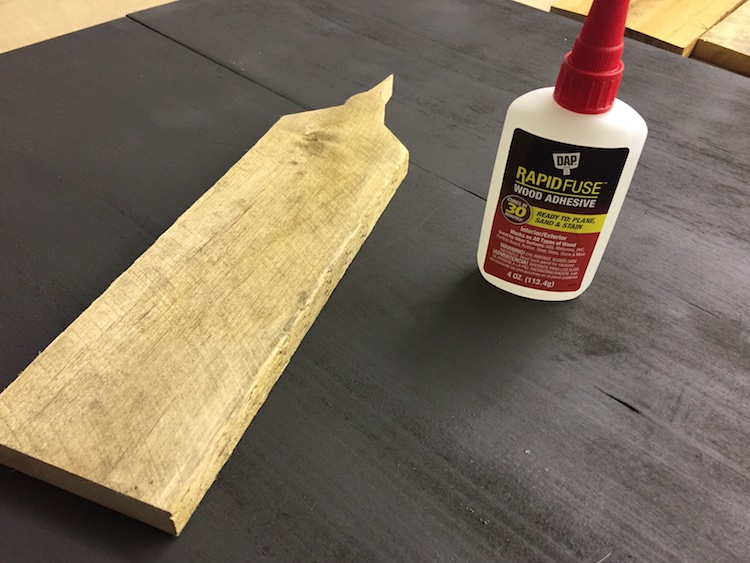
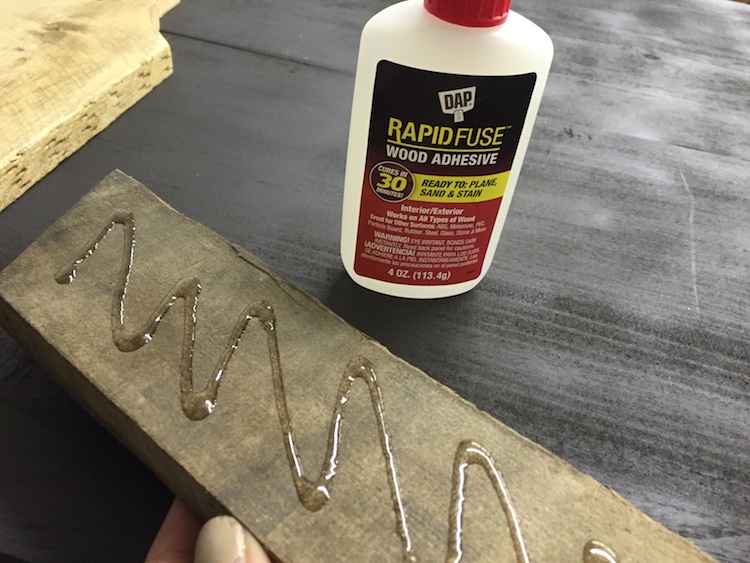
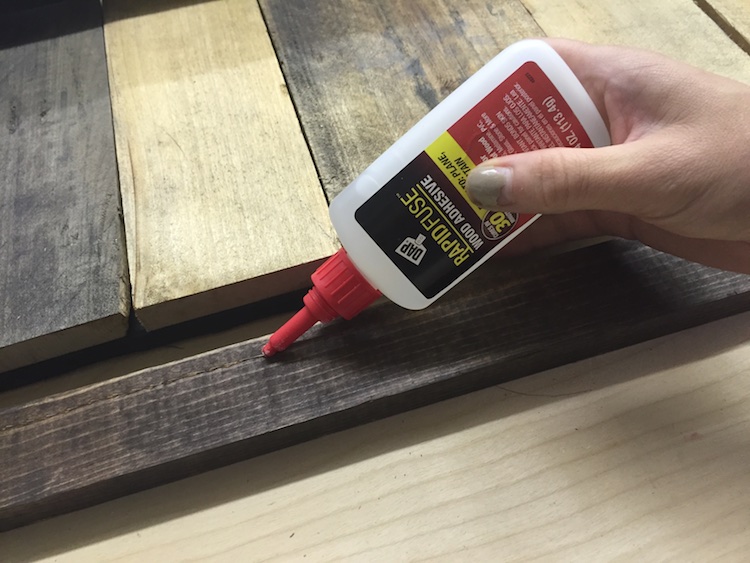
Attach building to your backboard using wood glue and allow to dry.
Step 3: Cut and Assemble Frame
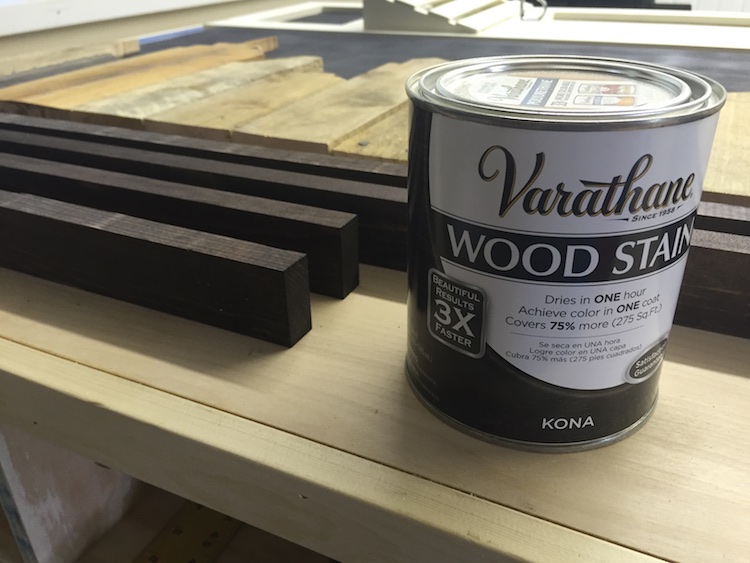
Measure and cut 1x2s to size. Once cut I satined my using Kona wood stain. Allow to dry.
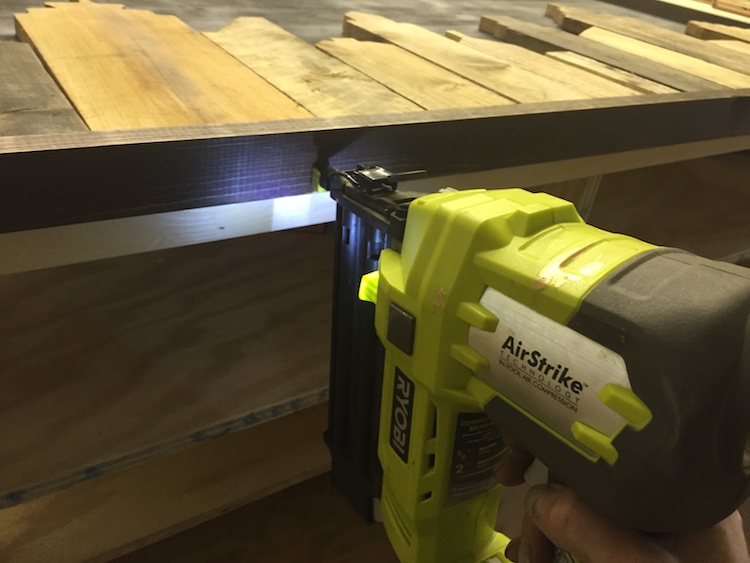
Once dry, apply wood glue on inside edge and nail into place with brad nailer.
My son loved it so much that he insisted we hang it in his bedroom! Not only did I make good use out of an old pallet but I also made one 5 year old boys day! And that is what I call a job well done!

Questions? Comments?
As always, if you have any questions don’t hesitate to comment below and especially don’t forget to post pictures of your finished products in the comments! ENJOY!
I have read that using pallet wood for indoor artwork is not the best idea because of all the chemicals and different things they treat the wood with. Was that a concern at all before hanging this awesome piece of artwork in your son’s room? I can’t wait to try this soon.
Not all pallets are treated with chemicals. Most pallets used in domestic shipping are untreated and safe to use, assuming there are no unknown visible spills. Pallets used for international shipping are usually stamped.
I really like your work and how you explain things that you do. Thanks for sharing such a neat idea.
Thanks Lynda!
This is so cool. Can’t wait to try this!!!
Thanks! Be sure to share pictures when you do.