
Easy Wooden Tree
Another Facebook live build! This holiday project turned out great and is super cheap to do. This little wooden tree is made from 1x2s and scrap wood. These Facebook live videos have been fun so far, and we will attempt to do one every single day from here until Christmas. We kicked it off with the bottle opener build but can’t wait to share some project idea that we have coming up! Stay tuned and don’t forget to turn on your Facebook notifications from the Rogue Engineer page!
For sneak peeks of our upcoming projects be sure to follow me on Facebook and Instagram. Also, follow me on Pinterest to get tons of projects plans from all around the web!

Required Tools
- Drill
- 3/4″ and 1/8″ Wood Drill Bits
- Miter Saw or Circular Saw
- Jig Saw
- Square
- Tape Measure
- Pencil
- Safety Glasses
- Hearing Protection
Materials
- 3/4″ Wood Dowel
- 2 x 6 Scrap (3-1/2″ min for star)
- 1 x 4 Scrap (5-1/2″ min for base)
- Qty 2 – 1 x 2 x 8′
- a single trim nail
- Wood Glue
Disclosure: The links provided in the “materials” and “required tools” sections are affiliate links. If you would like to support our site and help keep our content free come find out more about how we can make money with no extra cost to you.
How to build a wooden tree from 1x2s
Step 1: Mark Cuts
Start out by just marking the cuts you’ll need to make. Don’t worry about the thickness of the blade, these cuts don’t need to be terribly accurate.
Board 1: 1-1/2″, 1-1/2″, 2″, 3″, 4″, 5″, 6″, 7″, 8″, 9″, 10″, 11″, 12″, 13″
Board 1: 1-1/2″, 2-1/2″, 3-1/2″, 4-1/2″, 5-1/2″, 6-1/2″, 7-1/2″, 8-1/2″, 9-1/2″, 10-1/2″, 11-1/2″, 12-1/2″

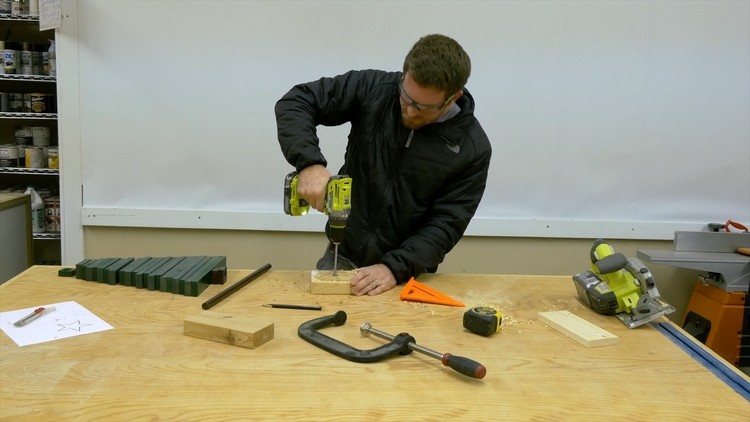
Step 2: Drill Holes
Find the center on each piece (not yet cut) and drill 3/4″ hole through the center. With some of these pieces being as small as they are, it is required to drill the hole first.

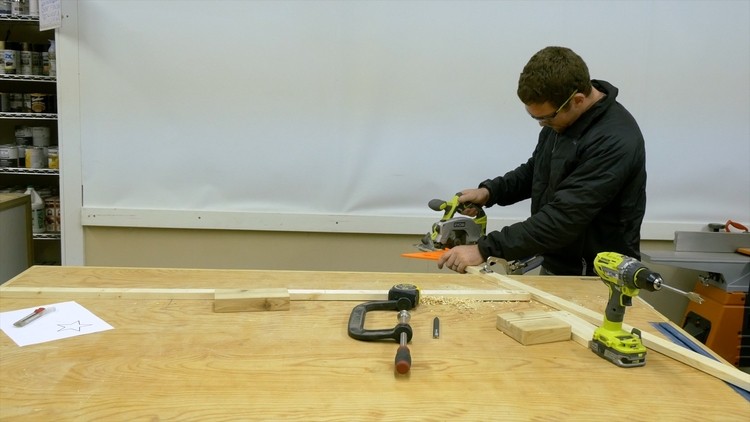
Step 3: Cut the boards
Now you can cut along the lines you made earlier. I used a speed square and circular saw but a miter saw would work too. Sand down any rough edges when done.
Step 4: Make the Base
I used a scrap piece of cedar 2×6 and cut it down to make a square. Whichever you choose for the base, you need to drill a 3/4″ hole about half way through to accept the dowel.
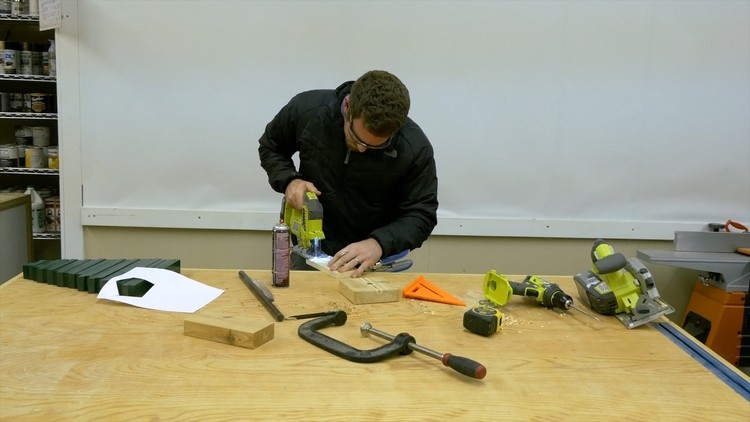
Step 5: Cut out the Star
Here is the template I used for my star.
Apply the template to the scrap 1×4 with spray adhesive and cut it out with a jigsaw. Sand down any rough edges when done.
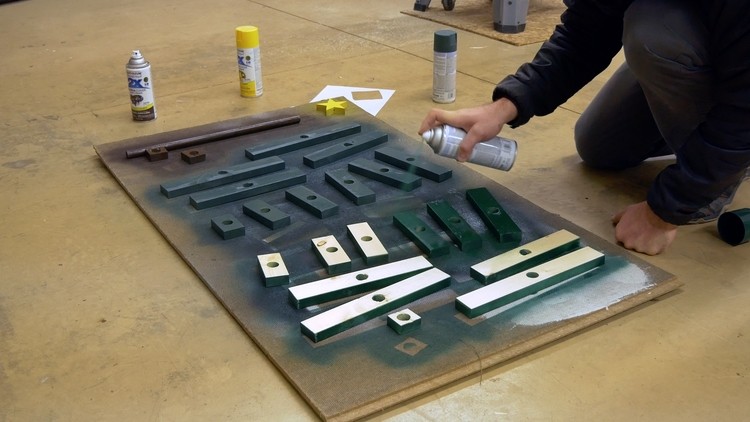
Step 6: Paint
I went with hunter green in gloss and hunt club green in satin and alternated the board colors as they go up the tree. The dowel and two 1-1/2″ pieces get brown for the trunk of the tree and the star gets yellow.
Step 7: Drilling Holes for Star
First you’ll need to drill a 1/8″ hole in the top of the dowel about 1″ deep.

Now, you’ll need to drill a 1/8″ hole in the bottom of the star about 1″ deep.

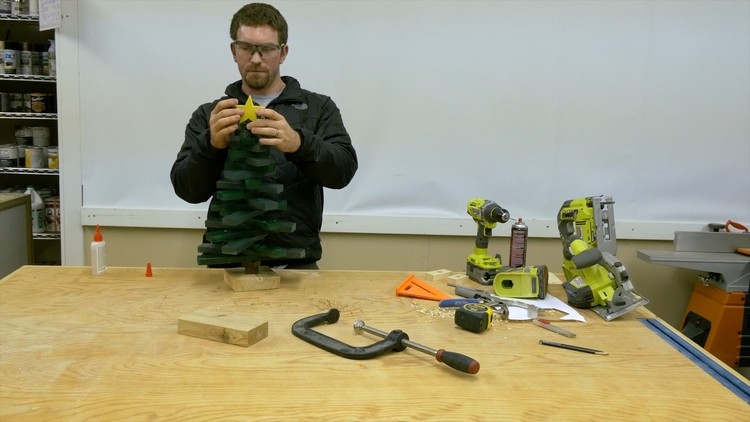
Step 8: Assembly
Cut the dowel down to the appropriate length. Determine that by measuring the stack up of the tree pieces, plus the depth of the hole in the base and add an extra 1/2″ for good measure. Then, glue the dowel into the base.

Now, glue the trim nail in the hole at the top of the dowel and glue the other end of the trim nail into the hole in the star.
Questions? Comments?
As always, if you have any questions don’t hesitate to comment below and especially don’t forget to post pictures of your finished products in the comments! ENJOY!