
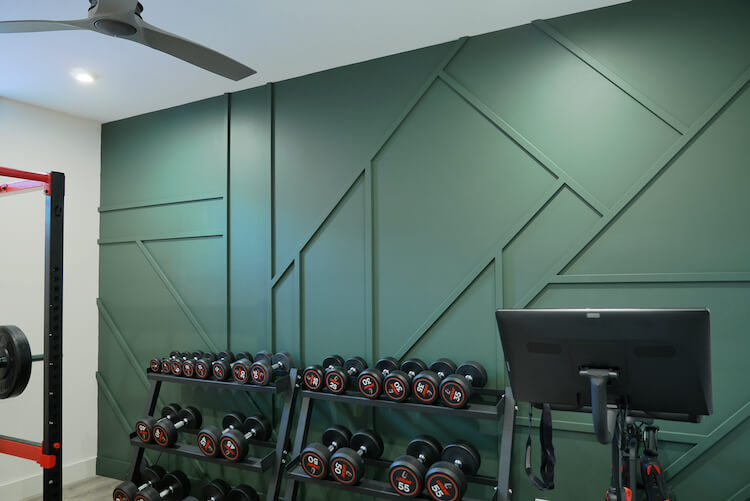
Geometric Accent Wall
Time to Complete
2 days
Estimated Cost
$50
Skill Level
Beginner
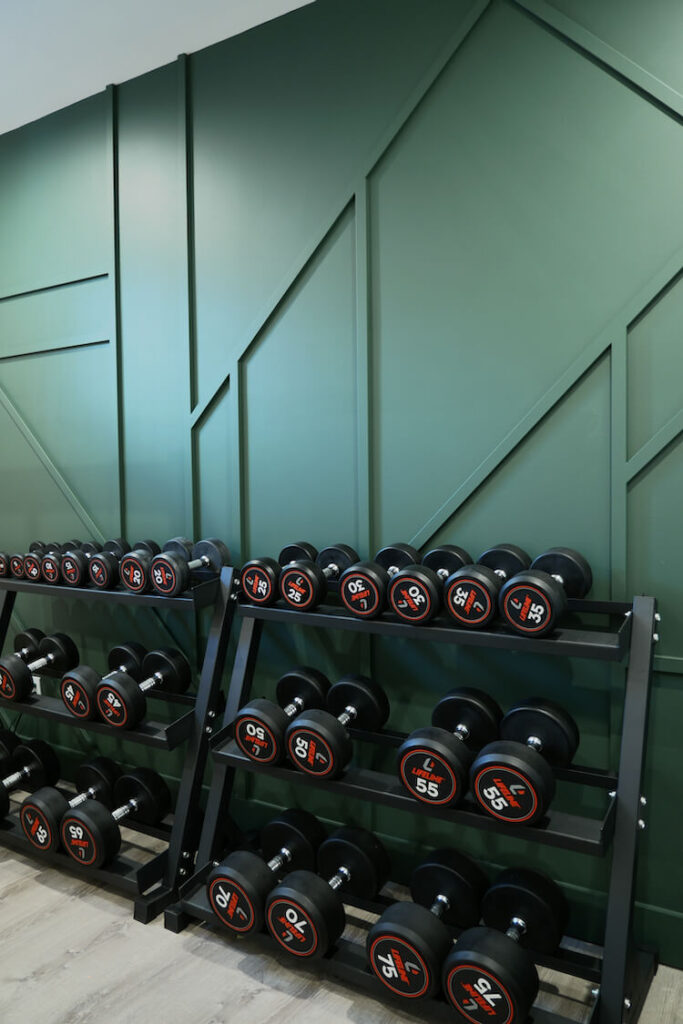
We’ve always dreamed of having a home gym. We set aside some space in the basement for a small gym and finally got around to outfitting it. However, we wanted this gym to have a sweet accent wall so we decided to go with a geometric design. Follow along below to see just how we did it.
If you love this stuff as much as we do, you might want to consider following us on Instagram where we post sneak peeks and behind the scenes stuff in our stories. Also, did you know you can get tons of projects plans from all around the web when you follow us on Facebook and Pinterest!
Disclosure: This project was sponsored by DAP Products however the design and opinions are 100% my own.
Disclosure: The links provided in the “materials” and “required tools” sections are affiliate links. If you would like to support our site and help keep our content free come find out more about how we can make money with no extra cost to you.
In this tutorial I will show you how we installed, and finished, 1×2 battens on our drywall to create a modern geometric pattern.
Total Time: 2 days
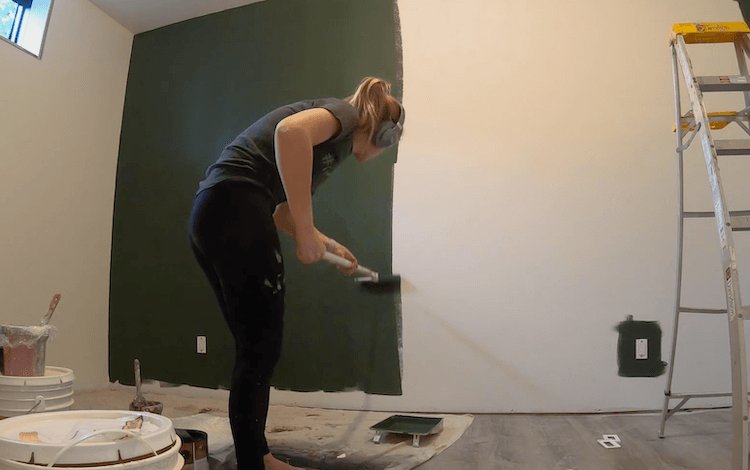
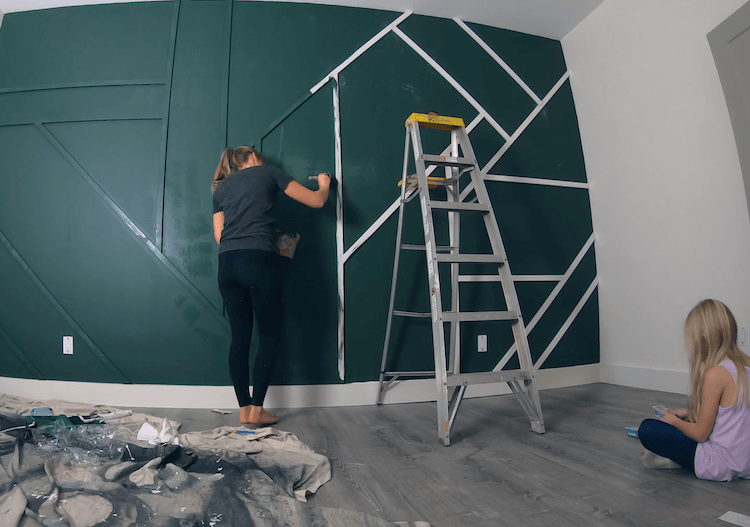
Paint the Wall
Picking your paint color and getting that first coat on the wall is ideal before you begin the trimming process. For this project we went with the color Alpine Trail from Behr.
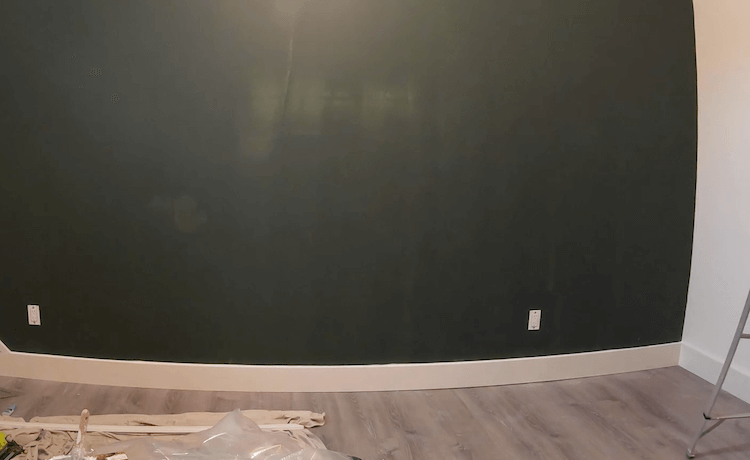
Install Baseboards
Now had no previous trim, since it was unfinished, so we installed 1×6 baseboards to match the rest of the basement.
Laying Out the Pattern
I highly recommend laying out your design before jumping right in. I used CAD to model mine up but if that’s not your thing, gab a sheet of graph paper and lay out a scale drawing of the wall (ex. 1″=1′) and how you want the design to look. Then you can measure the battens and figure out the length of cut (or close to it). Also, make sure that you don’t have any battens that are more than 8′ in length as then you would need to join two battens together.
Installing battens. Where do I need glue?
First and foremost, take the time to locate your studs and nail the battens to the studs whenever possible with 2″ long 18 gauge brad nails. I like to use a magnetic stud finder to locate drywall screws, that way I can be sure I’ve found a stud.
One of the most important parts is knowing where you need glue. Sure you can apply glue all over but if you ever need to remove the battens you will have a lot of drywall repair. For this you could use a construction adhesive like DAP’s DynaGrip or, what we used, which was DAP’s RapidFuse. It is easy to apply and cures quickly to keep the board right where you want it.
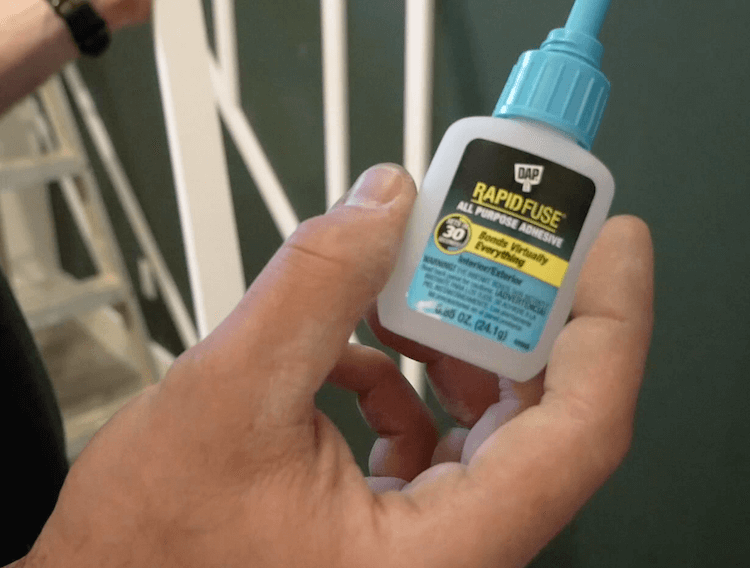
The locations that need glue are, at the batten ends of any joint that doesn’t fall on a stud and any vertical batten that doesn’t fall on a stud. Basically, if you can’t secure any part of a batten to a stud then glue the entire thing and nail on an angle and in opposing directions. Where one batten meets another (likely not on a stud), add a dab of glue to the back and to the joint to help keep the joint from separating.
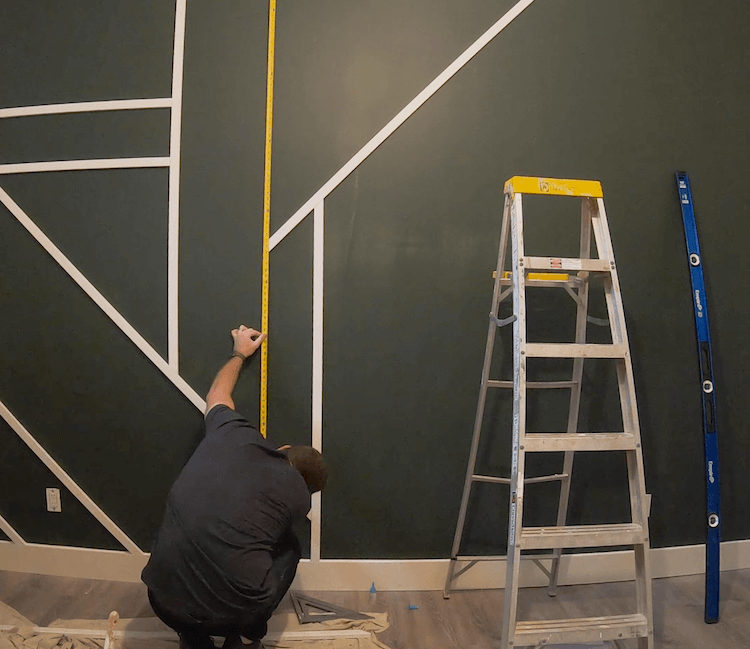
Measuring Batten Lengths
Most battens can be cut somewhat randomly or “close enough” as the next can be adjusted to make it work. However, there are some battens that will need to cut to fit. It is wise to cut these a little long and then trim back as needed.
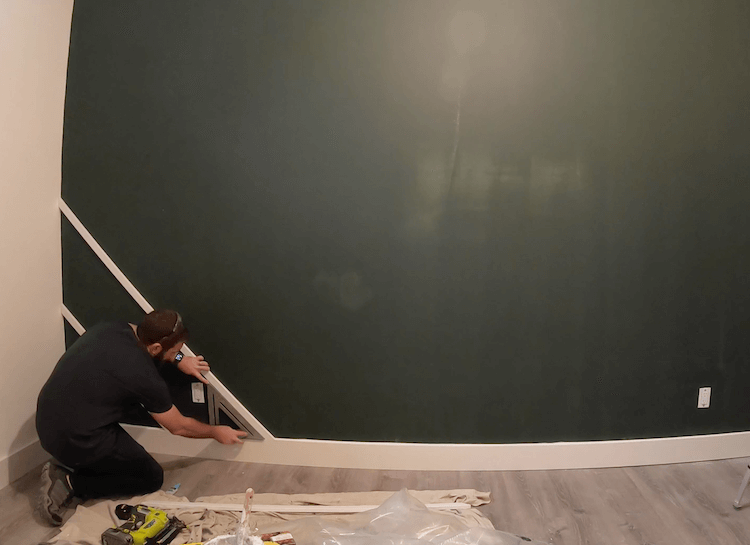
Installing Mitered Battens
To make this easy we used only 45 and 90 degree angles. When installing 45 degree battens, use a large speed square for alignment to make sure the angles are dead on.
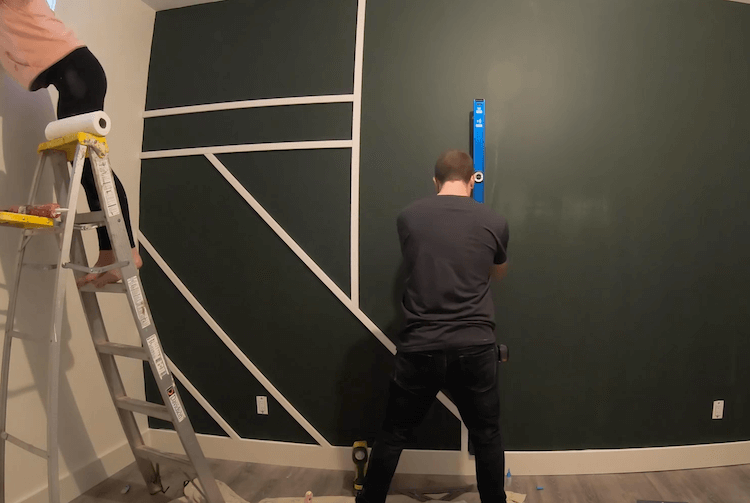
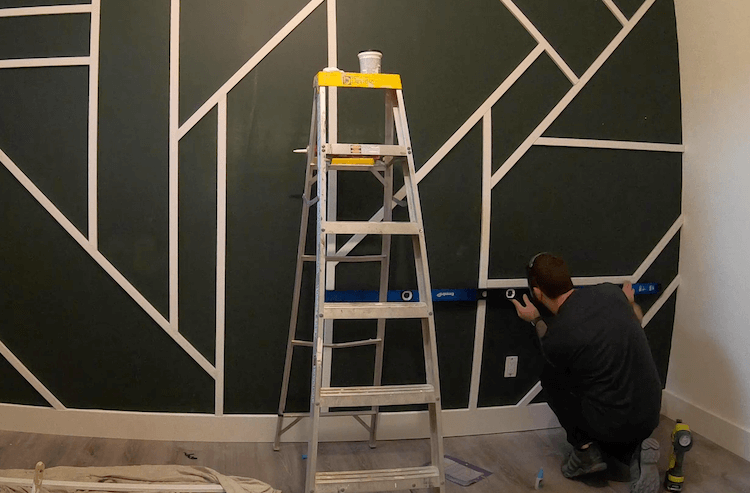
Installing Horizontal and Vertical Battens
When installing horizontal and vertical battens use a level to get them perfectly level or plumb. That large speed square can also be used in some areas.
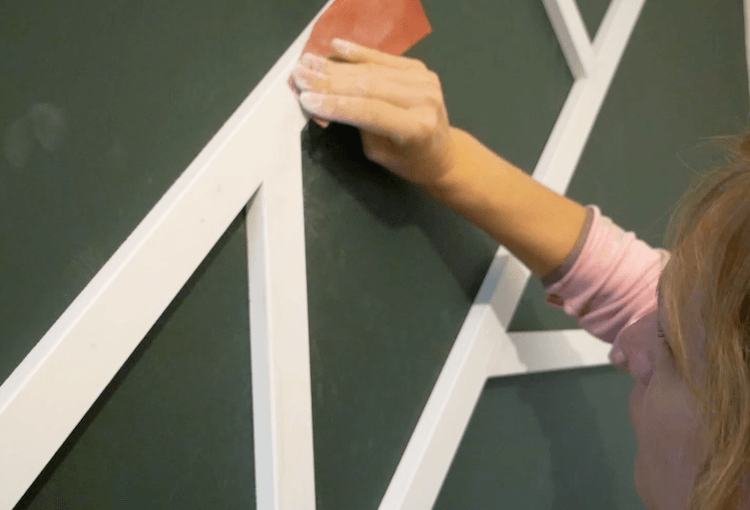
Filling Nail Holes
Finishing, can make or break a project like this. Take your time to make sure all the holes and joints are filled properly before painting.

For filling the nail holes I recommend DAP’s Painters Putty. It is really easy to apply just right so you don’t have to sand it and it paints really well making all those pesky nail holes disappear.

Filling the Joints
As for all the joints I recommend DAP’s Platinum Patch which is an advanced filler that can work inside or out. It is white, sandable and can bond to just about any surface so it is perfect for blending the batten joints.

Once it dries out, just sand down the joint to get the seamless look.
Caulk and Paint
Since we were able to get all the battens tight to the drywall, we did not caulk in every batten. We did however, caulk the tops of the baseboards into the wall and the ends of the battens into the adjacent wall, baseboard or ceiling.
With the wall done we were able to move on to the gym equipment. To learn more about what all we put into our home gym head on over to our Home Gym post for all the details.
Questions? Comments?
As always, if you have any questions don’t hesitate to comment below and especially don’t forget to post pictures of your finished products in the comments! ENJOY!