Backyard Ice Rink
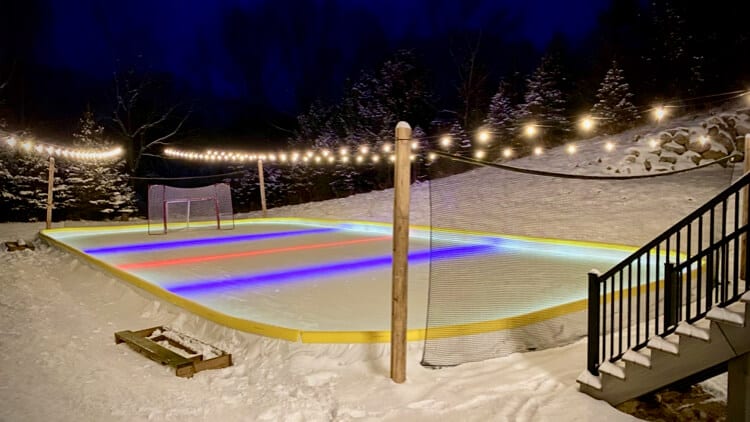
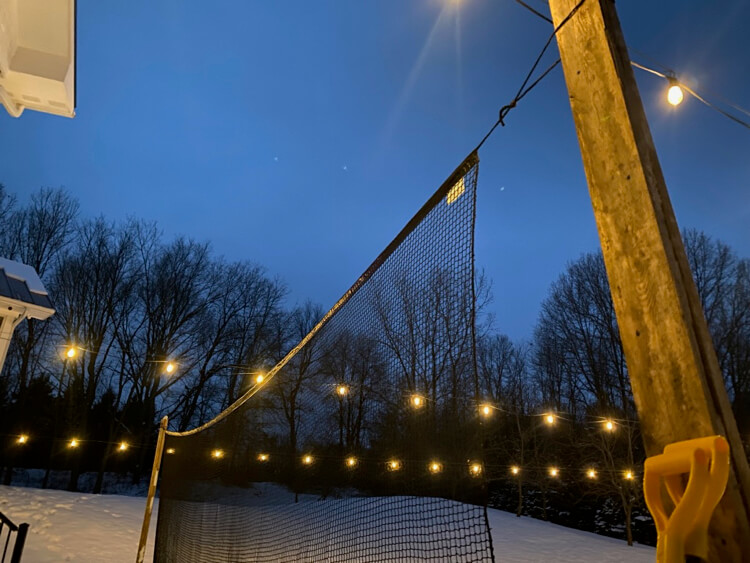
Every winter for the past 4 years we have set up an ice rink in our backyard. The first year included a simple DIY setup with treated lumber and some accessories. It has been so fun that every year since then we have added a little something to make it better. One year we added the market lights that you see in the photo below and another year we did a complete makeover to our walkout basement patio.
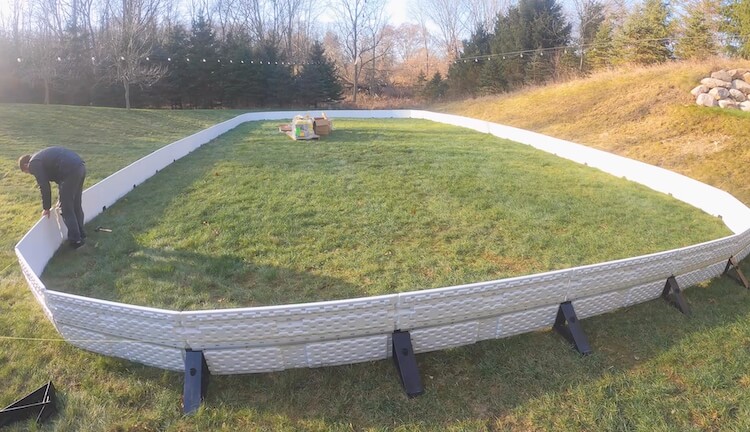
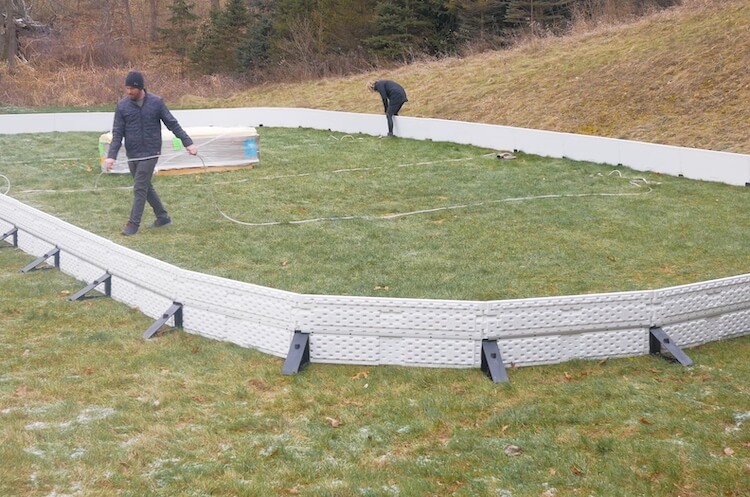
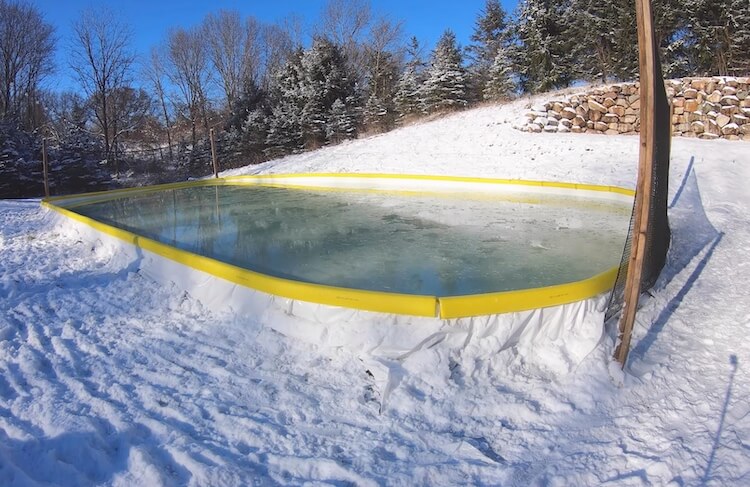
This year we decided to give the rink itself an overhaul using the Nice Rink System. This system is made up of plastic brackets that get pressed into the ground and lightweight boards used to hold the side of the rink up. Plus they have a ton of other goodies that we get to include in this years rink!
Project Video
How to Build a Backyard Ice Rink
Tools Required
- String
- Long Tape Measure
- Rubber Mallet
- Laser level (or something to figure slope)
- Garden Stakes
- Stakes for marking corners
- Auger or Post hole digger
Materials
- Nice Rink Package
- Under-Liner Lights
- Back Stop Netting
- Posts for Netting
The Layout
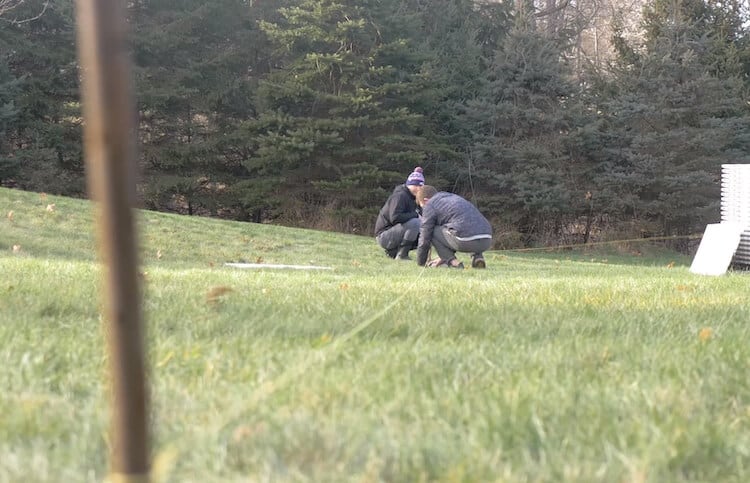
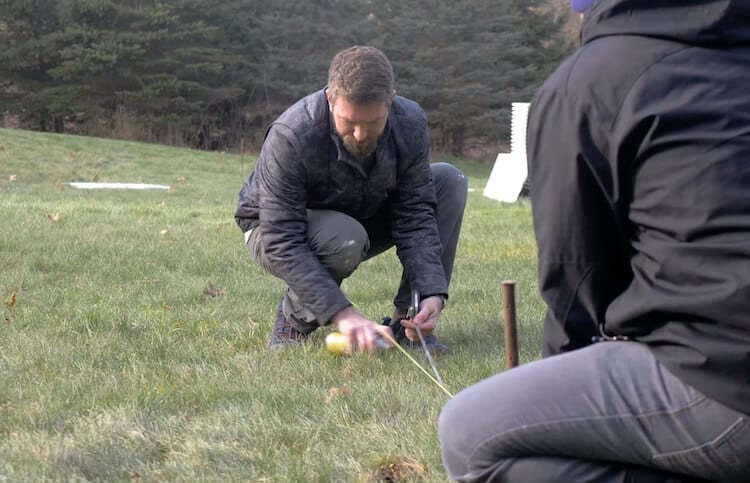
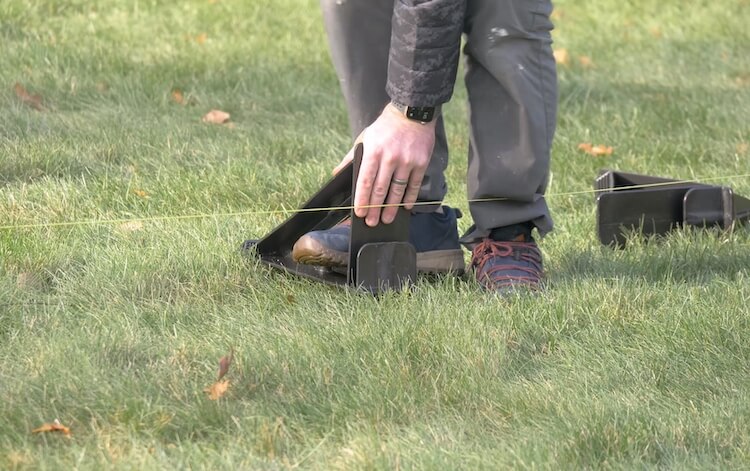
Nice Rink offers a ton of instruction on how to install your rink so this is going to simply act as an overview of my set up. Since we have been setting this rink up for years we have a pretty good idea of the slope which is important to find first. Laying out the overall rectangle for the rink will require stakes, a long tape measure and pythagorean’s theorem to make sure it is square. Once the stakes are square then use a long string to outline the rink.
Since we are doing rounded corners, Nice Rink recommends marking 7-1/2′ in from each corner to begin the curve (and this is where the first board begins.
Installing the Boards
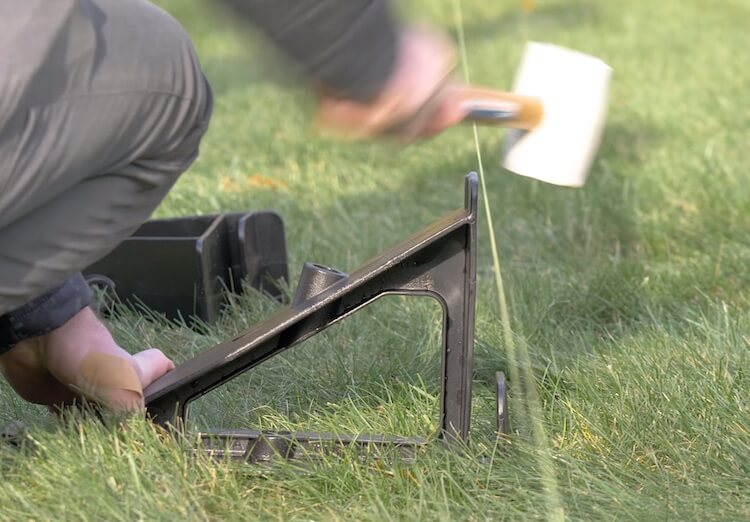
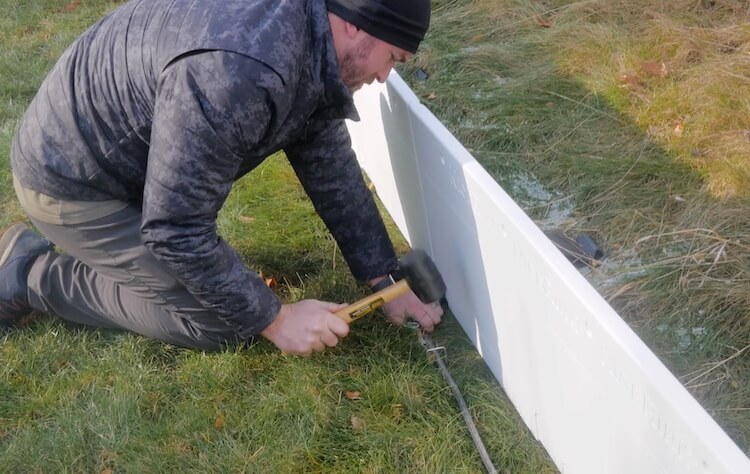
The brackets have spikes on them and the point of the front spike is started where the string is and centered on the end of the board. When the bracket goes into the ground it will slide back and align with the string.
We got started on this a little late and the ground was cold. Using a rubber mallet was just the persuasion we needed to get these brackets into the ground.
Working one board at a time we worked our way around the rink.
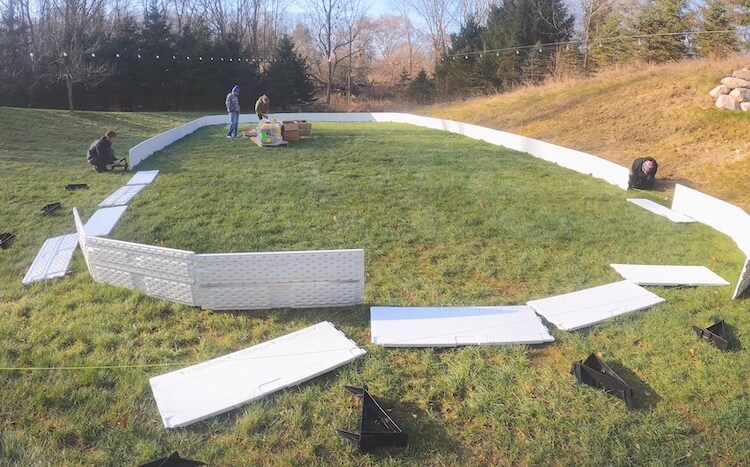
The corners have a different spot for the brackets so make sure to pay attention to that.
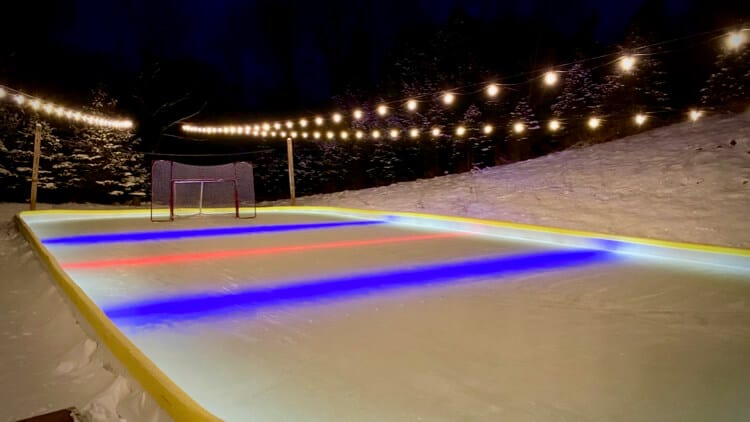
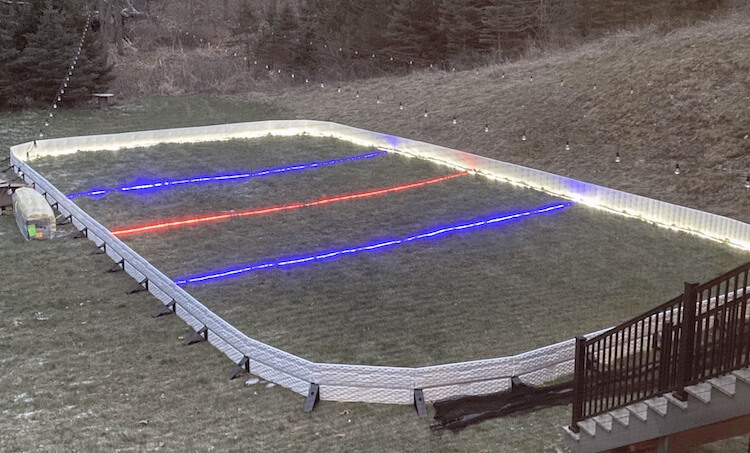
Under-Liner Lights
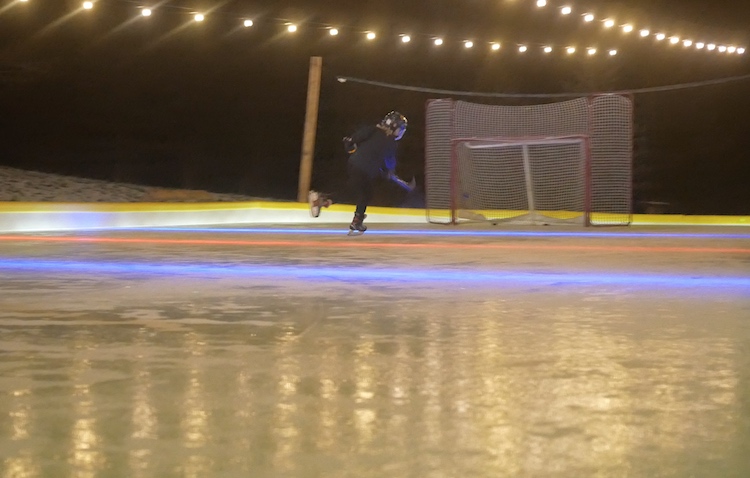
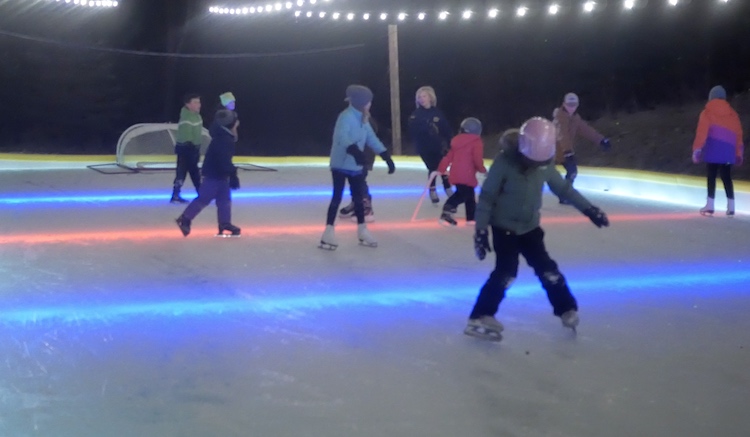
One cool upgrade this year was the under-liner lights. We installed 2 blue lines, a red line and a white perimeter light. These are great because they go under the liner and won’t attract any radiant heat from the sun which would melt the ice on a sunny day.
After getting thes positioned we secured them with garden stakes.
After getting the first look at them at night I was pretty pumped with how they were going to turn out.
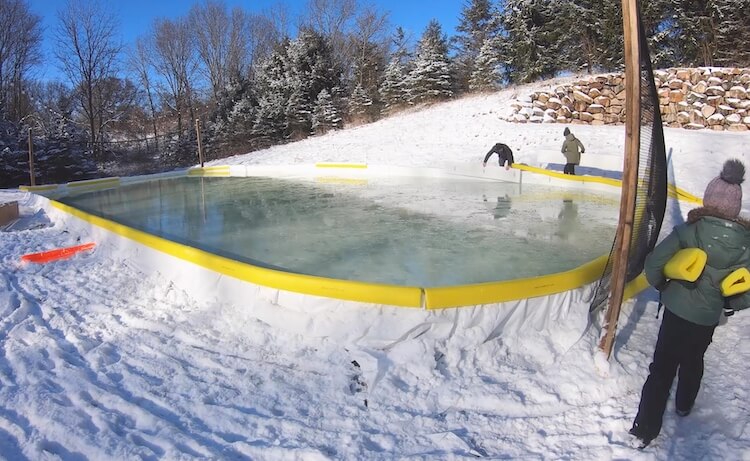
Installing The Netting
We also added netting at each end this year because I feel like we have been chancing it every year being as one end is facing the house and windows are in striking distance. I started by using an auger to dig the holes at each corner.

I had some longer 2x6s laying around so I screwed a couple of those together and used those as the posts. However treated 4x4s would be more ideal.
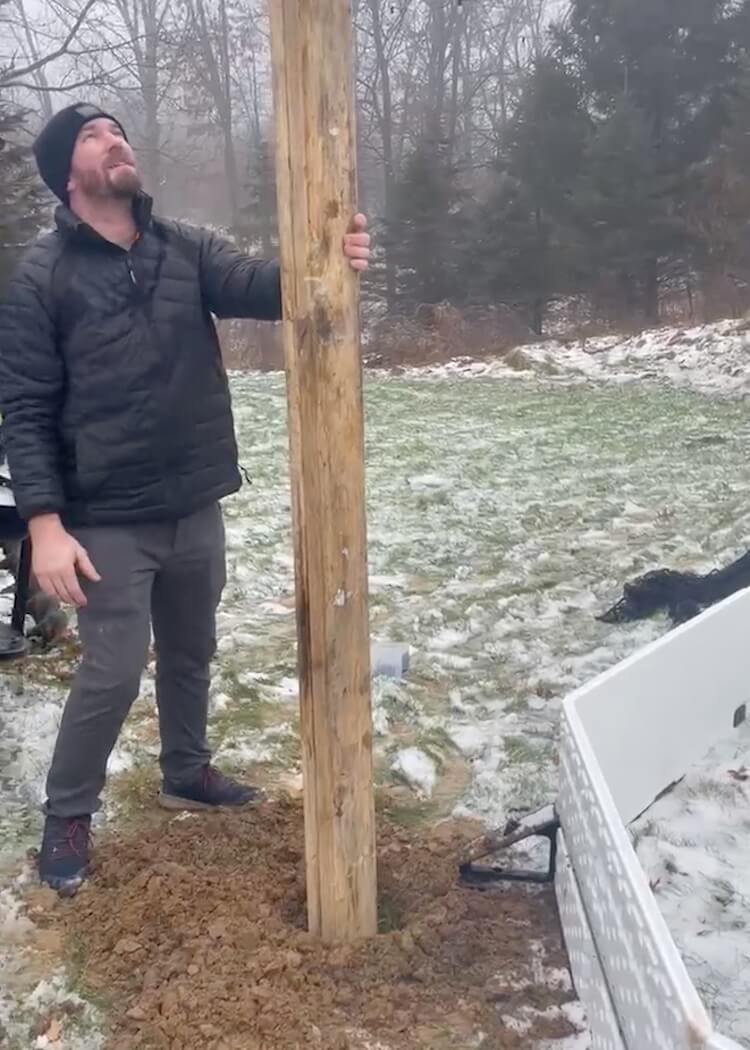
With the posts in and backfilled we could hang the nets. Our posts tipped in a bit from the weight of the net so if you wanted to you could add another rope and stake in the ground to the sides to prevent this.
Liner and FIll
When we saw some good cold weather in the forecast (below freezing for about a week) we started prepping for the pour. This included setting up the liner which is pretty straight forward.
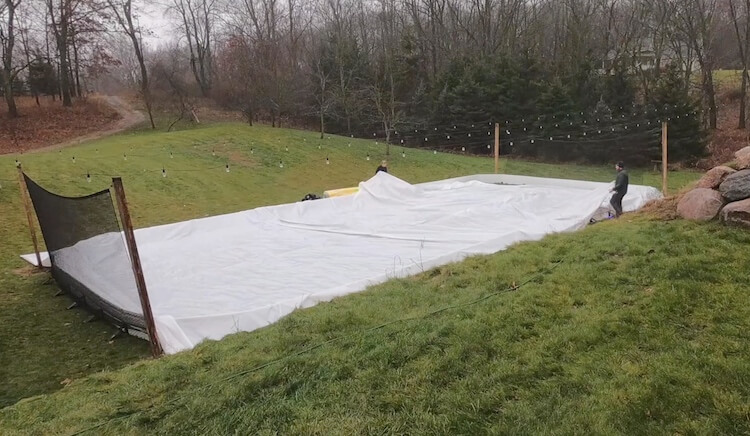
With the liner laid out we fit the bottom to the insides of the boards and held it in place with a few bumpers.
We used a garden hose connected directly to the pressure tank from our well to fill the rink overnight. This bypasses the softener so we get more flow and don’t have to worry about running our softener dry.
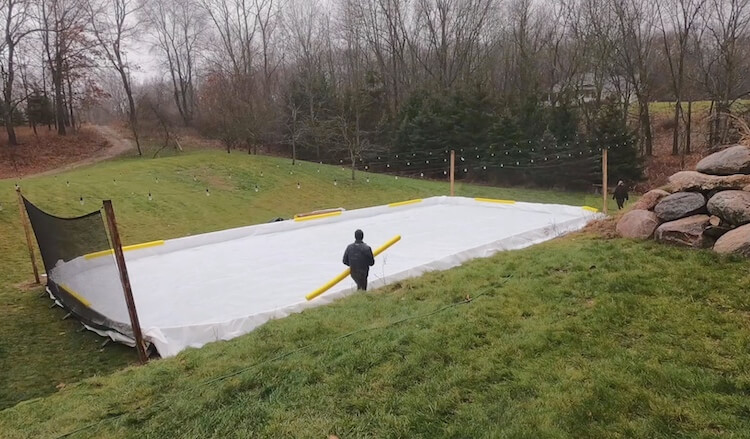
Bumpers and Kickplates
With the rink filled we could move onto installing the bumpers and kick plates. The kick plates are an upgrade that protects the liner from sticks, skates and shovels throughout the season.
The last bumper get cut to fit and now we wait for the ice to get thick enough to get on.
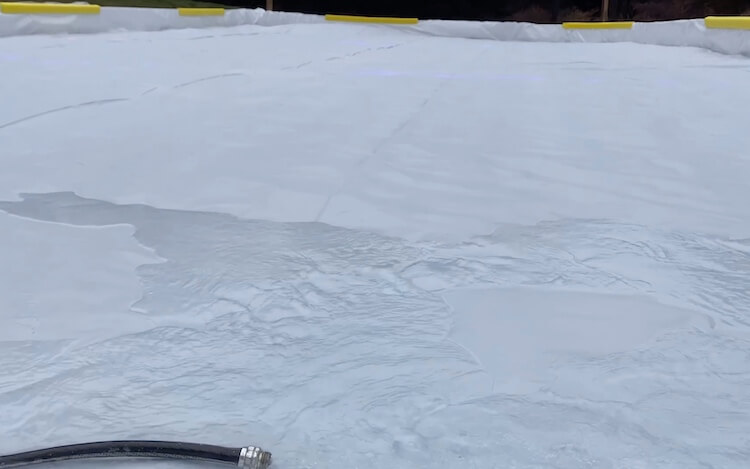
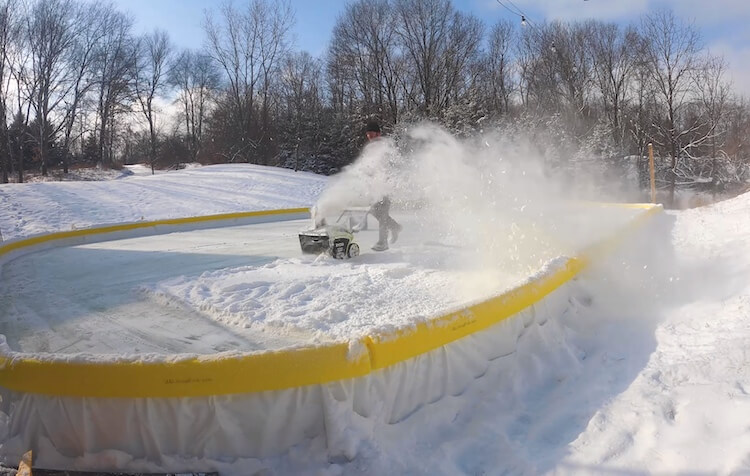
Freeze and Maintain
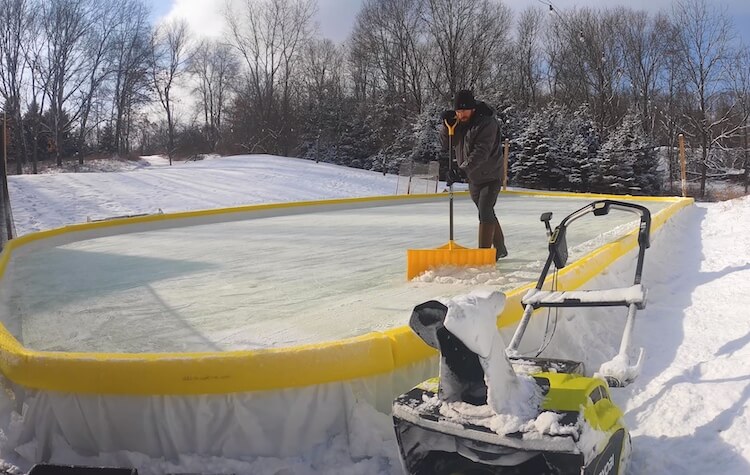
One thing most people don’t think about is maintaining the rink. Whenever it snows it needs to be cleared as soon as possible. I do so by using a snowblower.
Then I go back with a snowshovel and clear what’s left.
Finally, I come back with my Nice Rink resurfacer (connected to the water heater) and apply a thin coat of water to get the ice back into perfect shape.

Any complications with slush and fixing other issues are addressed by Nice Rink’s many great articles.
Enjoy!
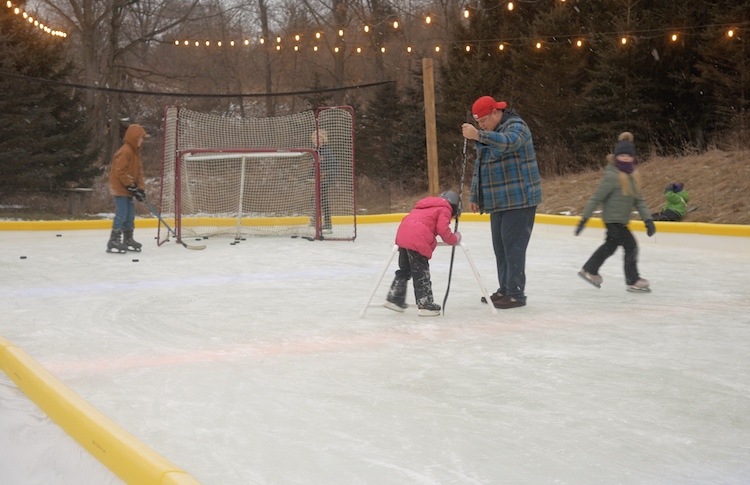
We have so many great nights and weekends in the winter to enjoy our rink. It is something that we look forward to as winter rolls around and it give us something fun to do outside.
My son is on a travel hockey team and when he’s not at practice he is able to train out back.
We use it on the weekends with friends and the kids love it!
At night we even break out the music and have a little DJ skate in our own back yard!
I hope you guys enjoyed this article and if you have the motivation to build your own backyard rink make sure to check out Nice Rink for all kinds of products and info! Don’t forget to post some pictures of your own backyard rinks in the comments below.