After making our own cabinets carcasses for the flip house kitchen it was time to order the doors and drawer fronts, get them painted and installed. While I think I could have made the doors, I don’t think it would have been a good investment of my time and I don’t think the end result would have been as nice. I know my limitations and I am okay with that. I felt pretty comfortable making the carcasses because I knew they would be hiding behind the doors that I purchased from a real woodworking operation. But, then I realized I still had to finish those doors. Luckily, I was able to pick up some tips from my neighbor who just so happens to be a cabinet-maker. While I don’t (and I assume you don’t) have the expensive tools and setups of a real cabinet-maker, the goal of this article is to get the best possible finish with accessible and affordable equipment. Read on to see how I did it.
But first, don’t forget to subscribe on YouTube and for sneak peeks of our upcoming projects be sure to check out Our DIY Life on YouTube, follow us on Facebook and Instagram. Also, follow me on Pinterest to get tons of projects plans from all around the web!
Disclosure: This article is sponsored by Rockler Woodworking and Hardware. Thanks Rockler!
Below is a list of projects that have been publish or are to come in this kitchen renovation series. So be sure to check those out for more details.
Our Flip House Kitchen Renovation Series
- Frameless Cabinet Carcasses
- Cabinet Door Drying Rack
- Countertops
- Cabinet End Panels
- Spraying & Installing Cabinet Doors
- Upper Cabinet Crown Moulding
Required Tools
- Rockler HVLP Finishing Sprayer
- Respirator
- Drill
- Concealed Hinge Jig or Drill Press w/ Jig
- Cabinet Hardware Jig
- Tape Measure
- Pencil
- Safety Glasses
Materials
Disclosure: The links provided in the “materials” and “required tools” sections are affiliate links. If you would like to support our site and help keep our content free come find out more about how we can make money with no extra cost to you.
Measuring & Ordering the Doors
The doors and drawer fronts for these cabinets are known as full overlay. That means that they almost completely cover the sides of the cabinet carcass and have only 1/8″ gap between them and the adjacent door.
So for a cabinet with a single door (that has cabinets on each side) the width of the door would be the width of the carcass minus 1/8″. This gives you 1/16″ on each side of the door but when you add that to the 1/16″ of the adjacent cabinet and door you get 1/8″ total reveal. The top of the upper door or drawer front should be 1/8″ down from the countertop (or top of carcass) and the bottom of the bottom door or drawer front should be flush with the bottom of the carcass.
The rule of thumb when calculating the width of the door should be to subtract all the reveals from the width of the carcass and then divide by the number of doors. So, if you have a cabinet with two doors that has a cabinet on one side but a panel on the other it would go like this. 1/16″ reveal on the side with the adjacent cabinet plus 1/8″ reveal in between doors plus 1/8″ reveal between door and the panel. That gives you a total reveal of 5/16″. Subtract 5/16″ from the carcass width and divide by 2 (for the amount of doors) to give you the final door width.
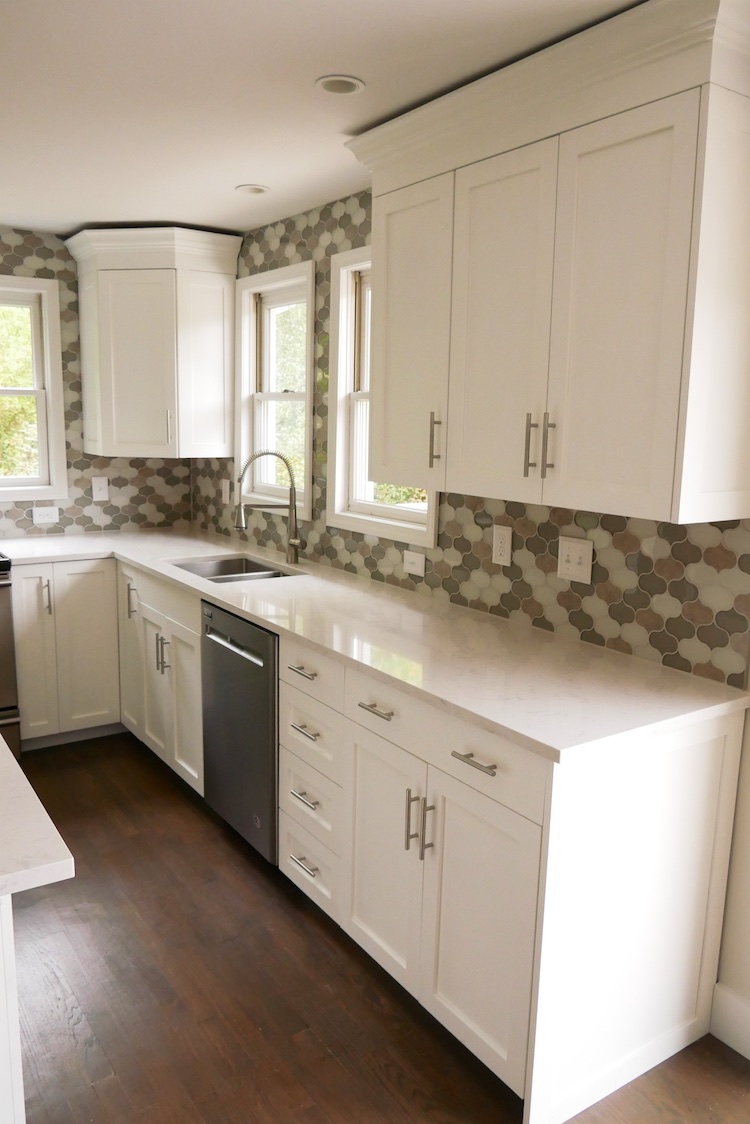
With all the measuring out of the way, we then decided to order the custom cabinet doors and drawer fronts from Rockler. We went with the Adobe Contemporary Style Flat Panel Cabinet Door in maple but with the OE801 outside edge and the IE501 inside edge for a shaker look. A few weeks later, the doors and fronts showed up.
Bore the Holes for the Concealed Hinges
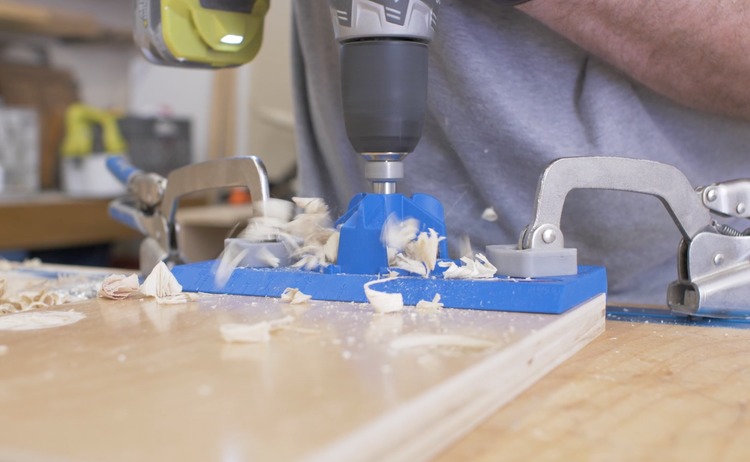
I wanted to show how these holes for the concealed hinges could be drilled with a standard drill and a jig. However, a drill press with stops and jig to place the doors would work just as well if not better. If you don’t have a drill press you’ll need a concealed hinge jig. To start off, grab a scrap piece of wood (this will act as your door) and find out what settings you need for your doors. The settings are used to space the cup of the hinge from the edge of the door. To get the correct overlay you’ll need to set this right. Start in the middle and drill a hole.
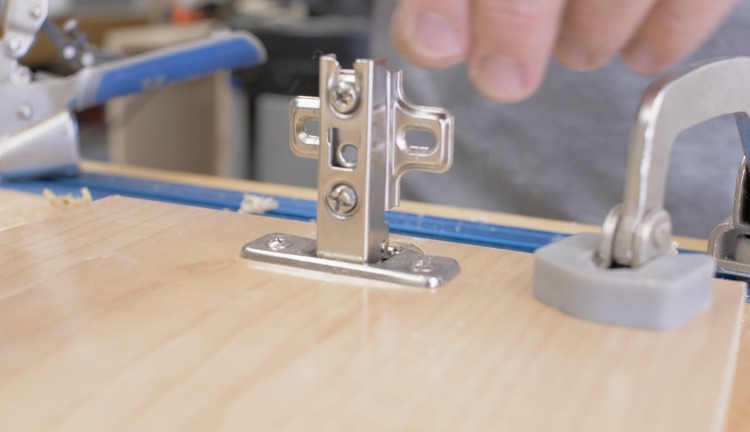
Set the cup of the hinge in the hole to check the distance from the edge of the drawer side. The hinge is actually adjustable so make sure to set the adjustability somewhere in the middle so you have room to move both ways if required.
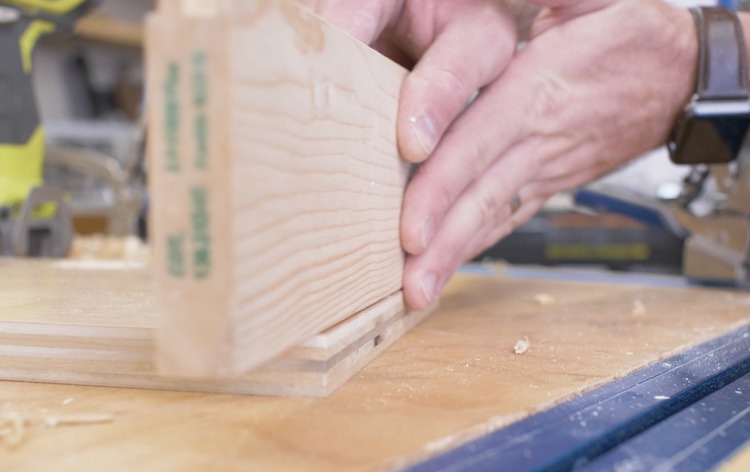
Take a scrap piece of the cabinet carcass plywood (I realize that isn’t what I have here) and place it against the hinge. The “cabinet carcass side” should be exposed by about 1/16″. The image below shows the “side” (the pine board) set in too far so the “door” is actually overhanging the side completely covering it. This should be the opposite. Adjust the jig until you get it right.
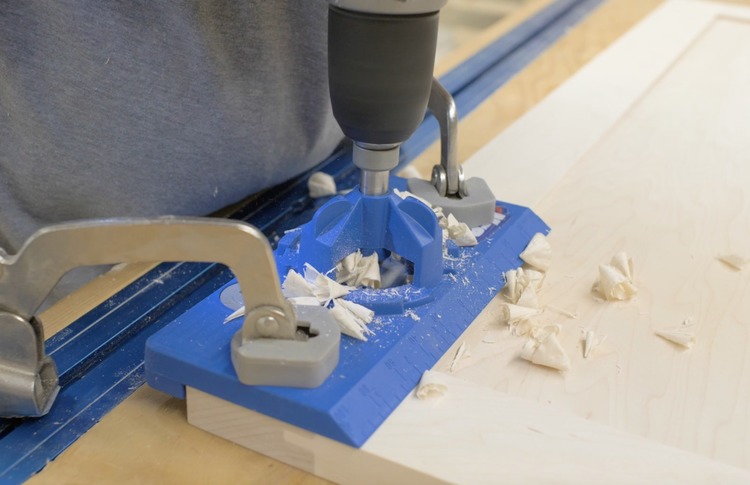
With the jig all set up you can start boring the holes in the doors. To make it easily repeatable I set it up so that the edge of the jig would be flush with the top and bottom of the door. This way the install goes a lot easier. Clamp and drill away.
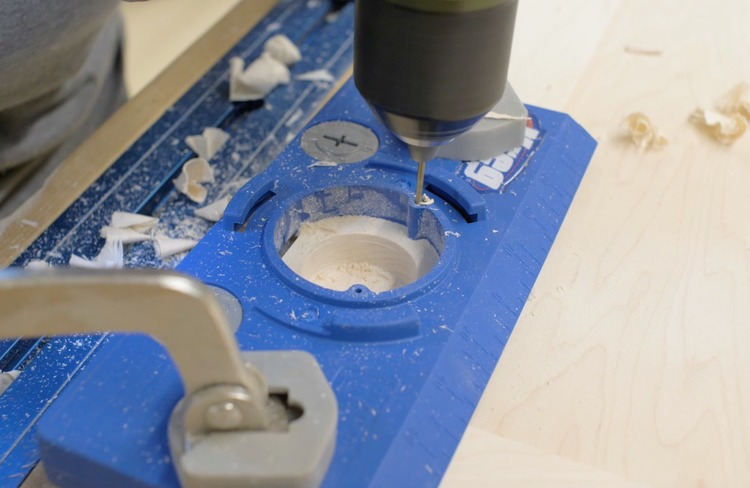
This jig allows for the removal of the boring part of the jig and then exposes the holes for pre-drilling the screw holes. These won’t work for every hinge but it should for most.
Don’t install the hinges just yet. First, it’s time for primer and paint.
Set up a Spray Booth
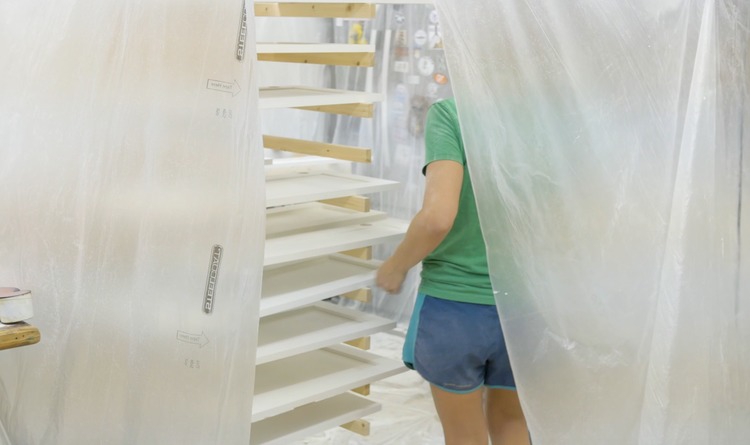
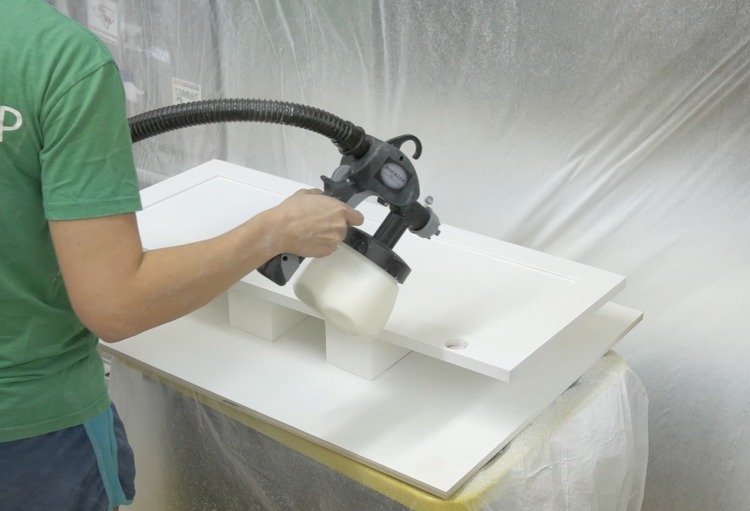
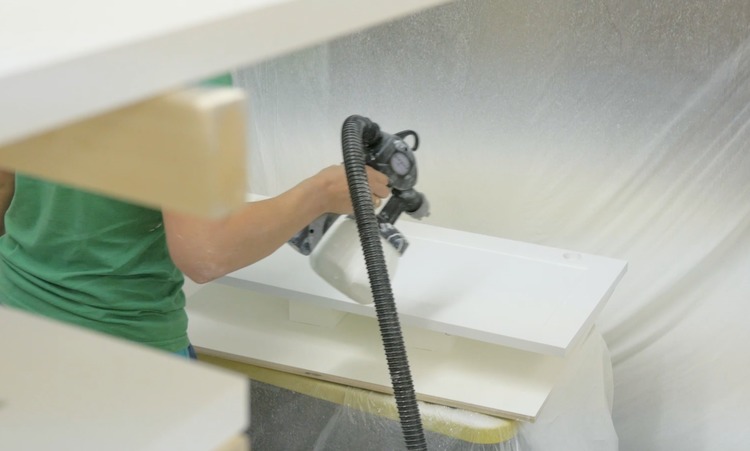
You’ll definitely want a spray booth set up when painting your cabinet doors. That can be done simply by hanging plastic sheeting from the ceiling. Since we were spaying in the garage we used the tracks of the garage door to hang the sheeting from. Another idea is using a pop up tent as the structure but a 10×10 or 12×12 area should do it. Don’t forget to tape the corners together and lay something down to cover the floor as well. Then, make a spot to spray the doors, like a desk with a block to set the doors on. I used scrap 4x4s to prop the doors up off the table. Cover it all with plastic sheeting as well. Finally, you’ll need a drying rack to store the doors while drying. Check out the plans for this simple drying rack I built.
Clean the Surface
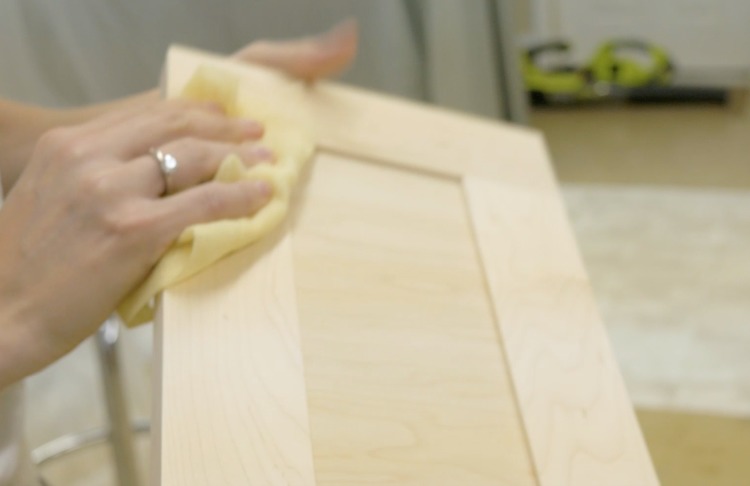
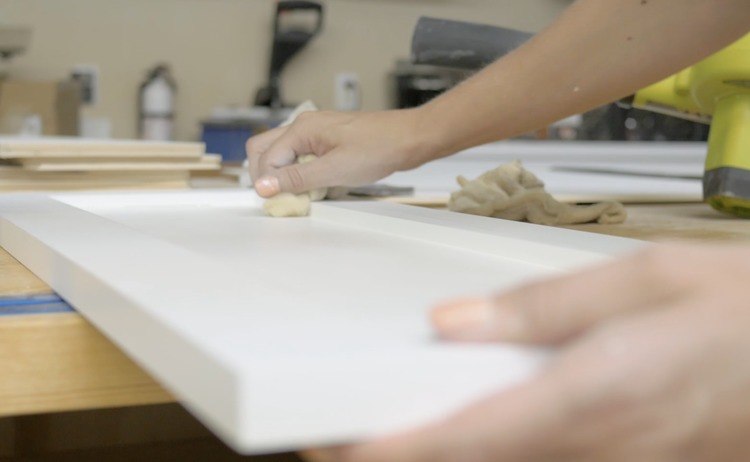
Before you prime the doors and drawer fronts you’ll want to wipe down every surface with a tack cloth. This will pick up all the dust and particles on the doors.
Setting up the HVLP Sprayer
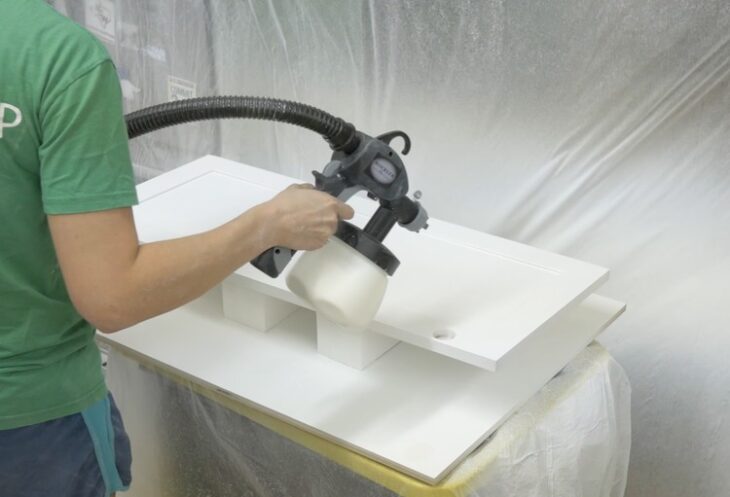
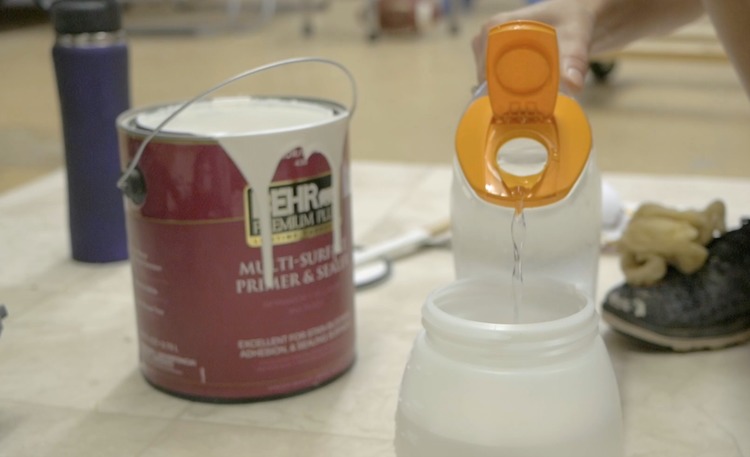
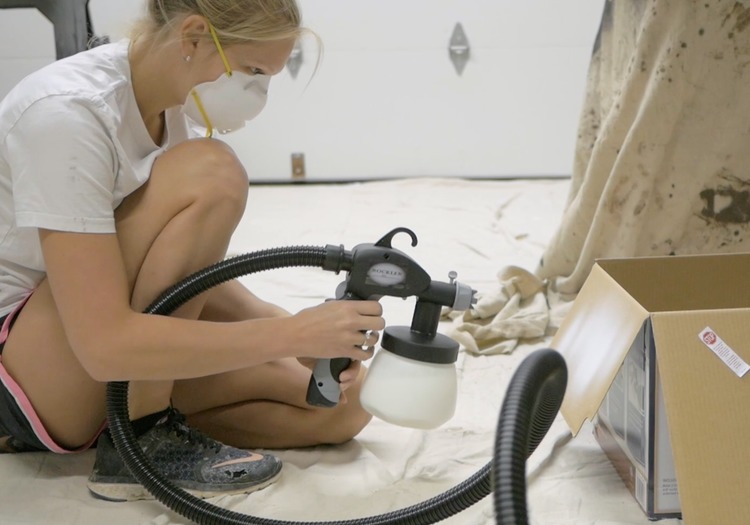
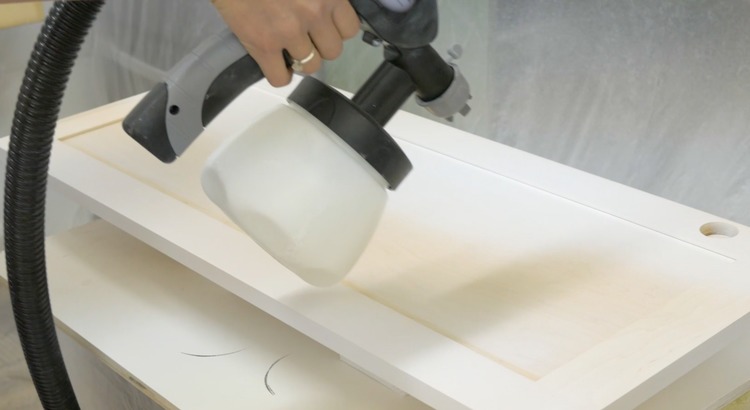
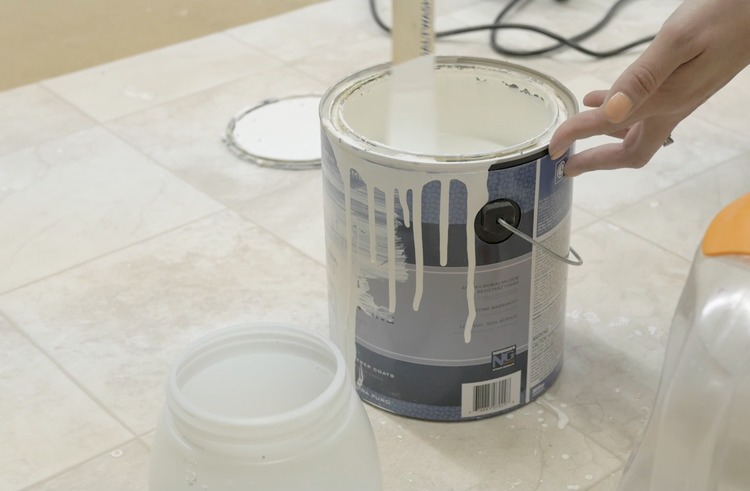
I recommend using a HVLP (High Volume, Low Pressure) paint sprayer to get that smooth, factory like, finish with minimal overspray. The key to painting with a sprayer is that you want to get the paint to atomize correctly and spray evenly. To do so you may need to thin the paint. If you are using a latex or acrylic paint and primer you can thin with water (oil based paints require mineral spirits). A 10-15% water to paint mixture is what we typically shoot for. Since we will be using primer first, we will start with that.
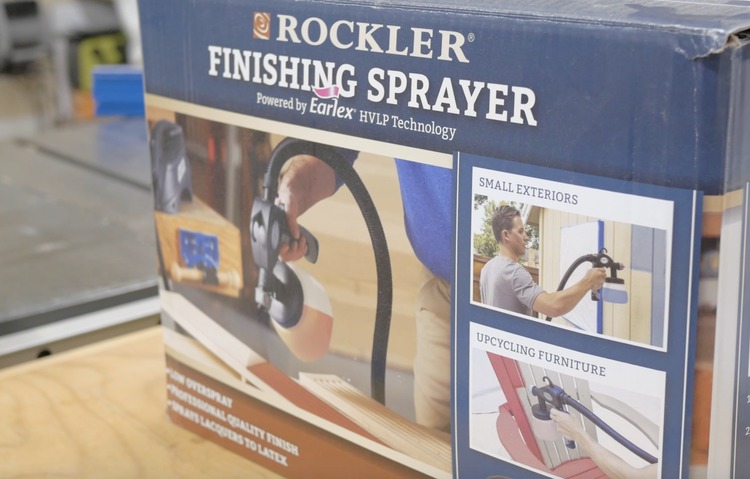
The paint sprayer that we used for this project is the Rockler finishing sprayer (Amazon Affiliate Link) that can be purchased for $150.
Using the 2.5mm needle in the gun, set the material flow control to high and test the sprayer on a clean surface. If the paint is too thick it will splatter. Add more water to thin until you get the desired result. If it is too thin the paint will start to run. In this case, add more paint or primer to thicken up the mixture.
Prime the Doors & Drawer Fronts
Using the settings and thinning ratio you figured up in that last set, start to prime the cabinet doors and drawer fronts. Prime one side of the door and the edges, place it on the drying rack and grab another. After the primer has had time to dry, start all over but prime the other side of the doors. Clean the sprayer immediately after this as primer tends to dry quickly and is hard to get off.
First Coat of Paint
With the doors all primed its time to get painting, but first, pull out more of that tack cloth and wipe down every surface to remove any debris.
Then, set up that paint sprayer again but this time with paint instead of primer. We painted the doors and drawer fronts with Behr Premium Plus in Night Blooming Jasmine with a satin finish.
Spray the doors making sure to keep a consistent distance from the surface. Paint one side at a time, set it on the drying rack and move on to the next one until all are done. Once the surface is dry come back and repeat the process to the other side of the doors.
Second Coat of Paint
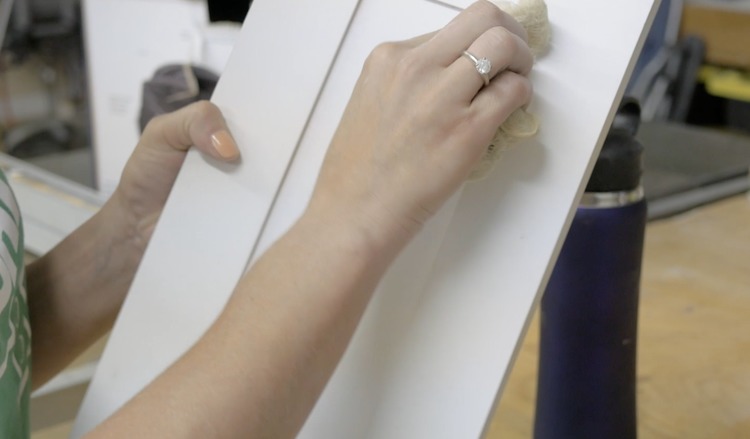
With one [completely dry] coat of paint applied to the doors and drawer fronts, lightly sand the surfaces of the doors with a 320 or 220 grit, between coats, sanding sponge. This will knock down any bumps or imperfections in the paint.
Then, come back with more tack cloth to remove any dust and debris.
Repeat the painting process for the second time.
Installing the Doors
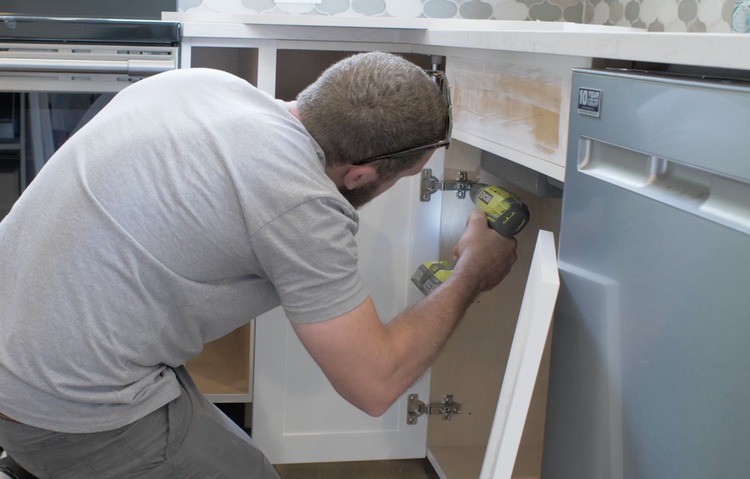
We are installing full overlay (aka 1/8″ reveal) doors on a frameless carcass so this may not be the same process for other styles. To install these doors, start by creating a small template door. This should be a small board and the hole should be located the same as all the other doors. I marked an arrow to denote the right side of the board to use but really it would have been nice to cut the other end to the same spacing from the hinge cup hole so I could use either end.
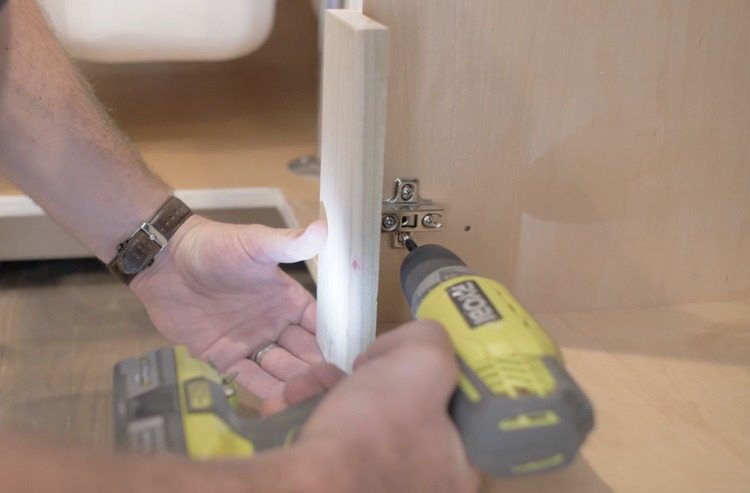
With the hinge installed to the template, place the template where you would locate your door. Be sure to include the bumpers that you will install on the door, on the template as well, for proper spacing. Then install the mounting plate onto the cabinet side.
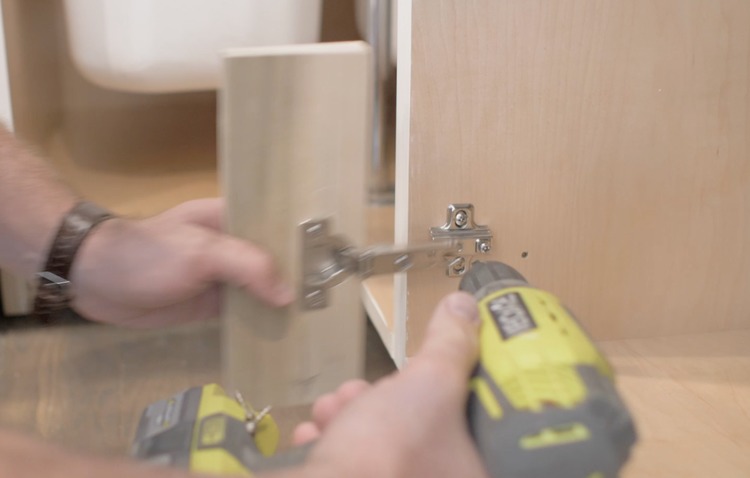
With the mounting plate installed in the cabinet, loosen the screw and remove the template and hinge from the mounting plate.
Leaving the hinge installed in the template, grab another hinge and attach that to the cabinet door.
Then slide the door hinges into the mounting plates and tighten down the screw to lock them in place.
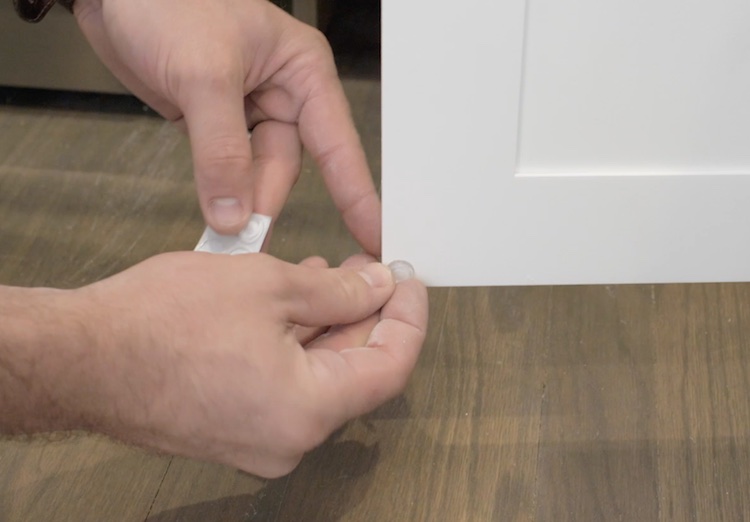
With the cabinet door installed, peel the backing off the 1/8″ self adhering rubber bumper and stick them in the corners of the door.
Use the adjustability of the hinge to make sure that your reveals are how you want them.
Installing the Pulls & Dampers
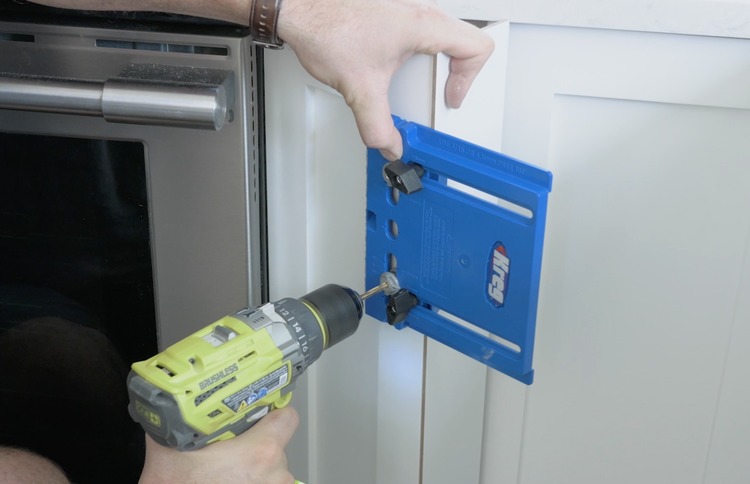
To install the pulls I used a cabinet hardware jig that adjusts for different handle spacings and assures the bit drill straight through the door. I wanted to make this process quick so I ruled the top of the jig off the bottom of the top rail. That way I didn’t have to measure for each handle installation. For drawer fronts you’ll need to find center.
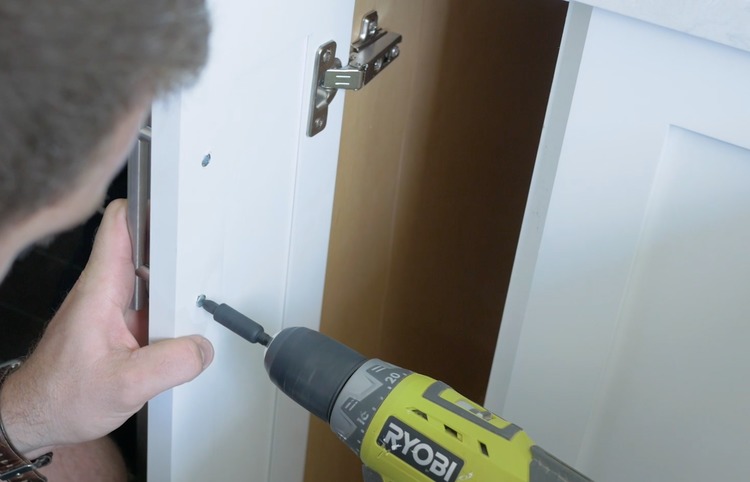
Then install the handles with there included screws from the inside of the door. The handles should come with two different length screws; one shorter one for doors (3/4″ thickness) and one longer one for drawer fronts (3/4″ thick front + 3/4″ thick drawer).
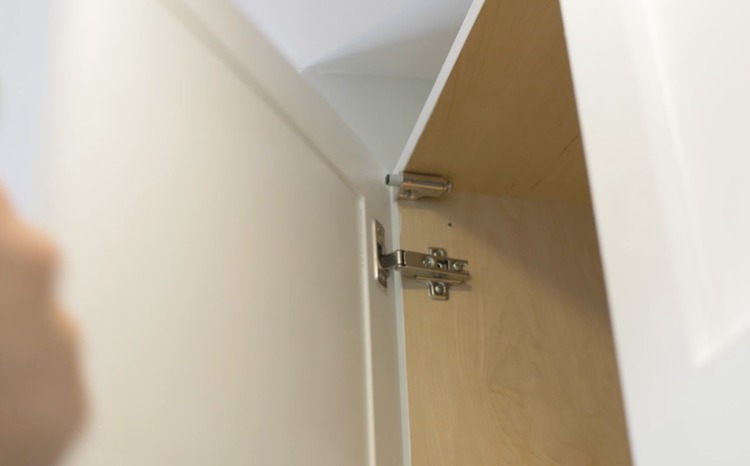
We also installed slow close cabinet door dampers. They are a simple install and pretty cheap to do but add a really neat, high-end feature.
That is it for this one. Thanks for reading all the way through. Hopefully this post helped you in some way. If so let me know in the comments! Cheers!

