Installing Large Format Wall Tile
For starters, lets go over what constitutes a large format tile. If any side of the tile is over 15″, then it is typically considered large format. In this post we will go over how to install large format tile on a wall, which is not much different then installing it on the floor. It may seem easy but larger tiles are actually much harder to install correctly so I’ll go over which products to use and how to set tile like the pros do.
Disclosure: This project is sponsored by Rustoleum however my opinions and the information shared are 100% my own.
Wanna see how the entire bathroom came together? Check out the video below for all the details!
Tools
Materials
- Mortar Mix
- 1×4 Board for Ledger
- Tile
- Grout
- Heavy duty cleaner (if grout haze or excess is present)
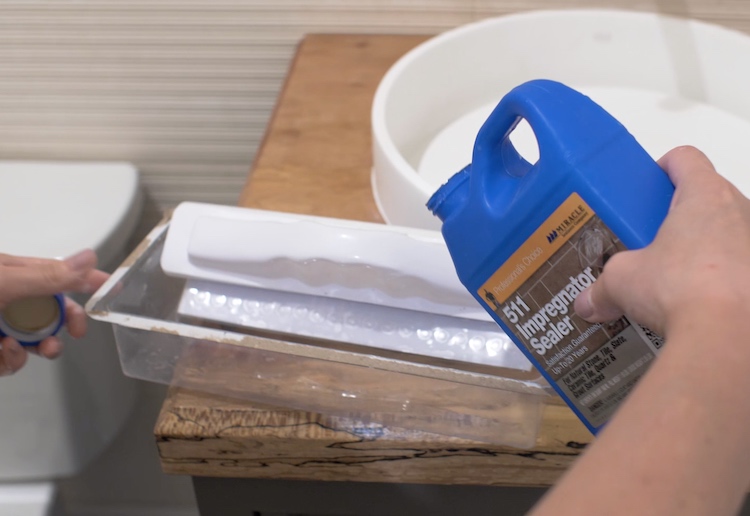
- 511 Impregnator (if tile needs to be sealed)
Disclosure: The links provided in the “materials” and “required tools” sections are affiliate links. If you would like to support our site and help keep our content free come find out more about how we can make money with no extra cost to you.
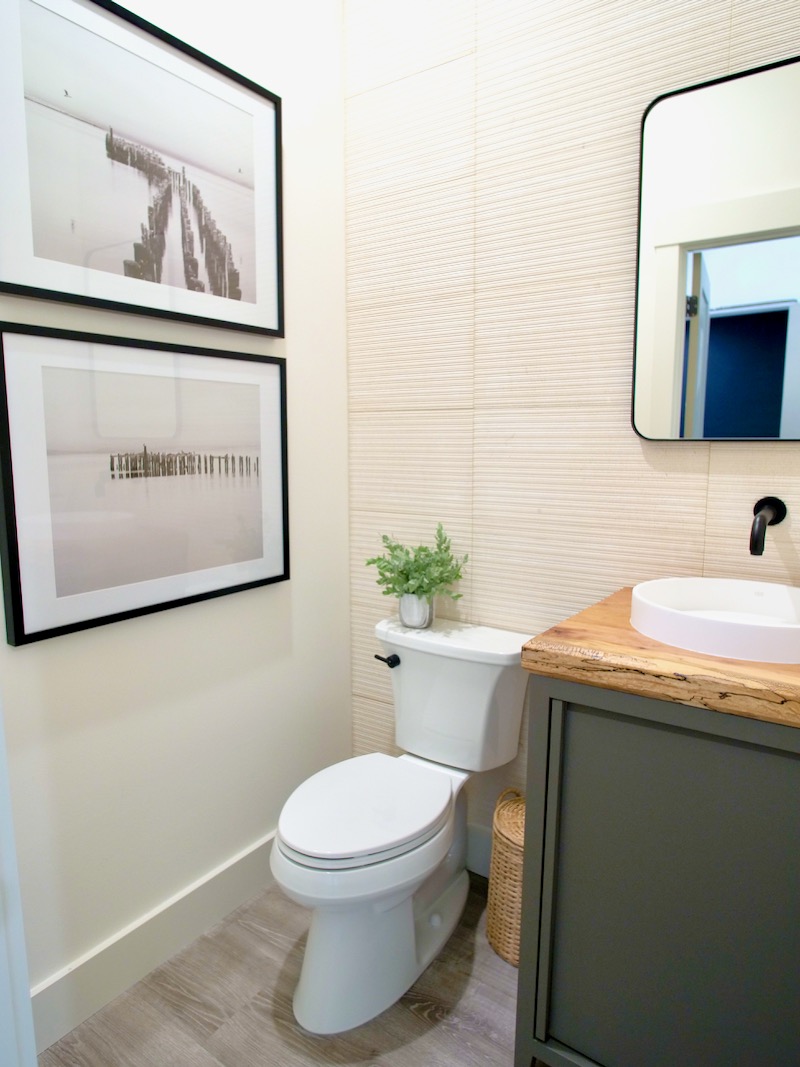
These are the steps that I took to install a tiled feature wall in our 1/2 bath. The tile is a 12″ x 24″ limestone tile which requires certain steps be taken to assure professional looking results.
Total Time: 2 days
Determine a Layout
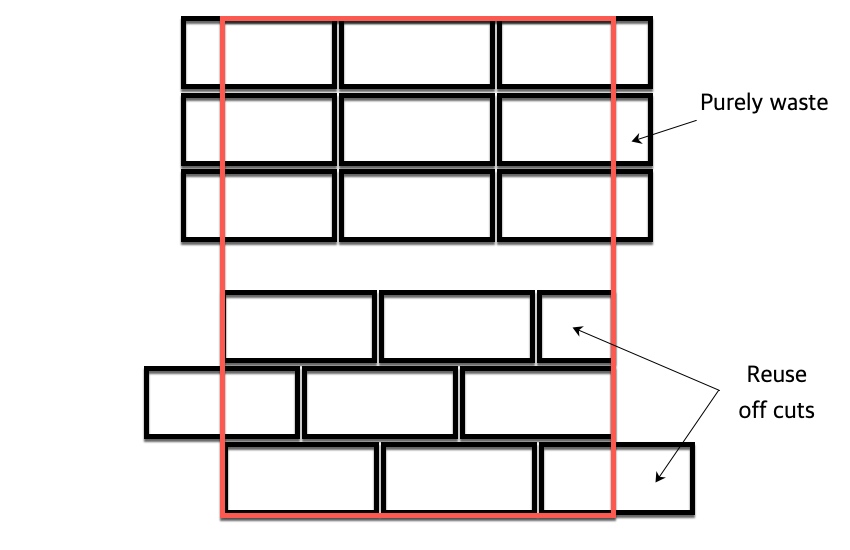
There are many different patterns when it comes to laying tile. Whatever you choose, I recommend you do it before you figure out how many tiles you think you need. After deciding on a 12″ x 24″ limestone tile from Esquire Interiors, I just assumed we would go with a staggered pattern (lower) and be able to reuse the off cuts on our 5′ wide wall. However, we ultimately went with a grid layout which required more tile. With a layout determined you can then figure out how much tile will be required.
Sealing Natural Stone Tile
If working with a natural stone tile it is wise to seal the tile prior to installation. This way you can protect the tile from staining due to mortar during install.
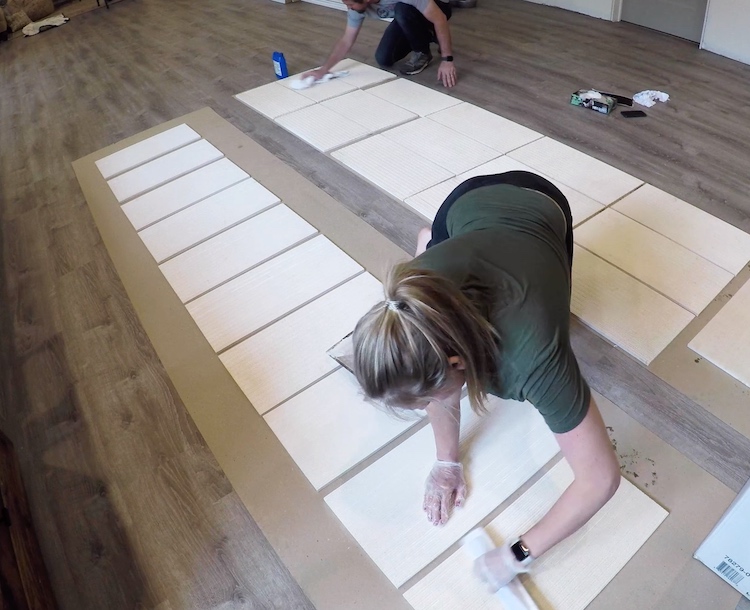
This isn’t always convenient, for larger jobs especially, so it may also be sealed after setting the tile but definitely prior to grouting. To learn more, check out my “Why, When and How to Seal Tile” blog post.
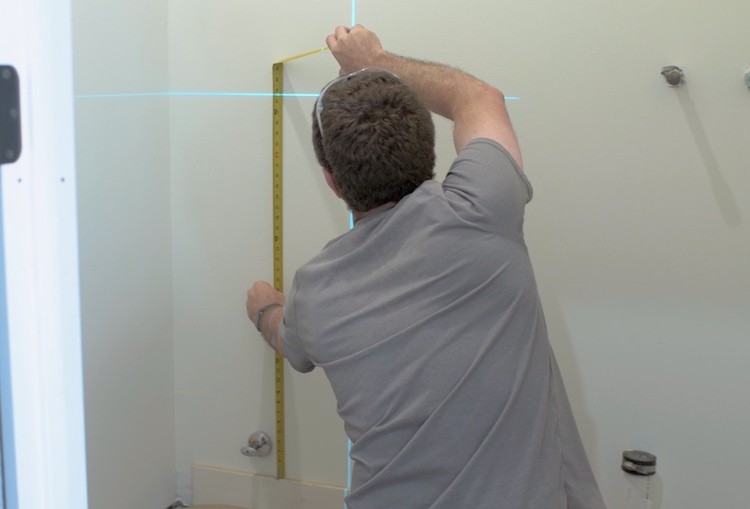
Installing a Level Ledger Board
Before you set your first tile you’ll need to figure out where the first row will start and screw a board to the wall to support the first row of tile. I recommend a laser level to use as a reference however a 4′ level would work as well. I like to use the laser level to assure the tiles are vertically aligned during install as well.
Mixing the Mortar
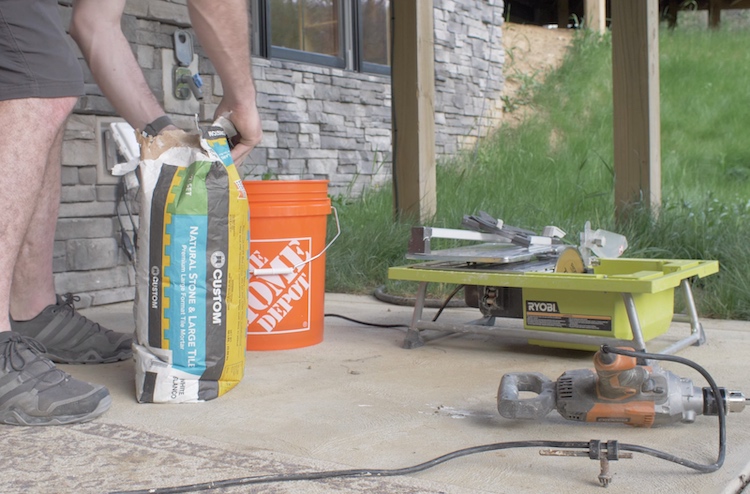
Not all mortar is made the same so make sure you get the right one for the specific job. For this job I went with Custom’s Natural Stone and Large Tile Mortar Mix. This mix is designed for larger tiles so it has a higher bond strength, as well it is resistant to sagging and reduces the chance for lippage. Mix per the instructions in a clean 5 gallon bucket using a drill and a mixing paddle.
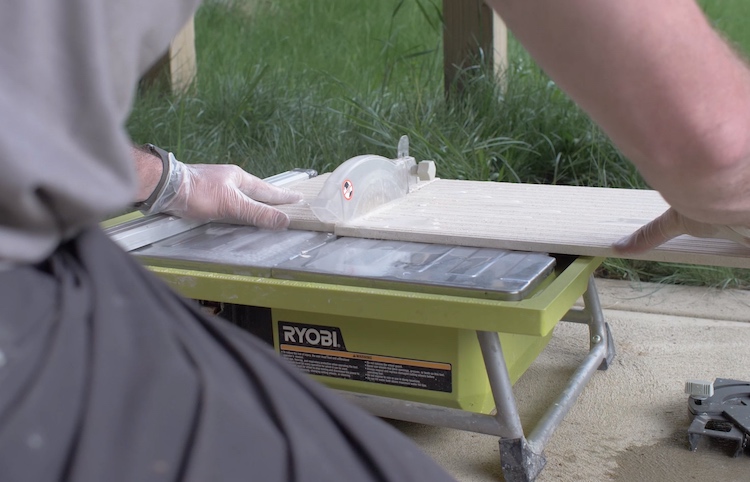
Cutting Tile
When cutting tile you have a few options. A wet tile saw is the most widely used however there are manual tile cutters that work well with certain tiles (usually smoother tiles).
Sometimes an angle grinder can be useful as well. But always remember that a saw is only as good as it’s blade so make sure to have a good diamond tile blade on it.
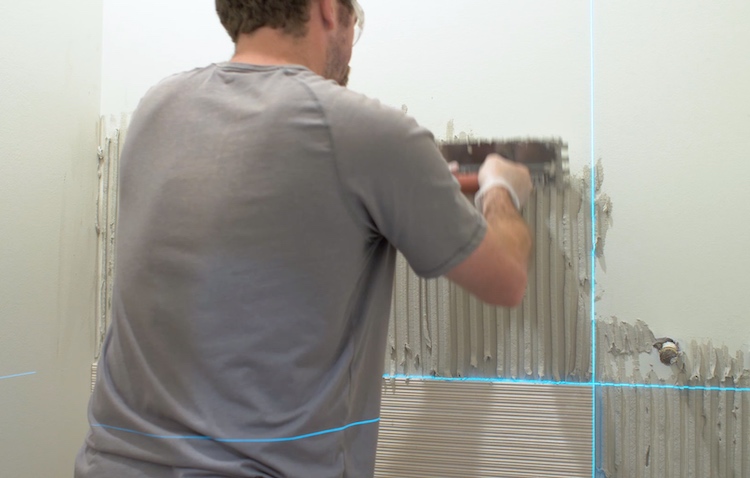
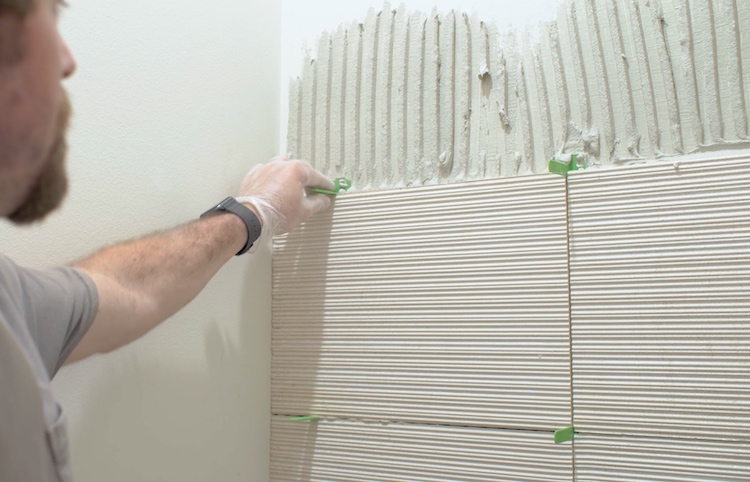
Troweling the Mortar onto the Wall
When installing large format tile you’ll want to use a 1/2″ x 1/2″ square notched trowel. This will make sure that the ridges of the mortar collapse when setting the tile and give you the required 85% or more of coverage.
Hold the trowel at a 45 degree angle and make sure that each ridge is full when troweling onto the wall and that the entire area where you will be setting the tile is covered. I have always been told to trowel in the opposite direction of the longest side of the tile. I couldn’t find any data to substantiate this but I do know that the trowel lines should be going all the same way to allow air to escape as the tile is pushed into place and the ridges are collapsed
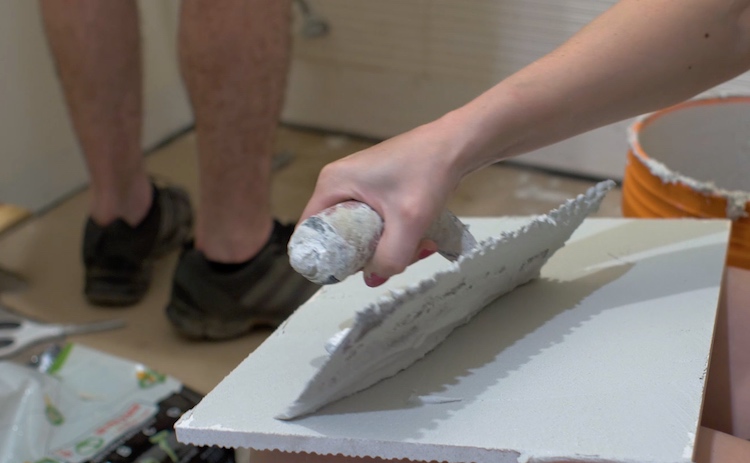
Back Buttering the Tiles
To ensure complete coverage it is recommended that you “back-butter” each tile. This is when you used the flat side of the trowel to apply a thin coat of mortar to the back side of the tile.
Installing Spacers and Lippage System
The spacers that I recommend, are included in the Levolution lippage system. I like the fact that they have universal spacers which means that they come as a cross but two of the tabs can be easily broken off to create a flat or just one to create a tee. Since the base will stay behind after installation, it is nice to know that holes in the base will make sure the strength of the mortar bed is not sacrificed.
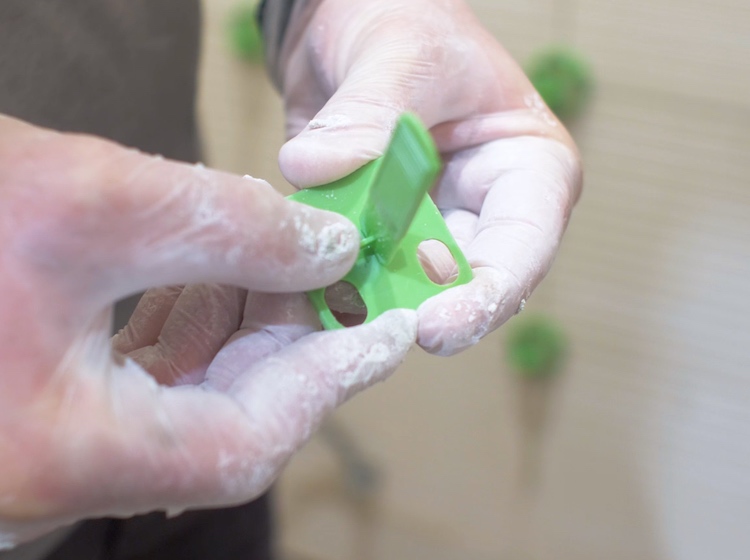
For this installation we went with a 1/16″ spacer to have a narrow grout line and all we need is one cross at each intersection and one flat closer to the wall.
Setting the Tiles
This step is pretty self explanatory. With typical spacers you can slide them in after but with this leveling system and the large bases you’ll need to place the lower spacers in before setting the tile. Place the lower edge on the spacer and rotate the tile into position.
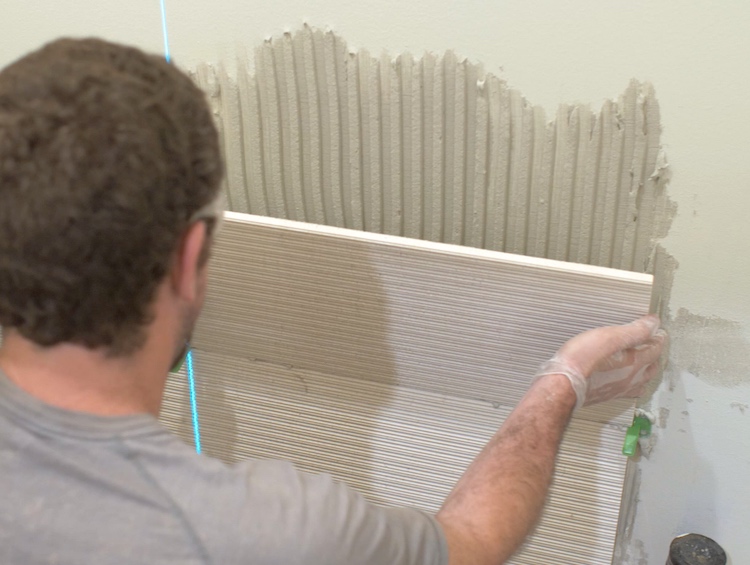
Press the tile against the wall and slide it up in down a little to ensure all the ridges are fully collapsed.

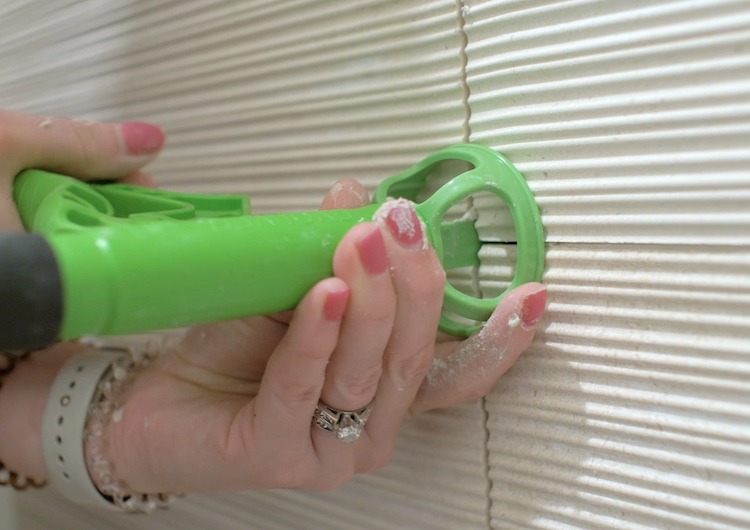
Assuring the Tiles are Level
The cap now slides over the spacer and then the Evolver Tool is used to tighten down the cap. The tension on the tool can be adjusted but should be enough to bring the tiles into the same plane without breaking the spacer tab off. Just listen for two-three clicks and that’s it – the cap will not move and hold the tile level while the mortar cures.
Using the Levolution system made the entire process a lot easier to make sure the tiles were nice and even. Another bonus is since the spacers are installed at the corners, you need to install far less than other leveling systems that require 2 per side, which saves a bunch of time.
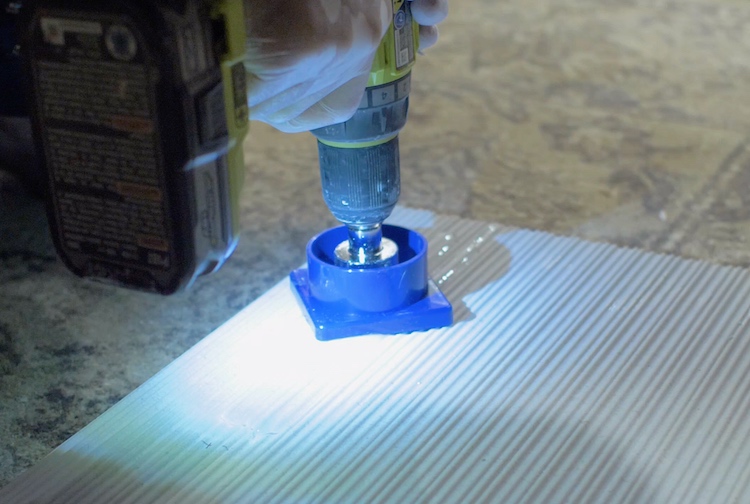
Drilling Holes
More than likely you’ll need to drill a hole in the tile at some point. Determine the size of the hole that you need prior to the start of this project and then find the appropriately sized diamond hole saw.
For larger holes like light fixtures it would be best to use an angle grinder to score the perimeter of the hole then follow up with multiple cuts that can be knocked out.
Grouting
As I said before, natural stone tile should be sealed prior to grouting, whether that is before install or now. This will prevent the grout from staining the tile.
There are several types of grout that can be used. Below is a quick reference for which to use where.
Unsanded Grout – Joints less than 1/8″
Sanded Grout – Joints 1/8″ – 3/8″
Pre-Mixed Grout – Joints 1/16″ – 1/2″ (good for small jobs)
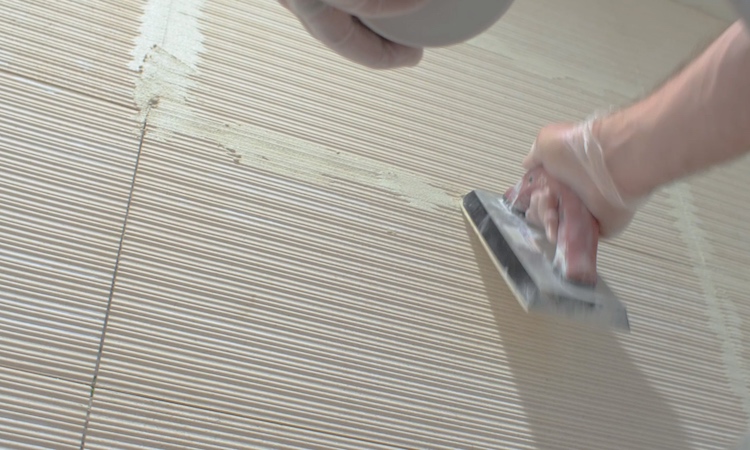
Grouting is pretty simple but here are the steps to take that will make cleanup a little easier. First, using a grout float, apply the grout to the seams with the float held at a 45 degree angle, forcing it into the gaps between the tiles. Then come back and wipe (using the float) with the seams to remove as much excess as possible.
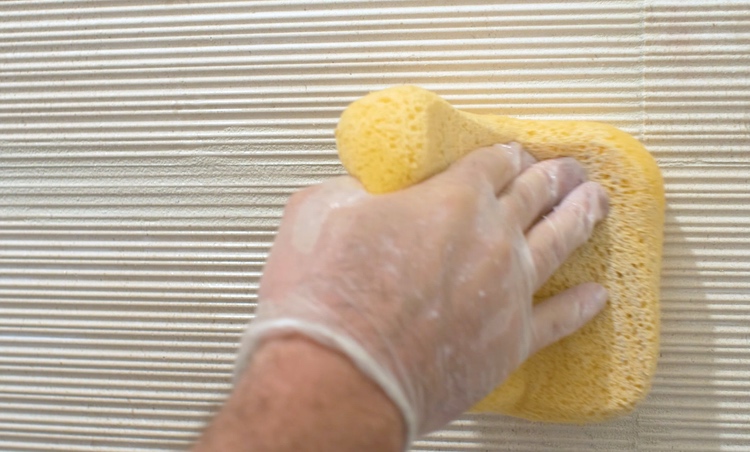
After allowing the grout to set up for a few minutes, come back with a wet sponge and wipe the remaining excess off without pulling to much of the grout out of the seams.
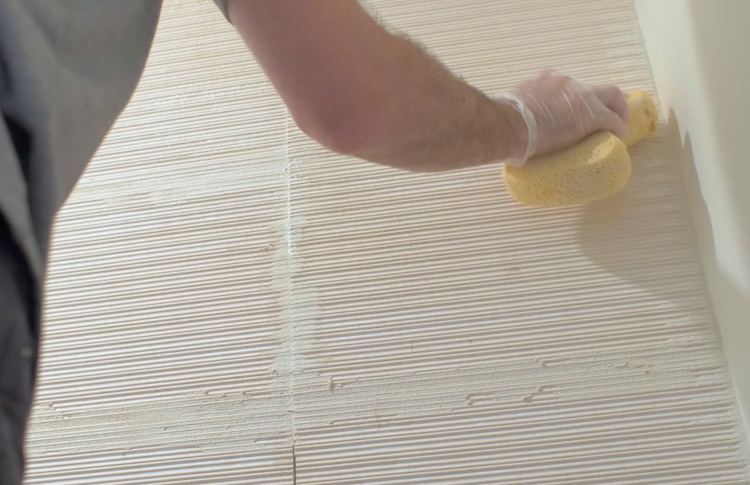
Now give all the tile a final wipe with a clean wet sponge. Keep the sponge clean the entire time by rinsing every few wipes. This will remove the grout haze from the tile and reduce the amount of clean up after curing. Grout haze is caused when the residue from the grout is not fully removed and cures on the tile.
Sealing
If you have natural stone then you will need to seal the stone a final time. Allow 3 days for the grout to fully cure before sealing. Make sure any grout residue is removed from the surface of the tile which can be done using a heavy duty cleaner that is safe for natural stone. Then, apply an even coat of 511 Impregnator to the surface.
I hope you enjoyed this post and learned something along the way. If you want to learn more about laying floor tile or even heating floor tile, check out the blog post I wrote here.