

7in Slim Base Cabinet Carcass (Frameless)
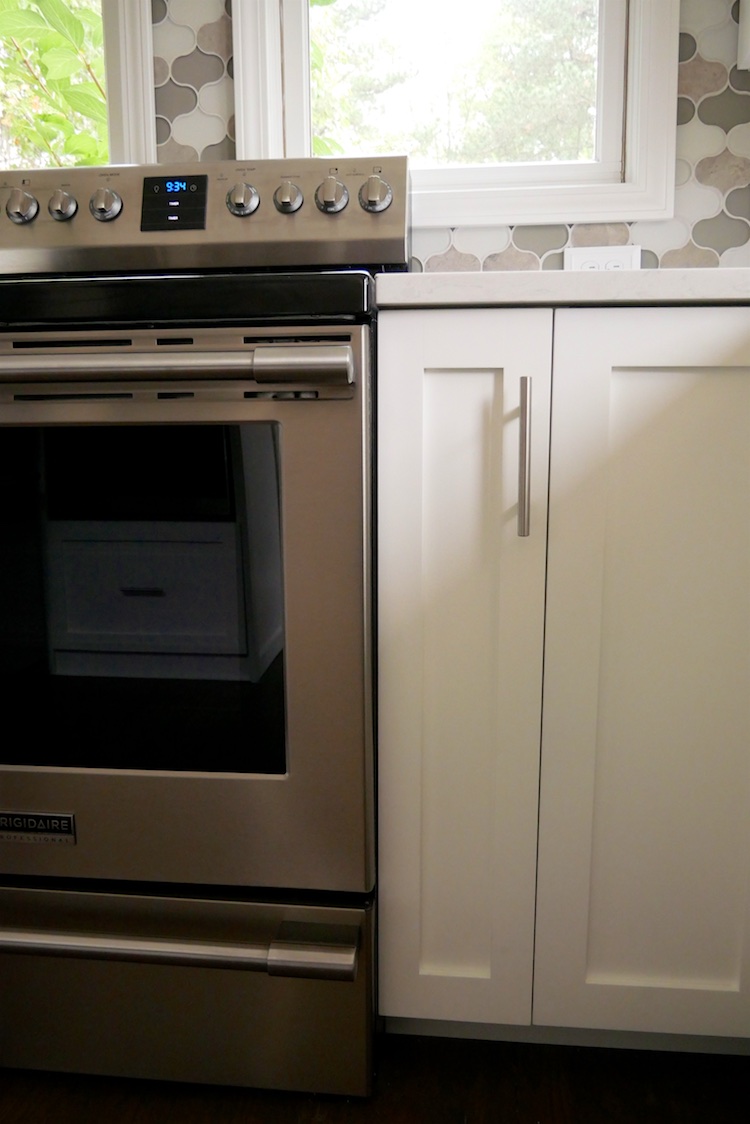
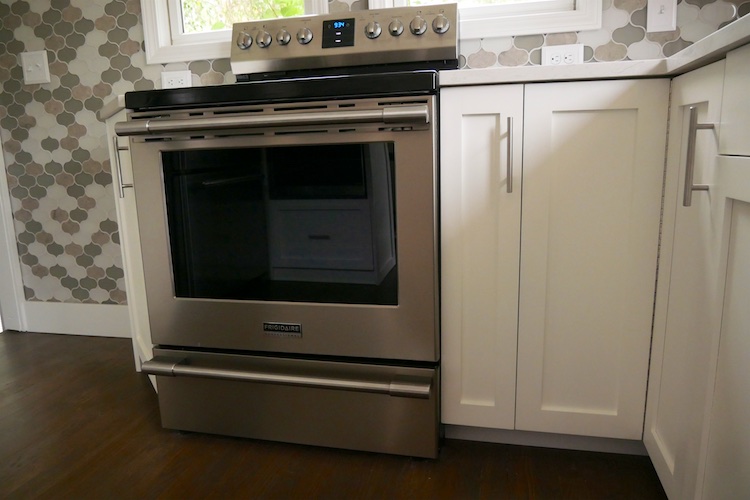
The house we recently flipped needed an entire kitchen renovation and since there wasn’t that many cabinets so I decided to take on building the carcasses (cabinet boxes) myself. This post will share how I built the smallest of all the cabinets; the 7 inch wide, slim cabinet. This one got installed just to the right of the oven and is perfect for baking sheets and trays.
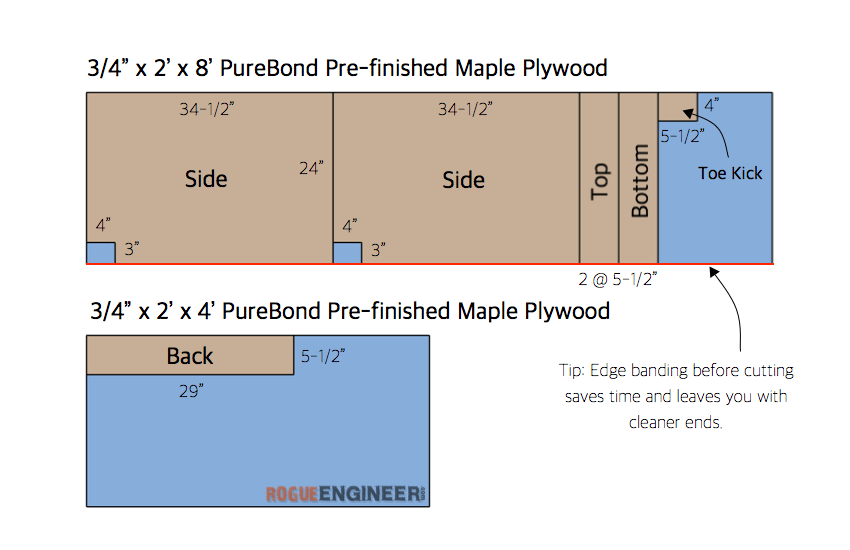
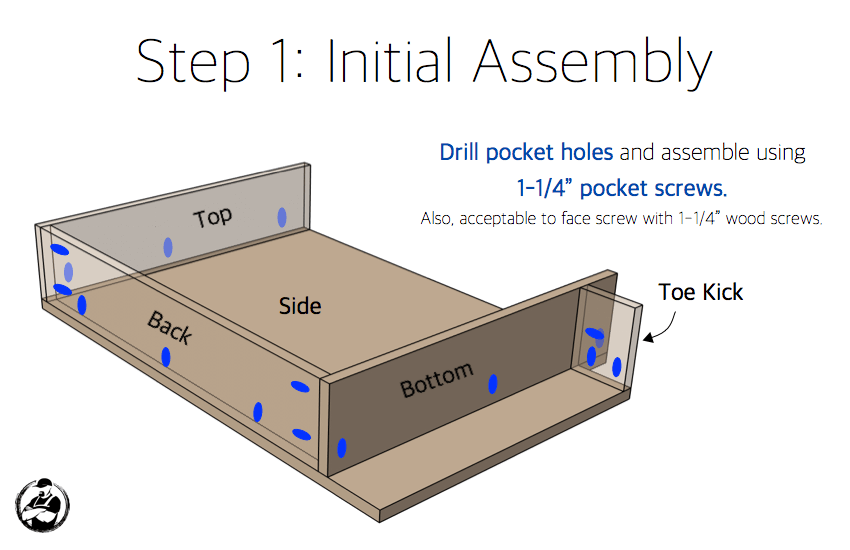
These cabinets are super quick and easy to build. The frameless design means no face frame which gives you more usable space and is one less thing to build. The only downside is that during installation this style of cabinet is more at risk for racking (front of the box becoming out of square). So you’ll want to take extra care in checking this during installation. The carcass is made of 3/4″ pre-finished maple plywood from Purebond which is a great product because not only does it give you that beautiful and durable factory finish on the inside, but it makes me feel better knowing that it’s formaldehyde-free and all sourced and manufactured in North America.
Since we wanted a painted door and cabinet face we edge banded the front edge of the plywood with a birch iron-on edge banding and painted that edge to match the doors. Another good thing about the pre-finished maple plywood is that the paint can be scraped right off with a plastic razor once its dry. Alright, let me show you how easy it was to build this cabinet.
Below is a list of projects that have been publish or are to come in this kitchen renovation series. So be sure to check those out for more details.
Our Flip House Kitchen Renovation Series
- Frameless Cabinet Carcasses
- Cabinet Door Drying Rack
- Countertops
- Cabinet End Panels
- Spraying & Installing Cabinet Doors
- Upper Cabinet Crown Moulding
But first, don’t forget to subscribe on YouTube and for sneak peeks of our upcoming projects be sure to check out Our DIY Life on YouTube, follow us on Facebook and Instagram. Also, follow me on Pinterest to get tons of projects plans from all around the web!

Required Tools
Materials
Disclosure: The links provided in the “materials” and “required tools” sections are affiliate links. If you would like to support our site and help keep our content free come find out more about how we can make money with no extra cost to you.
Dimensions

Cut List
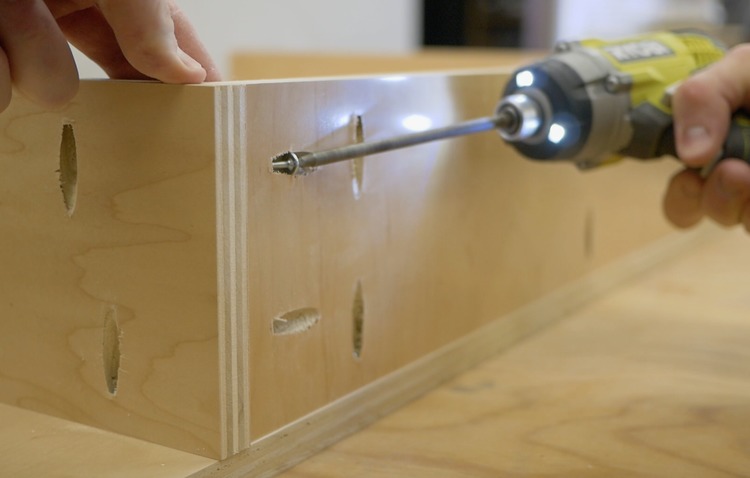
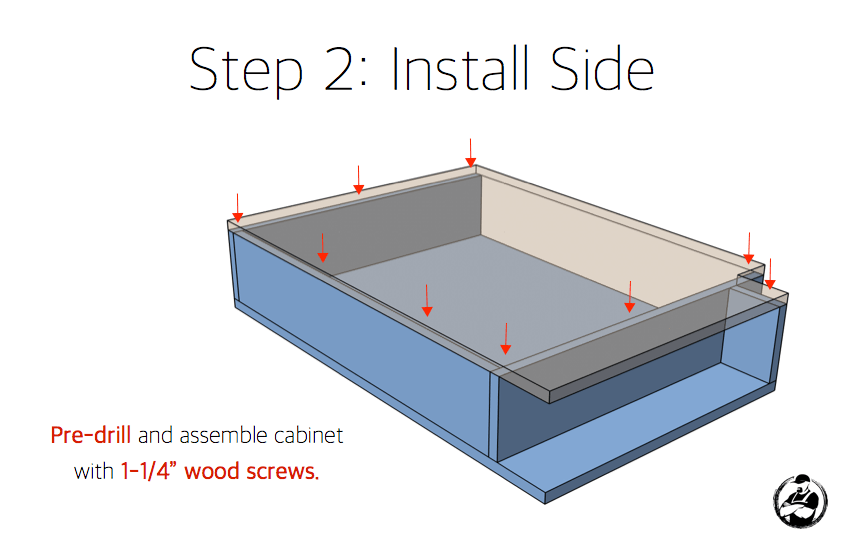
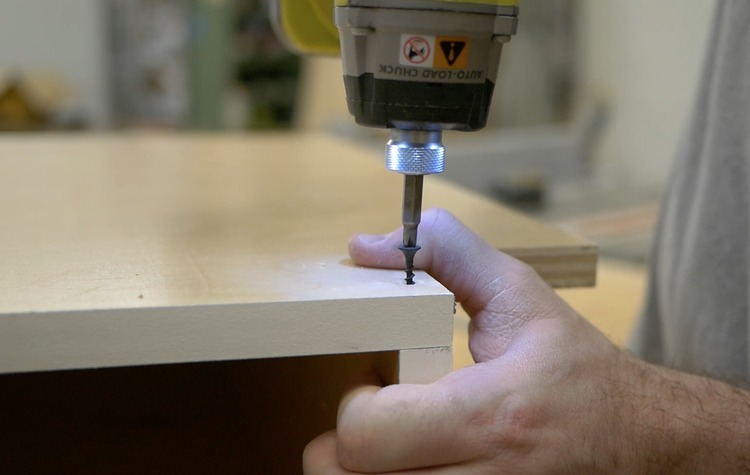
How to build a 7in Slim Base Cabinet
Questions? Comments?
As always, if you have any questions don’t hesitate to comment below and especially don’t forget to post pictures of your finished products in the comments! ENJOY!
How did you build the door?
We bought the doors from Rockler and finished them to match.
http://www.rockler.com/project-supplies/custom-doors-and-drawers
I have a similar question to that of Kelsey G. Your post says that you decided to build the cabinet caucuses. Did you buy the doors separately? If so, will any manufacturer sell only the doors?
We bought the doors from Rockler and finished them to match. There are plenty of door manufacturers that sell custom sizes directly to consumers. Finished and unfinished.
http://www.rockler.com/project-supplies/custom-doors-and-drawers
Thanks! Your remodel looks fantastic. We are in the middle of a complete overhaul of house and yard on a 1964 home on an acre that was all but abandoned. Your website has been a HUGE help in reducing our costs on this remodel!
Great post cant wait to see the rest.
Ok. I’m in the cabinet and countertop industry and to have any cabinet smaller than 9″ is really not practical. Why could you not move the stove closer? Maybe I’m missing part of the story. But I would have done a few design changes before doing this.
Overall, I say good work. Keep it up.
I like having my stove at the end of the counter; however, I hate the look of exposed appliance sides. In typical cabinet plans, this usually drives a plinth made from wood matching the cabinets with a strip of countertop material on the top. Which is a waste of space. This design with a glued-up show side (or a veneer to hide the pockets) and hidden hinge? I like it….