Since we built and installed all the cabinets for the kitchen in our flip house, we decided to splurge on the countertops to give the house that high-end feel. The house and walls were certainly not perfect so I knew we had to go with a good installer to make sure it turned out great. We ended up going with Lakeside Surfaces and they did an amazing job with the complex installation of our Cambria quartz countertops. Since the kitchen is on the smaller side we opted for lighter cabinets and countertops to make it feel bigger and brighter. The quartz design that we went with is called Swanbridge which is in their marble collection and looks great. The cool thing about quartz is that it is harder and stronger than granite, food-safe and it’s non-porous so it’s practically maintenance free. Read on to see just how cool this installation was and how the kitchen came together in the end.
Don’t forget to subscribe on YouTube and for sneak peeks of our upcoming projects be sure to check out Our DIY Life on YouTube, follow us on Facebook and Instagram. Also, follow me on Pinterest to get tons of projects plans from all around the web!
Below is a list of projects that have been publish or are to come in this kitchen renovation series. So be sure to check those out for more details.
Our Flip House Kitchen Renovation Series
- Frameless Cabinet Carcasses
- Cabinet Door Drying Rack
- Countertops
- Cabinet End Panels
- Spraying & Installing Cabinet Doors
- Upper Cabinet Crown Moulding
Watch the video
Preparing for Templating
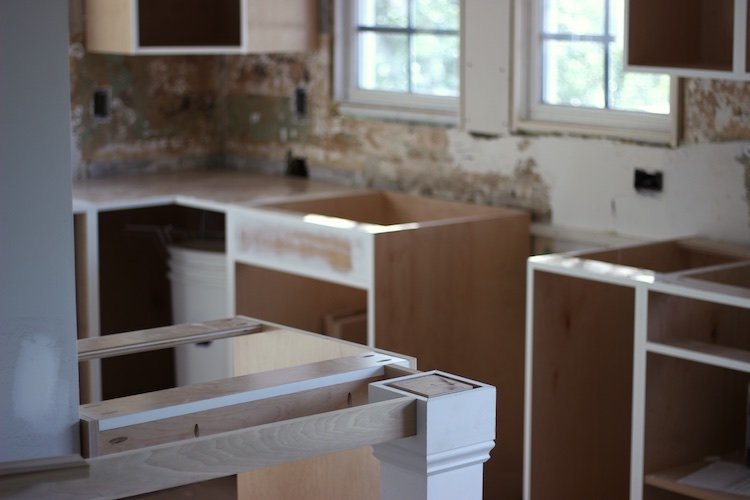
Before the employee from Lakeside Surfaces could come out and make a template for the countertops I had to make sure everything was ready to do so. That just consisted of making sure the cabinets were installed and the top surface was level and consistent. I also had to install some legs that we got from Osborne and supports for the counter-height bar area.
Templating
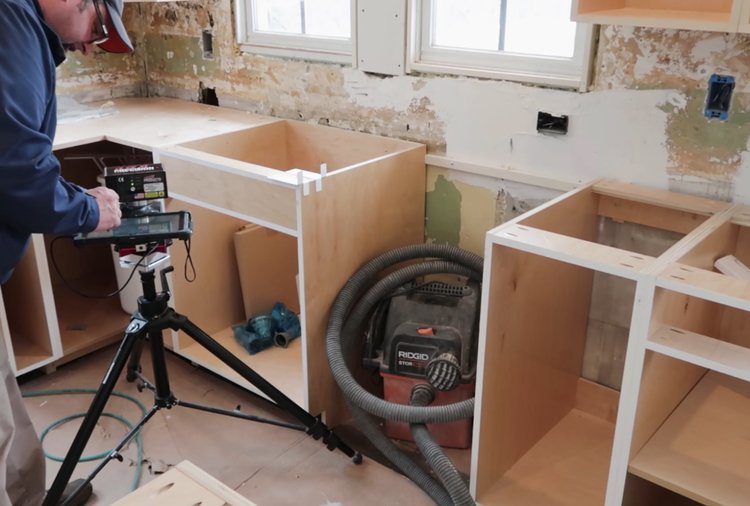
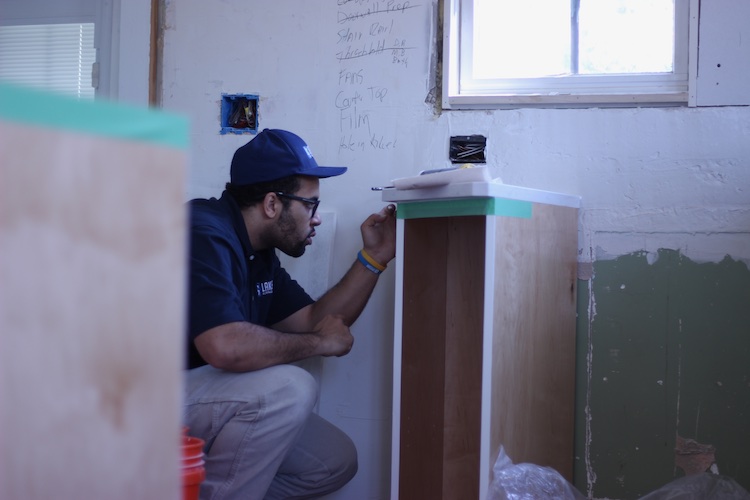
Since the walls that the countertops would but up against were not completely straight, that would make this job much more difficult for a typical installer. What I liked about Lakeside was that they use a laser to map out the template for the countertops and create a dxf file for the countertops to be cut out on their water jet. The laser detected those white tabs on the side of the cabinet and marked a point in the file. The gentleman continued to lay out those points, even on the back edge which was wavy, until he had a complete template for countertops. This process went pretty quick surprisingly.
Installation
When the template is that accurate and the countertops are being cut by a robot, the installation goes pretty seamlessly.
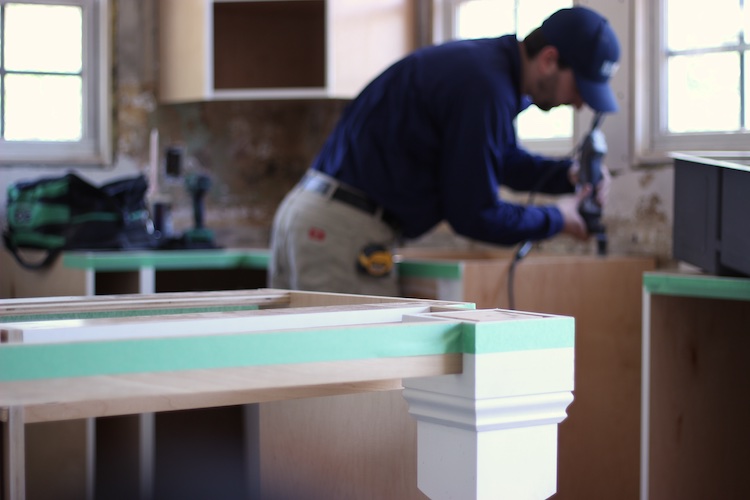
The installers showed up on time and were very professional. They started by taping all around the mating surfaces so that any adhesive wouldn’t run down the surface.
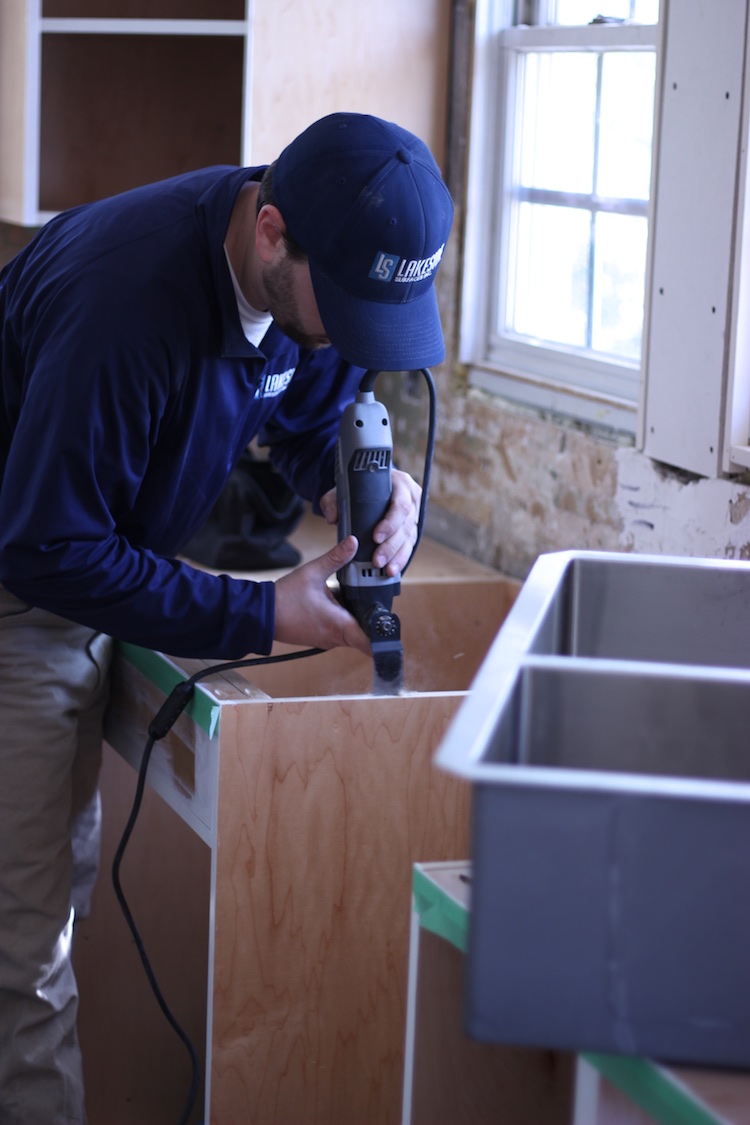
They also mounted the sink to the countertops so they did any trimming required to make that happen.
Then they started bringing in the countertops.
The sink was adhered to the countertop but it was also secured with a strap below it to each side of the cabinet. I like the fact that they went the extra mile and added that redundancy.
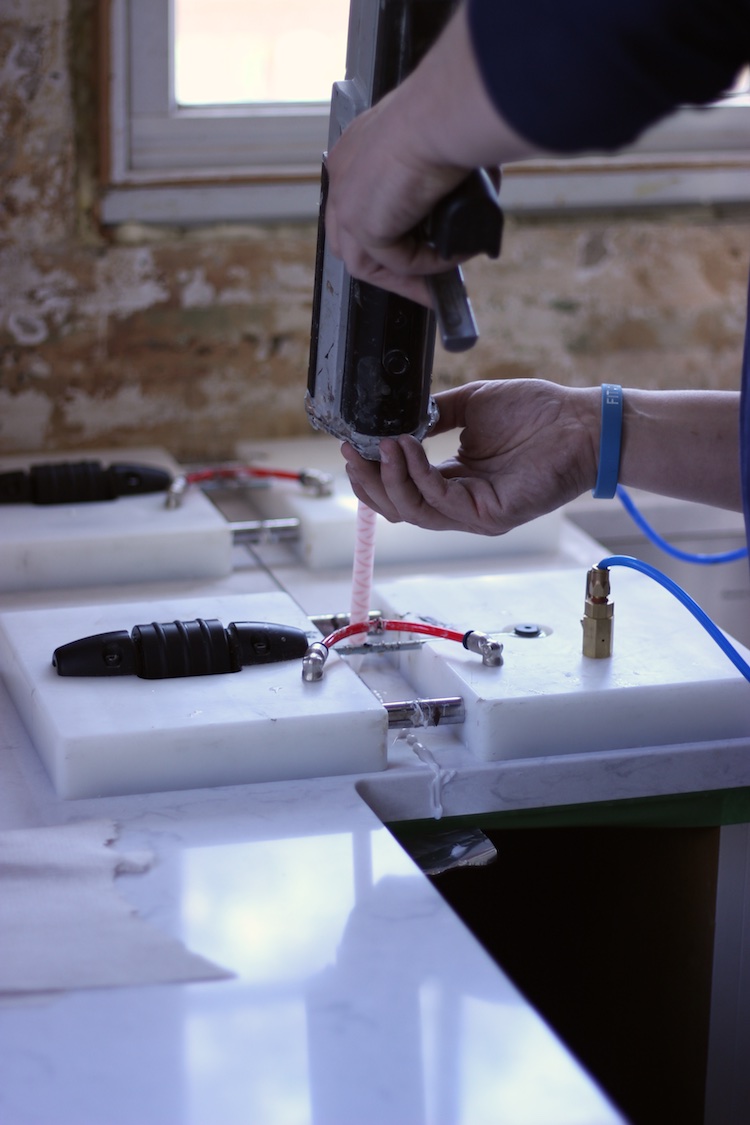
Since the entire surface had to be split into two pieces, that meant there would be a seam. I’ve never seen countertops joined together like this but I thought it was a neat contraption. Basically the two blocks have a gasket below them and were connected to a vacuum. The vacuum created suction and then the black handle on the left was spun which actually just tightens down on a threaded rod to pull the slabs together. With the adhesive in between them it created the perfect bond. Then the installer came back with a color matched filler on top of the seam to make it pretty much disappear.
With all the tops set just right they went around and adhered them to the cabinets.
See just how bad the walls were…
This is a shot of the counter height bar island. This wall doesn’t get tile so it had to be perfect.
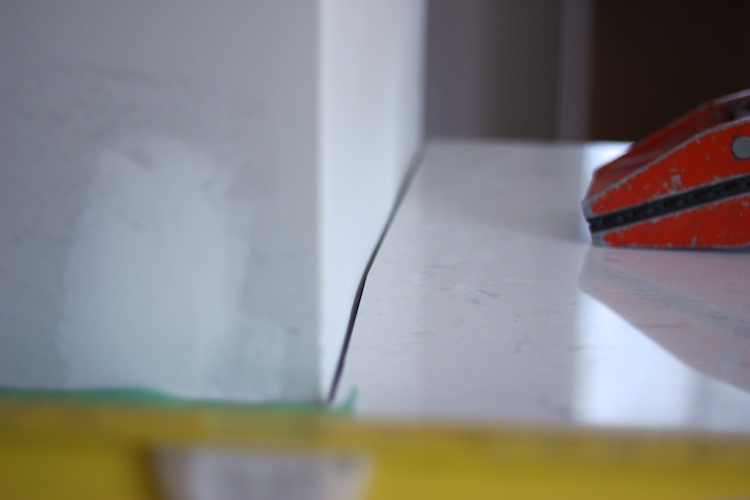
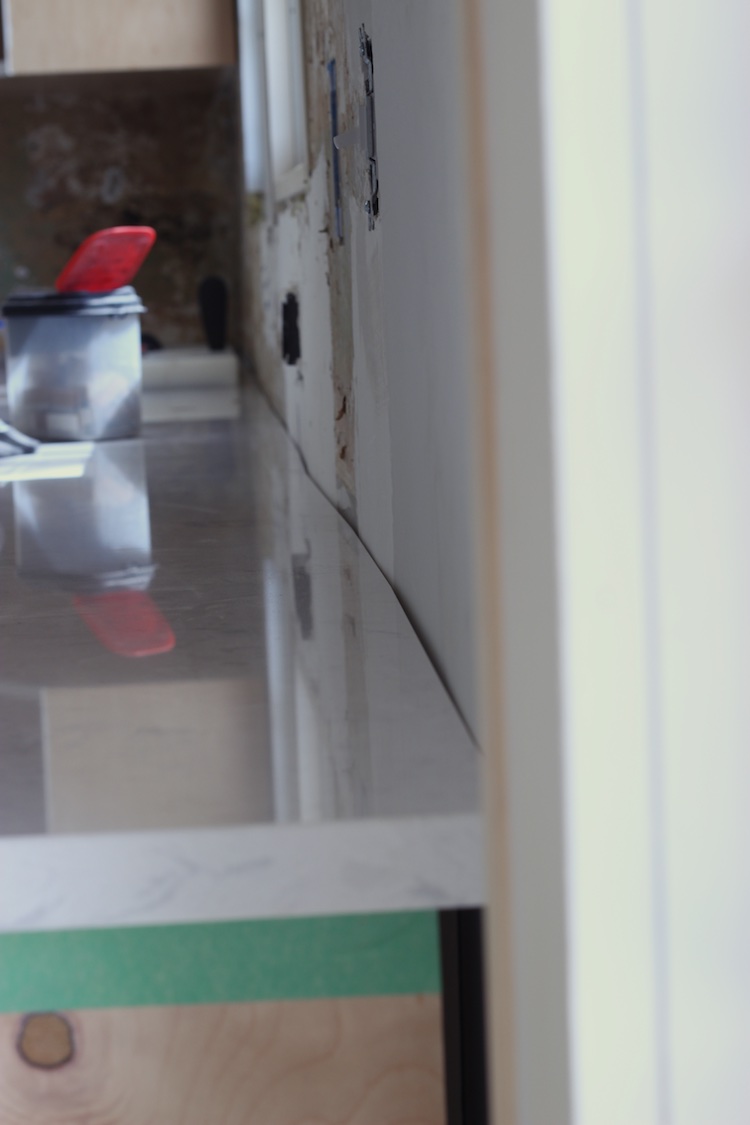
This is the wall behind the counter where the sink is which will end up getting tile so it only had to be with 3/8″ or so. However, you can see how wavy the wall is and how well they matched up the back edge. Gotta love modern technology.
Final Reveal
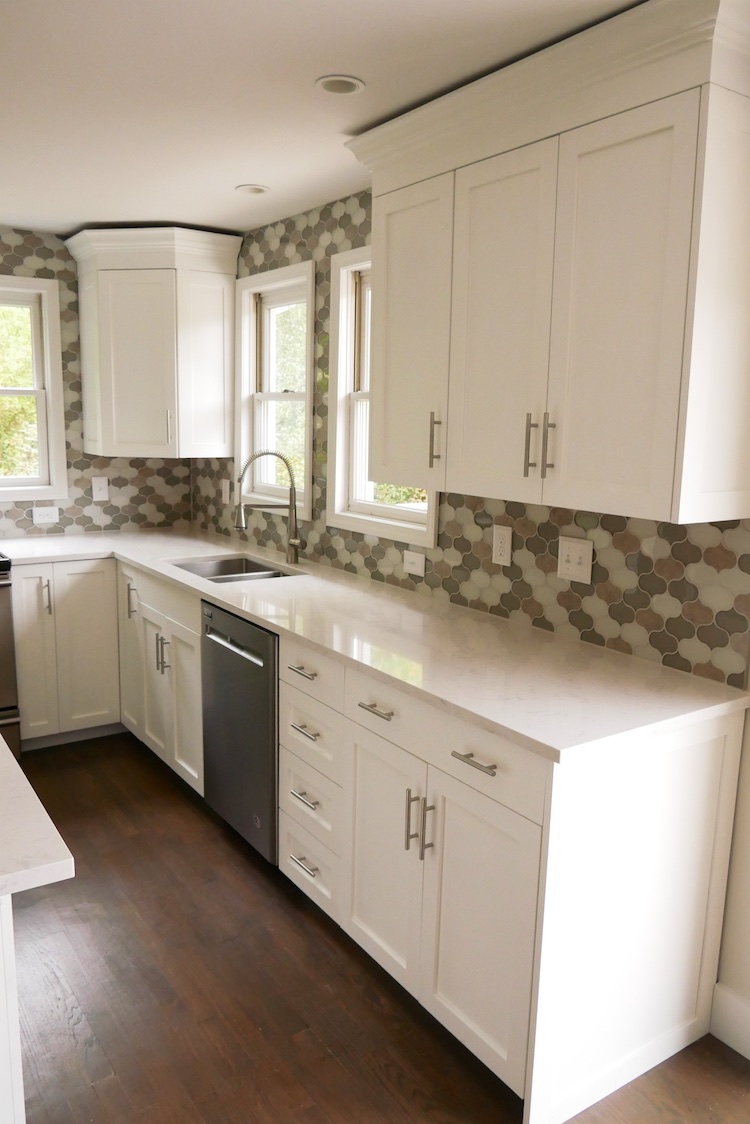
Lets skip ahead a little show you how it all came together in the end.
We are ecstatic with how it turned out and wouldn’t change a thing.
Here’s a close up of the swanbridge quartz countertops.
Well! Let us know what you think in the comments and don’t forget to check out the rest of this series.

