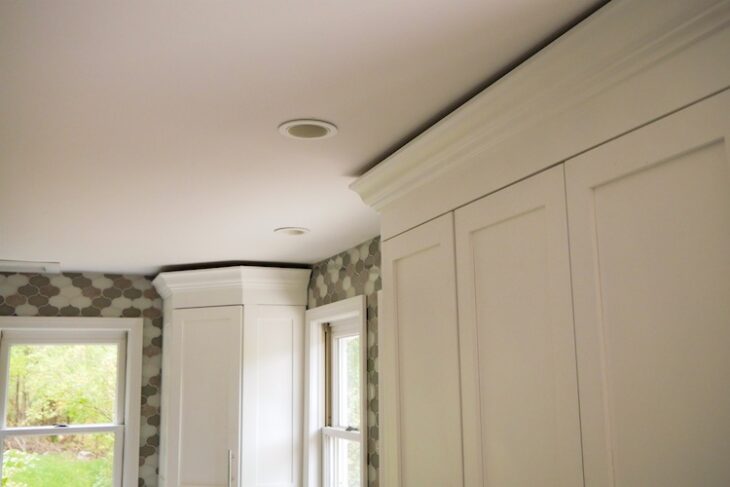
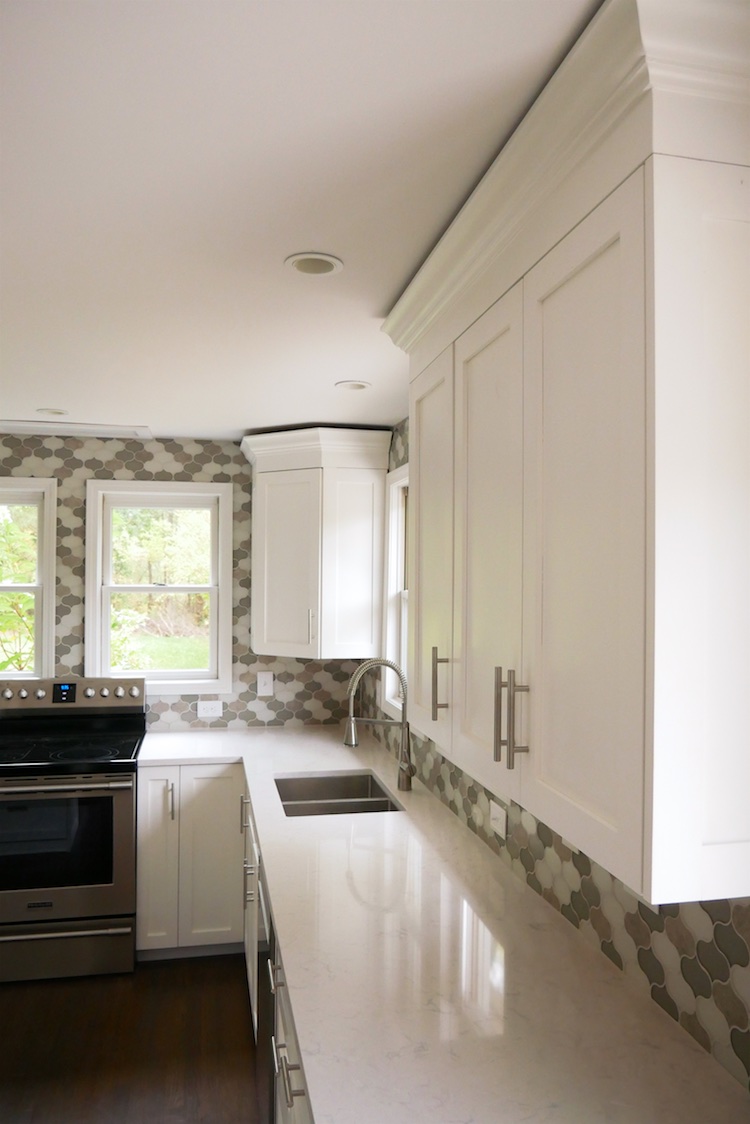
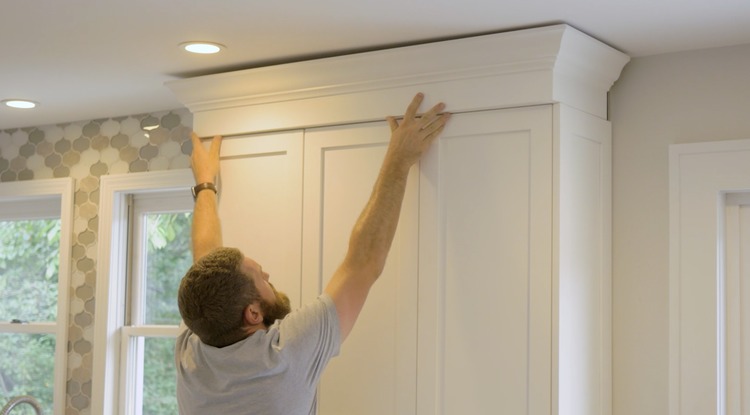
In the kitchen that we built for our first flip house, the ceiling was not level. So we mounted the upper cabinets a few inches from the ceiling so we could come back and install crown molding just short of the ceiling. In this post I’ll show you exactly how we did it. It was actually easier than I thought!
Below is a list of projects that have been publish or are to come in this kitchen renovation series. So be sure to check those out for more details.
Our Flip House Kitchen Renovation Series
- Frameless Cabinet Carcasses
- Cabinet Door Drying Rack
- Countertops
- Cabinet End Panels
- Spraying & Installing Cabinet Doors
- Upper Cabinet Crown Moulding
Don’t forget to subscribe on YouTube and for sneak peeks of our upcoming projects be sure to check out Our DIY Life on YouTube, follow us on Facebook and Instagram. Also, follow me on Pinterest to get tons of projects plans from all around the web!
Required Tools
Materials
Disclosure: The links provided in the “materials” and “required tools” sections are affiliate links. If you would like to support our site and help keep our content free come find out more about how we can make money with no extra cost to you.
How to Install Crown Molding Over Kitchen Cabinets
This tutorial will show you how we installed crown molding to the top of our cabinet using a riser from scrap plywood and crown molding from Home Depot.
Layout the Cabinet Profile
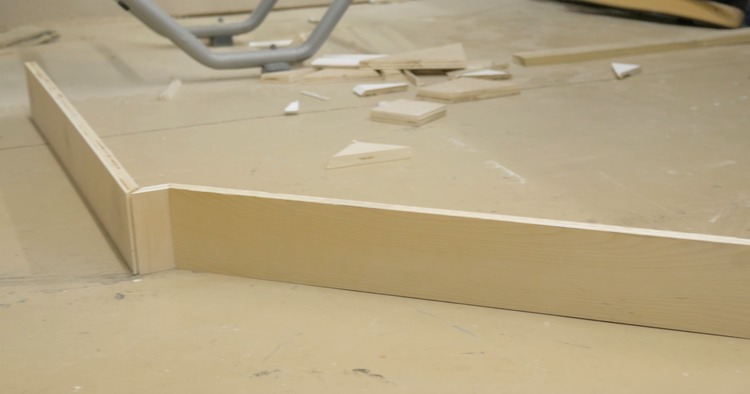
First measure out the profile of the top of your cabinets. Then rip plywood down to an appropriate width that will be tall enough to mount the crown molding where you would like. We wanted our crown to go almost to the ceiling, but not quite since the ceilings were not level, so we made the height 1″ shorter than the ceiling. If you have to miter the joints like I did below, use an angle finder to find the angle of you cabinet corners and divide that in half to find your miter angle.
Bottom Plate
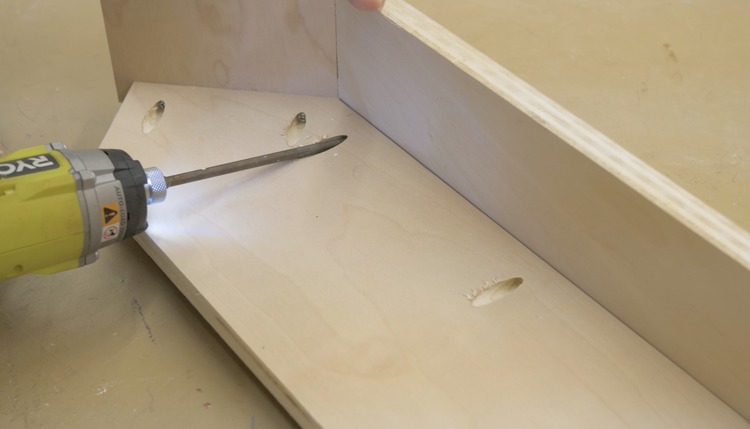
Now make a bottom plate for the inside of the riser. This should provide stability to the corners and also give you something to screw into from within the cabinet. Glue all the joints and screw together with 1-1/4″ pocket screws.
Install the Crown Molding
Since I am installing the molding only to the riser and not to the ceiling, I am going to install it ahead of time. If you are installing it to the ceiling, you’ll want to wait and install the molding on site.
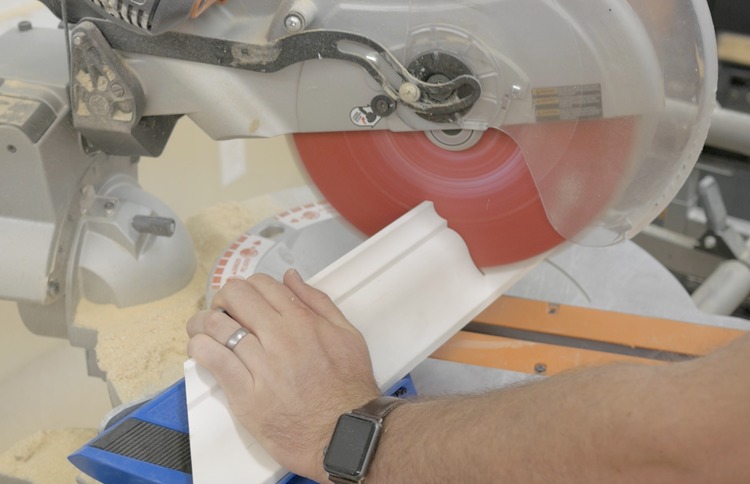
Cutting crown molding with a jig makes things go a little smoother. For more details on the process of cutting and installing crown molding, check out my basic crown molding tutorial.
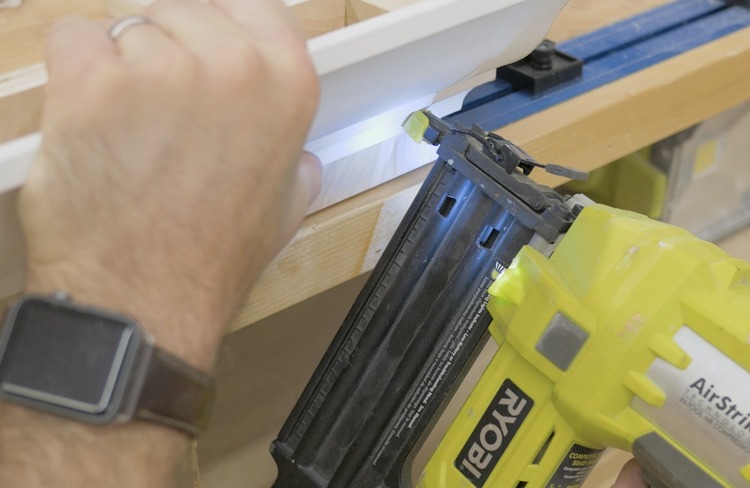
Install the crown with quick drying glue and 1-1/4″ brand nails or 1-1/2″ narrow crown staples.
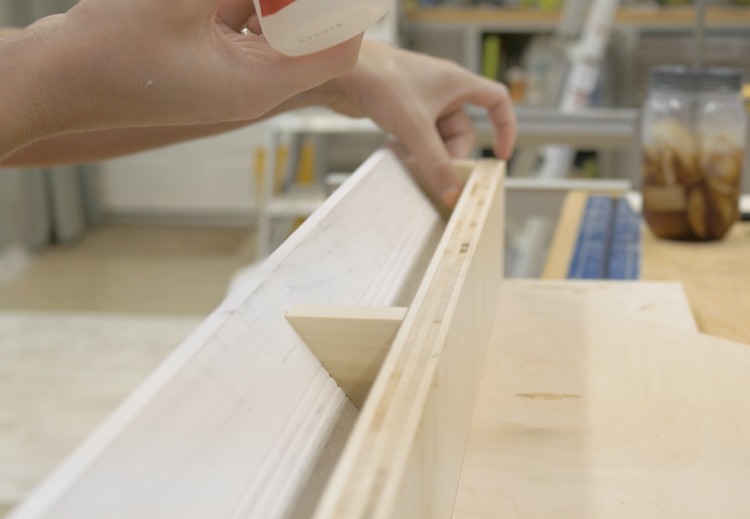
Since there is no top edge to secure the crown to, to help support the crown and keep it straight I cut angled supports and glued them in place.
Prepping for Finish
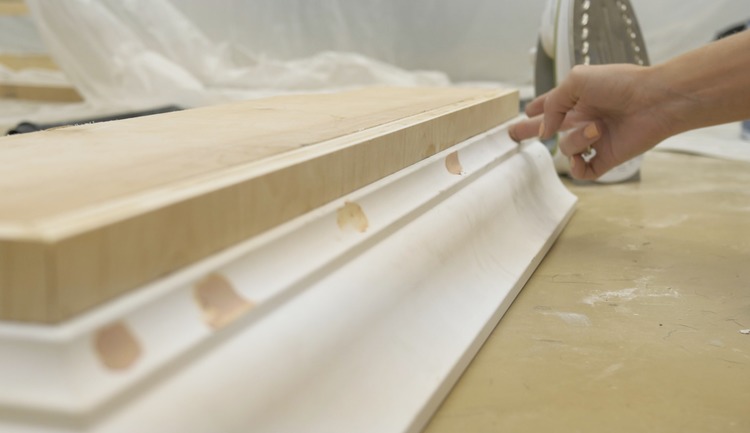
Before prime and paint there is a few things to do to get a great looking finish. One is to fill all of the brad nail holes with wood filler, let dry and sand smooth.
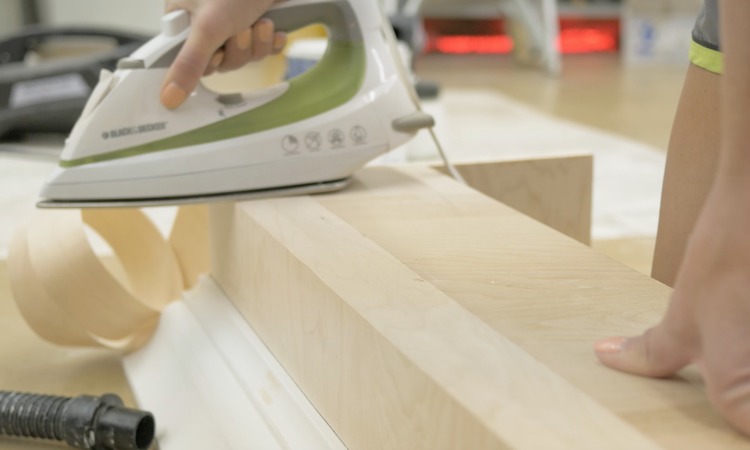
Since the bottom edge of the riser is an exposed plywood edge, I used 2″ wide iron on edge banding to cover it up.
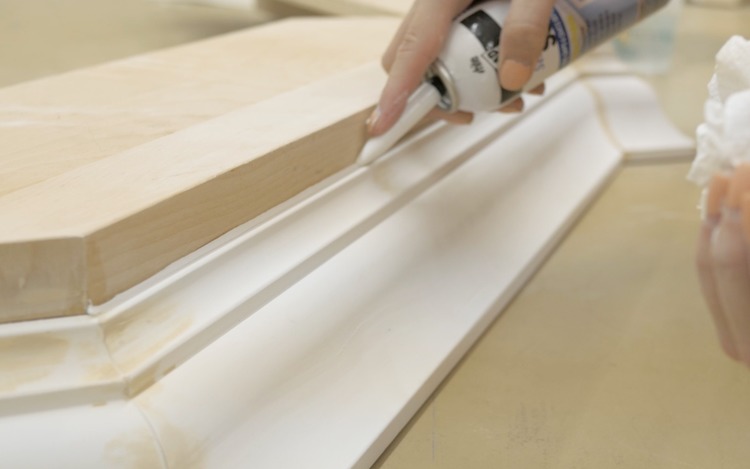
Then, caulk the seam at the bottom of the crown with a paintable caulk and feather it out with your finger for a smooth transition.
Prime and Paint
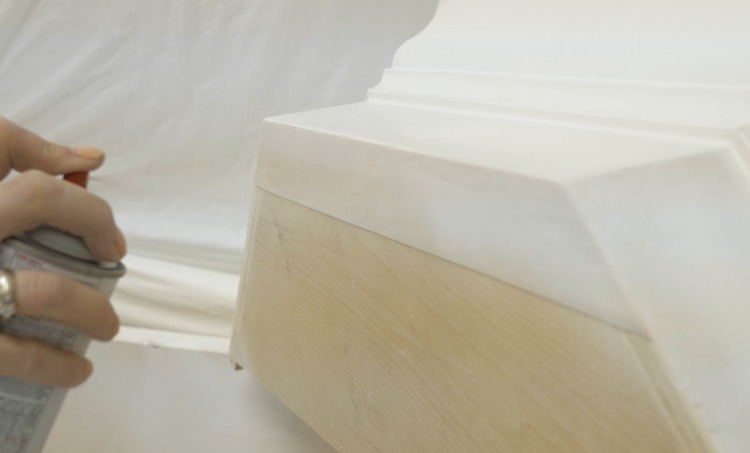
Since this is bare wood a good primer is require to make sure the paint sticks.
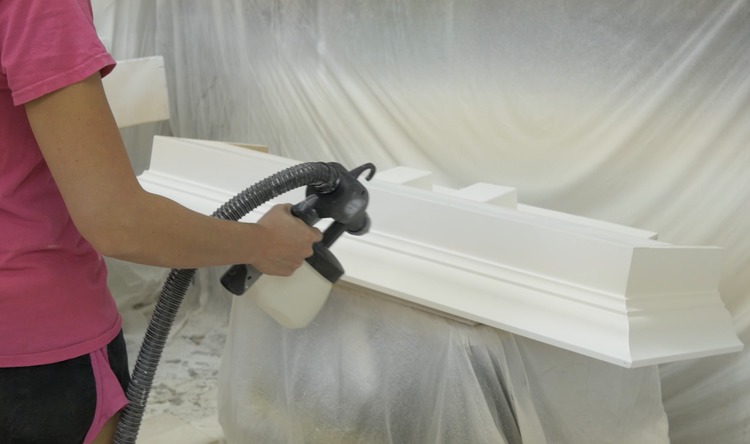
Finally, when painting, a sprayer will give you a great finish but a brush could get the job done just as well.
Secure in place
Set the riser and crown in place and secure from within the cabinet with 1-1/4″ wood screws.
Questions? Comments?
As always, if you have any questions don’t hesitate to comment below and especially don’t forget to post pictures of your finished products in the comments! ENJOY!

