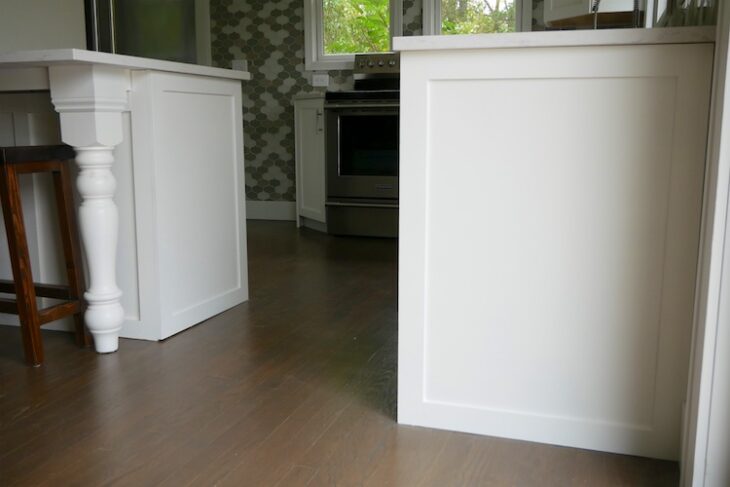
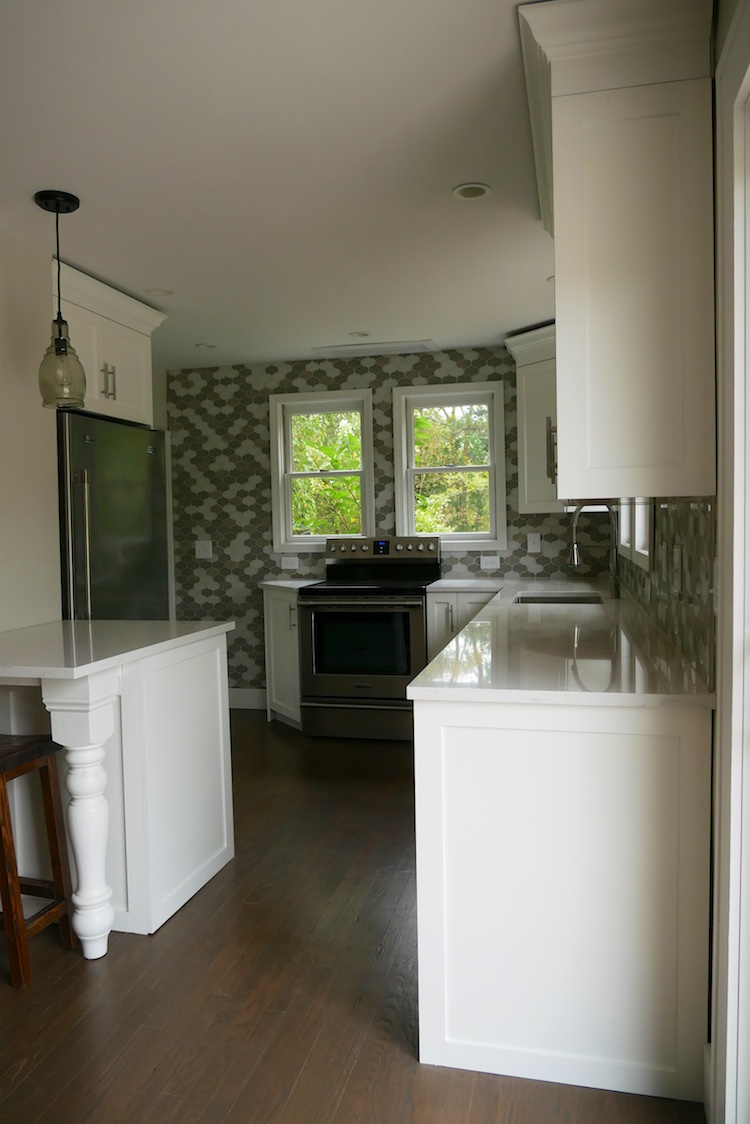
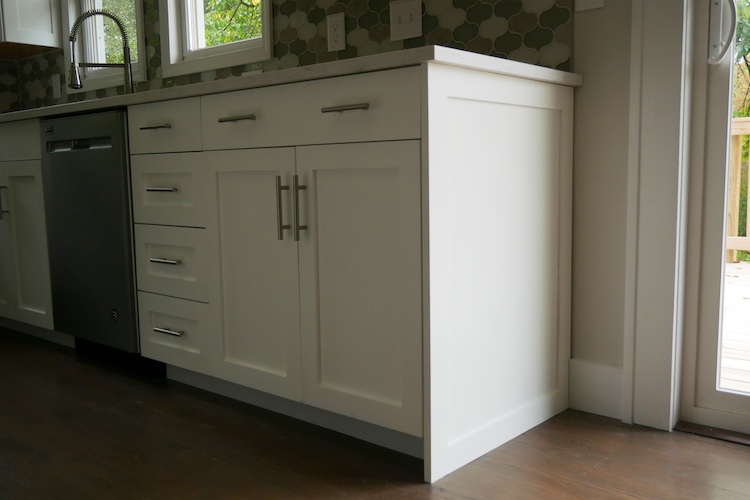
Since we built the cabinet carcasses out of pre-finished maple the sides of those cabinets needed to be covered. Rather than just a piece of painted plywood I wanted to build end panels to match the cabinet doors. What makes these easier is that the back of the panels isn’t seen so the assembly can be done using pocket screws and a floating panel can be rabbited into the back of it. The end panels, doors and face of the cabinets were painted Night Blooming Jasmine from Behr.
Below is a list of projects that have been publish or are to come in this kitchen renovation series. So be sure to check those out for more details.
Our Flip House Kitchen Renovation Series
- Frameless Cabinet Carcasses
- Cabinet Door Drying Rack
- Countertops
- Cabinet End Panels
- Spraying & Installing Cabinet Doors
- Upper Cabinet Crown Moulding
Don’t forget to subscribe on YouTube and for sneak peeks of our upcoming projects be sure to check out Our DIY Life on YouTube, follow us on Facebook and Instagram. Also, follow me on Pinterest to get tons of projects plans from all around the web!
Required Tools
Materials
- 1×3 Poplar Boards
- 1/2″ Pre-Primed PureBond Plywood
- 1-1/4″ Kreg Pocket Screws
- Wood Glue
Disclosure: The links provided in the “materials” and “required tools” sections are affiliate links. If you would like to support our site and help keep our content free come find out more about how we can make money with no extra cost to you.
Cut and Assemble Frame
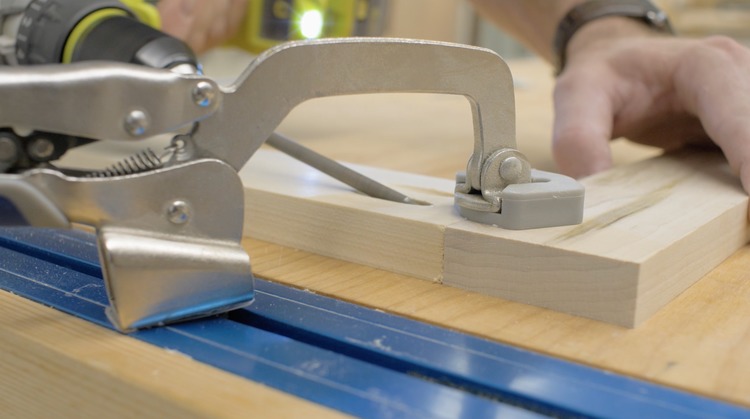
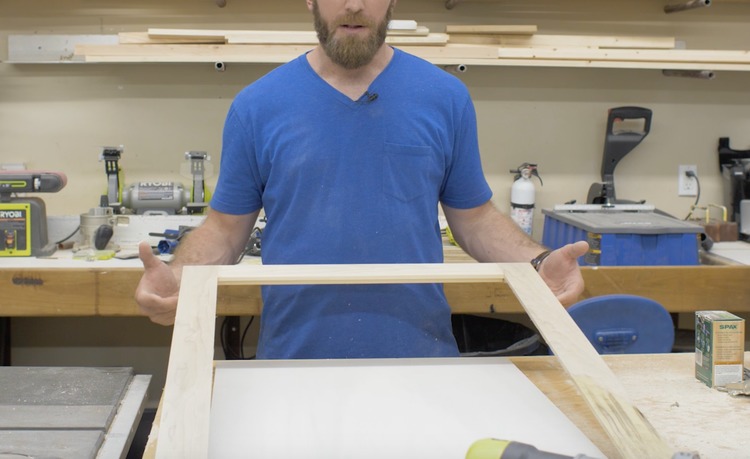
The size of your panel will be determined by your cabinet side. Measure that and if the doors are not already installed make sure to include that thickness plus the thickness of the door bumpers you’ll be using. Then cut the poplar down to the correct size and assemble the frame with wood glue and 1-1/4″ pocket screws. EXTREMELY IMPORTANT: When drilling the pocket holes make sure they are outside of the path of your rabbit bit to avoid any unwanted contact with the screws when routing.
Cutting the Rabbit
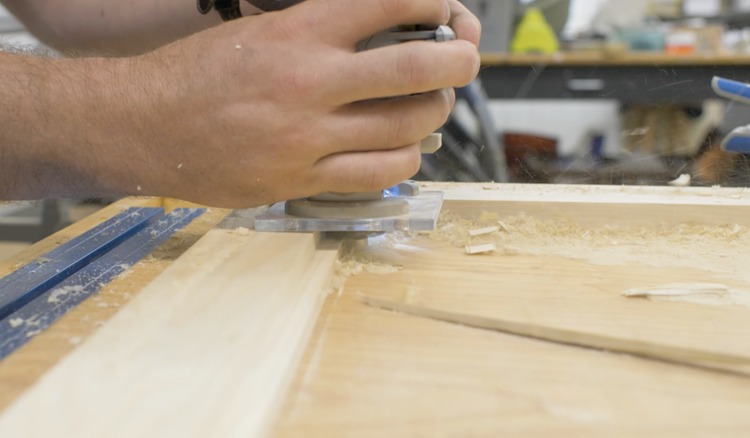
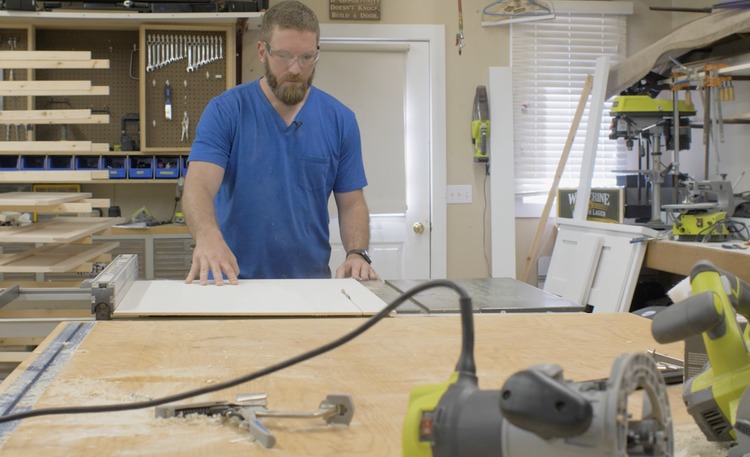
Using a router and a rabbit bit, cut a rabbit the same depth as the thickness of the plywood and 3/4″ or 1/2″ back depending on what bit you have or get.
The Panel
Cut the panel about 1/4″ smaller than the inside of the rabbit. This will give it 1/8″ on all side to float.
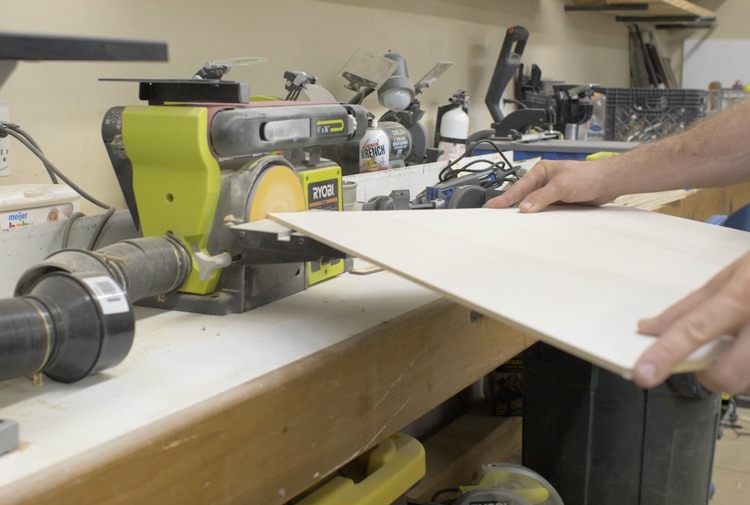
Since the router bit leaves rounded corners, you’ll need to do the same to the panel for it to fit. I sanded mine down but a circular saw or jig saw would work just as well.
Painting the End Panel
Leave the plywood panel and the frame separate when painting. This will ensure the entire panel gets painted and you won’t get the dark edges on the inside corners of the panel like a cabinet door.
Attaching the End Panel
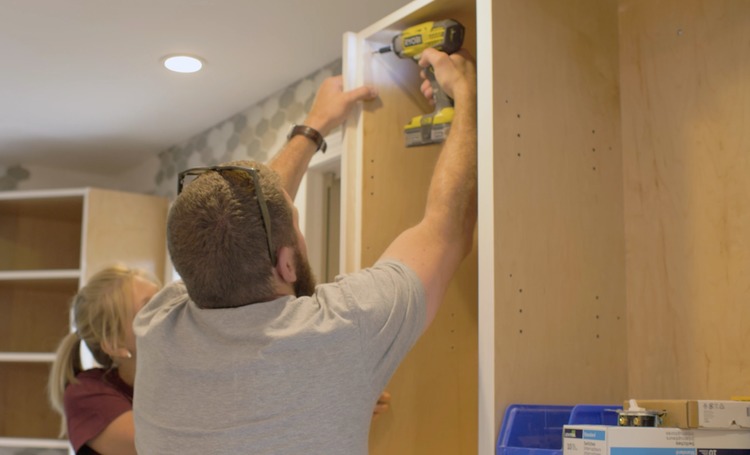
Attach the end panel from within the cabinet with 1-1/4″ cabinet screws. These screws should go into the frame. This will pin the panel in place and still allow it to float. Make sure to secure it on all sides.
Questions? Comments?
As always, if you have any questions don’t hesitate to comment below and especially don’t forget to post pictures of your finished products in the comments! ENJOY!

